Make an American Patriot Bolt-Action Pen
I love the men and women who serve this great country, and I love the American Patriot pens that commemorate our patriots’ sacrifice and service. I recently gave away a couple of these beautiful pens and received a huge response–over 800 entries. In this tutorial I will show you how to make an American Patriot bolt-action pen. Perhaps you have have a military friend or family member you would want to give this to. Enjoy!
Before you attempt this tutorial, please read my safety disclaimer at the end of this post.
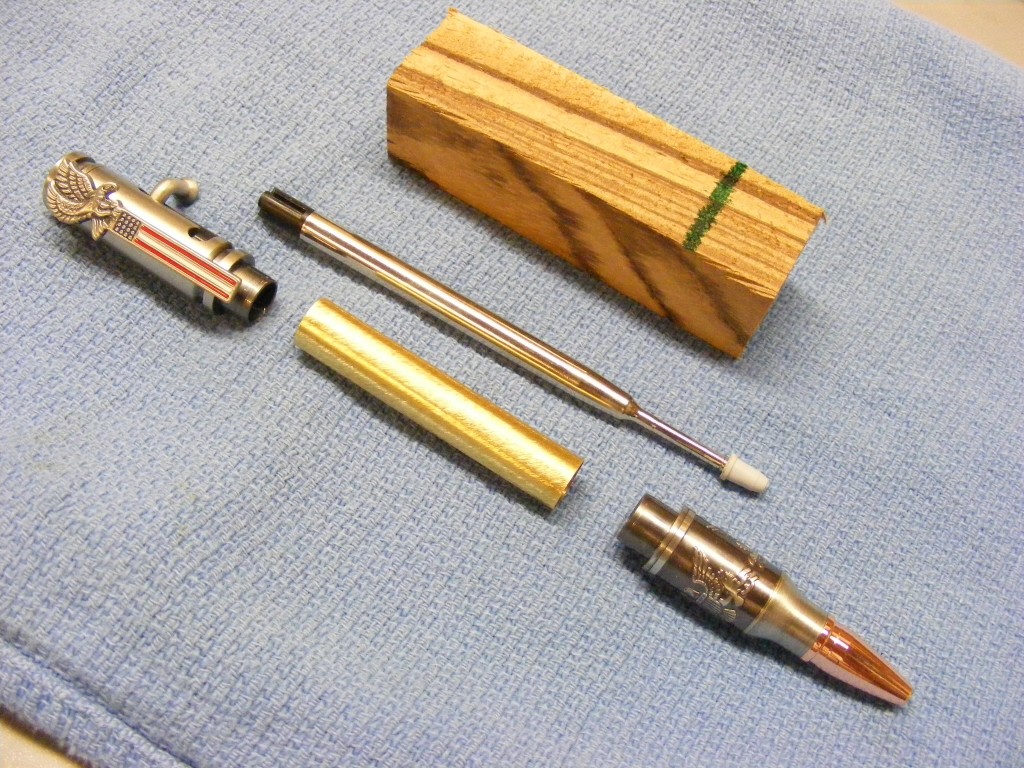
Step 1 – Buy the Salute the Troops Bolt-Action Pen kit. The blank is purchased separately. I decided to use Zebra wood for my blank. The grain colors and the dark stripes really give this wood a distinct and appealing look. Zebra wood is an African hardwood. Hardwoods are my first choice because they produce more durable pens.
I purchased the pen kit from Penn State Industries. Here is a link to the bolt-action pen kit. And don’t forget to make sure you have the correct drill bit size and bushing size. With this kit, you’ll need a 3/8 inch drill bit.
Take everything out of the kit and lay it out to make sure all the right components.
Every pen kit comes with a set of build and assemble instructions.
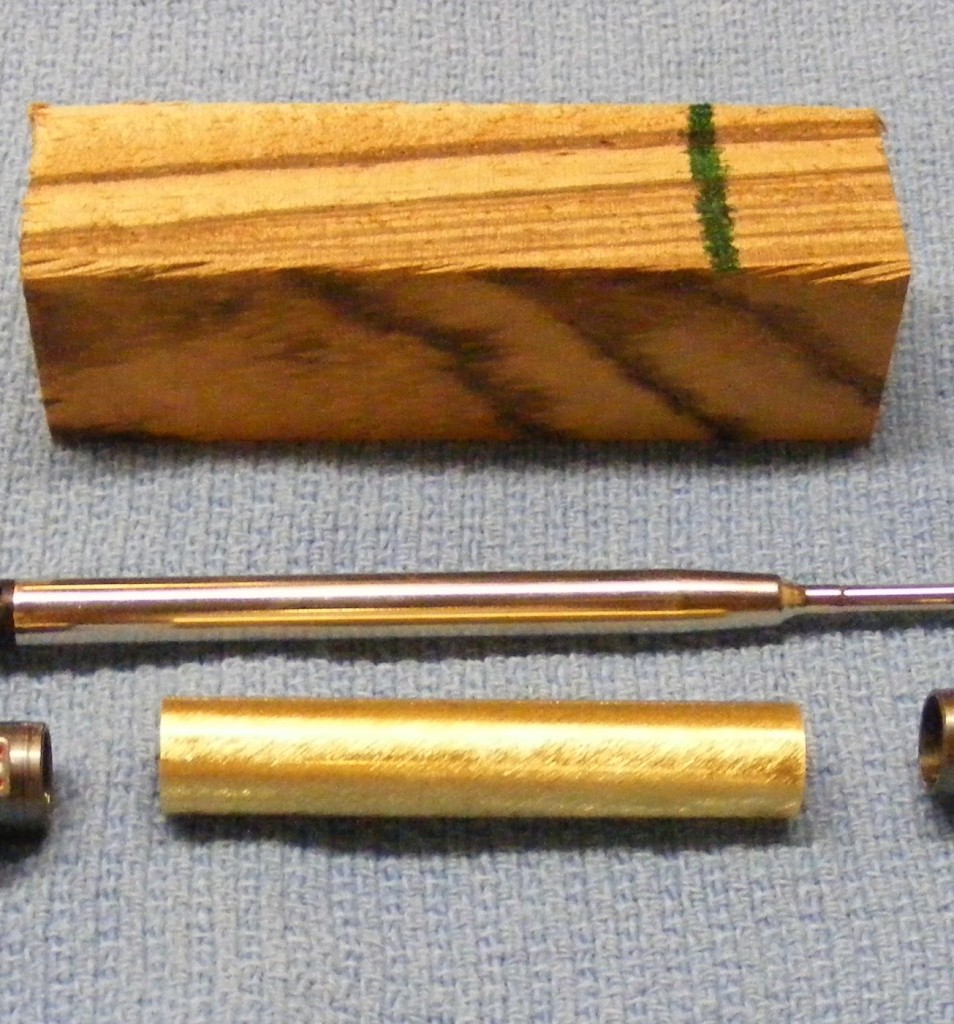
Step 2 – Take the pen tube from the kit and mark the length of the tube on the Zebra wood blank. Leave about 1/8 inch on both sides. You will trim this excess wood later.
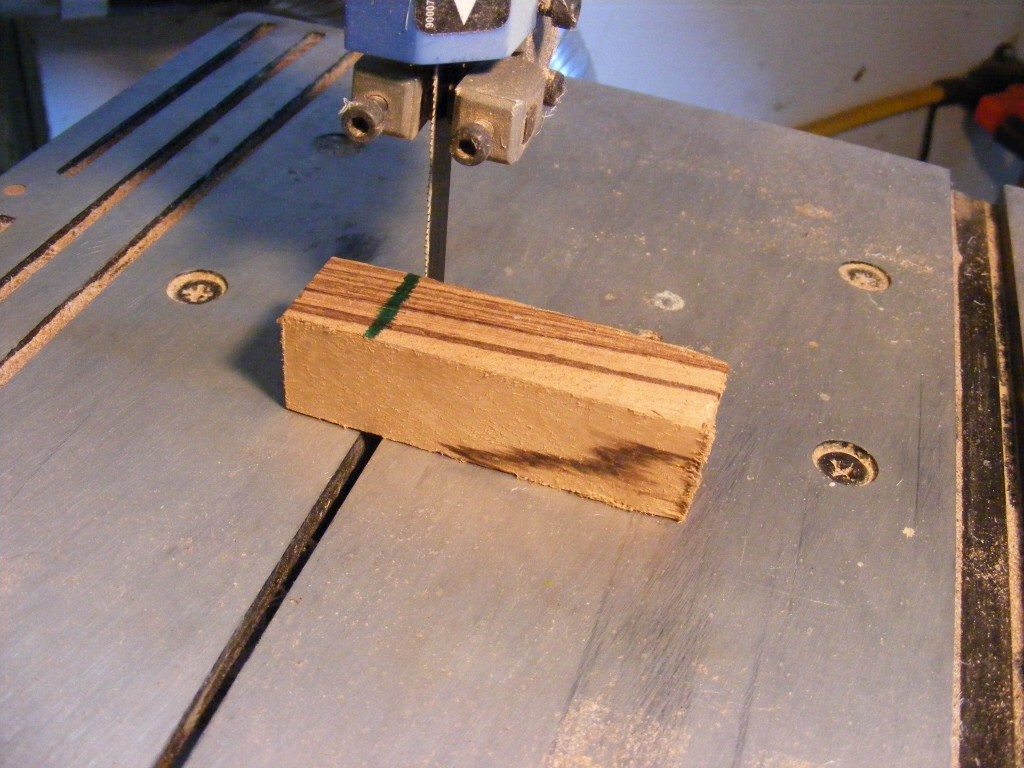
Step 3 – I used a band saw to cut the blank, but you can use any saw to make this cut. Cut it as square as you can, but it doesn’t have to be perfectly square.
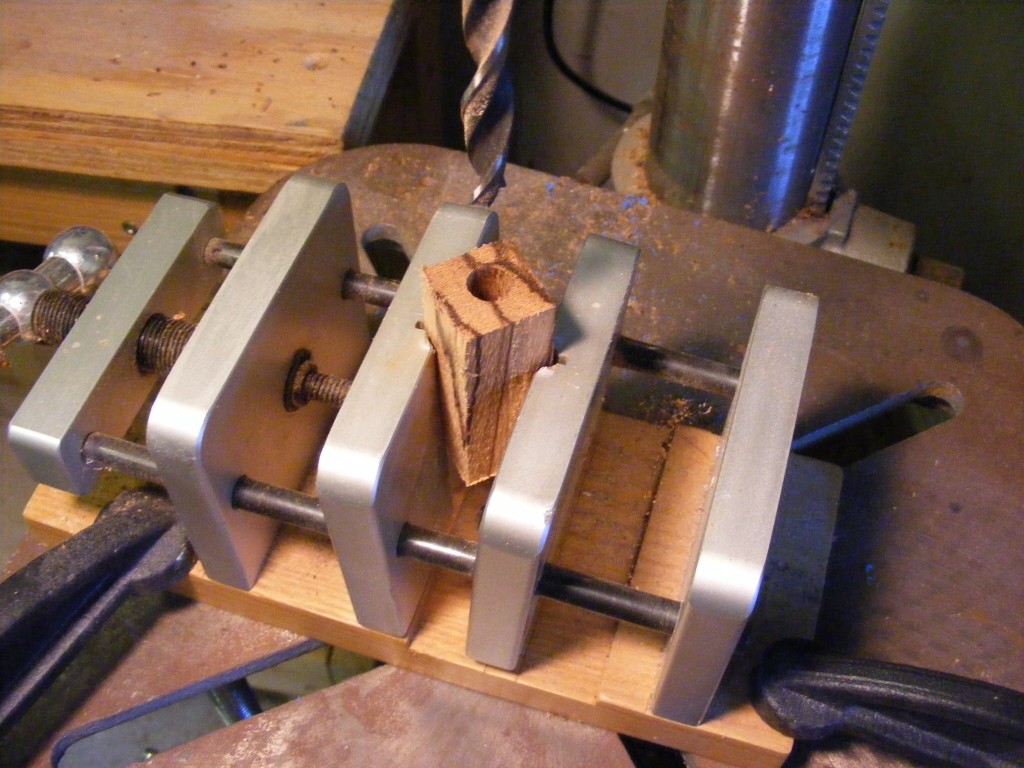
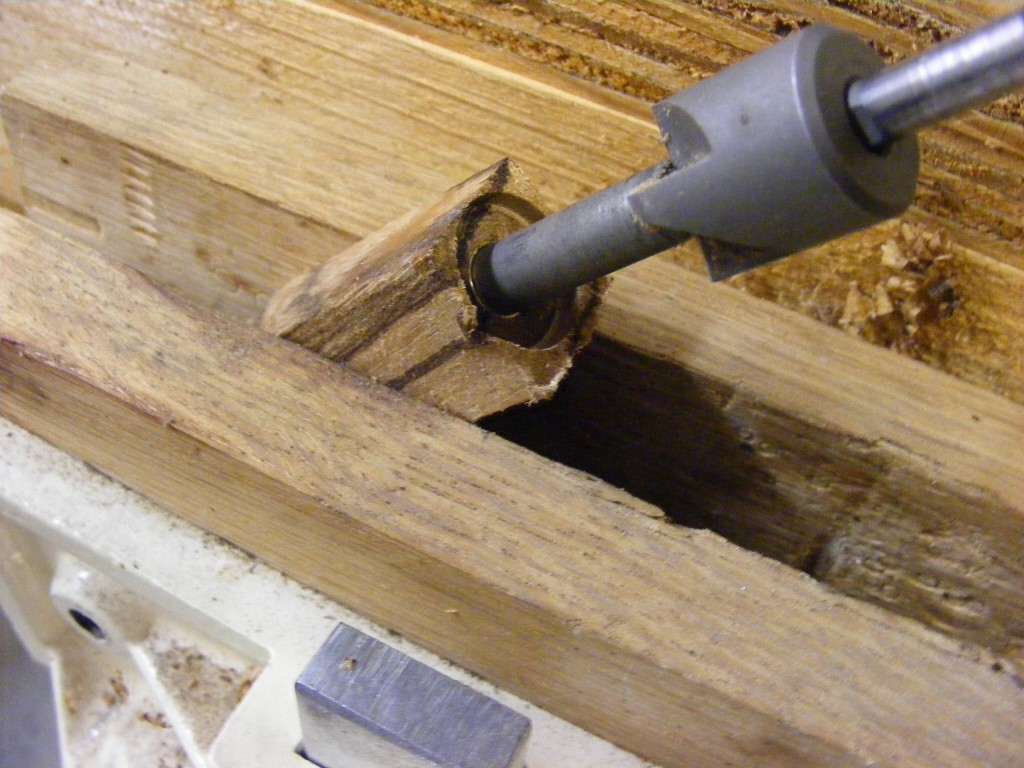
Step 4 – Using the 3/8 inch drill bit, drill a straight hole through the length of the blank. This will be for your pen tube. Push the bit in slowly and retract periodically to remove excess sawdust. This will hopefully prevent the bit from getting over heated and blowing out the blank. In the picture below, I’m using a special vise made for holding pen blanks.
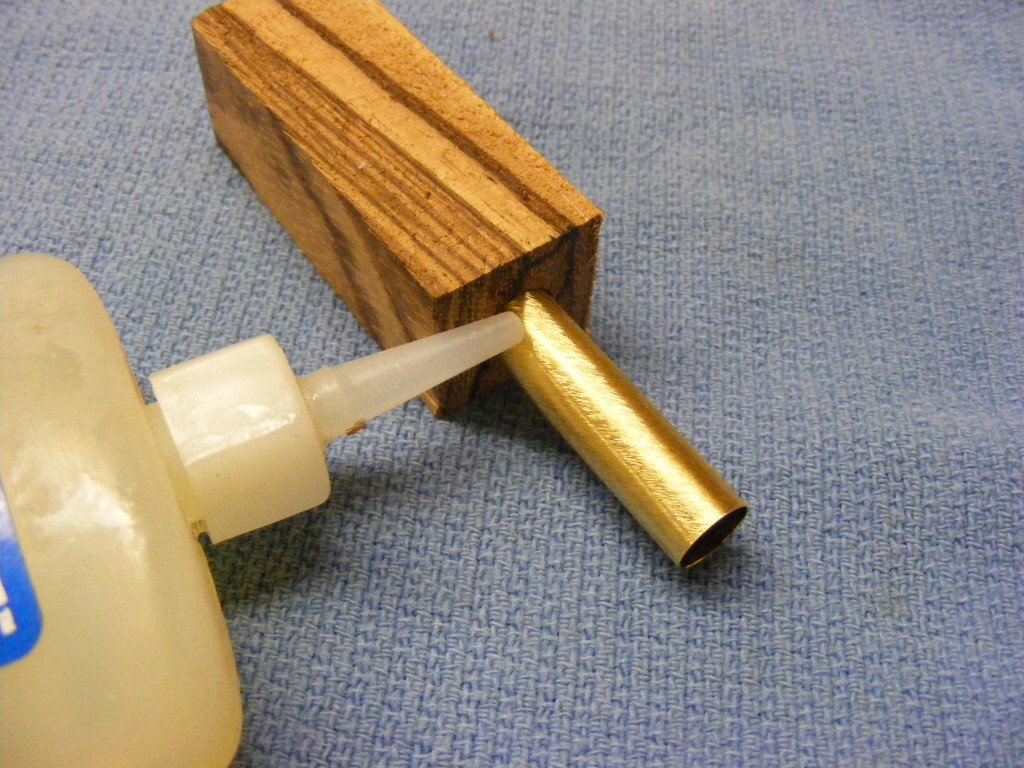
Step 5 – Glue the pen tube into the Zebra wood blank. I use medium CA glue. Make sure the glue gets spread evenly over the pen tube. This glue sets fast, so don’t tarry long on this step. Allow the glue to cure for about an hour before the turning process. I like to wear nitrile gloves to prevent any glue from getting on my skin.
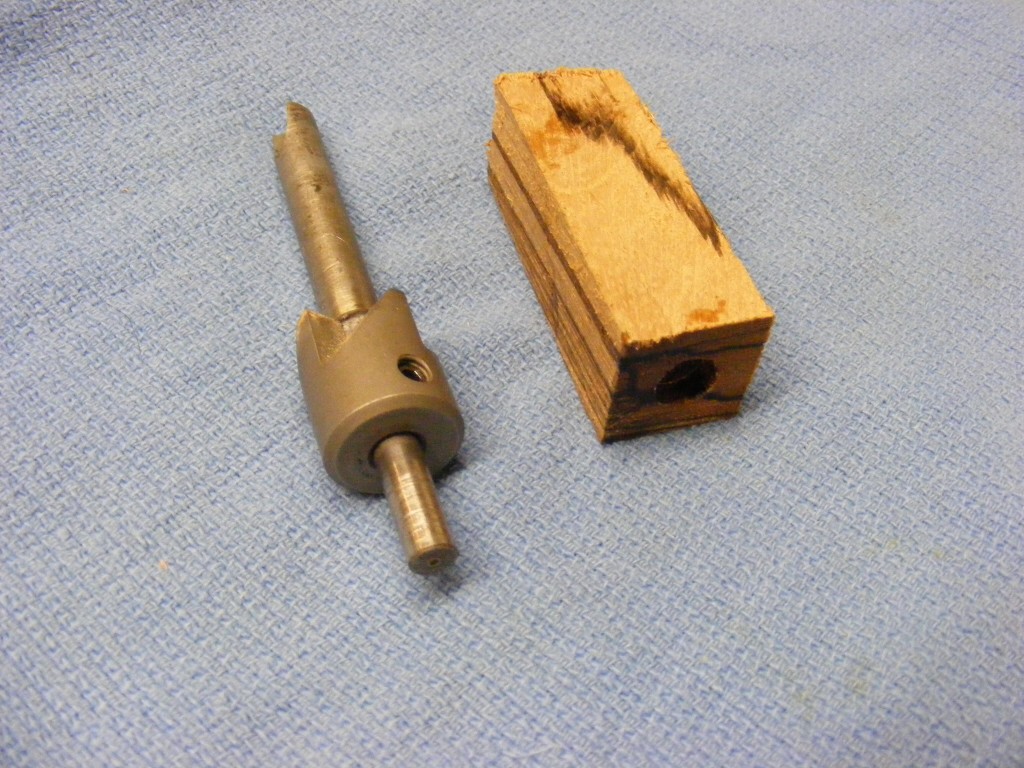
Step 6 – Now I’ll use the barrel trimmer to remove the excess wood on the ends of the blank. Use a hand drill and trim down until you just begin to see the ends of the pen tube. DON’T trim far into the pen tube. Doing so can affect the proper entention and retraction of the ink refill. This trimming step will ensure that both ends of your pen barrel are square and that other pen components will fit properly when pressed together in a later step.
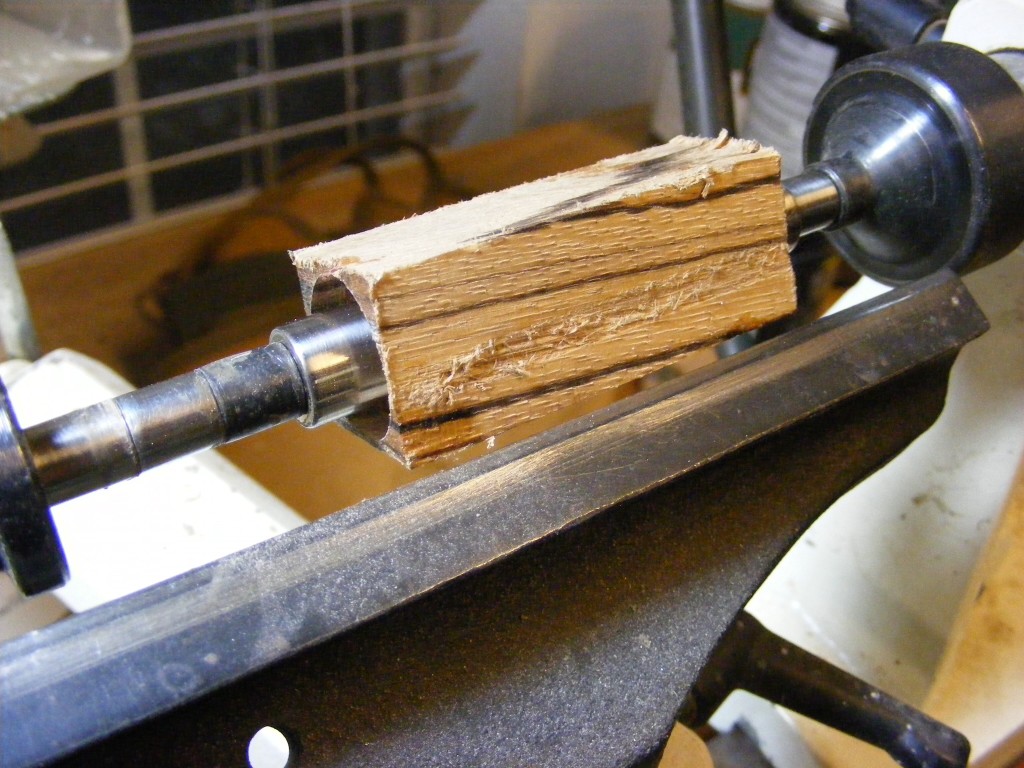
Step 7 – Mount the blank to the pen mandrel. Very important — make sure you have the correct size bushings AND make sure the bushings are oriented correctly. Every pen kit comes with a set of instructions. On those instructions will be diagrams showing correct placement of bushings. This kit is pretty simple, and fortunately, the bushings are identical for both sides. If you are a beginner you may be wandering about the purpose of the bushings. The bushings are the same diameter as the other pen components which will be pressed in later. So, by turning and sanding the blank flush with these bushings your pen parts will all fit and align properly.
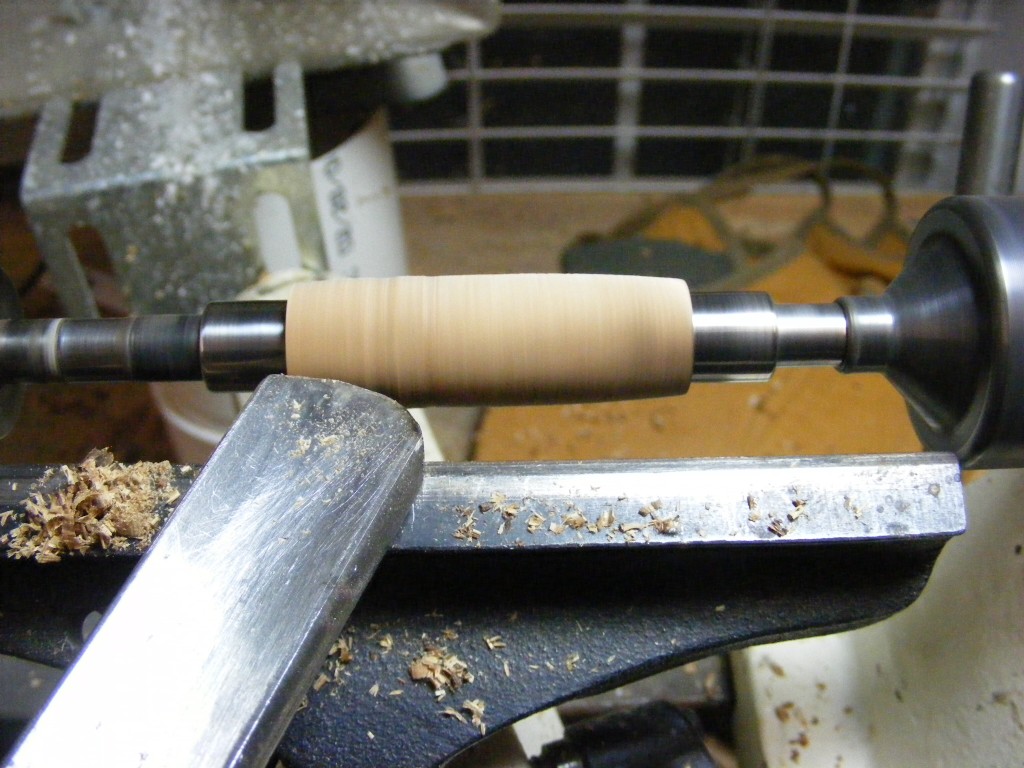
Bring the tool rest up as close as possible to the blank. There should be some clearance between the blank and tool rest as the blank spins.
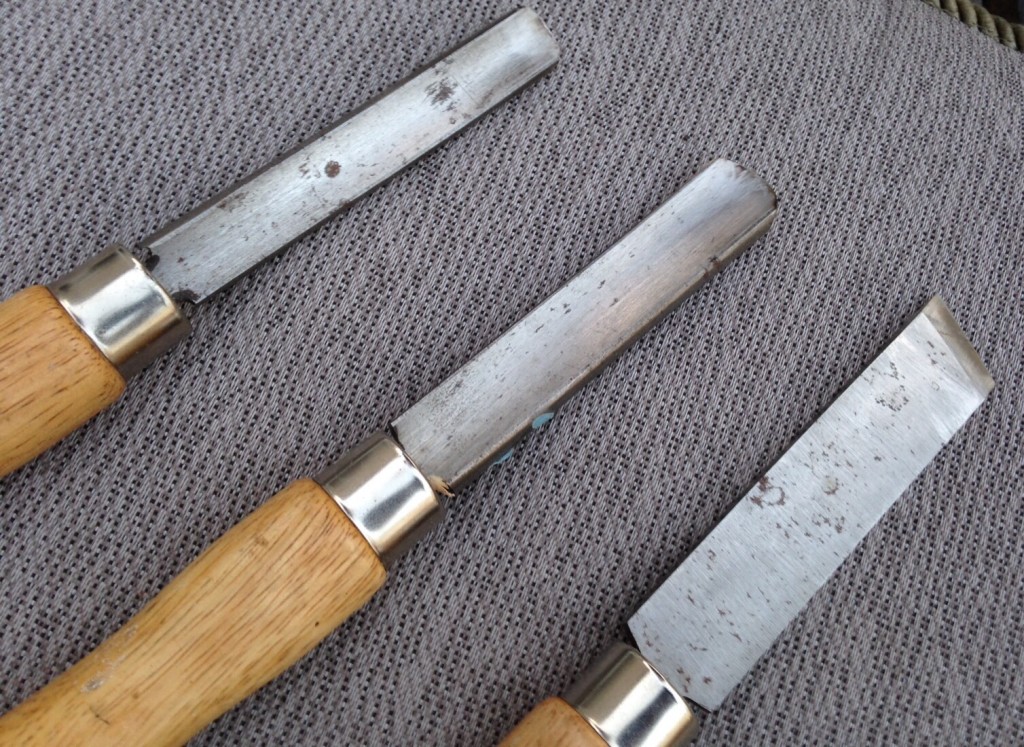
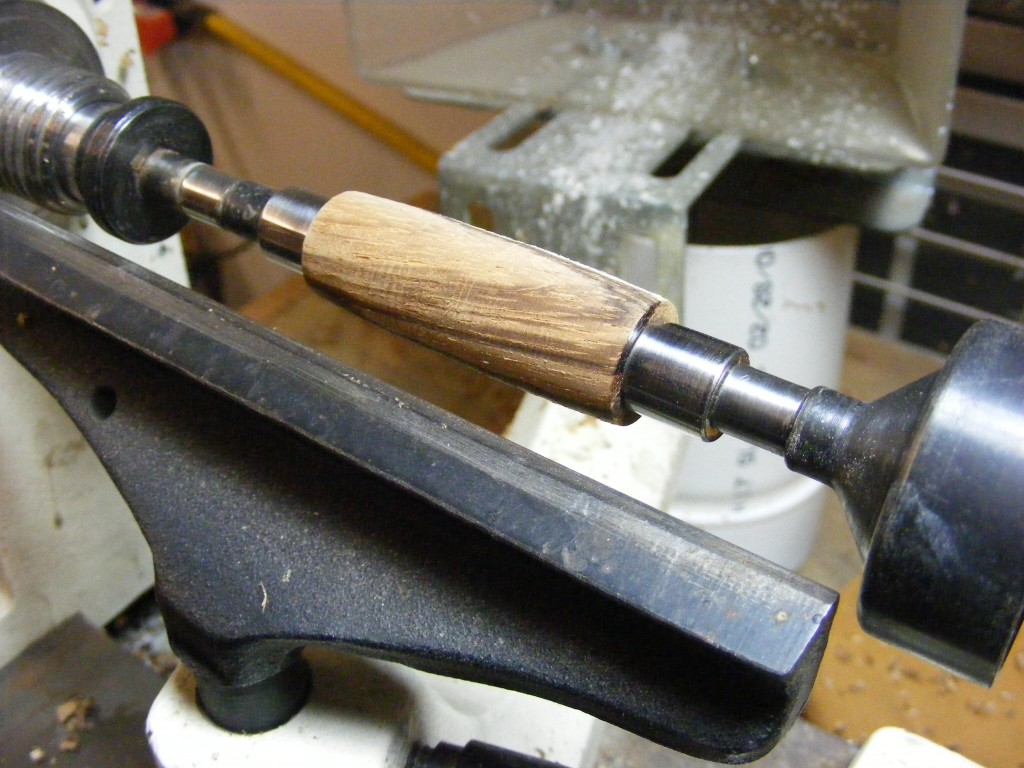
Step 8 – I used my spindle gouge (top two tools in the first picture below) to begin turning the pen. Make sure the blank is secure and you have your face shield and dust mask on. Your lathe should be running at about 2000 to 3000 rpms. Maintain firm control of the gouge and work from the middle to the ends of the blank. I like to leave some contour in my pen barrel, but keep turning until the wood is about 1/8 inch from being flush with the bushings. If you are good with the skew (third tool pictured below), you can take off more wood, but don’t go all the way flush with the bushings. The skew leaves a smoother finish and can help minimize sanding which is the next step.
Note – I’m assuming you’ve had some practice or basic training on turning and use of a lathe. Please take some time to practice or get basic training before attempting this tutorial.
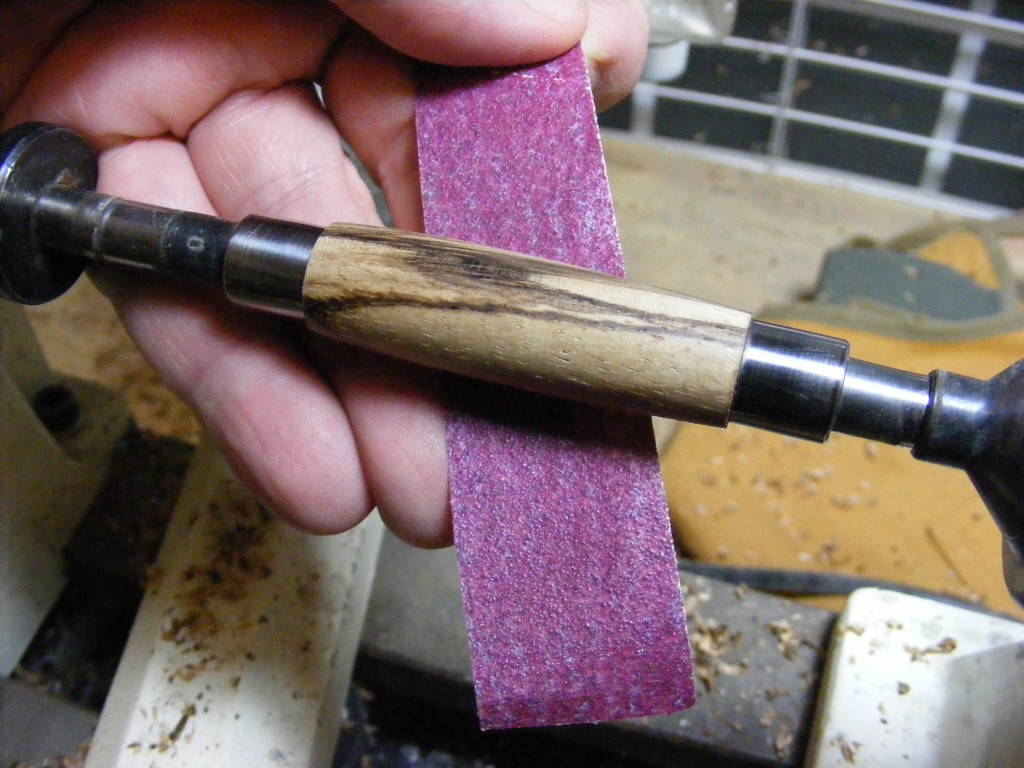
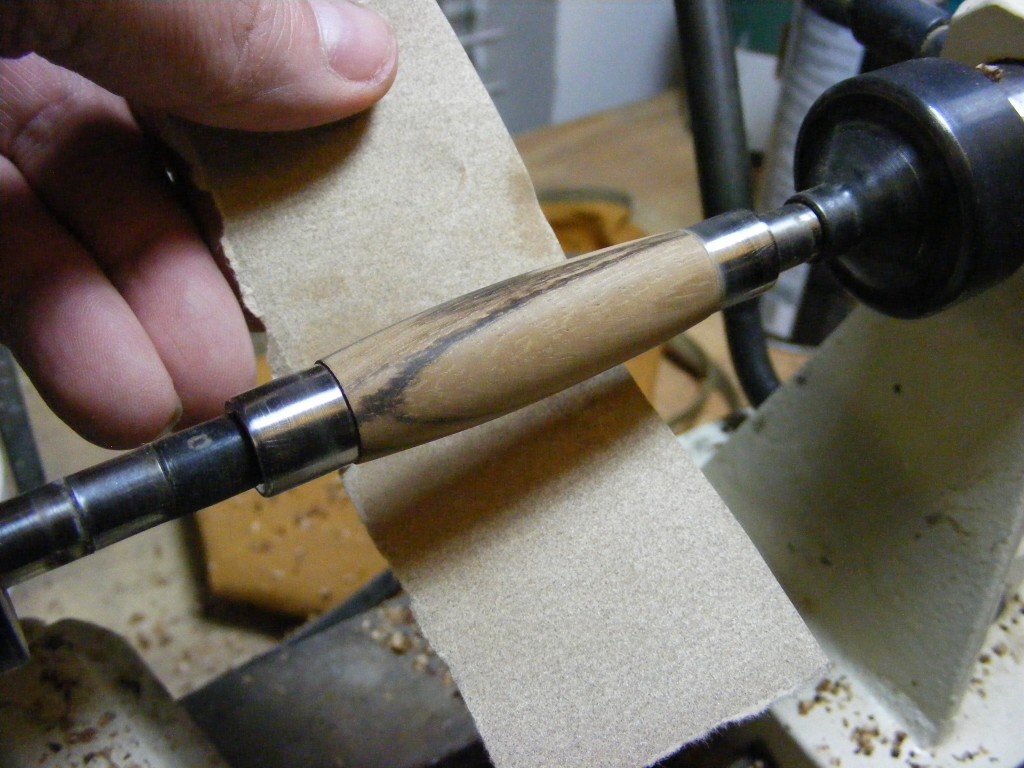
Step 9 – I normally start out with 120 grit sand paper, but if I’ve used the skew, I can start with 220 grit. Move the tool rest completely out of the way. Cut out 1 inch strips of sand paper and begin sanding until the wood blank is flush with the bushings. I will start with 120 grit, then 220, then 320, then 400 grit. From there, I will use my micro mesh sanding cloths, up to 12000 grit. Don’t forget to wear your dust mask.
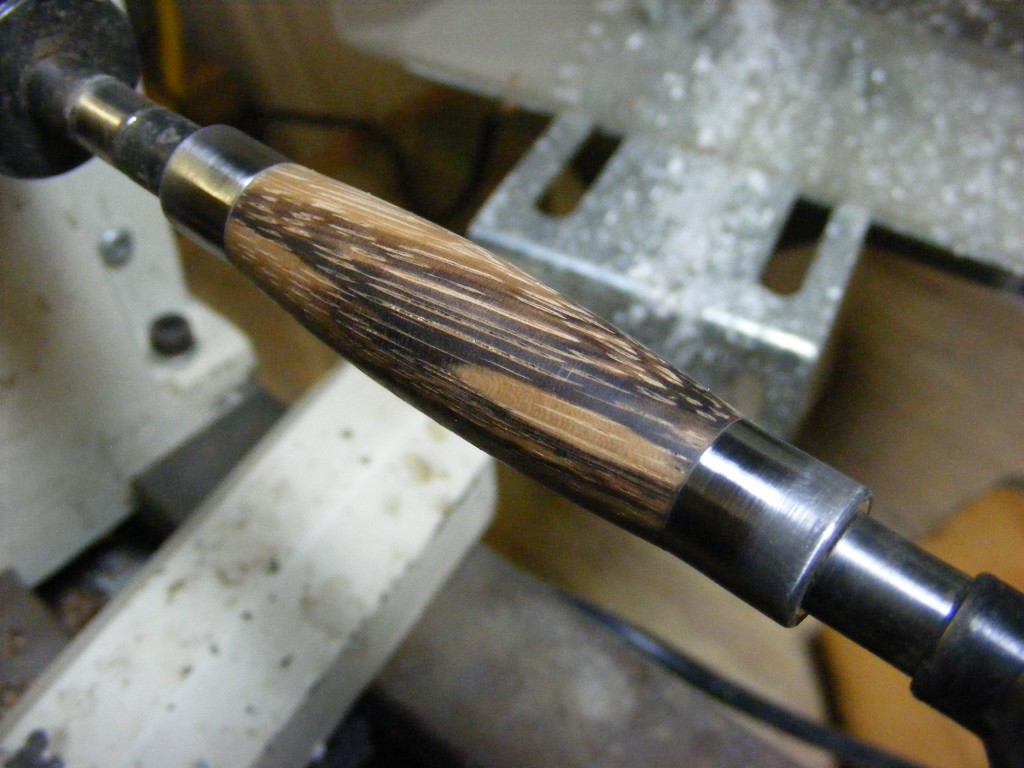
If you have an air compressor, it’s a good practice to blast some air over the blank between sandings. Also, don’t forget to turn the lathe off periodically and check your progress. With the lathe off, sand up and down the length of the blank. Look for cracks or scratches or areas that might have chipped out. Make corrections before proceeding to the next step.
Step 10 – Finishing the wood blank/pen barrel. Now that you’ve inspected your blank, made necessary repairs, and have completed the sanding process, it’s time to move on to finishing. I like to use a friction polish to finish my pen barrels. It takes a little more effort and time, but some like to use CA glue for the finish. The CA glue is definitely a more durable finish.
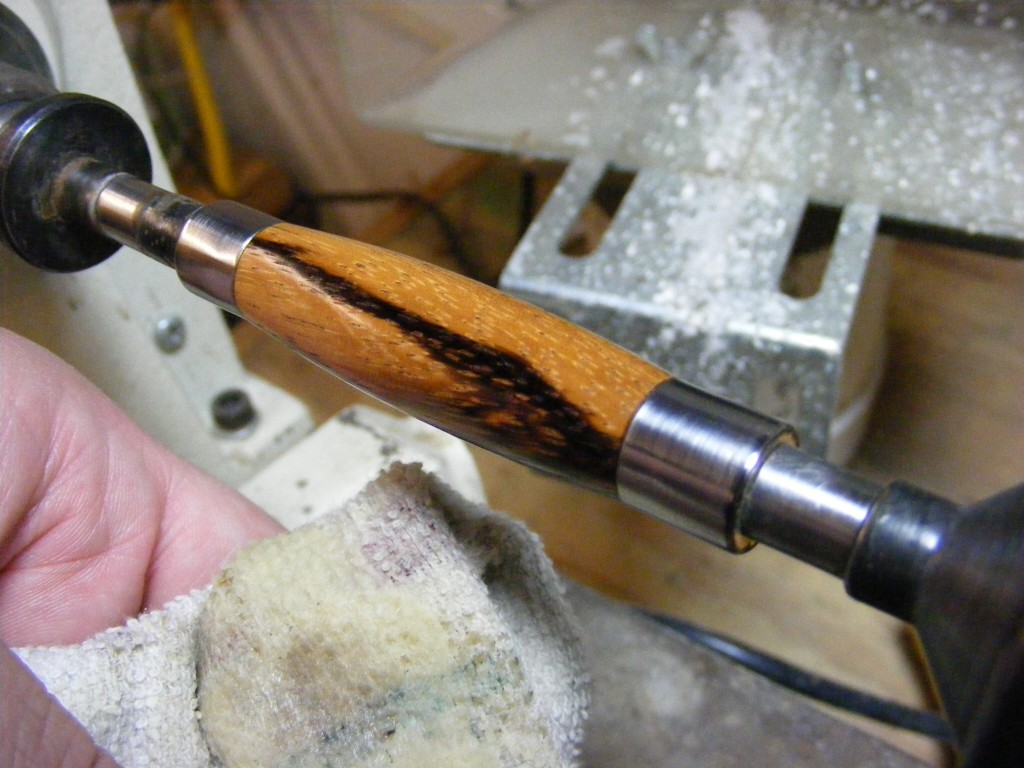
For this tutorial, I’ll use the friction polish. Shake the friction polish container and squirt a quarter-sized portion of the polish onto a clean, lint-free cloth. With the lathe off, rub the polish all over the wood. Put your face shield on and turn the lathe on. Bring the cloth up to contact the blank, and usually, I do this from below the spinning blank. Continue to move the cloth and polish up and down the length of the blank. You will feel a little heat building up, but this helps the polish cure. Make sure your cloth is situated so as not to get caught or snagged on the spinning blank.
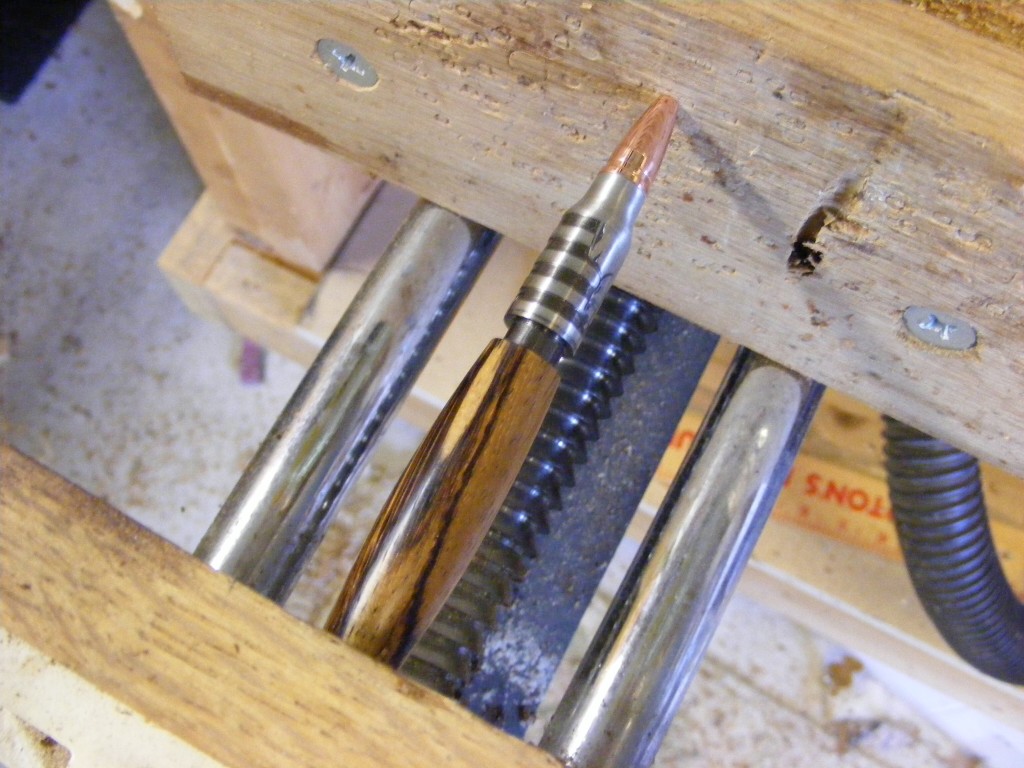
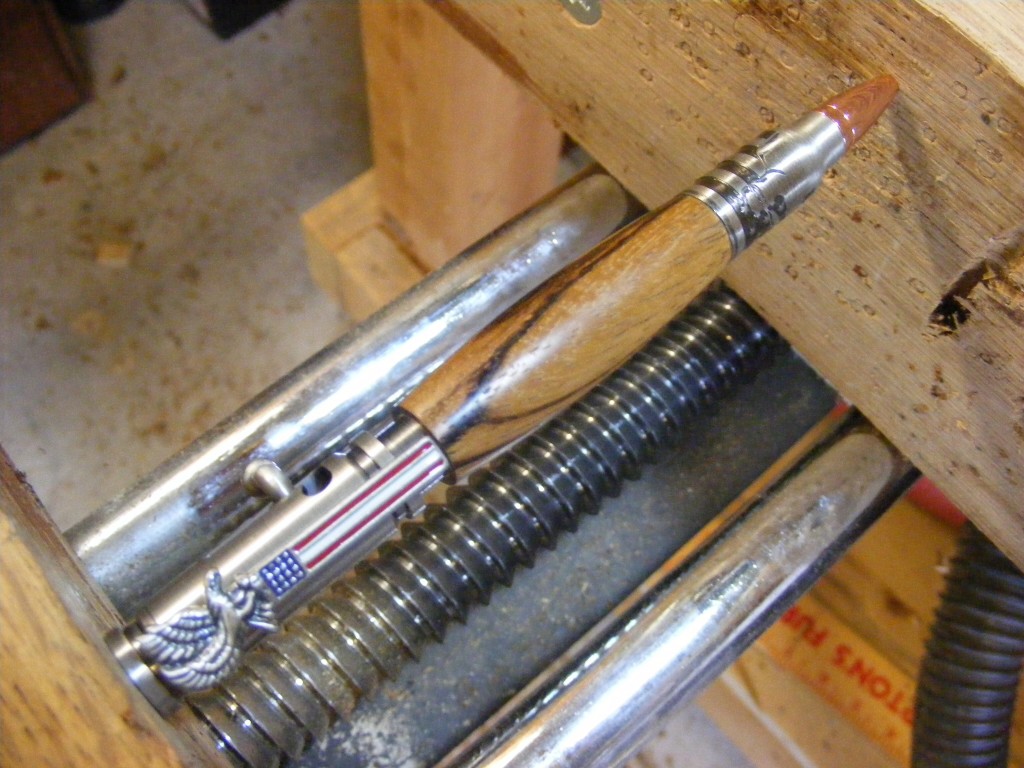
Step 11 – Press the pen components into your pen barrel to complete the pen. With this kit, there’s really only two components — the pen tip and the bolt-action assembly. Use a pen vise or regular wood vise to gently, and slowly push the parts into the pen barrel. Make sure the pen components are straightly aligned with the pen barrel during the pressing process.
When done with the pressing, unscrew the tip, and insert the ink refill and spring. Check to make sure the pen mechanism works properly. Make sure the ink refill extends and retracts correctly with the bolt-action mechanism. For your convenience, here is a link to the assembly instructions.
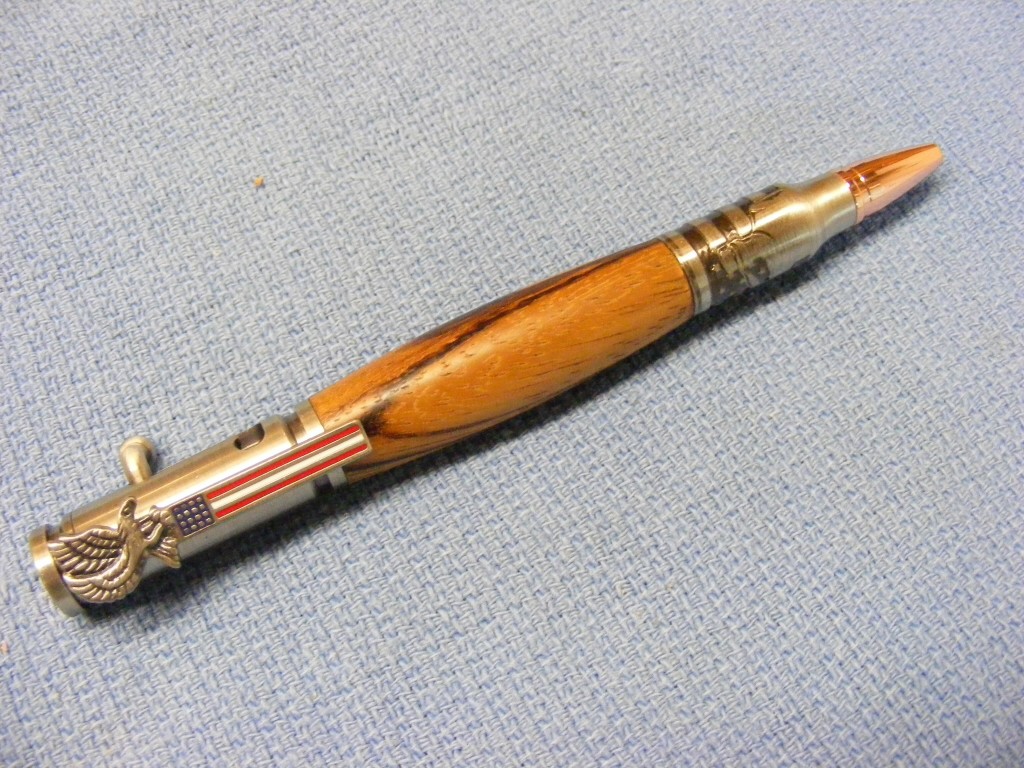
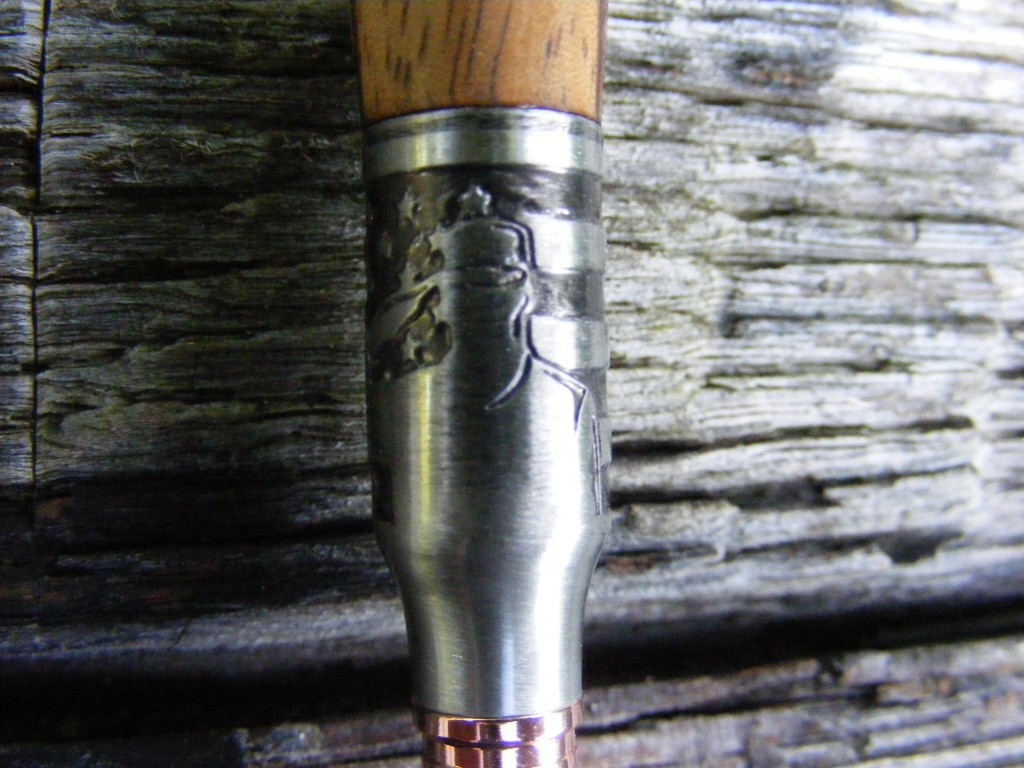
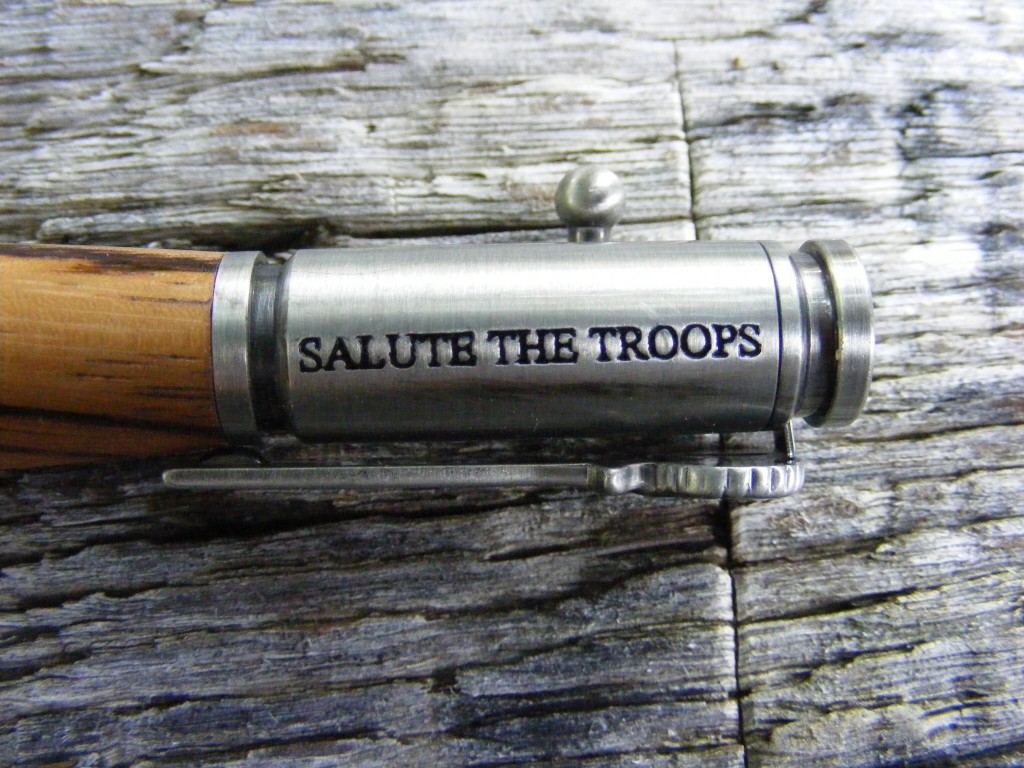
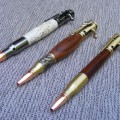
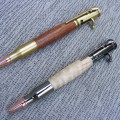
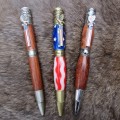
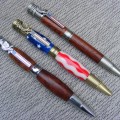
Finished Pen
I hope you enjoyed this tutorial on how to make an American Patriot Bolt-action Pen. Please let me know what you think about this tutorial in the comments field below.
Please take every opportunity to thank our military personnel for their service to our country. God bless the USA!
SAFETY DISCLAIMER: If you decide to attempt this tutorial, you do so at your own risk. I don’t know your skill level, tools, or work environment. Chances are all those factors are different from mine.
Please take some time to learn about this hobby before you jump into it. Watch some videos, read some books, and get some training. Make sure you read the instruction manuals that come with your tools and that you have a clear knowledge of how to operate them safely.
Don’t forget to wear appropriate protective gear—face shield, dust mask, etc. Remove all jewelry or loose clothing that might get caught in the lathe.
Also, these tutorial are intended for adults only. Properly trained and guided, children can do this craft—but only with adult supervision.

Are you starting up a new shop? Want to work safer in your shop? To help you answer these questions I've put together a 2-part checklist -- Home Shop Safety & Tool Checklist.
I will also send you updates of my latest woodworking and DIY projects. You can get all this by subscribing to my free email newsletter.



I want to buy the kits of a pen. How I can be found in the your shops
Can you rephrase the question? Are you asking where you can get the bolt-action pen?