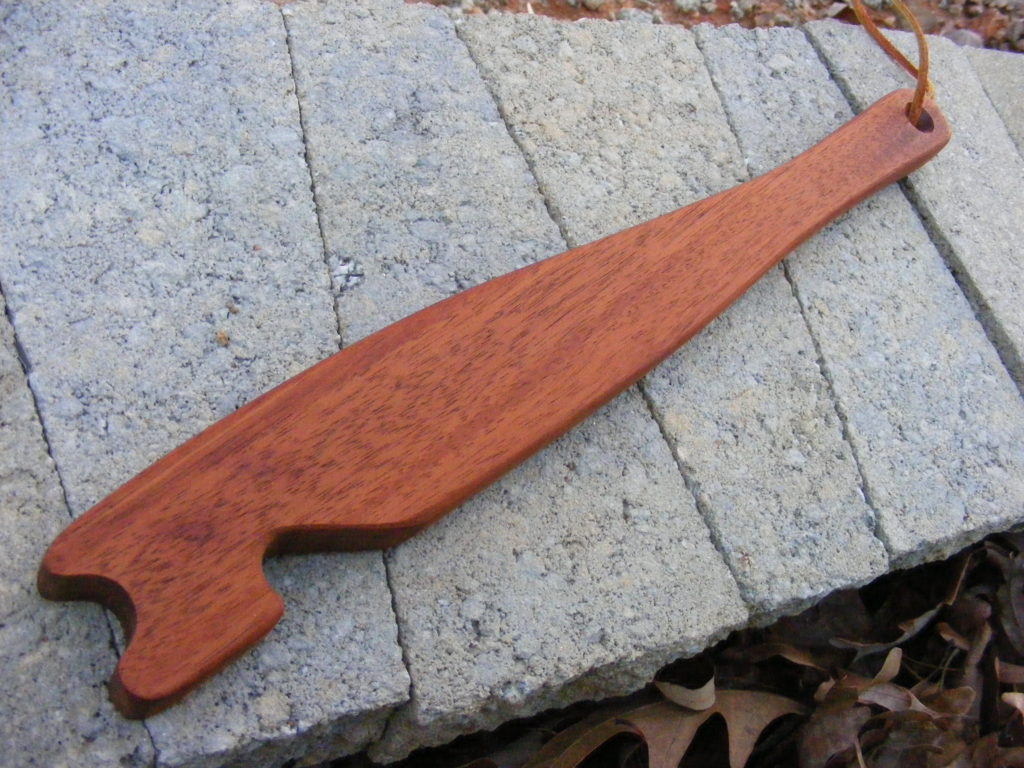
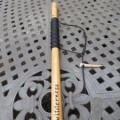
I hope you had a wonderful Christmas, and Happy New Year to all of you! Over the Christmas break I made several gifts for close friends and family. I made some bottle openers and oven rack push/pull sticks. In this tutorial, I’m showing you how to make an oven rack push / pull stick.
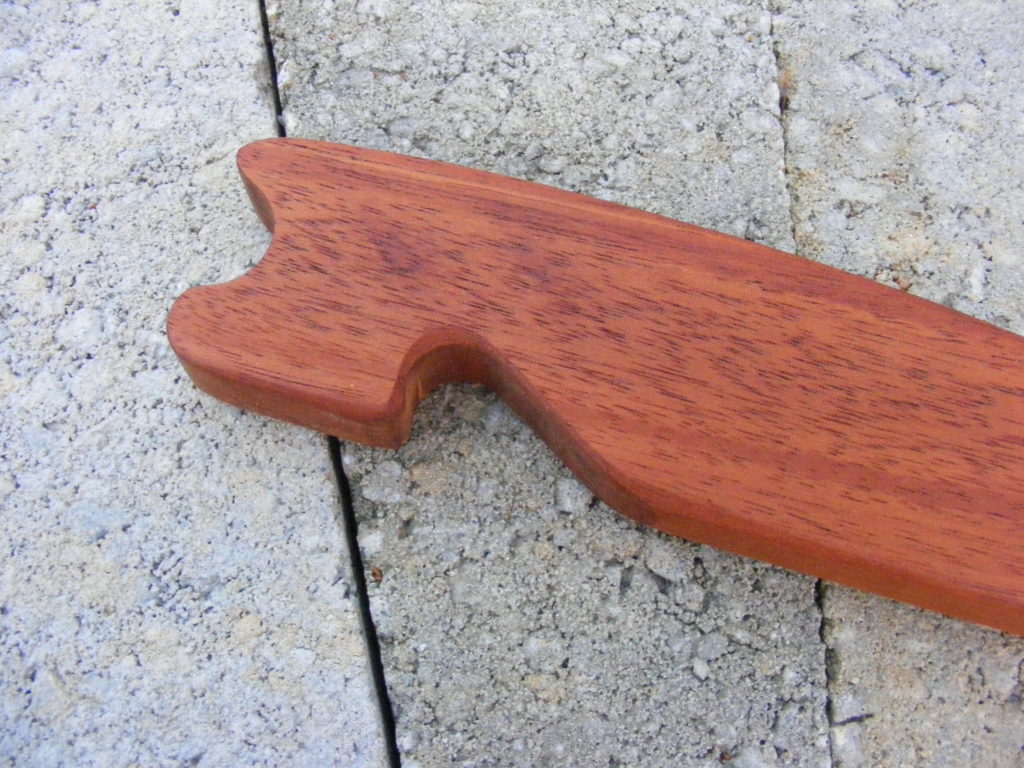
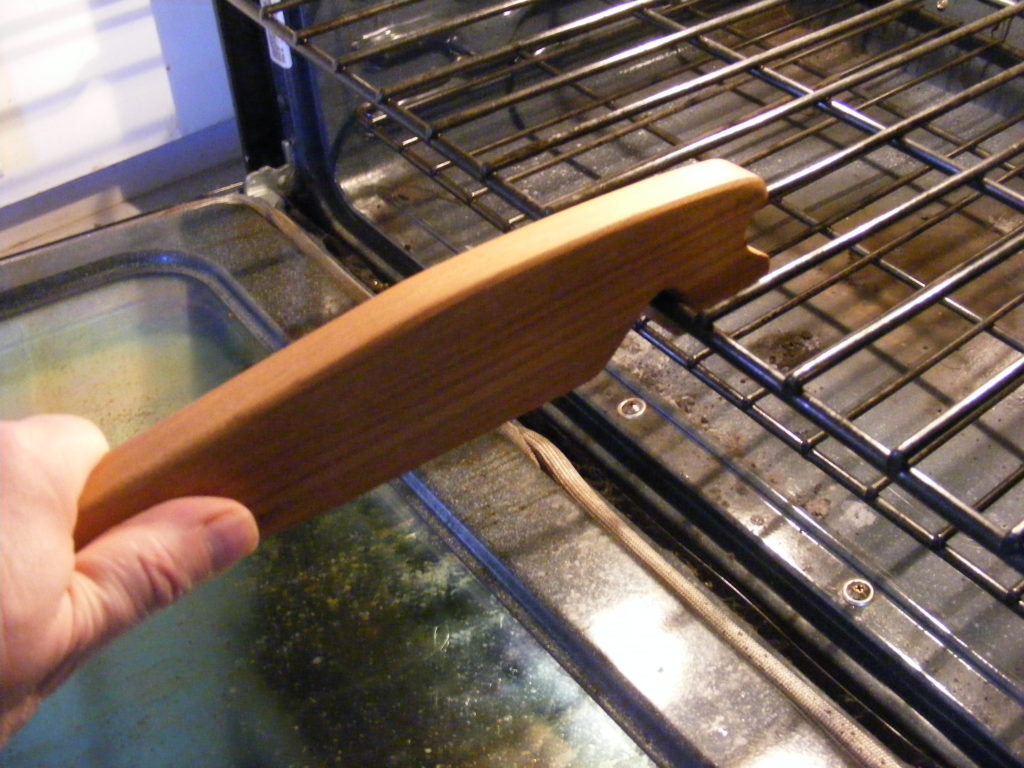
This project is a very practical gadget for the kitchen. If you’re not familiar with these, they’re just pieces of wood with a notch cut on one side to pull out the hot oven rack and another notch on the end to push the oven rack back into the hot oven. It just makes it easier access your oven dishes without burning your finger.
If you make crafts to sell, I believe these would be a hot selling item. You can make several in a short period of time, and it only requires a small piece of wood.
(For your convenience, I’ve included affiliate links in the tutorial below. These will point you to potential tools and materials you might want to use. However, you don’t have to use the same tools and materials I used for this project.)
Okay — Let’s make an oven rack push / pull stick.
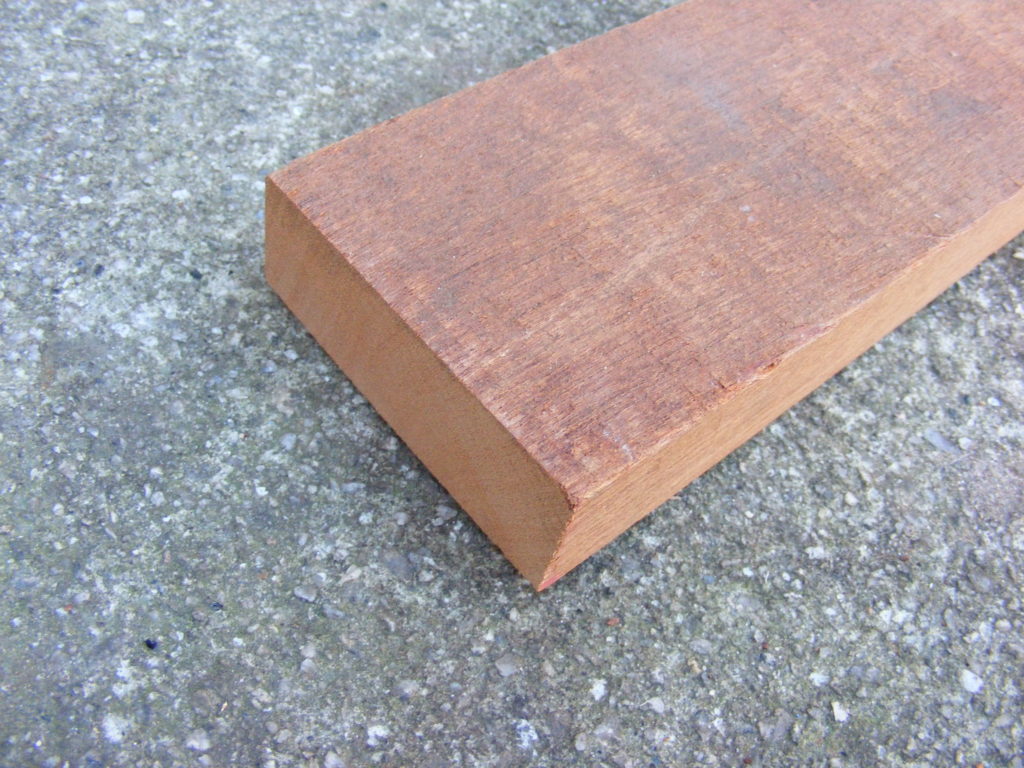
Step 1 – Select a piece of wood. Just about any piece of wood will do. I found some reclaimed Mahogany and Hickory at a local wood store in my area. For most kitchen utensils, I like to stick to hardwoods. Hardwoods generally last a little longer and have beautiful grain patterns. Red oak is readily available through your local home improvement stores. I’d recommend not using treated lumber.
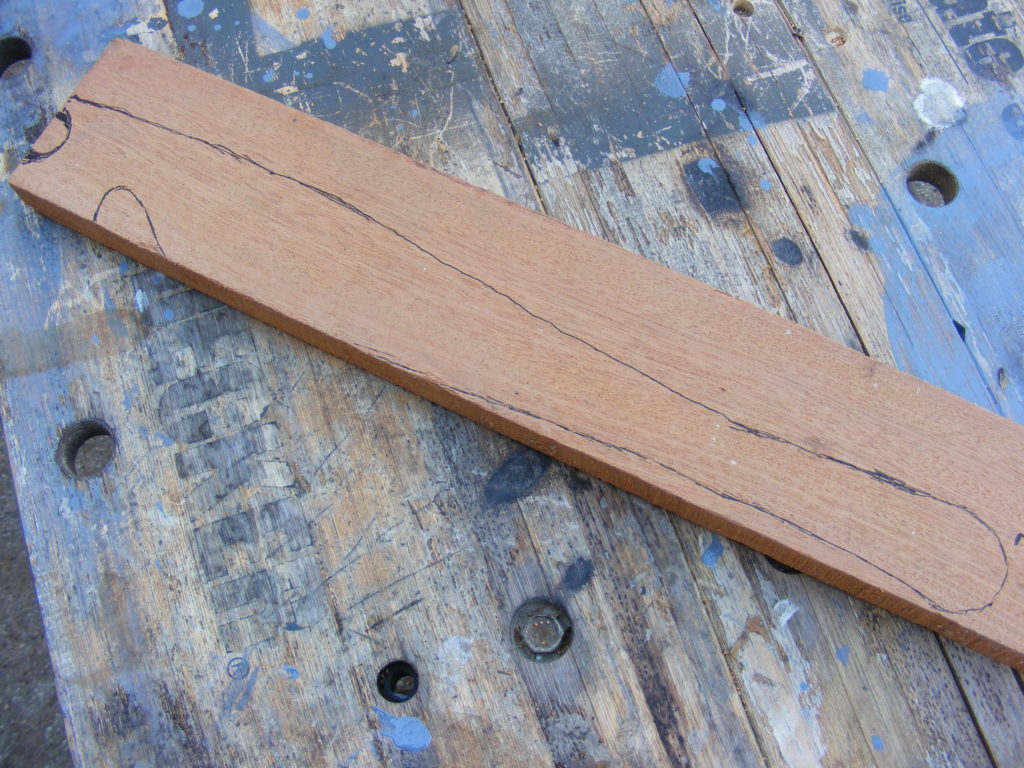
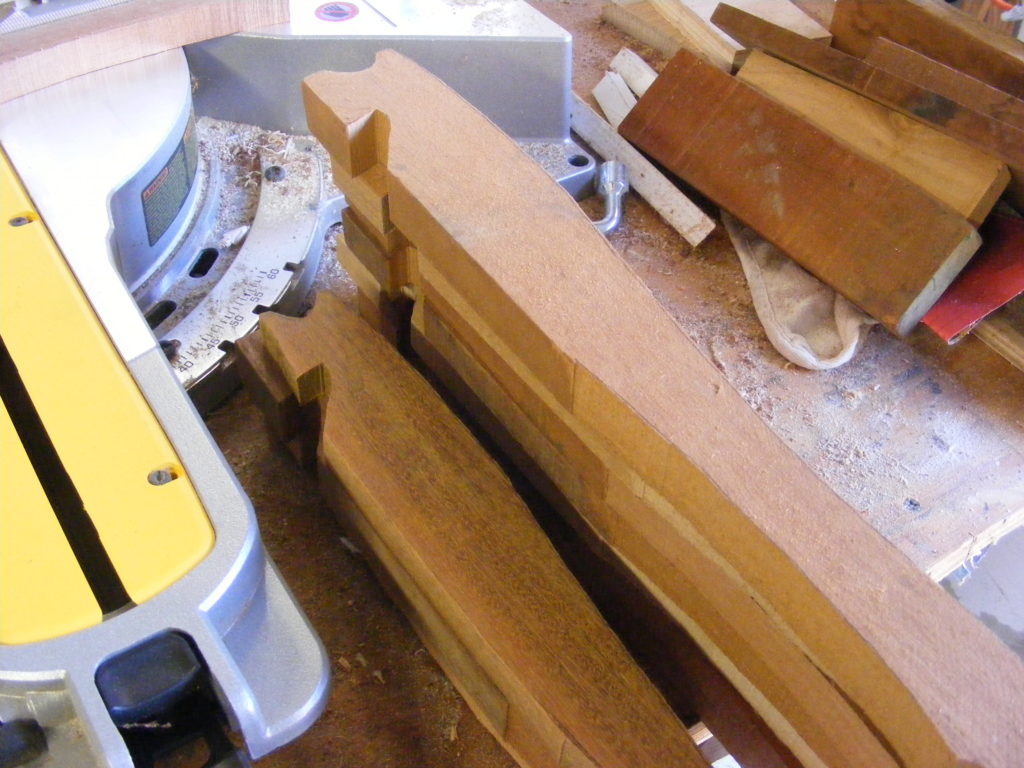
Step 2 – Select a design for the push / pull stick, and cut it out. This is the fun part. With just a little searching, you can find tons of ideas online. Once I had the general idea in mind, I freehanded it onto the wood and cut it out. This first one became the template for the other 15 sticks I made. I spent about a whole weekend making these. That’s not a solid 2 days, but it does take some time when you make this many. For just one stick, you might be able to make it in about 1/2 an hour.
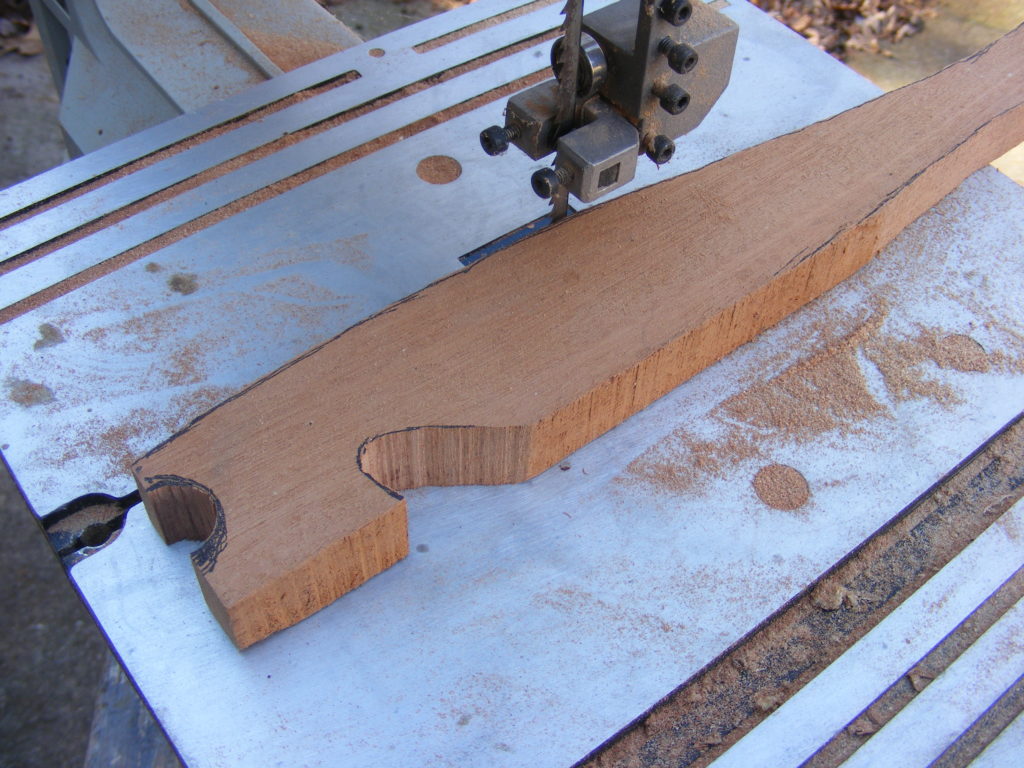
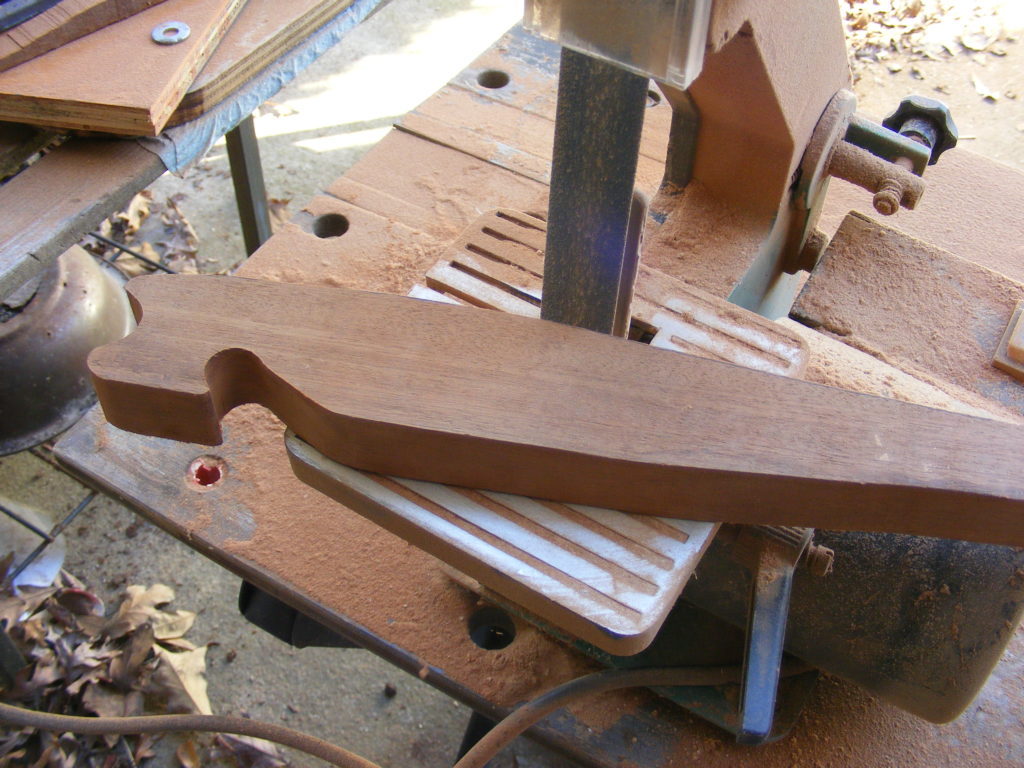
Use whatever saw you have and are skilled with using. My bench top bandsaw was the easiest way to go for me. A Coping Saw
or Jigsaw
would also do the trick. Read the safety instructions that come with your tools before you use them.
I also went ahead and roughly cut out the two notches.
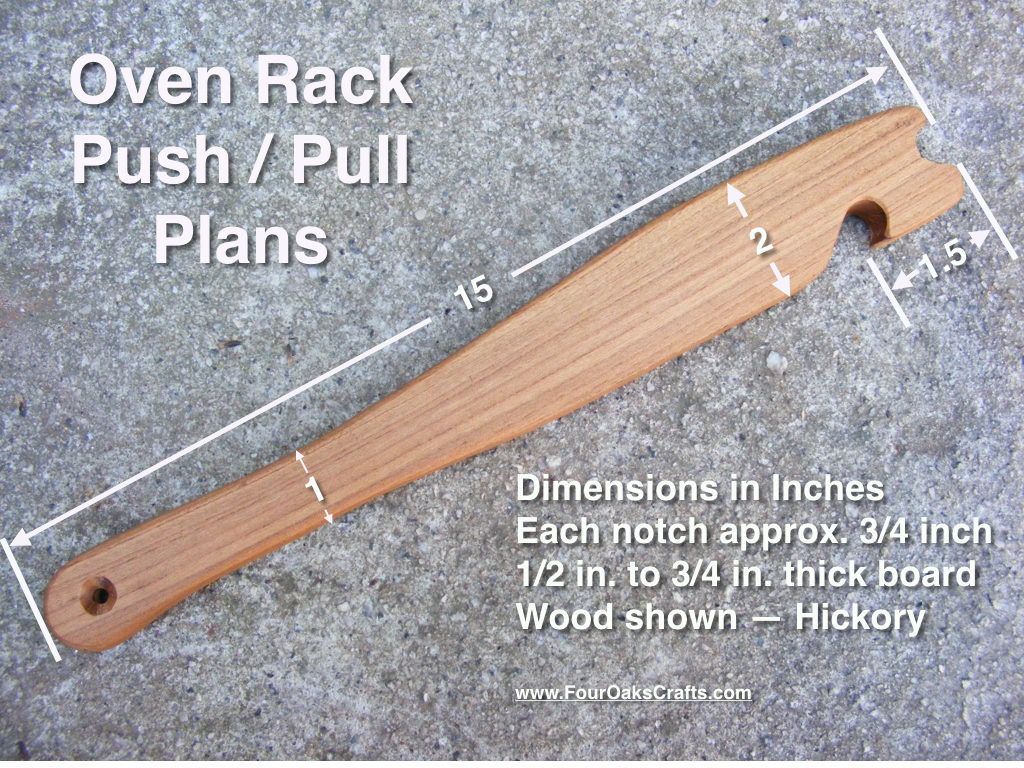
There’s not any standard dimensions for these sticks, but in the last picture above, I’m showing you the dimensions for mine. Feel free to use my pattern.
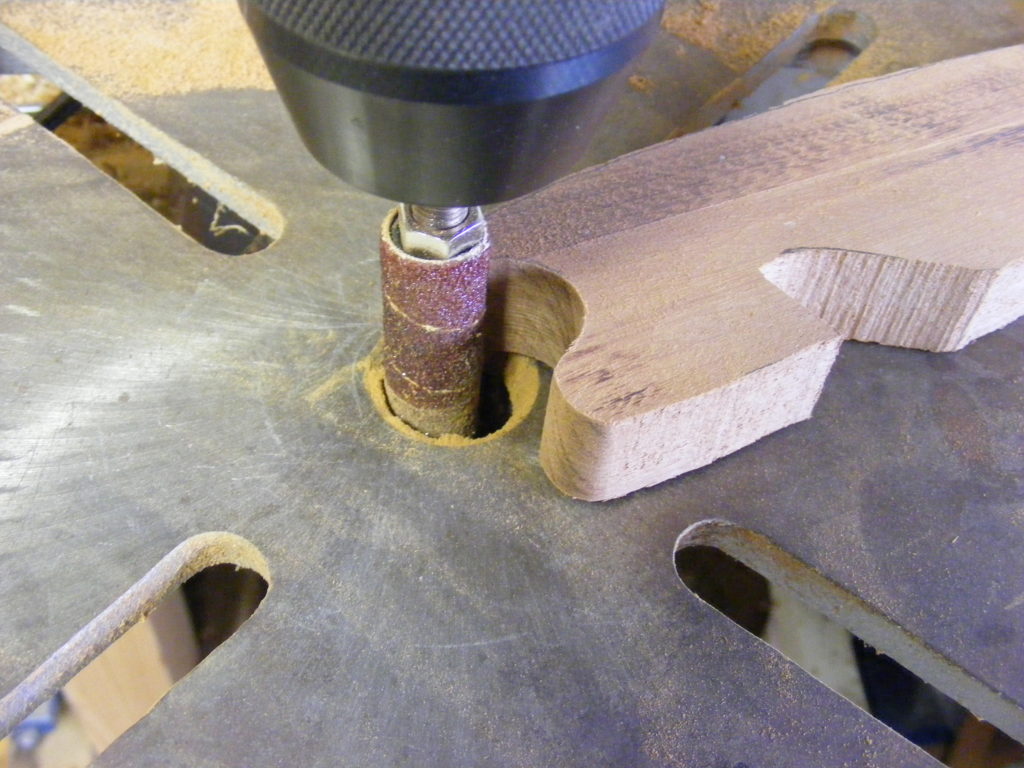
Step 3 – Sand the notches and the sides of the push / pull sticks. For the notches, I mounted a small sanding drum onto my drill press and shaped/sanded the notches. An oscillating sander would have been ideal for this step. A hand drill
will also work since the sanding drums will attach to them also. Another great option (if you have one) is the Dremel rotary tool
which has a sanding drum accessory.
If you don’t have any of these tools, then wrap a piece of sandpaper around a small wooden dowel and hand sand. It may take a little longer, but it’s definitely doable.
I used my 1 X 30 belt sander for the sides. You could also do this by hand or use whatever sander you have in your shop. I also went ahead and sanded the sharp edges so it would be easier on the hand.
I did all my sanding outside, and I wore a respirator. The Mahogany produced a very fine dust which I didn’t want to breathe in.
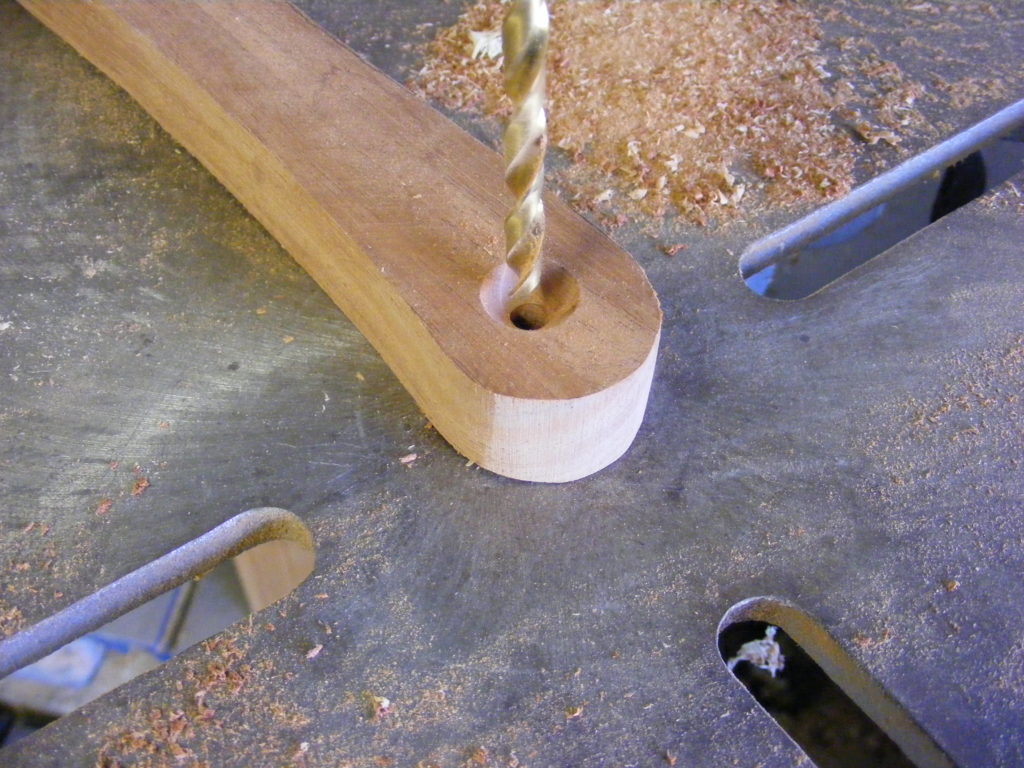
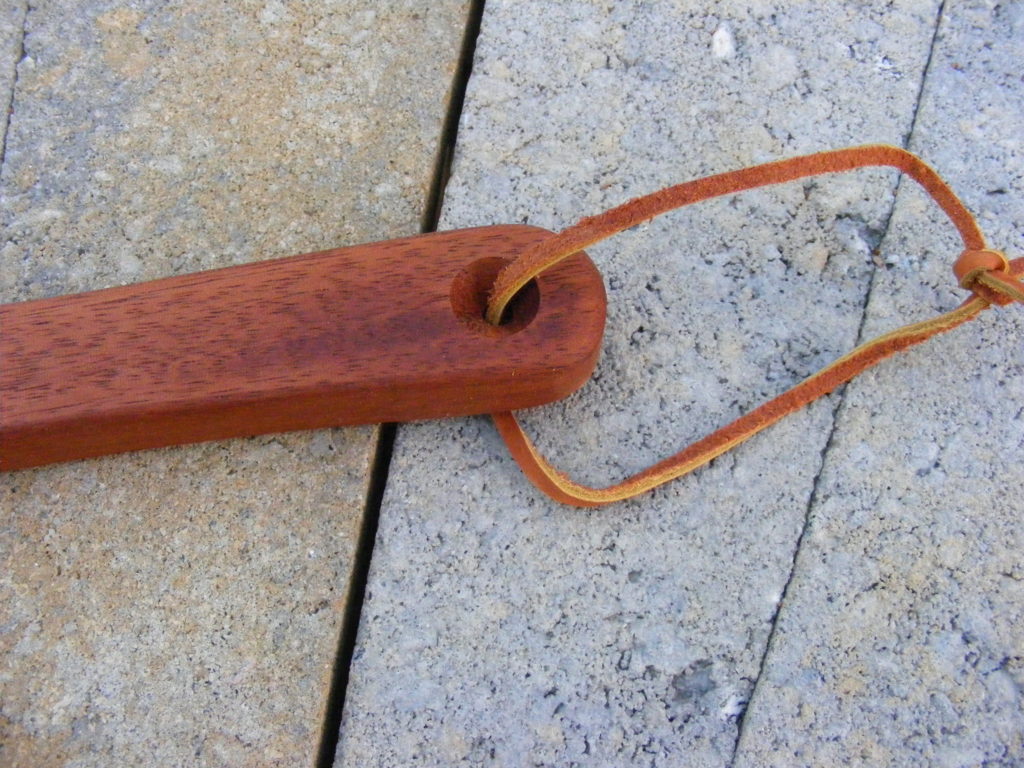
Step 4 – Drill holes and install leather straps. Folks love to hang kitchen utensils like this from overhead racks or cabinet door handles. So I simply drilled a 1/4 inch hole for the strap. I used leather strapping I found at my local craft store. You could use other materials also – paracord or small rope or twine. Note, that I put the strap on after I had applied the finish. I probably used about 6 to 8 inches and tied a double overhand knot.
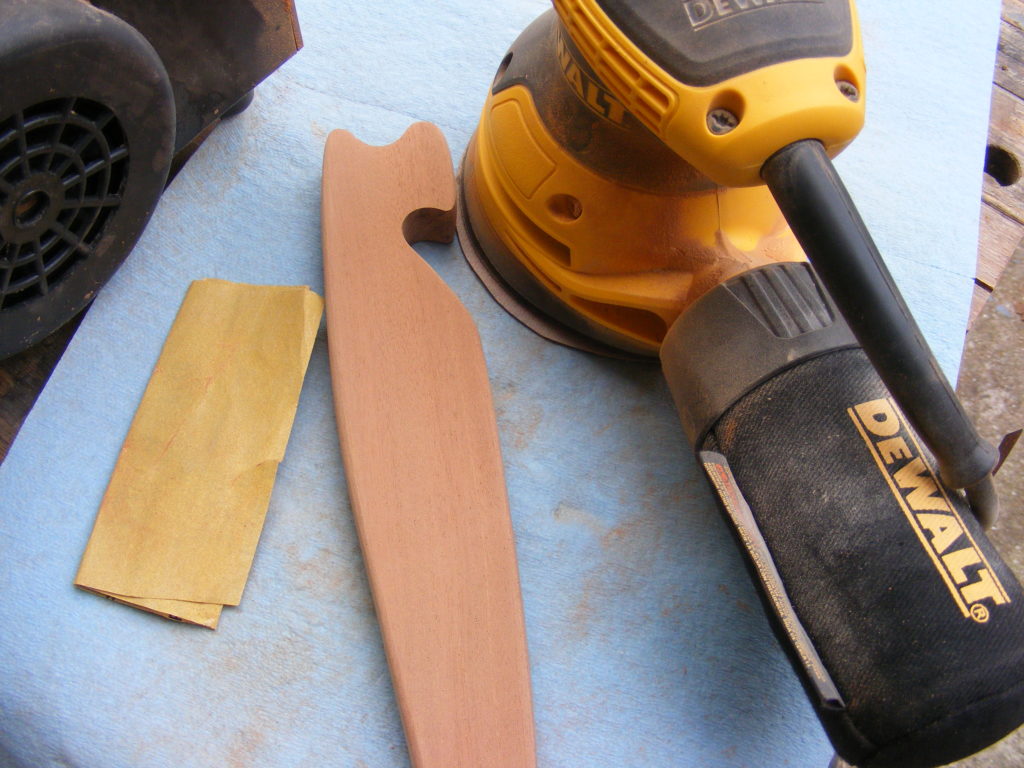
Step 5 – Final sanding and finishing. For the final sanding, I used my orbital sander. Started with 120 grit and worked up to 220 grit. The Mahogany was easy to shape and sand. The Hickory was a little harder.
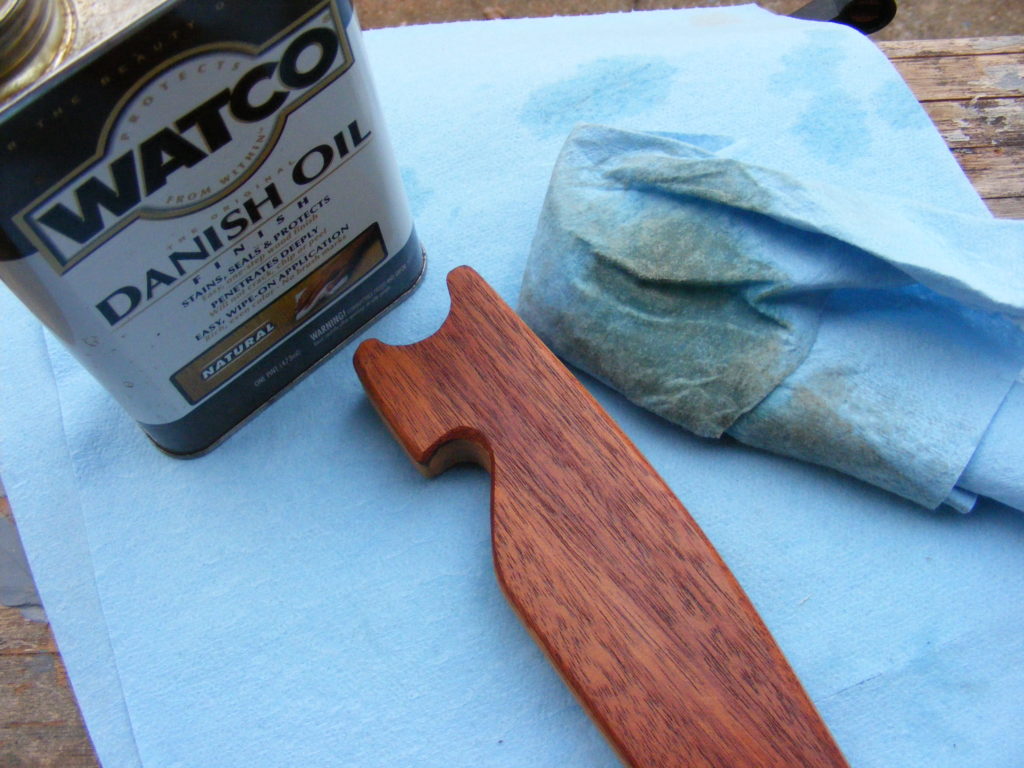
I used a light colored Danish Oil to finish the Mahogany and a darker one for the Hickory. I allowed it to dry overnight. You could also use a lacquer. Spray-on lacquer would probably be more efficient.
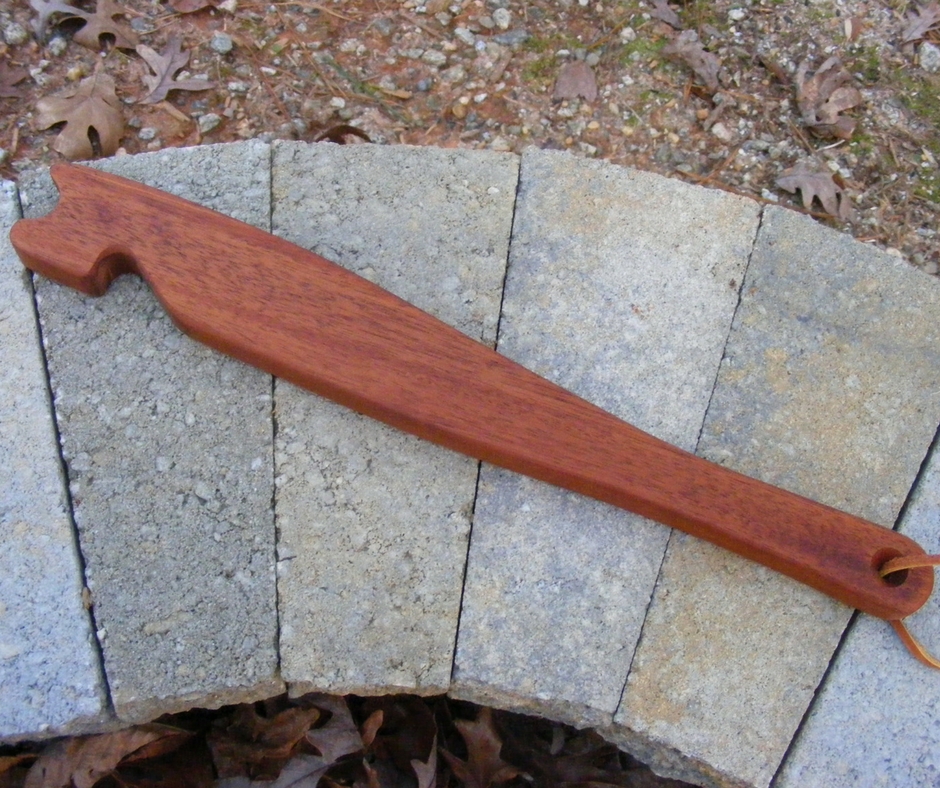
Below are some pics of my finished oven rack push / pull stick. I love how they turned out.
Below is a video I produced on making the push pull stick. This is officially my first YouTube video. I’m still on the learning curve, but will continue to make these better as I go. Hope you enjoy it.
Note that the push / pull stick is only to be used for this one function of pulling out and pushing in the oven rack. I would not recommend leaving the stick in a hot oven for a long period of time — after all, it is wood. I’ve been using mine and they work great. If you haven’t used one before, practice with a cold oven and test how far you can pull the rack out without tipping the rack over.
Thank you for checking out this tutorial. If you decide to make an oven push / pull stick, please send me some pics or post them on my Facebook Page.
Don’t forget to sign up!
If you’d like to receive more tutorials like this in your inbox, please subscribe to my Four Oaks Crafts newsletter. I send out 2 emails each month, and when you subscribe, I’ll send you a free Home Shop Safety & Tool Checklist. Use the sign up form below to subscribe.

Are you starting up a new shop? Want to work safer in your shop? To help you answer these questions I've put together a 2-part checklist -- Home Shop Safety & Tool Checklist.
I will also send you updates of my latest woodworking and DIY projects. You can get all this by subscribing to my free email newsletter.
