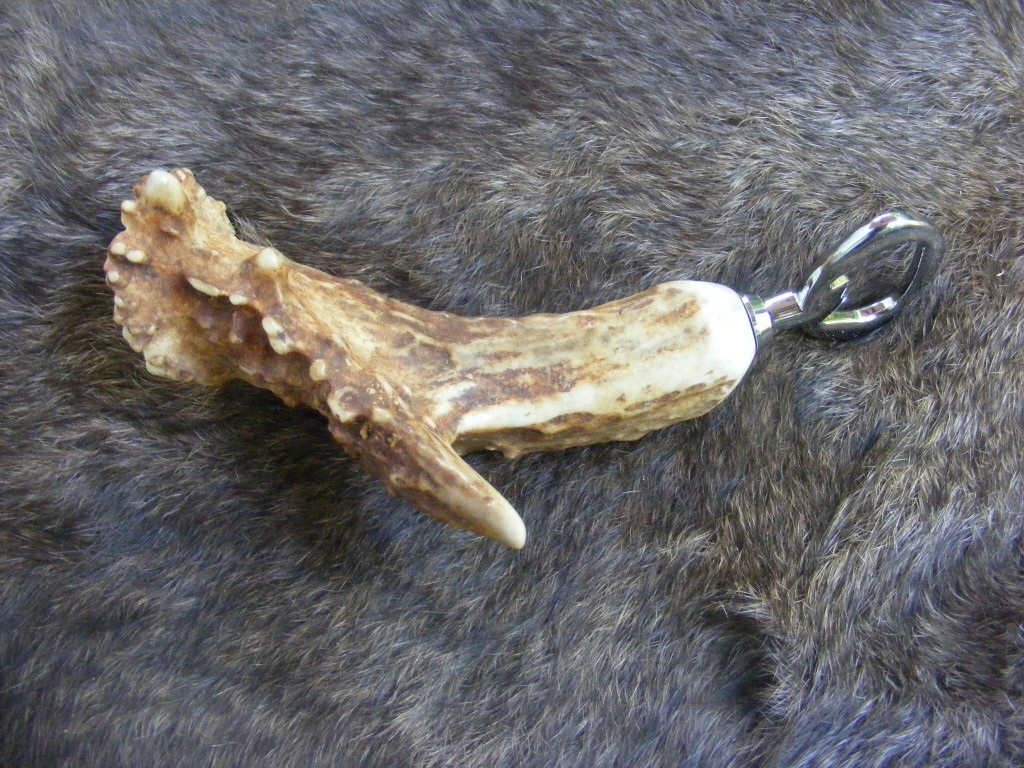
How would you like to make a bottle opener with character, and that strokes your inner caveman? This is a fun and practical craft to make — an antler bottle opener. You only need a few basic tools and a little know-how. Which—I’m about to share with you in this tutorial. Soon, you will be opening your soda pop bottles in style—and much more efficiently than a caveman.
An antler bottle opener makes a wonderful gift, or you might be able to sell a few of these. Have fun, and I hope you enjoy this tutorial!
Let’s begin with tools and materials:
Materials I Used
- Deer antler shed (talk to a local hunter or caveman), search on Ebay, or look for these in the woods.
- The bottle opener kit from Penn State Pens
- Sandpaper (120, 220, 320, & 400 grits)
Tools I Used
- Bosch 18-Volt Lithium-Ion portable drill
- Hacksaw or pipe cutter
- Bench vise
- Barrel Trimmer
- 7mm Brad Point Drill Bit
- Dremel 3000 Rotary Tool
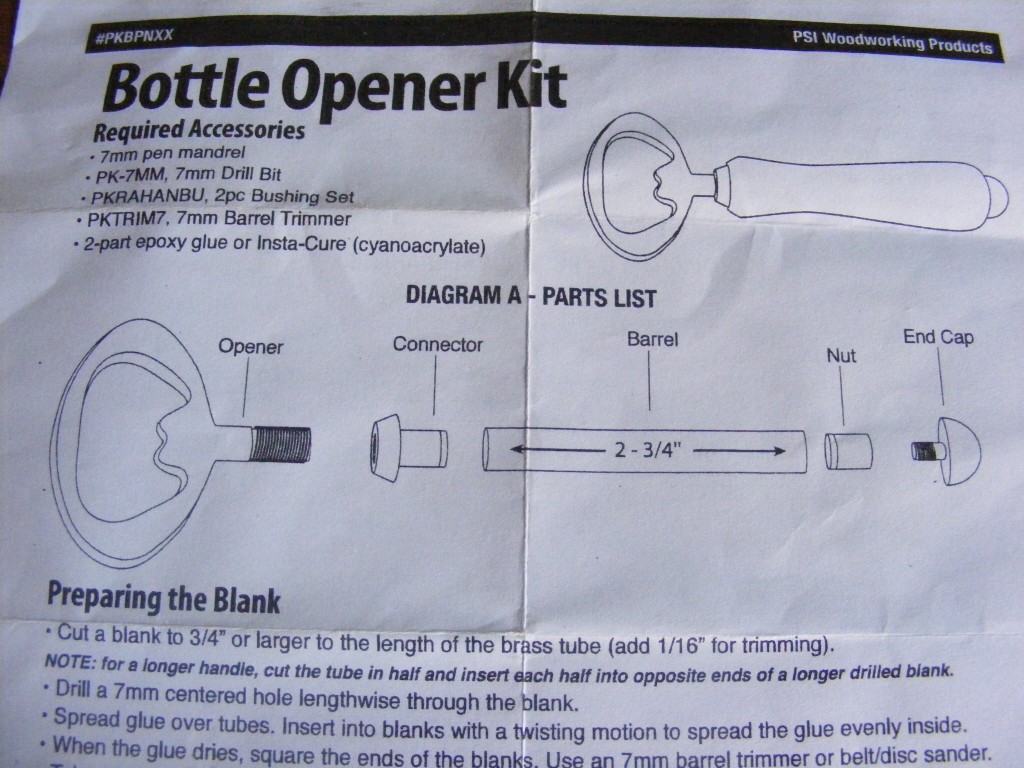
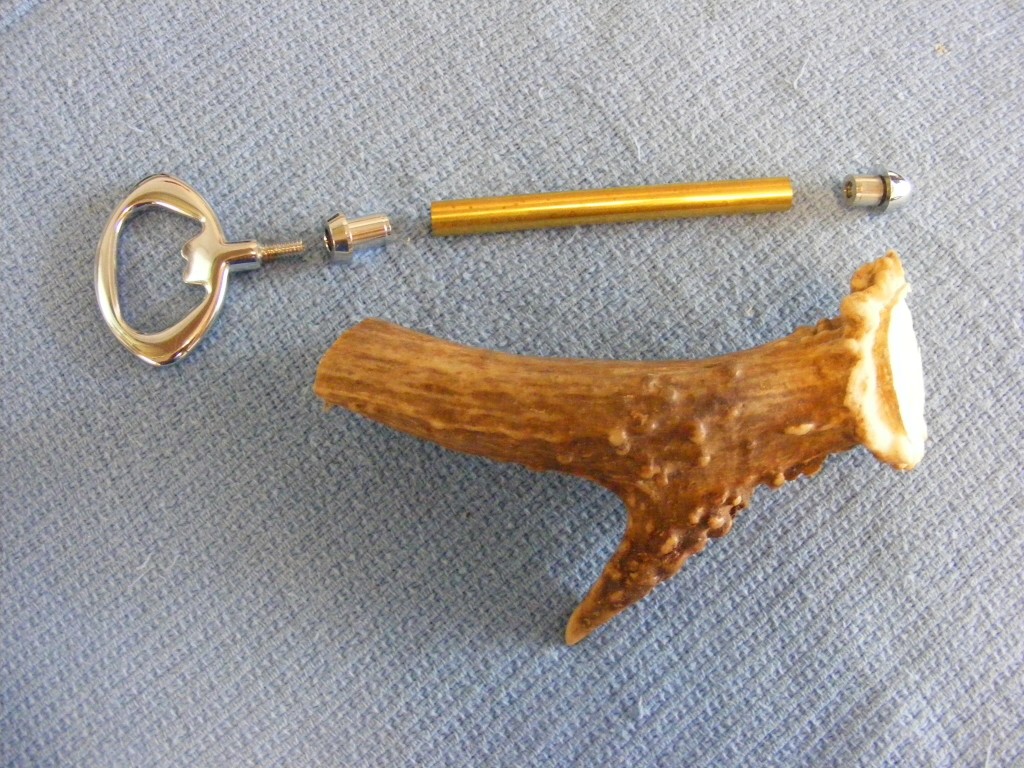
Step 1 – Get the bottle opener kit, and carefully look over the instructions with the kit. This particular kit instructs you on how to make the bottle opener out of wood, using a wood lathe. We are going to cheat a bit, and make some modifications. A wood lathe is not needed for my project. What I plan to do is cut the tube (comes with the kit) so it will fit my deer antler. If you acquire a long, straight piece of antler, and you may not even need to downsize the tube. However, I wanted to use a section from the base of the deer antler that is more curved. I can’t drill a long enough hole for the 2 3/4 inch tube which comes with the kit. So I will trim my tube to 1 1/4 inches.
Also, I’m going to discard the nut and end cap (see diagram below). So, the only parts I need from the kit are the opener, connector, an barrel tube.
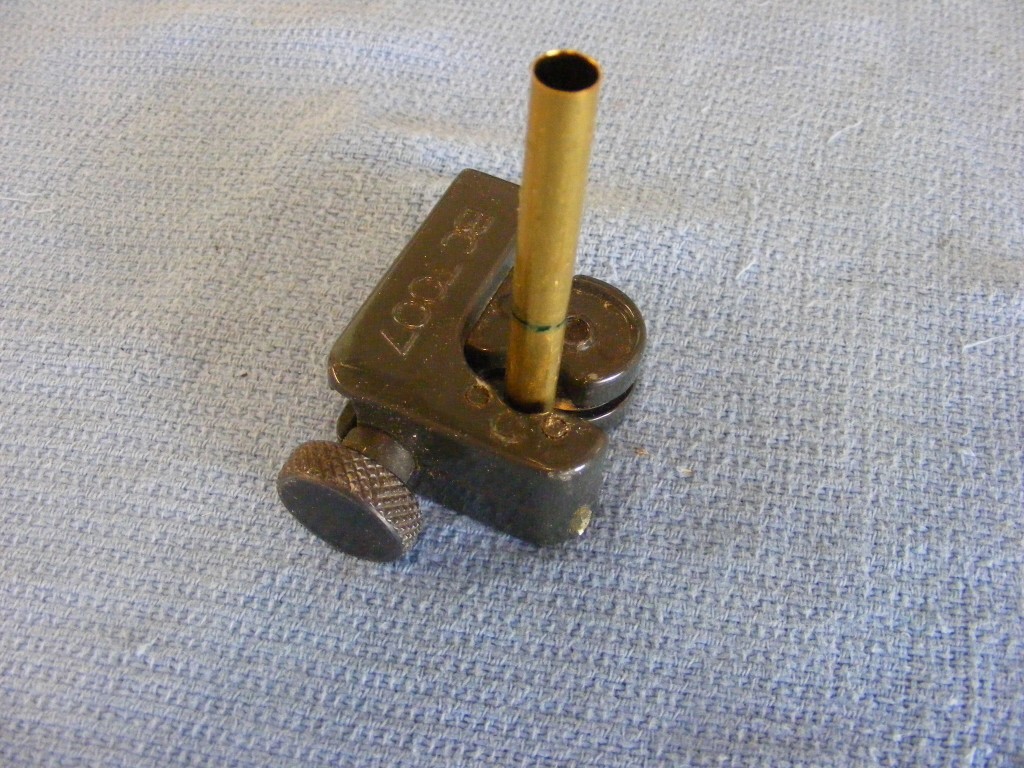
Step 2 – I measured 1.25 inches on the tube and used a mini tube cutter (by BrassCraft) to shorten my tube. The tube cutter (see 2nd picture below) will crimp the end of the tube some, so make sure that end goes into the antler first. You might have to adjust your tube for a different length depending on your antler size/shape. If you don’t have a tube cutter, you can probably just use a hacksaw. It’s important to remember that the uncut end needs to face out of the antler base. This end will eventually receive the bottle connector in Step 8. The bottle connector is a compression fitting on one end and threaded on the other, so the tube needs to maintain its original diameter. The threaded side of the connector will eventually accept the bottle opener.
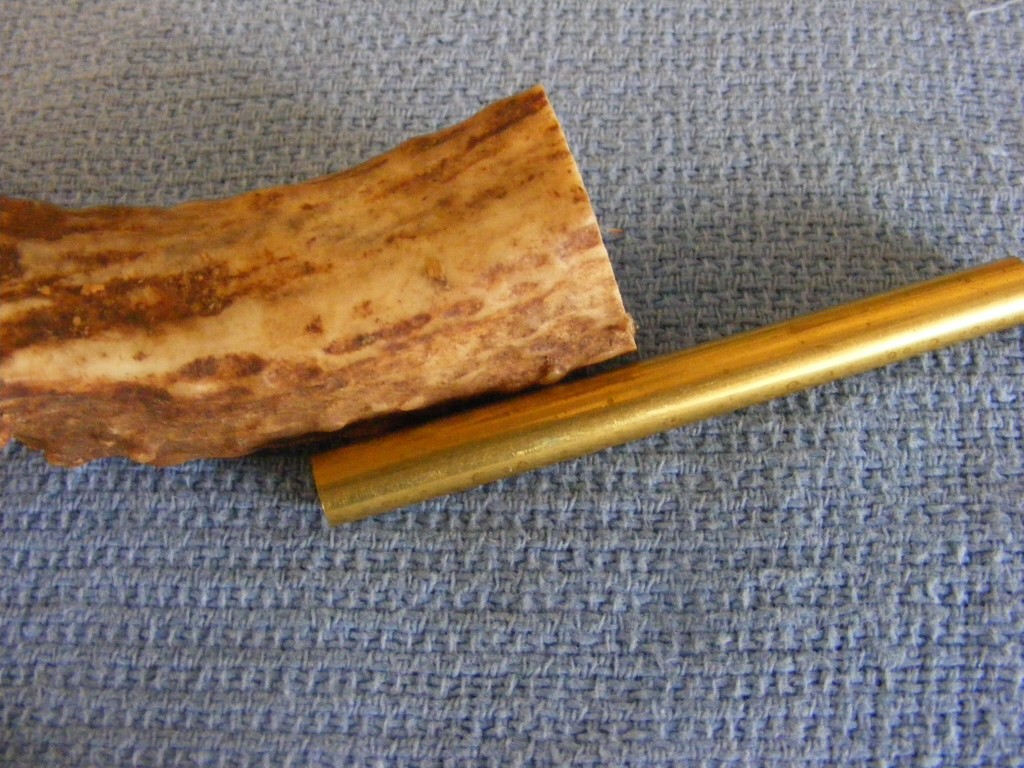
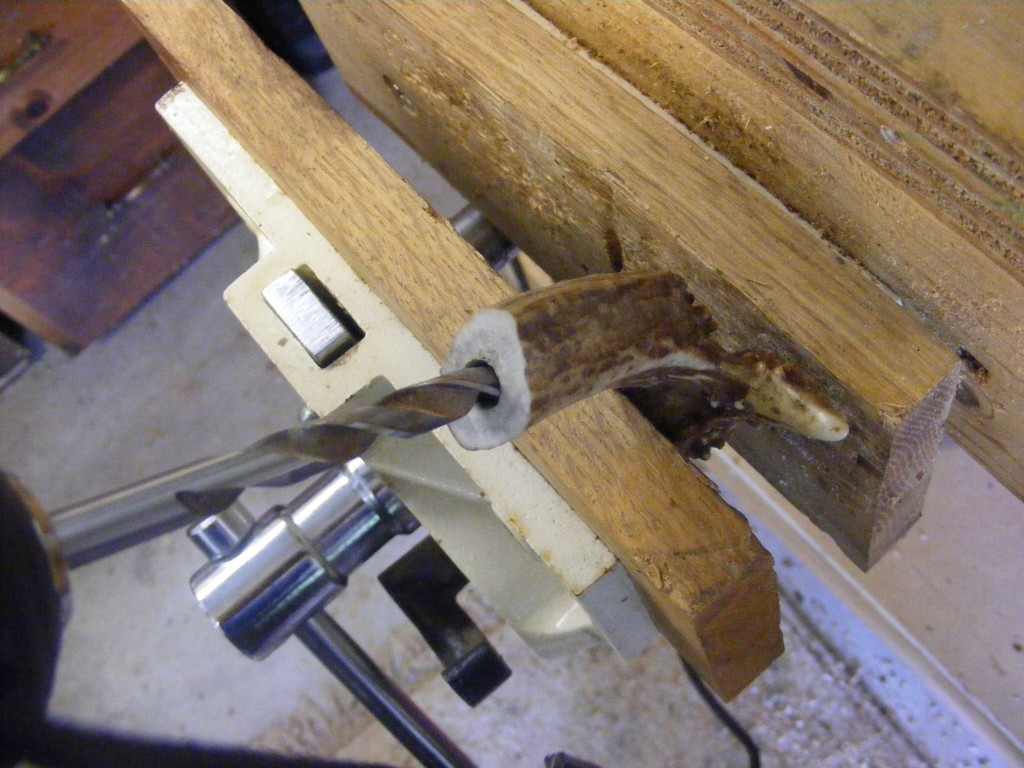
Step 3 – Take your 7mm drill bit and mark the length of the tube on the bit. Using an electric hand drill, carefully drill a straight, clean hole down to the mark on the bit. Keep the bit absolutely straight. Wear safety glasses and a dust mask, and secure the antler somehow, like in a bench vise.
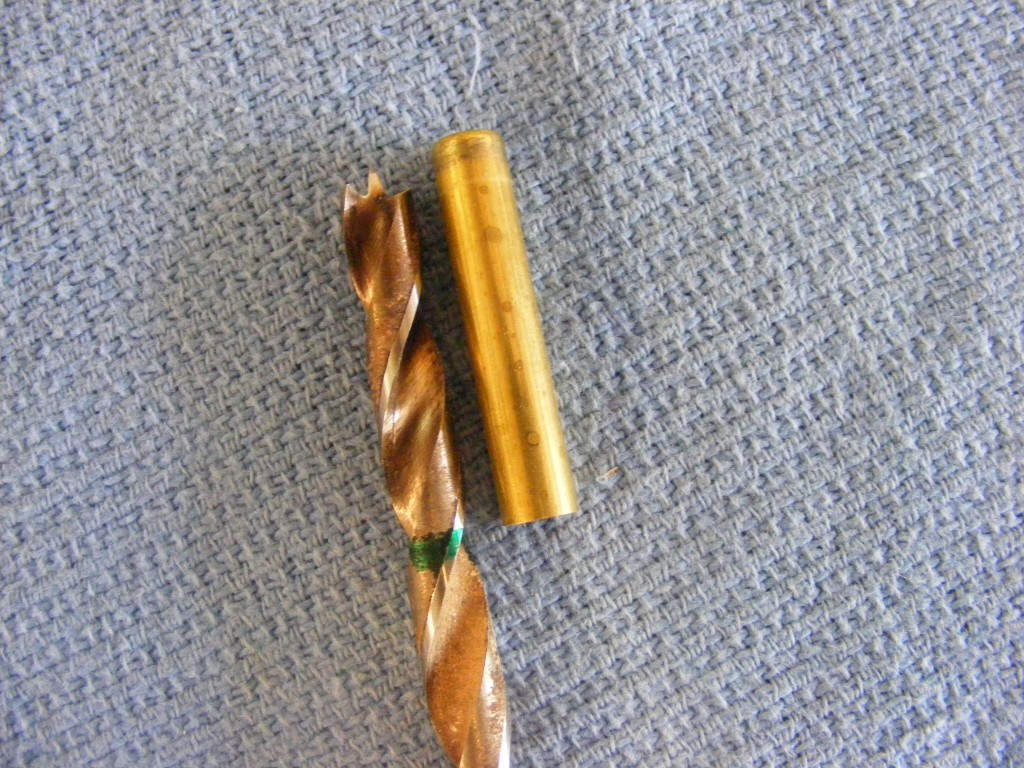
Step 4 – With the hole complete, take the modified tube and make sure it fits into place. It’s okay if the tube doesn’t fit exactly flush with the end of the anter (we’ll fix that in step 5). Now, take some CA glue and glue the tube in the antler hole. Push the tube all the way down the hole as you apply the glue. I use nitrile gloves for protection to my skin. Let the glue set for about an hour or two.
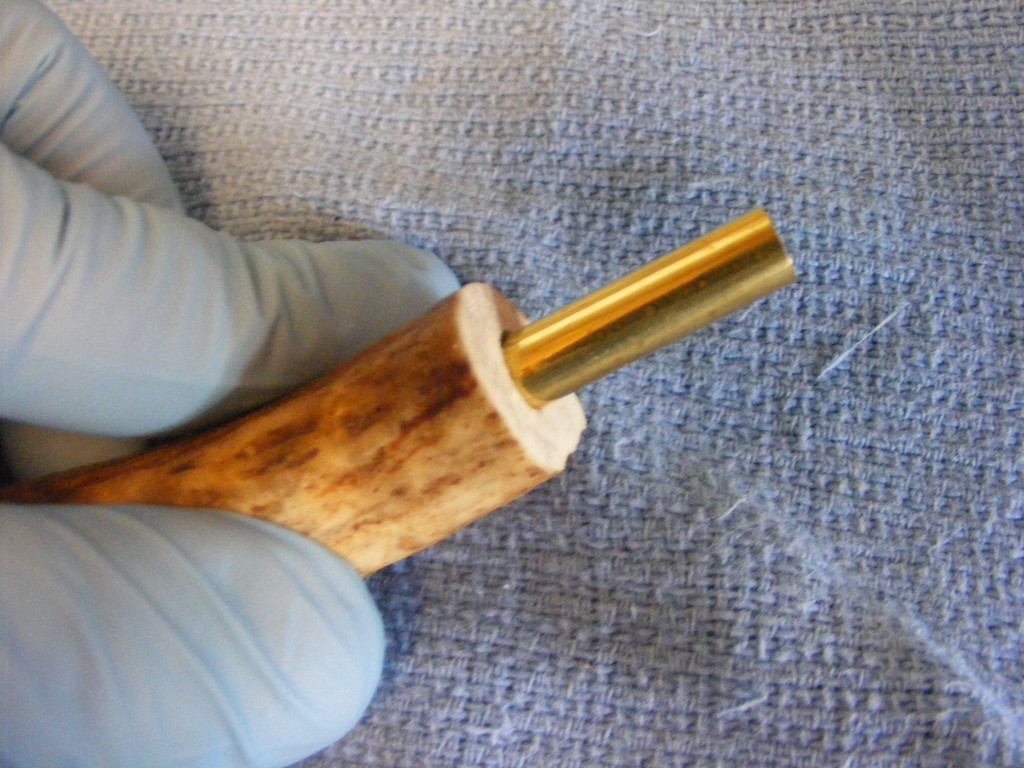
Step 5 – Once the tube has completely dried, take the antler over to your belt or disc sander and sand a little until the bottle opener end (the tube end) is flat and you can see the end of the brass tube. I happen to have a barrel trimmer which I use for making pens, so I used it to trim the antler away. I did have to modify the barrel trimmer slightly to make it work for this project, but use the sander if you don’t have a barrel trimmer.
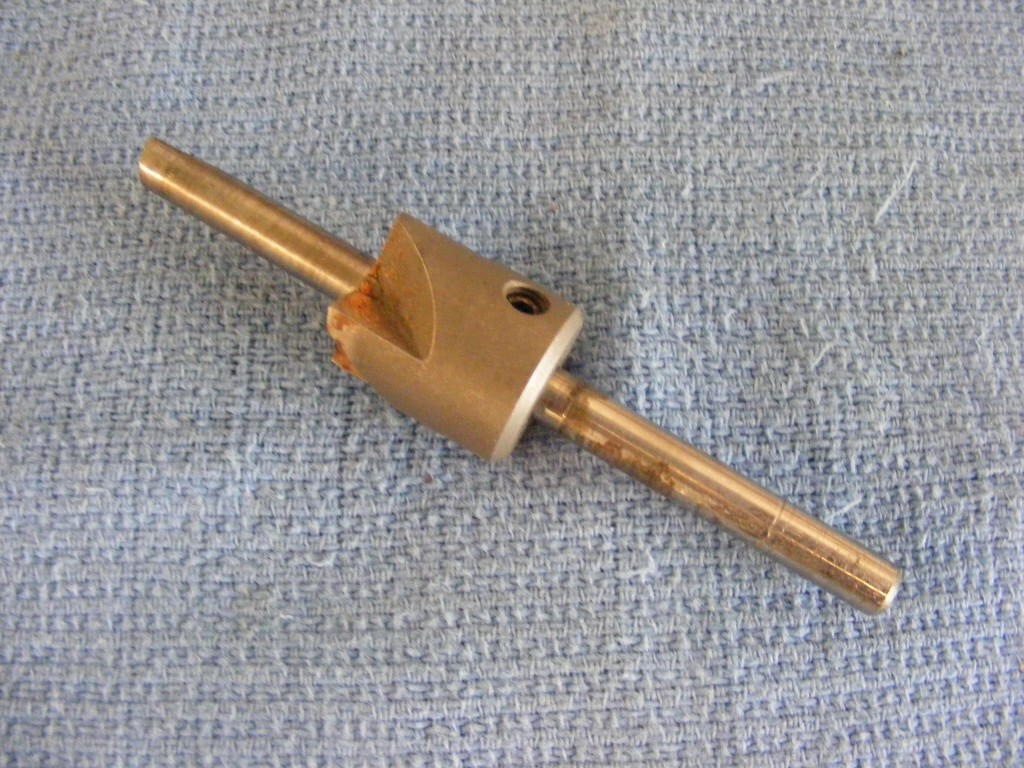
Trimming the additional antler material down to the brass tube.
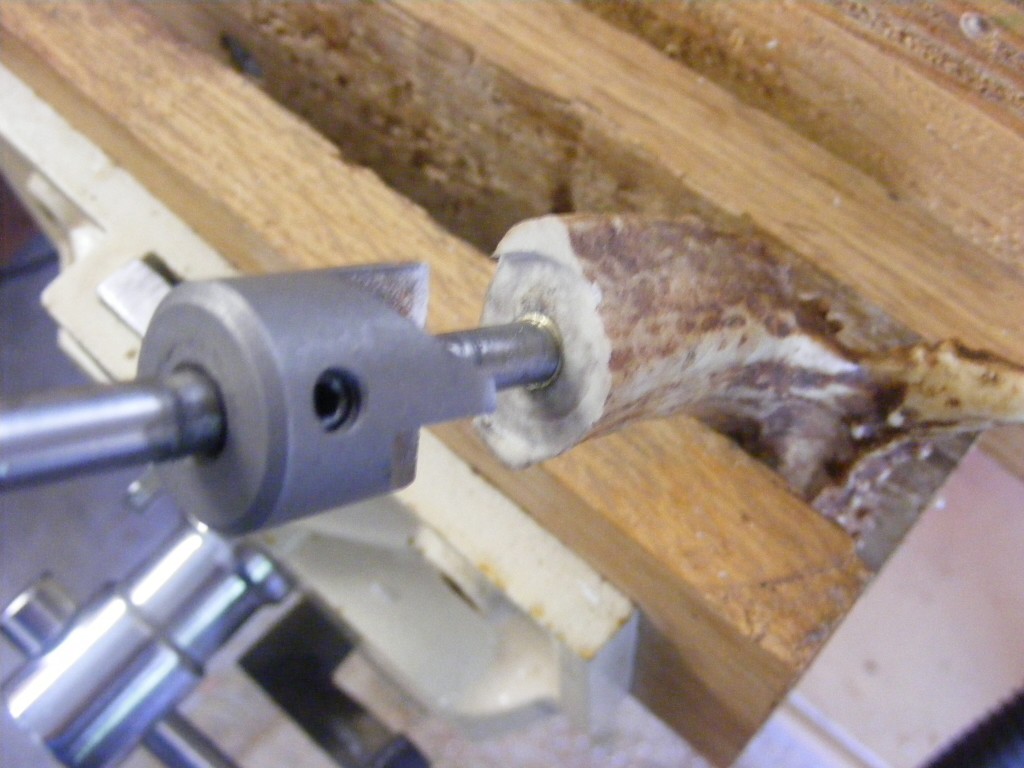
Below is a picture of my finished trim, using the barrel trimmer. The antler around the end of the tube is square with the tube now. This will ensure a perfect fit, when I press the bottle opener connector in place. I also took a Sharpie and marked the dimensions around the brass tube that match the diameter of the bottle opener connector.
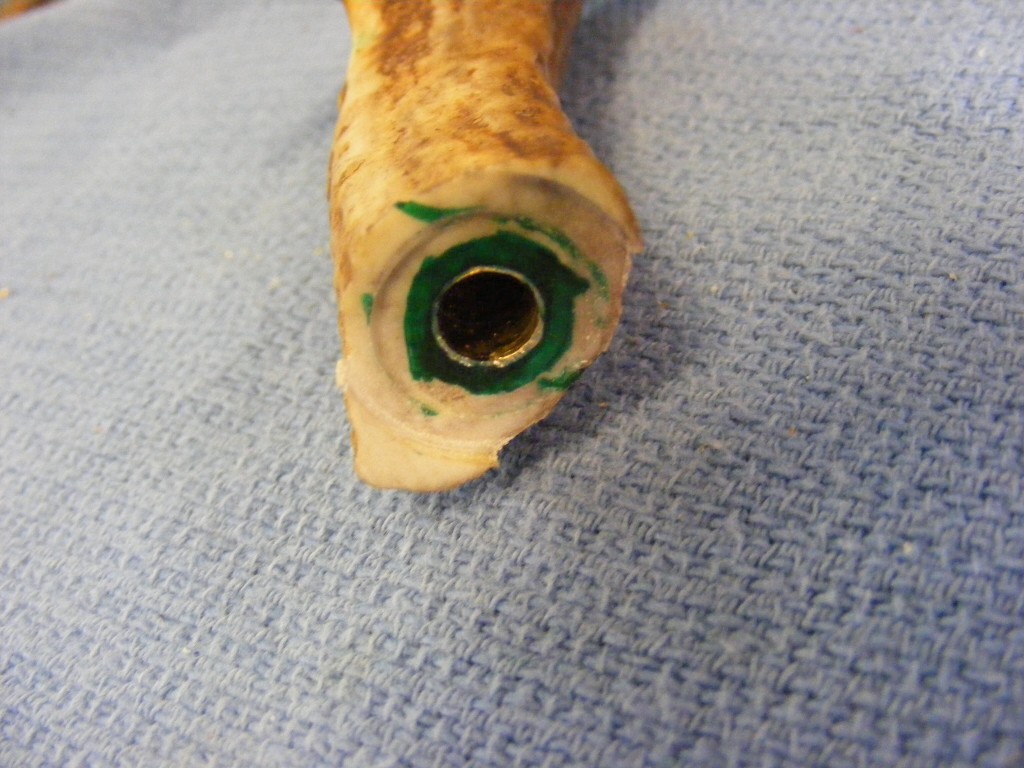
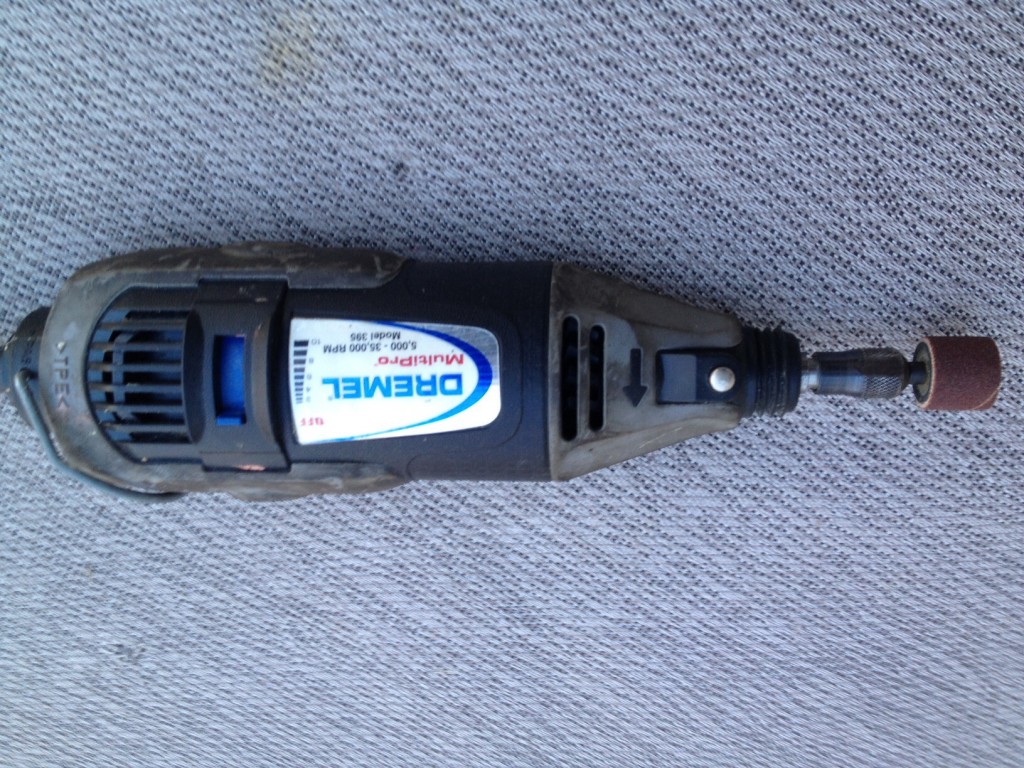
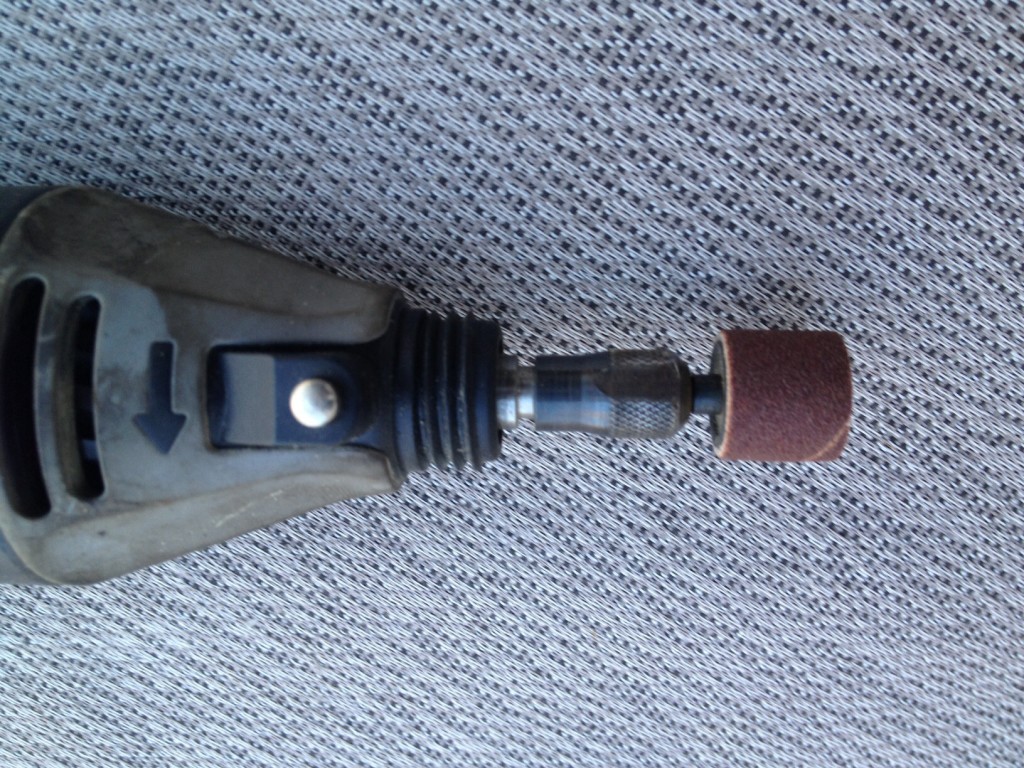
Step 6 – Using the Sharpie mark as a guide, use a Dremel tool and barrel sander attacment to shape the end of your bottle opener. Be sure to put on safety glasses and wear a dust mask. It would probably be a good idea to do this outdoors. Carefully grind the antler down and give it the contour you want. I decided I wanted a rounded contour. If you don’t have a Dremel, then use a belt or disc sander. You can also purchase drum sander attachments for your hand drill.
Step 7 – Using 120, 220, 320 and 400 grit sandpaper, sand the rough work left behind by the Dremel. You will notice that as you go to finer grit sandpaper, the antler will polish to a glossy finish.
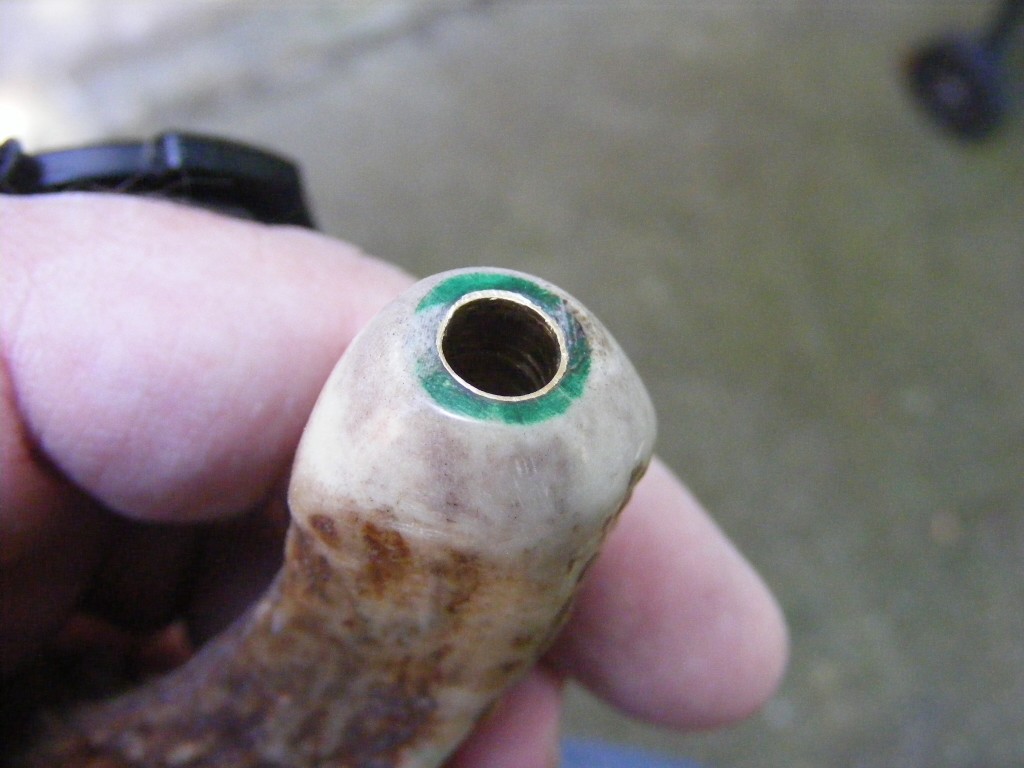
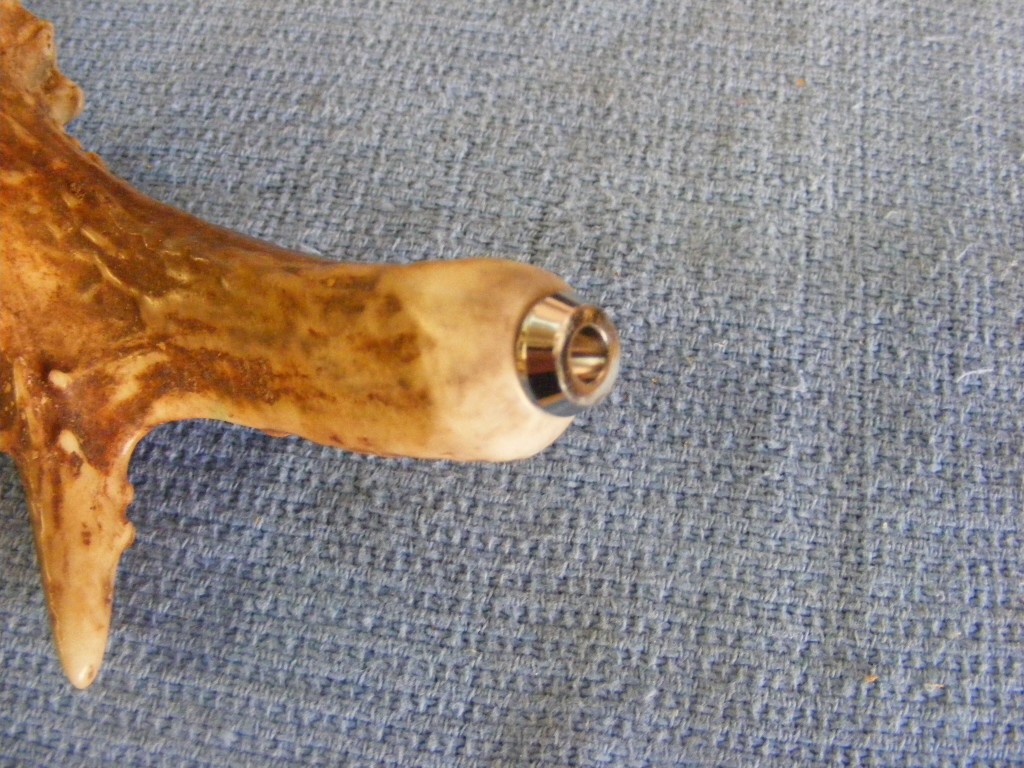
Step 8 – Now press the bottle opener connector into the barrel tube. Since the antler is an irregular shape, you may have to get creative on this step. I slipped the connector into the tube and pressed it against my bench just using my hand and body weight. That got the connector about half way in. Then I too a hammer and lightly tapped it all the way in. Make sure it’s straight and aligned with the tube as you press the connector in place.
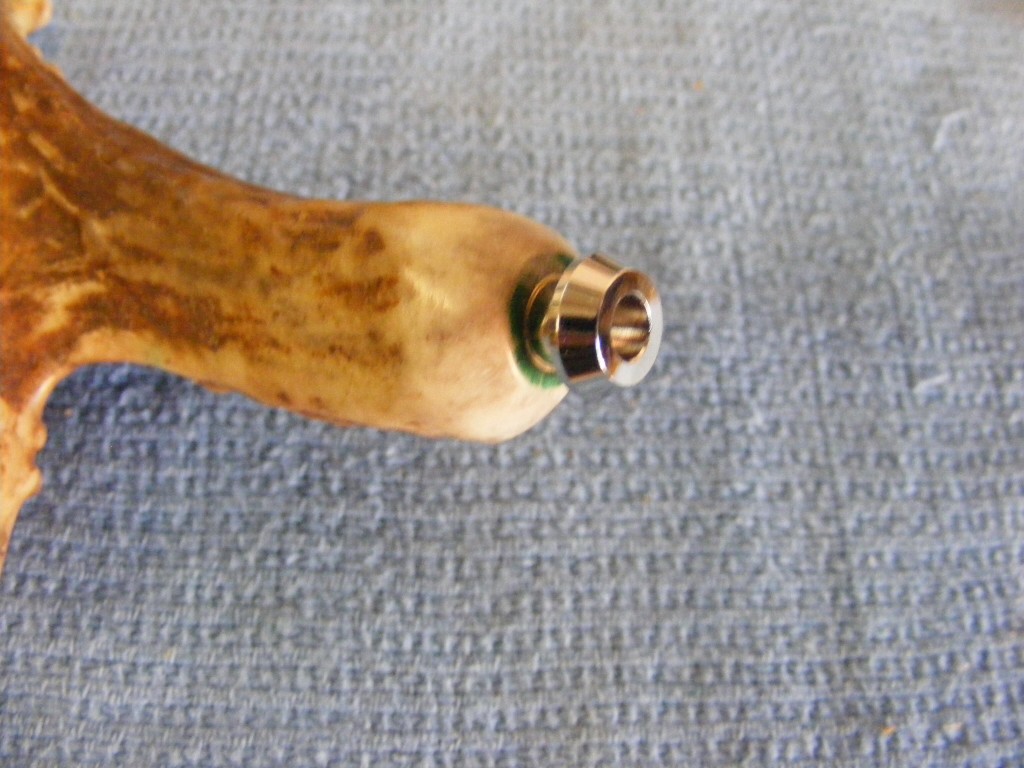
Step 9 – The connector is tapped, so now all you have to do is screw the threaded end of bottle opener into the connector. And—You’re done. You have a wonderful addition to your mancave.
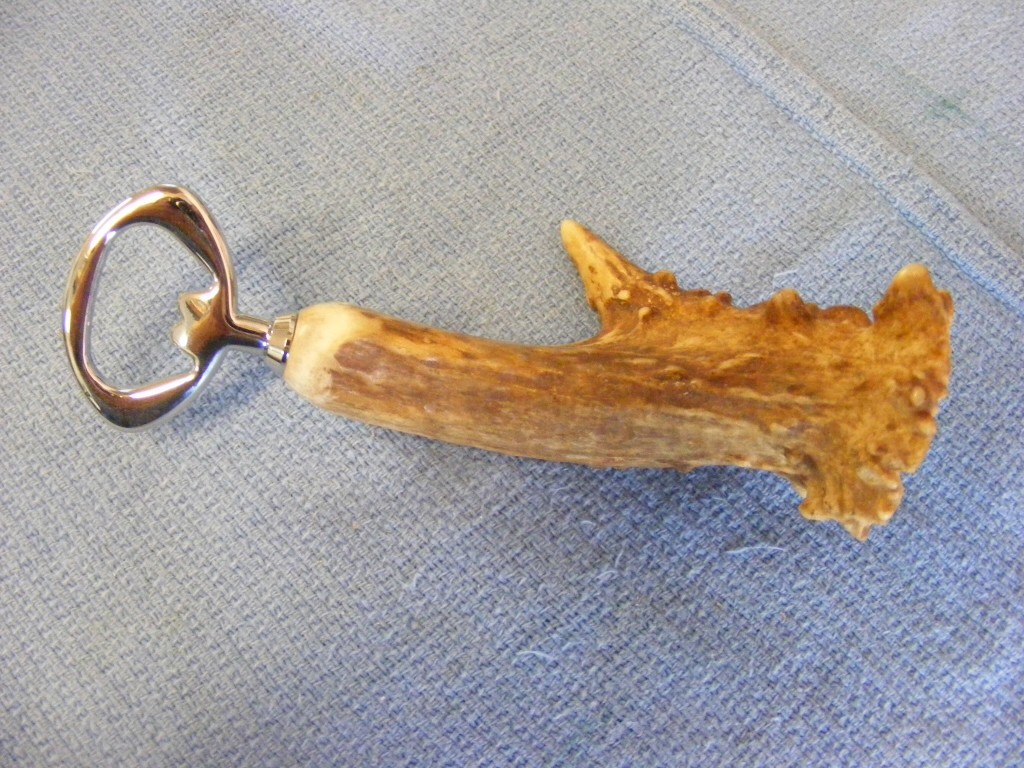
Now that you’ve made an antler bottle opener, you can probably think of some other creative bottle opener ideas. And if you do, please come back and tell us about your ideas in the comments field. Heck, if I get enough responses, I might even share your pictures on a separate post.

Are you starting up a new shop? Want to work safer in your shop? To help you answer these questions I've put together a 2-part checklist -- Home Shop Safety & Tool Checklist.
I will also send you updates of my latest woodworking and DIY projects. You can get all this by subscribing to my free email newsletter.



We ordered what we thought were the correct parts kit from the Penn State Industries and received only the opener parts. I have just emailed them to find out if the kits are still offered. My question to you is – How ago did you order the parts you used? The date of the article is summer of this year. Thanks for any help you can offer.
Anti
I see where they have the kits out there. Maybe they didn’t send you a complete kit. Here is a link to a chrome plated kit.
https://www.pennstateind.com/store/PKBPNCH.html
They are usually good about working with you. If they didn’t send you a complete kit, then they should send you the parts you need.
Yes thanks. We saw that ‘kit’ but it looks like a complete bottle opener with handle. To your knowledge does the handle come too? Thanks for your patience.
No, the handle is the part you have to make. I used this same type kit for the antler bottle opener. The kit comes with a brass tube, the bottle opener end and a cap to go on the end of the handle. For my tutorial, I chose to not drill all the way through the antler and I didn’t use the cap. I simply drilled part way into the antler, glued the brass tube in, trimmed it, then pressed in the bottle-opener end. Good questions! Let me know if you have any more.
What is CA glue?
CA is an abréviation for Cyanoacrylate. You may be familiar with common trade names like Superglue or Crazy Glue. You can purchase it in 3 viscosities — thin, medium, and thick.
Hi Scott, any suggestions on where to get parts if all Penn State sends is the opener? I just called and they told me (actually pretty rudely) that their kits do not come with connector or barrel tubes. I have five openers now hoping I can figure out how to make them! Thanks.
I’m not sure why they would tell you that. I went back and checked the bottle opener kit I’m showing in the tutorial and it’s on their site (# PKBPNCH). If you open the kit instructions they show the connectors and 7mm pen tube. All that should come with the kit. Either the PSI rep gave you the wrong info or you may have ordered the wrong kits. Do you have a catalog number? I noticed that they also carry different bottle opener kits that don’t require the 7mm tubes. Maybe they sent you the wrong kit.
I must have messed up. I ordered the gun metal kind thinking it was the same kit. I guess I’ll see if I can order the connectors and tube!
I must have messed up. I ordered the gun metal kind thinking it was the same kit. I guess I’ll see if I can order the connectors and tube! Thank you!
Mike … If you aren’t putting this on a lathe, you might be able to still use that gun metal kit. If this is for antler and you won’t be turning on the lathe, you could just drill straight into the antler with the kit’s recommended bit and glue the bottle opener in place.
You could still possibly do this kit with the lathe. Check out those instructions that came with the kit. It would be different from my tutorial, but that’s okay too.
Ok, that makes sense. Thank you for the help. I’ll let you know how it turns out!
No problem, Mike. You may have already picked up on this, but when you click on the bottle opener kit on the website, look for a small PDF icon (I think on the right hand side). Click on that and you’ll see the instructions for that kit. Also,dry fit everything before you apply the glue. If you’re using CA glue you won’t have much time to make adjustments.
So I did a test run this weekend with a small sample of the antler. I didn’t have the recommended 23/64 drill bit so I used a 25/64 (I think, either way I used a little bigger than the size they recommended). I was able to glue the bottle opener in fine and it seems like it doesn’t want to move. My only issue now is the glue settled around the bottom of the opener and when I sand it off it takes the chrome off the opener as well. Do you think the simple solution is less glue or to just watch it dry and wipe away any glue as it settles out the top?
I did order a 23/64 drill bit though to see if that fits a little better before I start making finished products. I’m a high school football coach and I’m going to give some to my staff as gifts! Thanks again!
Mike … Double check the kit plans to make sure you have the right size bit. I think it’s better to have a little too much glue ooze out and then wipe away the excess. Make sure you get all the glue residue off the chrome part and antler before it dries. I wish you the best with your coaching and your football team. The bottle openers will make wonderful gifts!