In this tutorial, I am going to show you how to make an antler letter opener. You will walk away with a unique craft and a fabulous conversation piece. And the good part—minimal tools and skills are required. It only took me about an hour to make the letter opener in this tutorial.
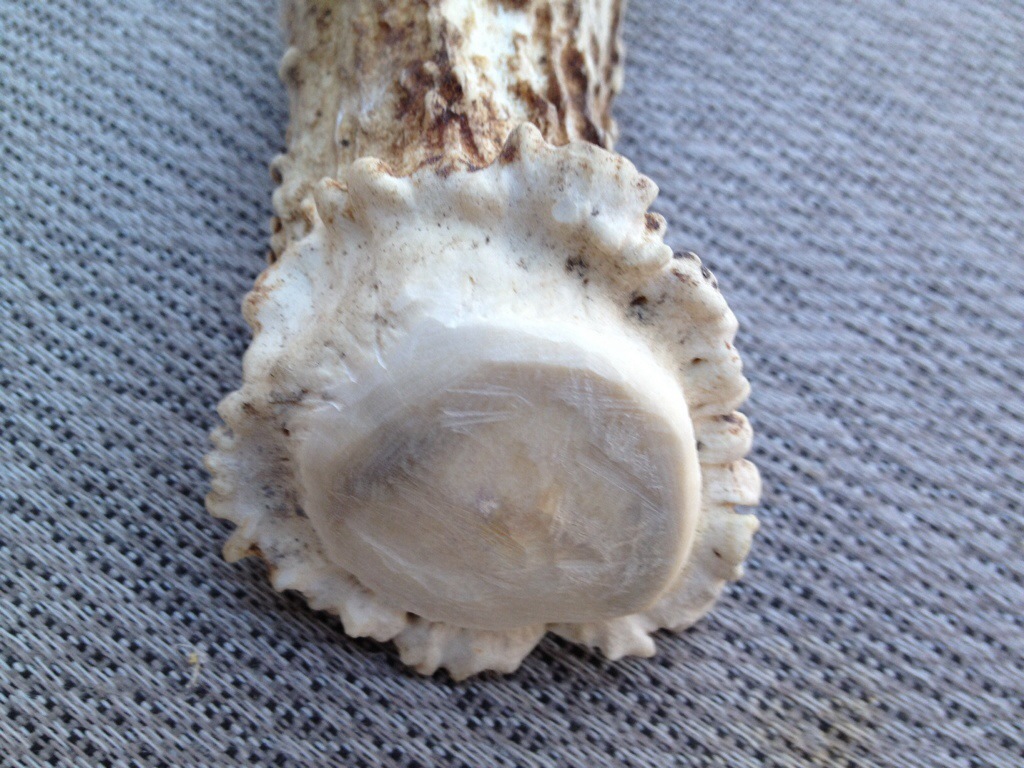
The cool thing about antler is it comes in all shapes, sizes, and configurations. As I’ve mentioned in an earlier post, the whitetail deer sheds his antlers every year and grows them back as the year progresses. In late winter, I enjoy scouring the woods for these rare treasures.
Where else can you procure antler?
If you don’t want to spend many hours searching the woods, you can always go to Google or Ebay. If you know any outdoorsmen, it’s likely they may have some unused antlers lying around. Deer processors may also keep some when hunters don’t want to save the antlers. There’s no use in letting them go to waste.
Check out the video below if you’d rather see my YouTube video on how to make antler letter openers.
So let’s jump into the tutorial.
Step 1
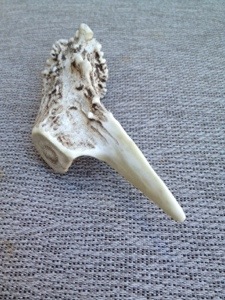
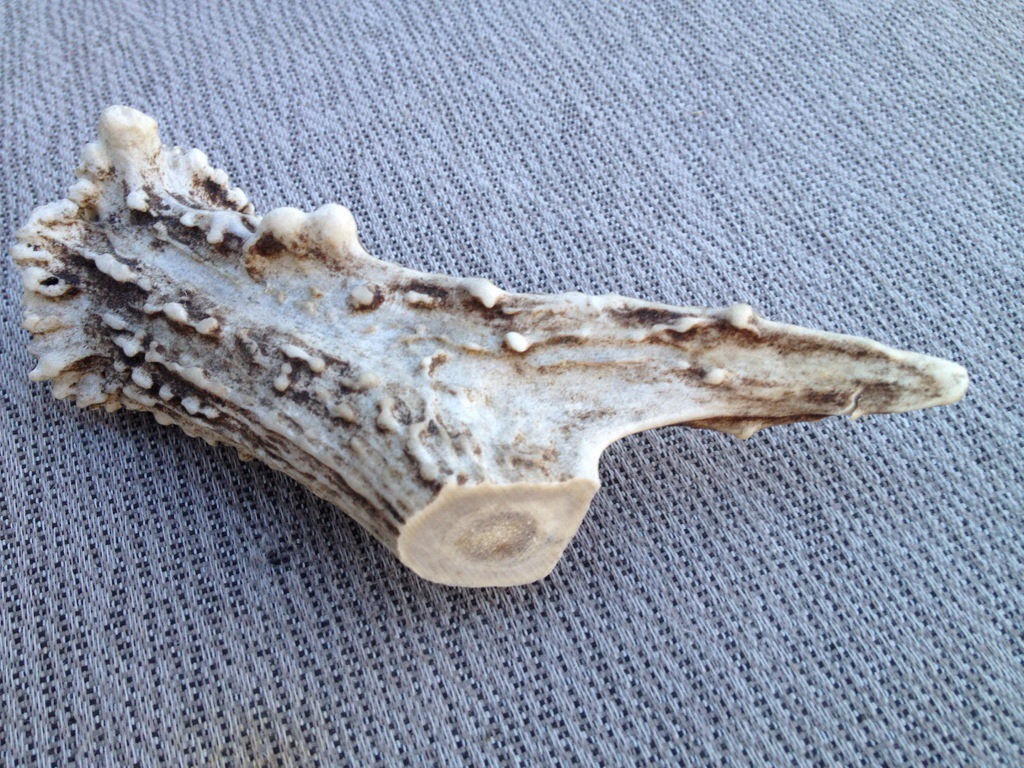
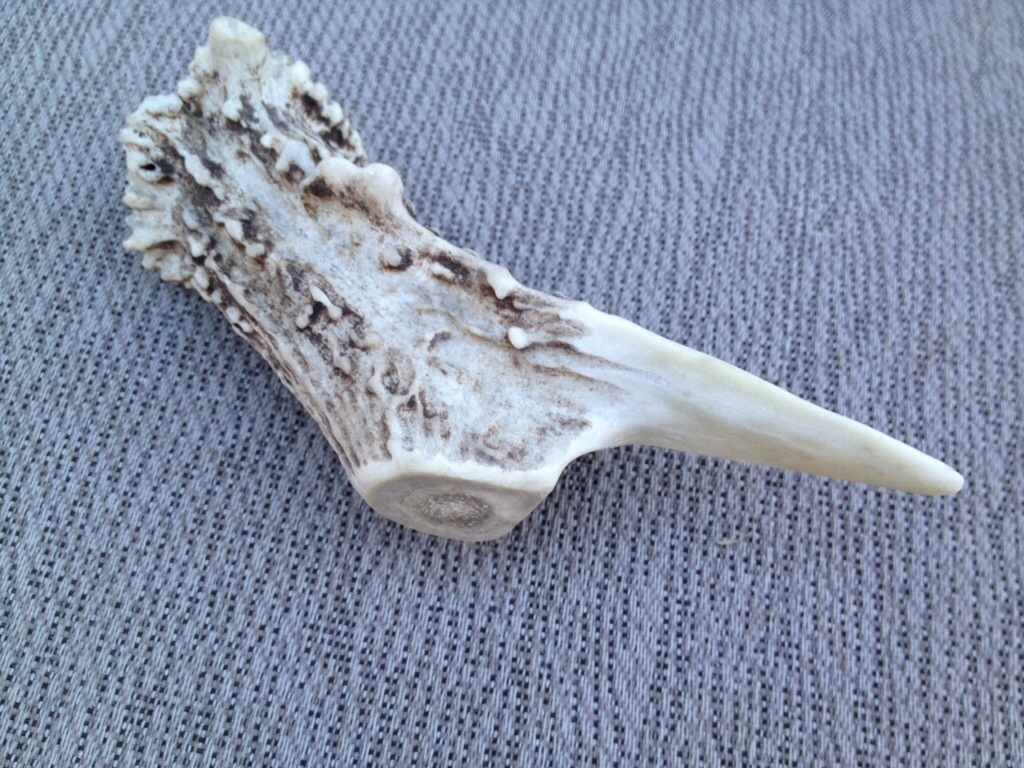
I like to choose a section of the antler that has character and fits well with my hand. Examine the antler and decide which part will serve as the handle and which will make a suitable blade. Antler is more porous as you move away from the points (or tines) down to the base. So, I recommend that you use the base (or main beam sections) as the handle and use the tines and points as the letter opener blade. Pictured below is my raw antler after I cut a section out with the bandsaw (a hacksaw works fine too). The thick part is more porous and will become the handle. The tine that sticks out to the far right will become the blade.
Step 2
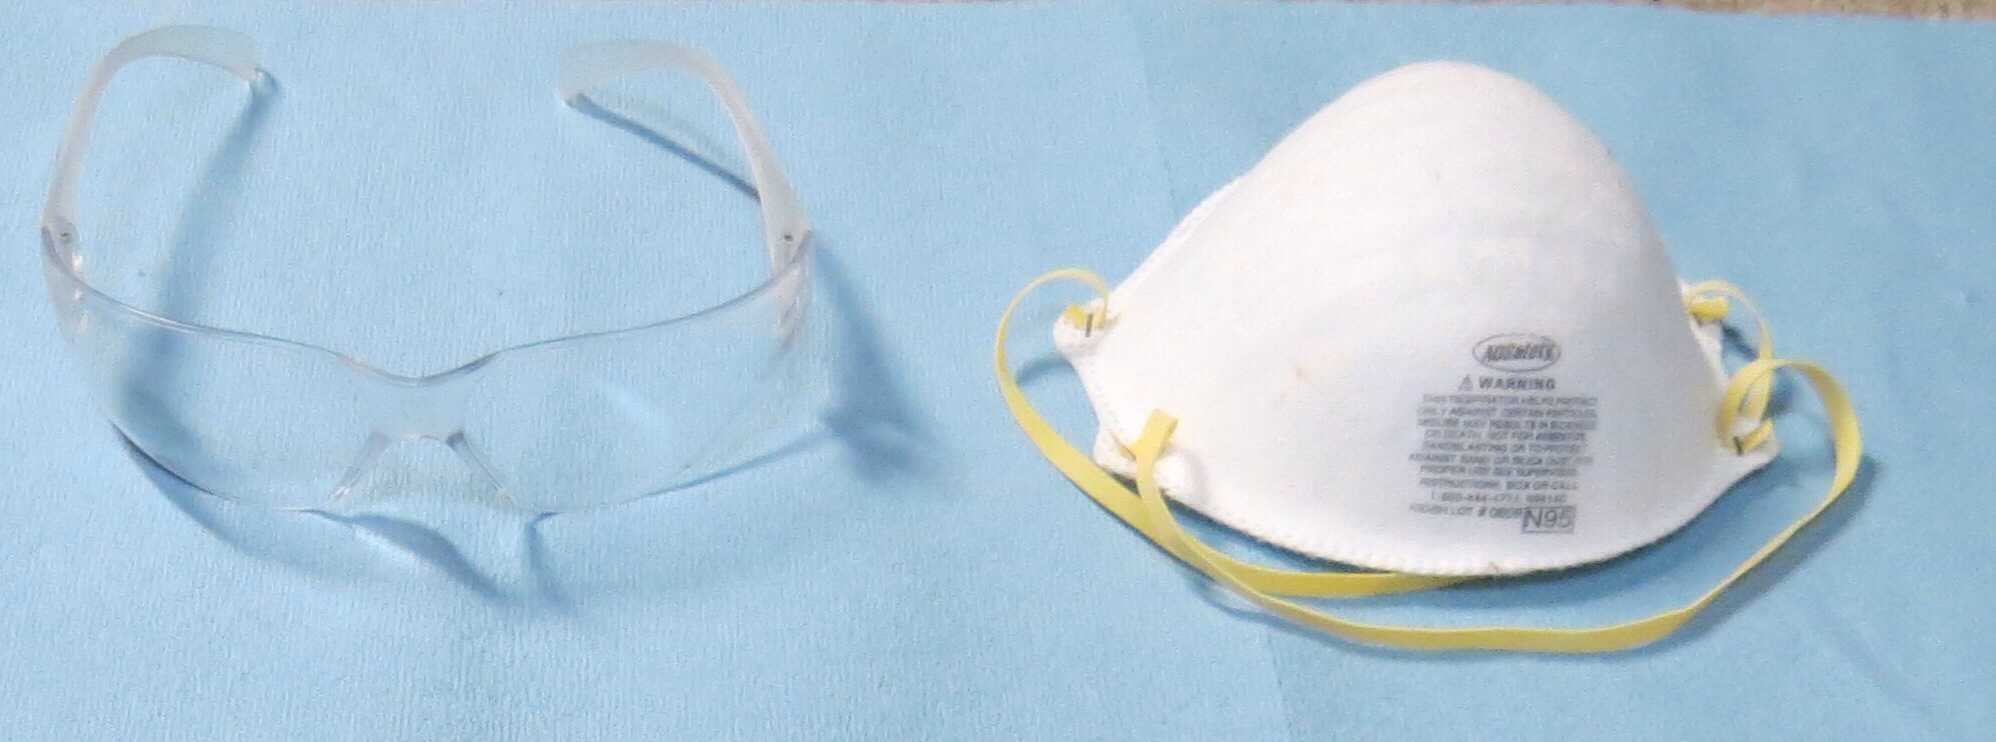
Never forget about safety. Make sure you are wearing adequate eye protection and a dust mask. I also recommend that you do this in a well-ventilated area—preferably outside. As you grind away on the antler you will notice an odor and a very fine dust. Whatever you do, don’t breath this dust into your system; like any fine particles, it’s just not good for your lungs. Also, wear some old clothes or a shop apron because some of the antler dust might accumulate on you. The odor may be a little strange at first, but you’ll soon get use to it.
Step 3
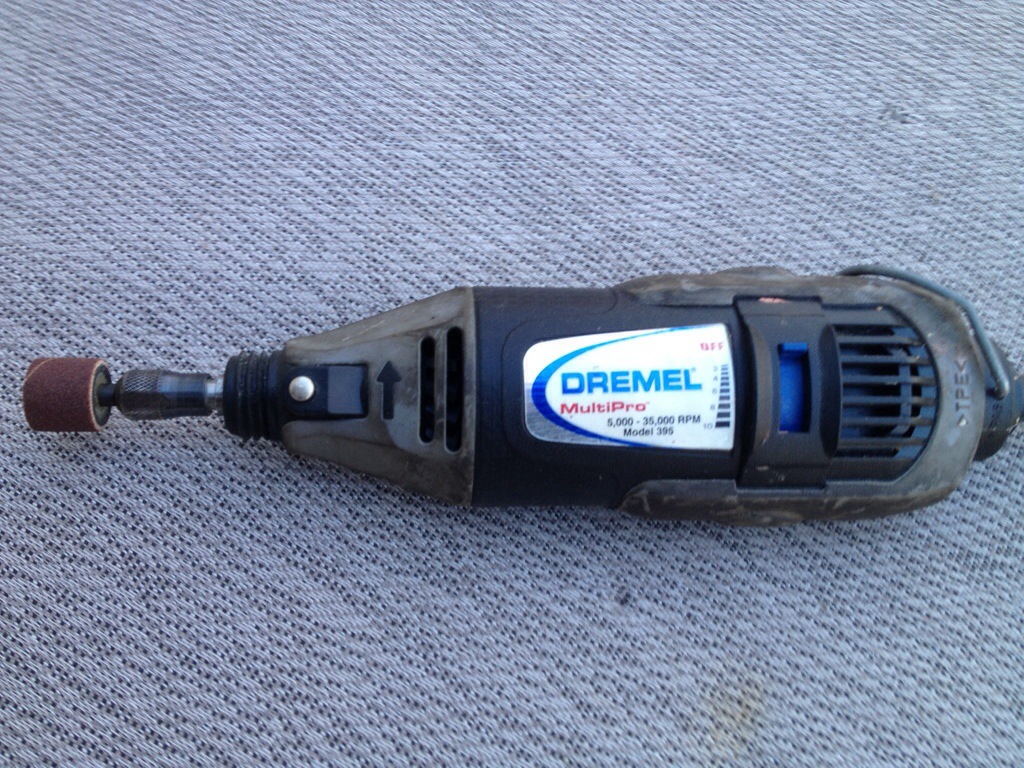
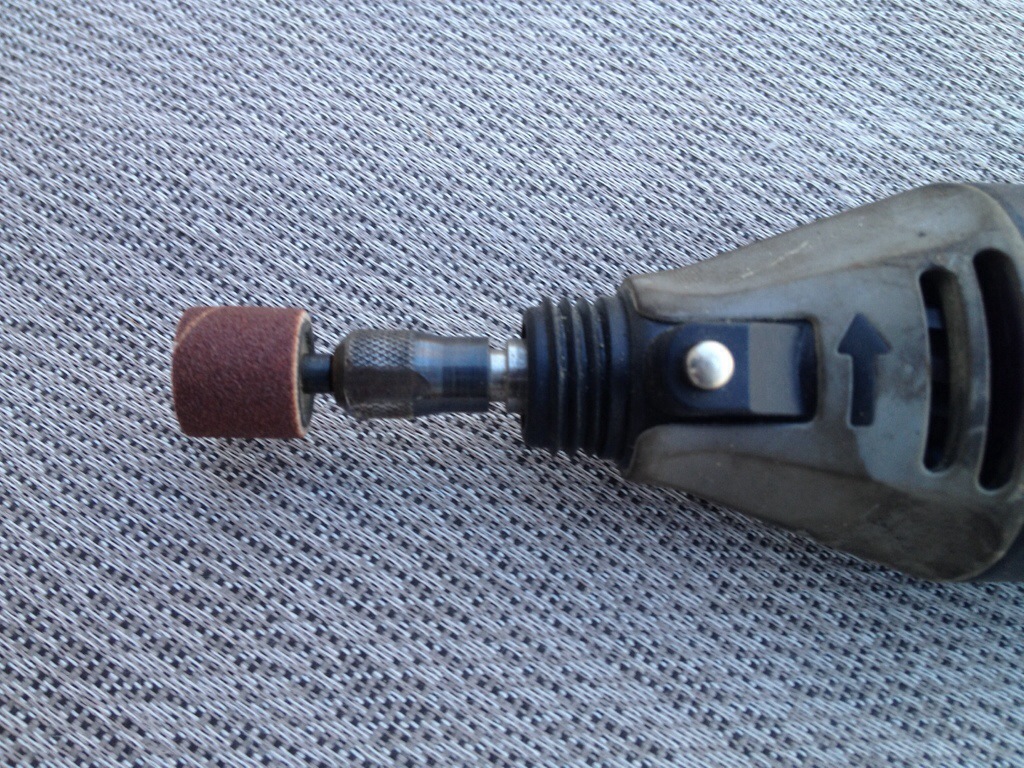
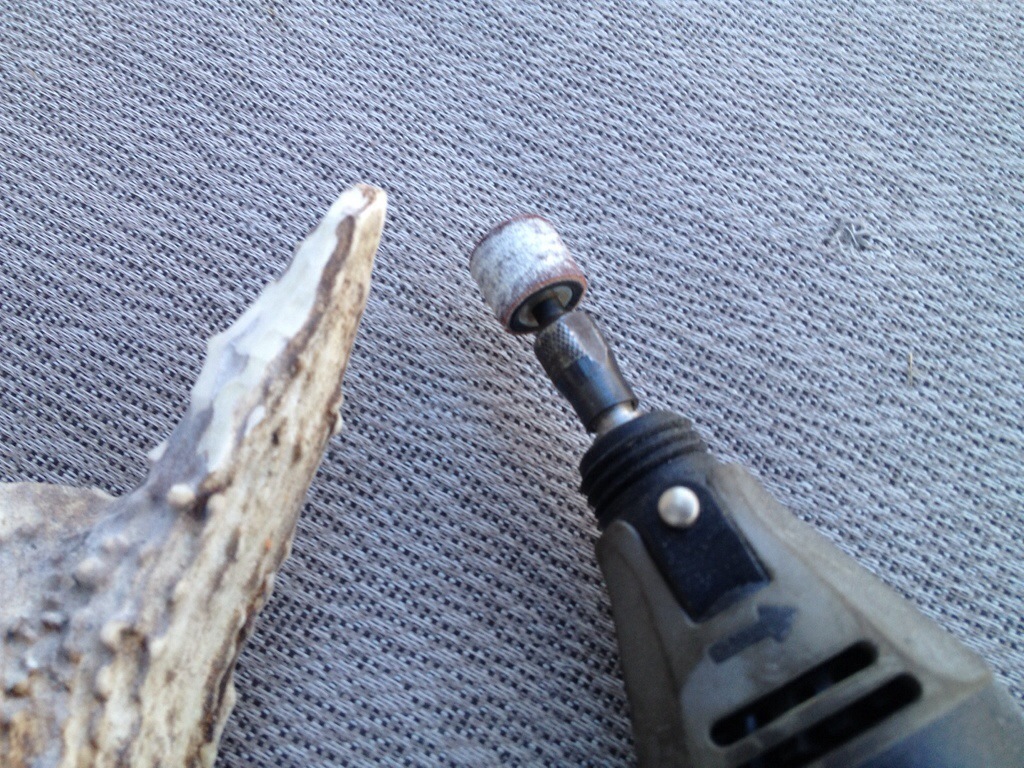
Tool selection. I chose to use the Dremel rotary tool. You could also use a belt sander or a regular hand drill. I’ve found that the Dremel gives me more control, and it’s easier to manuever. In the pictures below, I’m showing the Dremel rotary tool and a drum sander attachment. This sander attachment is somewhere around 100 to 120 grit. You can usually purchase this attachment at the store where you bought the Dremel. Read over all the safety instructions and make sure you understand how to properly use whatever sanding tool you select.
Step 4
Pictured below, I have started the sanding process. Take it slow and begin to sand away on the antler tine with smooth, even strokes. Don’t hold the drum sander in one spot for very long or you might create some deep gouges that will be difficult to smooth out. It helps if you have an air compressor and can periodically blow the dust off the antler to check your progress.
Step 5
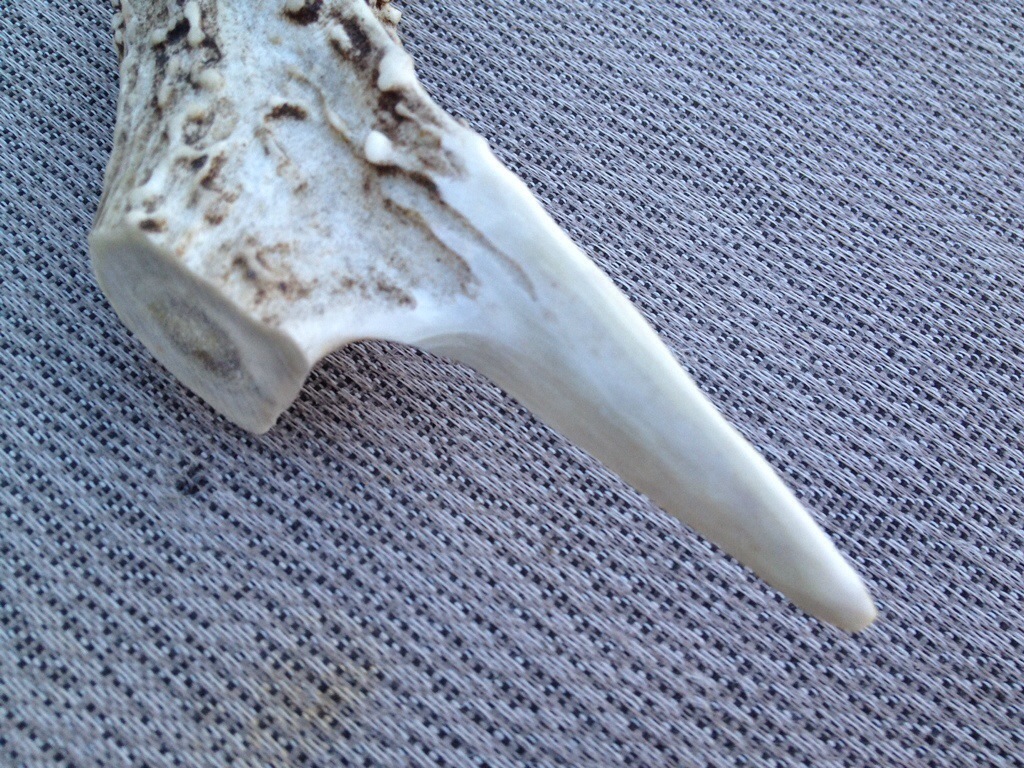
Continue sanding until the antler blade is shaped like a letter opener. You might want to compare the width of the antler blade to a commercially made letter opener. The width of my letter opener blades vary from 1/8 inch to 1/4 inch. Don’t go too thin or you run the risk of cracking the antler. And don’t make it so thick that it’s difficult to open an envelope. You will find that antler is fairly easy to sand/grind, and it’s a very strong material.
Step 6
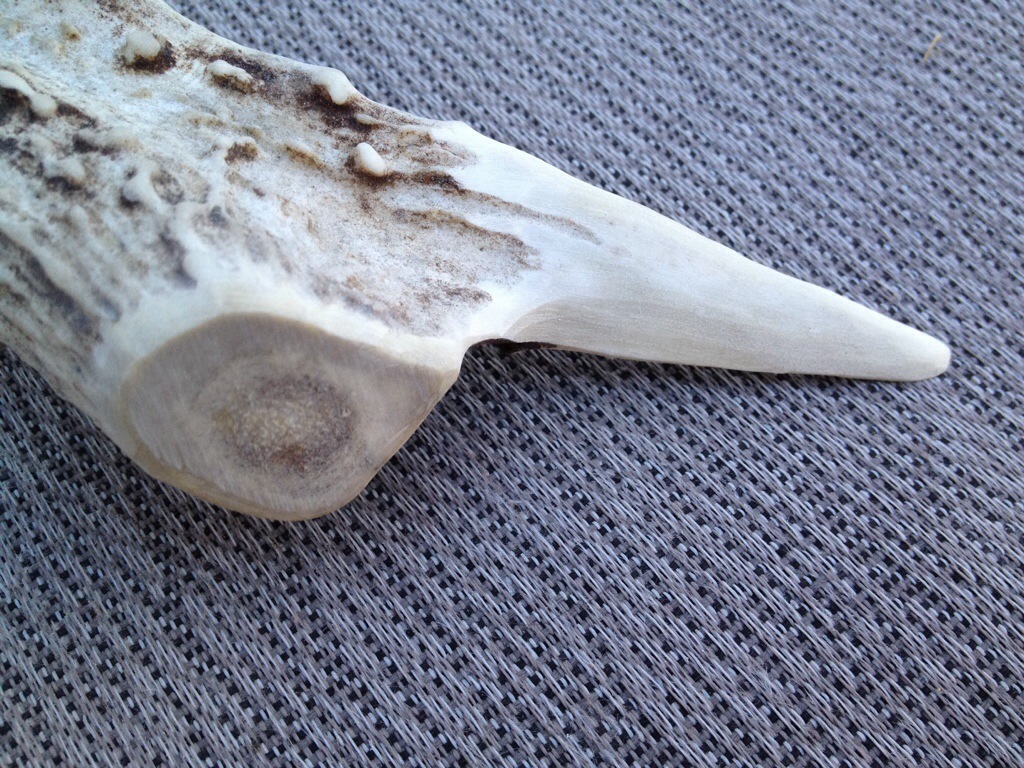
Shaping the letter opener. Although it’s not absolutely necessary, I like to also round off the parts of the antler that were cut on the bandsaw. I believe this makes the letter opener more aesthetically pleasing.
Step 7
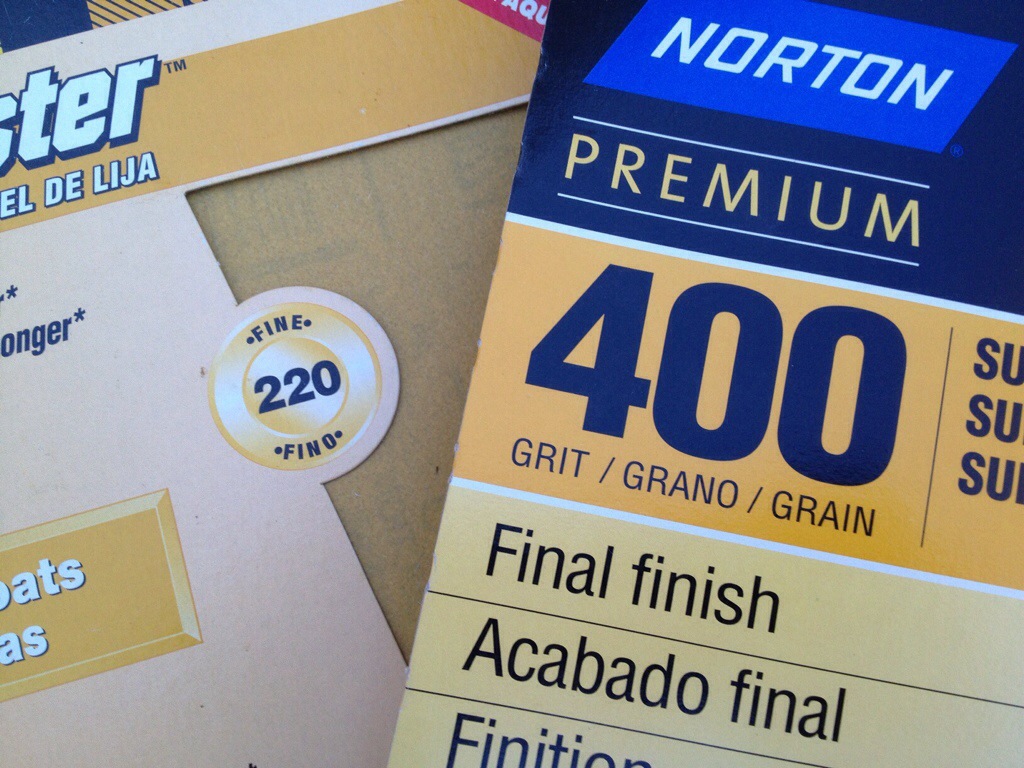
Finishing technique. Once all the rough sanding is done, I move to finer grits of sandpaper and sand the antler by hand. At a minimum, use 220 and 400 grit. Start with the 220 grit and then move to the 400 grit. I will go a step further and finish it with 1500 grit sandpaper. You can purchase all three grits at most home improvement stores. As you move to the finer sandpaper, you will notice the antler takes on a glossy appearance. This is one of the many things I love about antler.
Step 8
The finale. Begin enjoying your unique letter opener or give it away as a gift.
I hope you have enjoyed this tutorial on how to make an antler letter opener. If you decide to make one, please drop me a line and tell me how it turned out. And by all means, share this tutorial with your friends and family.

Are you starting up a new shop? Want to work safer in your shop? To help you answer these questions I've put together a 2-part checklist -- Home Shop Safety & Tool Checklist.
I will also send you updates of my latest woodworking and DIY projects. You can get all this by subscribing to my free email newsletter.



1 thought on “How To Make An Antler Letter Opener”
Comments are closed.