I’ve been wanting to make a bandsaw box ever since I watched Steve Ramsey’s DIY video. David Piciuto also has some nice bandsaw box videos over at MakeSomething.tv. Watching those videos inspired me and instilled in me hope that bandsaw boxes weren’t that hard to make. They’re not, as I discovered. My challenge is that I own a small, bench top bandsaw that only cuts a 3.25 inch depth. Which meant I would need to make a small bandsaw box. Then inspiration struck: I love to make wooden pens, and so I came up with the idea to make a bandsaw pen box. What a great way to store one of my wooden handmade pens.
Another great resource — if you’d rather get a book on the topic — is David Piciuto’s book: The New Bandsaw Box Book: Techniques & Patterns for the Modern Woodworker
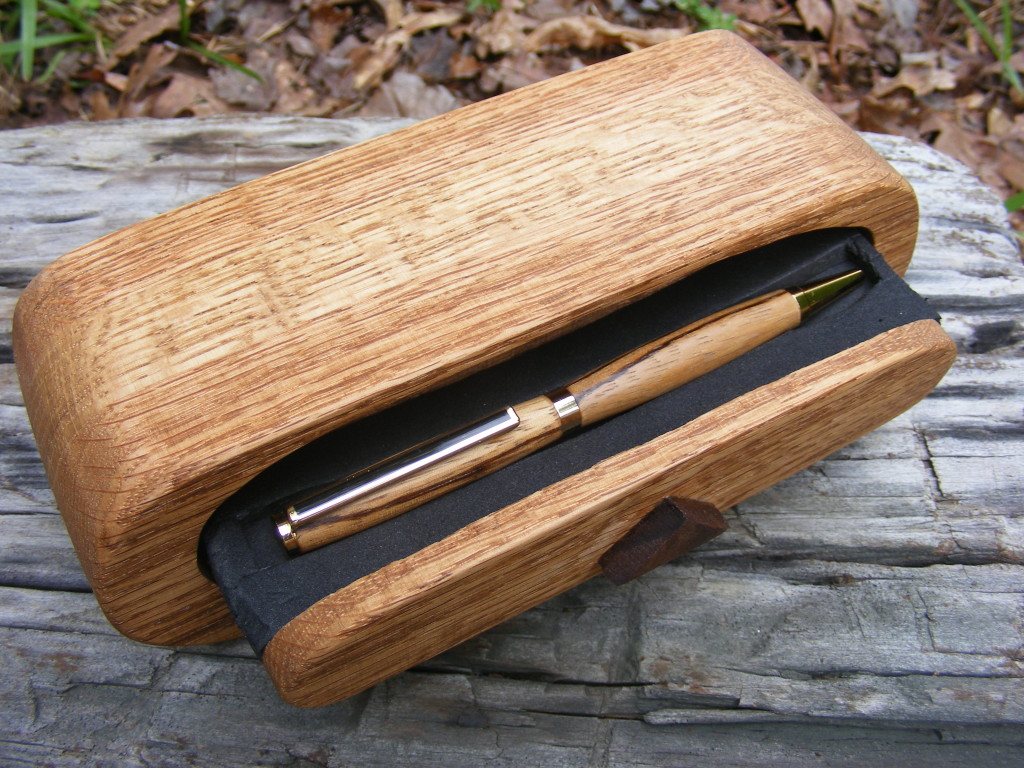
The Bandsaw Pen Box Tutorial
The tutorial below will take you step-by-step through the process of making this simple, but elegant bandsaw pen box. This was a fun project and it only requires a few tools and skills. This will look beautiful sitting on someone’s office desk. Makes a nice gift to go along with your handmade pen.
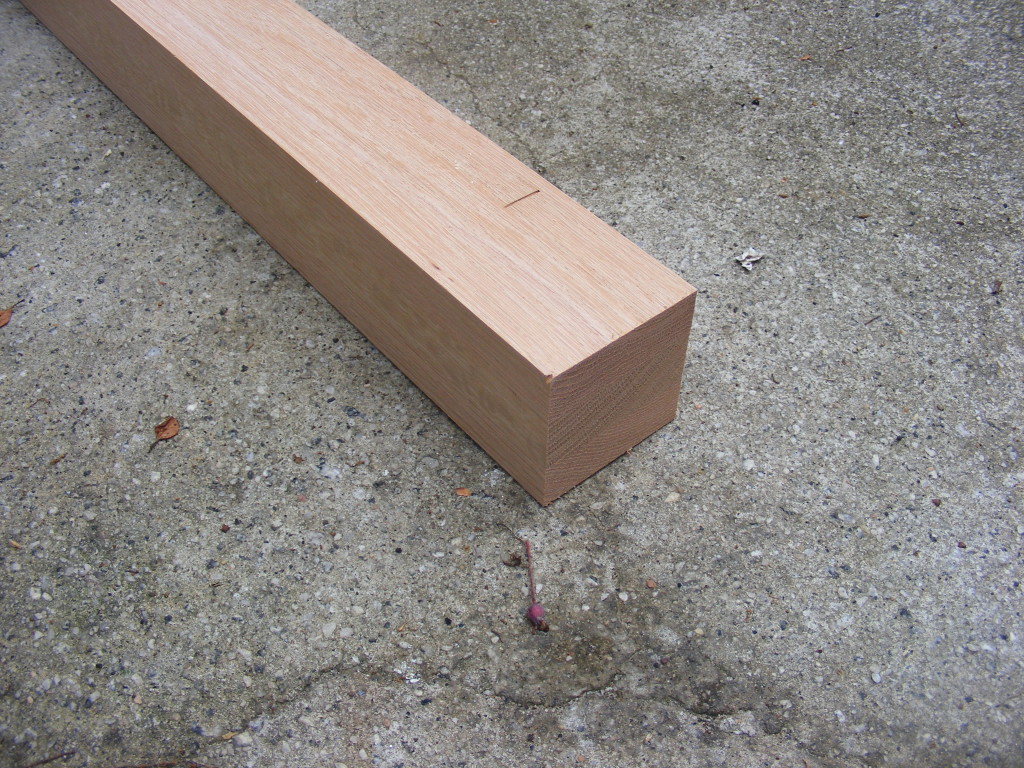
Step 1 – Choose a wood. I decided to go with oak because it looks great, and I could easily buy it from Lowe’s just down the road from my house. But for future bandsaw boxes, I will also consider walnut, maple, cherry, and maybe some kind of exotic like Zebra wood. It doesn’t really matter — the choice is all yours.
Lowe’s sales pre-cut oak boards, and I bought this 3 inch X 3 inch X 3 foot board (pictured above). This one board runs around $22, but you could make up to 4 bandsaw pen boxes.
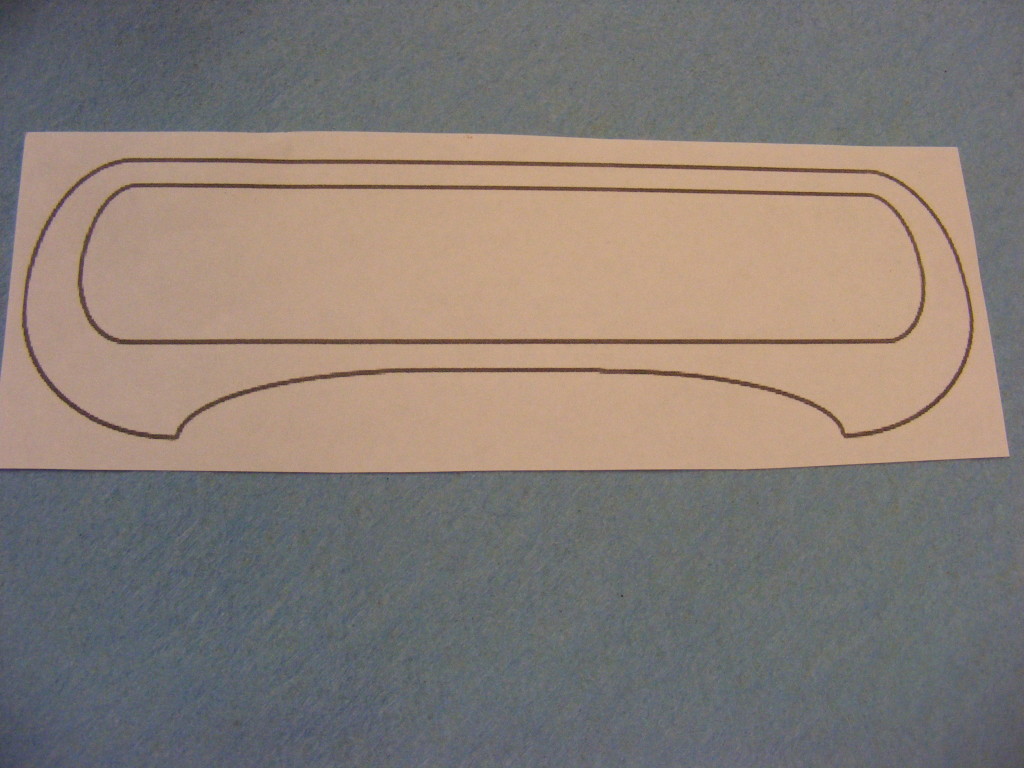
Step 2 – Decide on a design. I took some advice I had read, and visited the Lumberjocks website. That is where I found several bandsaw box patterns and templates. I picked the one pictured above, because it just screamed pen box. It’s long and shallow, just the right dimensions for a pen. Lumberjocks also has many bandsaw box instructions and projects that will inspire and inform you.
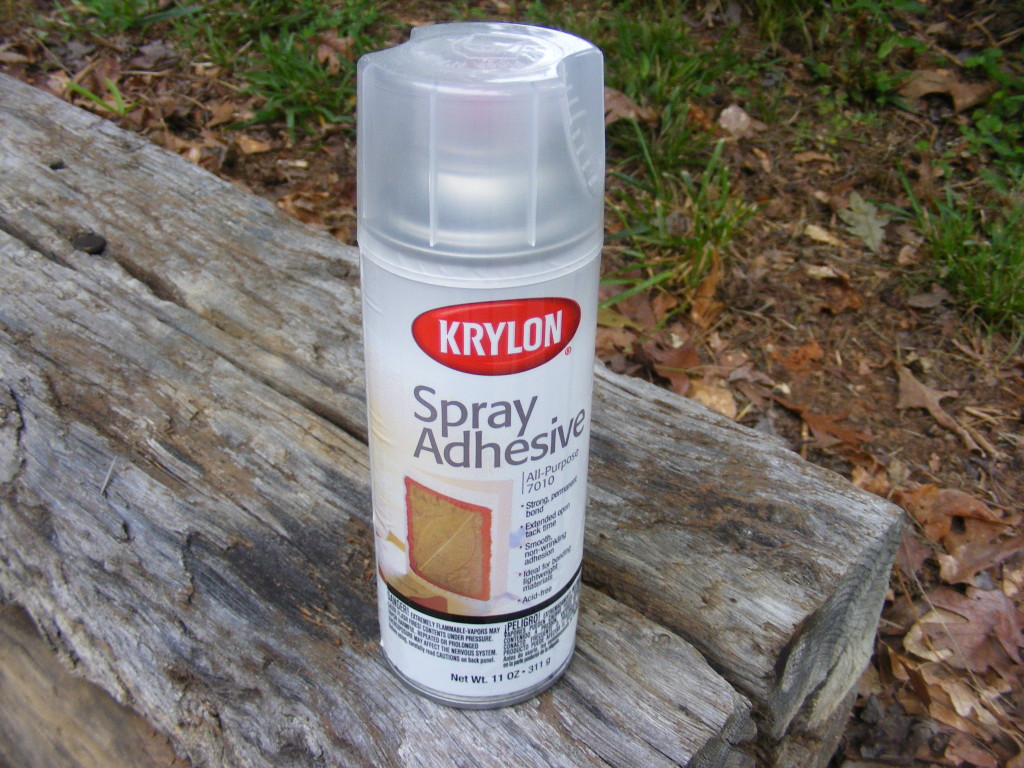
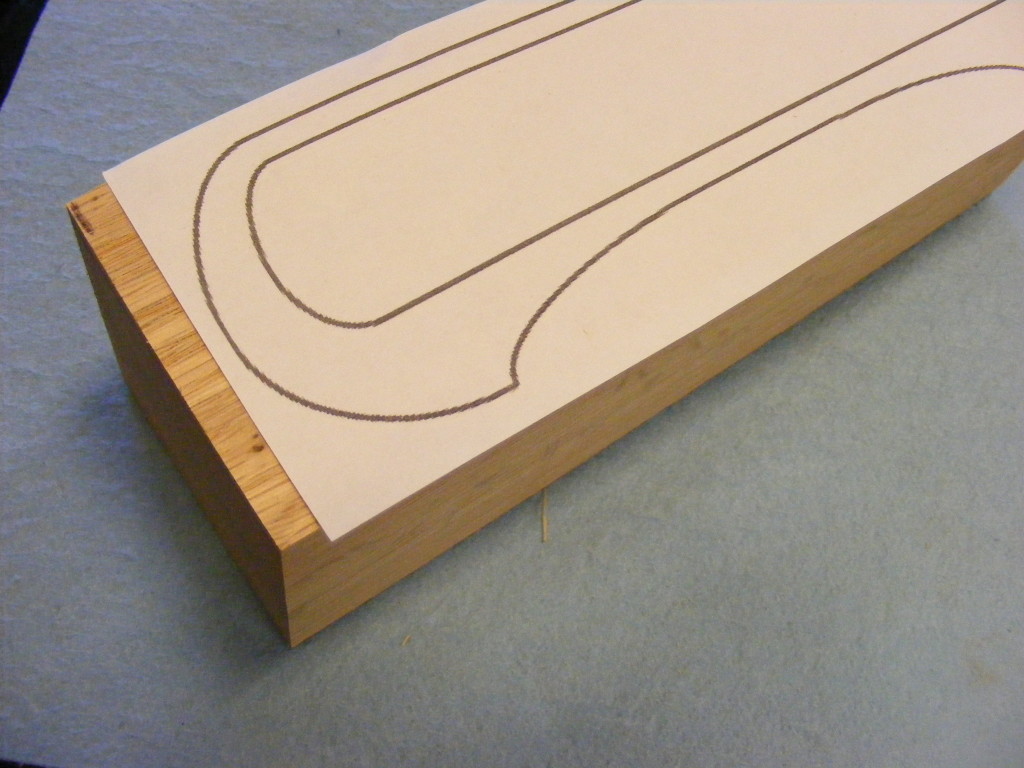
Step 3 – Transfer design or pattern to the wood. I printed the template straight from the lumberjocks website, but then I did have to magnify the pattern to get the dimensions I wanted. Then I used some spray on adhesive to glue it to the wood.
A little tip: Since the top of the box is flat, I carefully placed the template to match one side of the board. That way I minimized the amount of cutting.
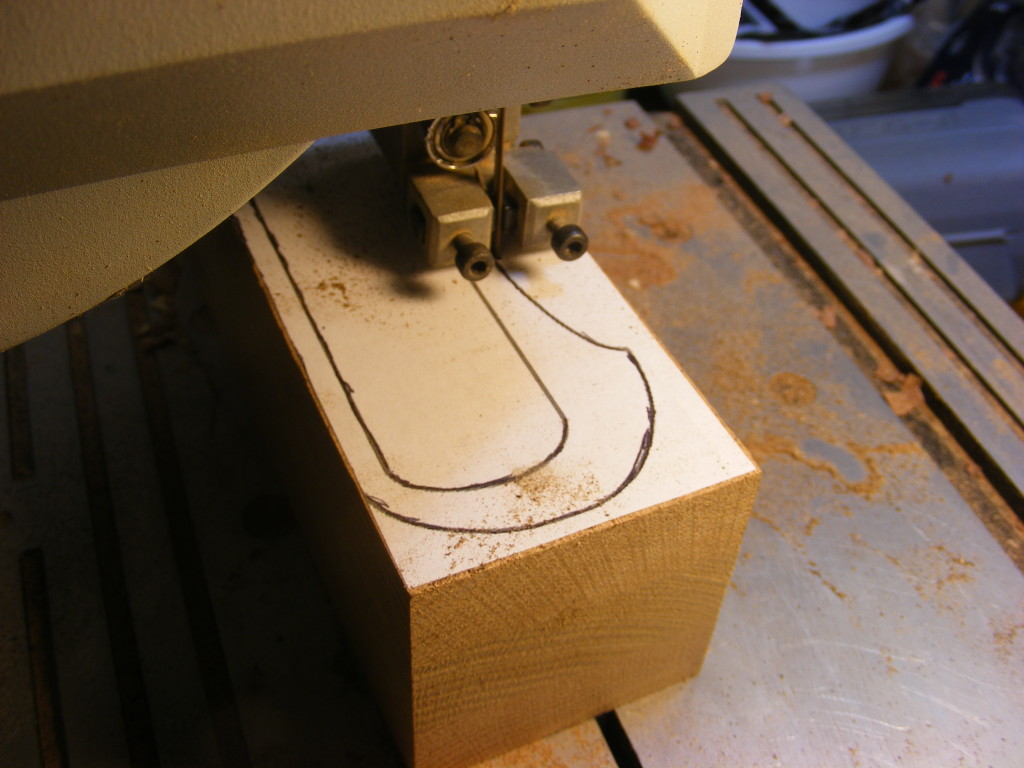
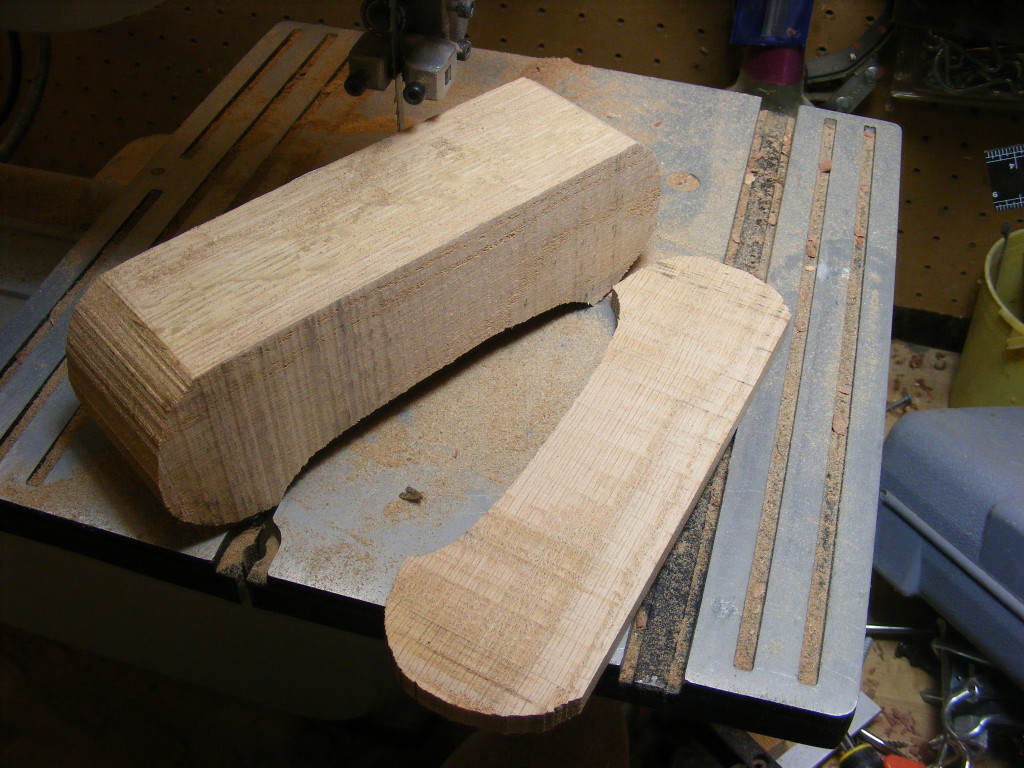
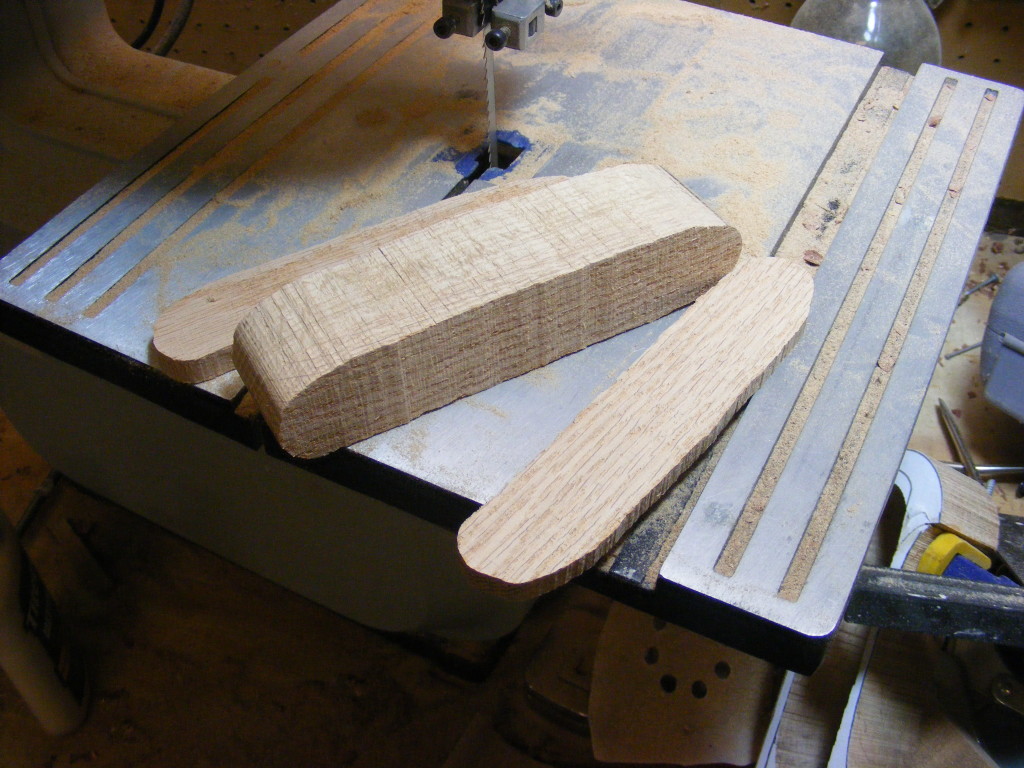
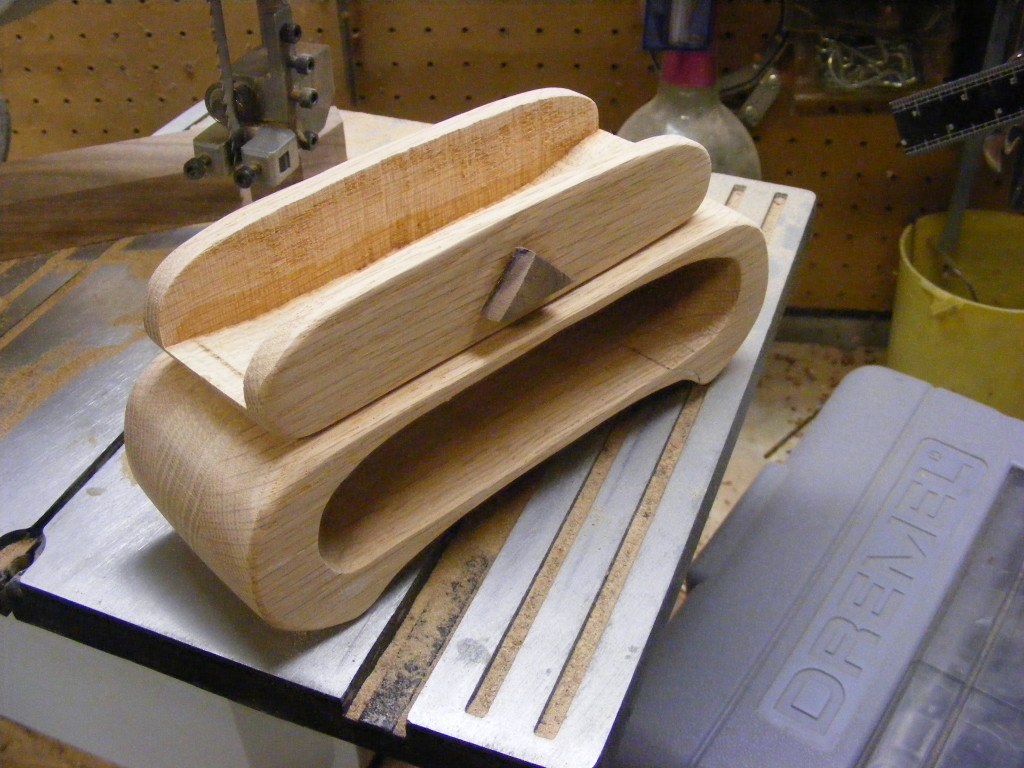
Step 4 – Cut around the outside lines first. I used my bench top bandsaw and first cut around the outside lines of my pattern. I recommend using a 1/8 inch blade or 1/4 inch. These sizes will help you make some pretty tight turns without the blade binding so much. I found that my 1/3 hp bandsaw was slightly underpowered. The oak was something of a challenge to cut through.
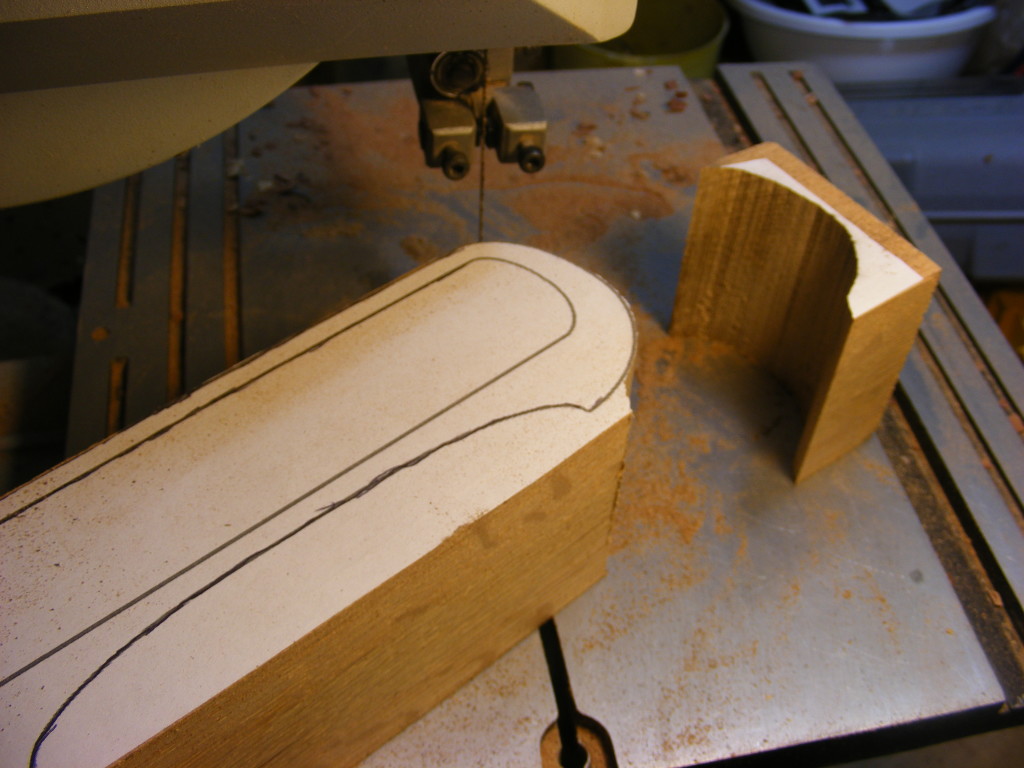
Step 5 – Cut off the back of the box. Next, I cut off the back of the box and laid it aside for later.
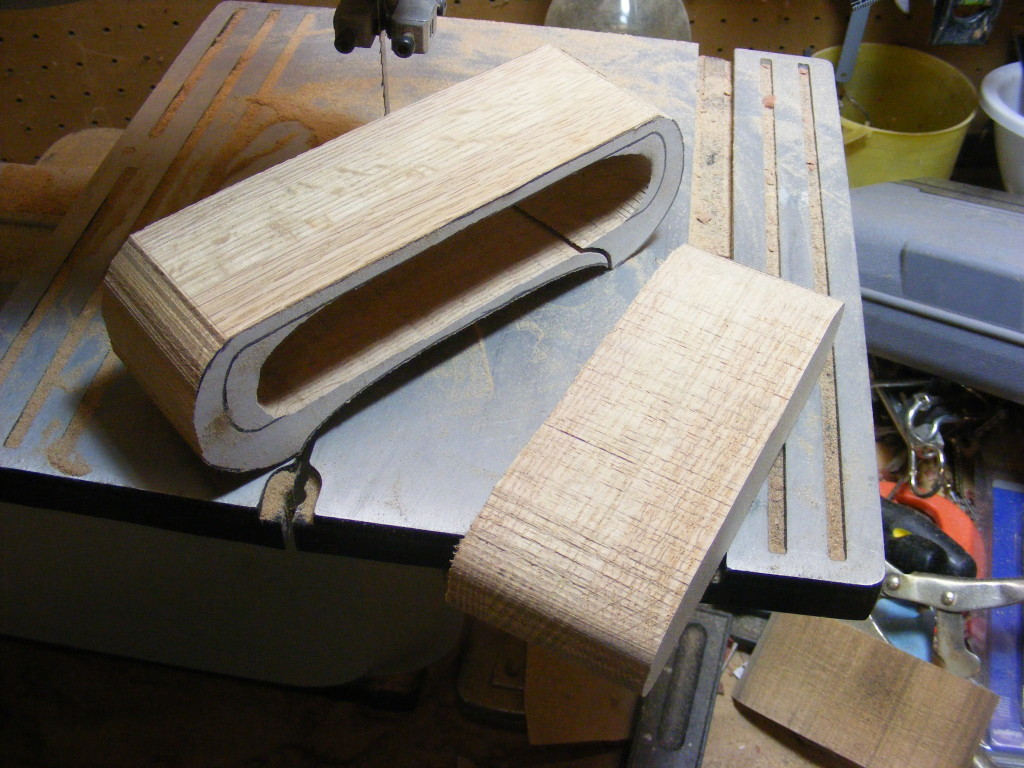
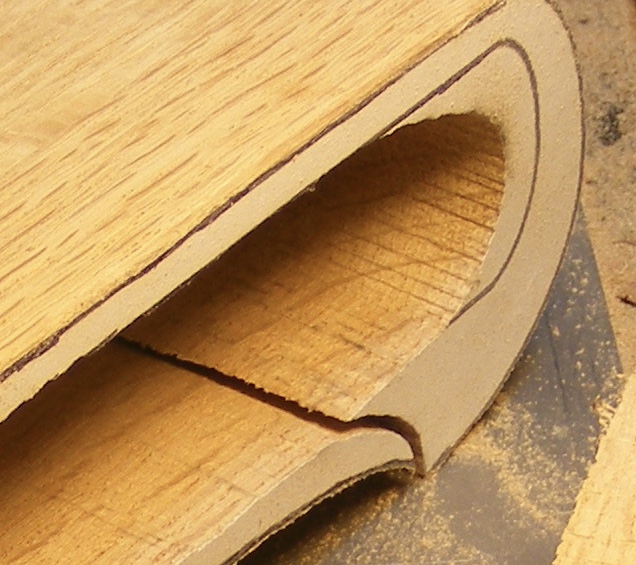
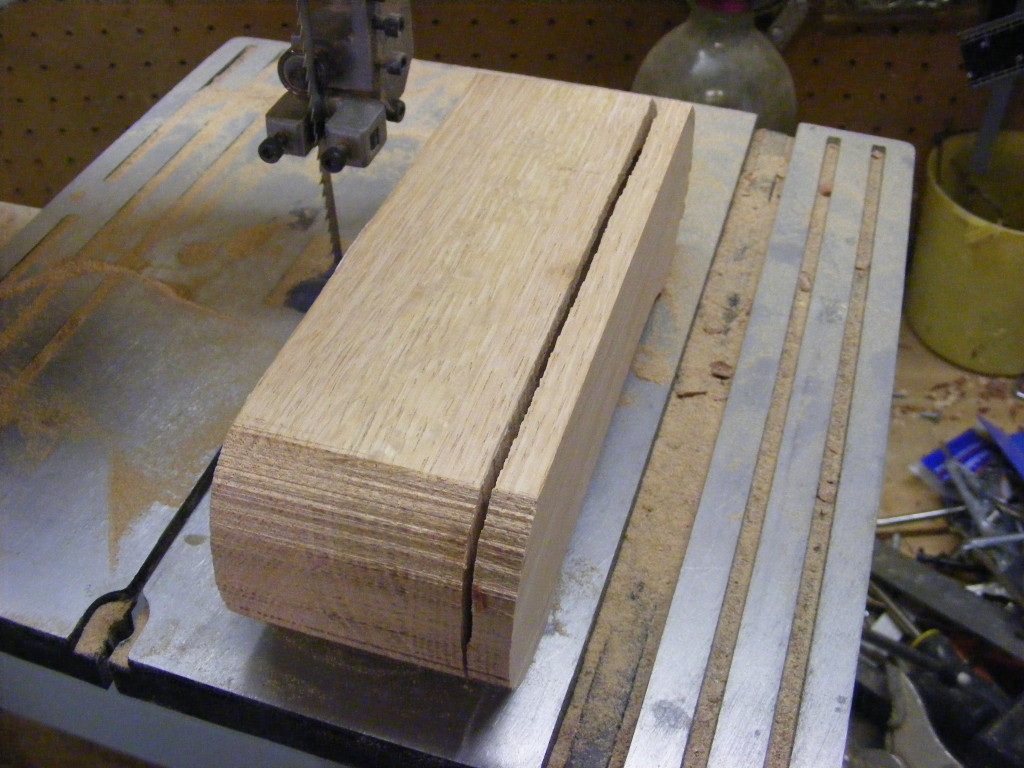
Step 6 – Cut around the inside line. Find a good place to enter the box. I chose the bottom and came in at an angle. This part I’m cutting out will, of course, become the drawer for the box. You will probably notice that I didn’t follow my lines exactly and that’s the beauty of making these boxes. They’re hard to screw up. But I did need to consider how my pen would fit in the box. So, if you are considering doing this for a pen, make sure you take some measurements of your pen to properly fit the drawer.
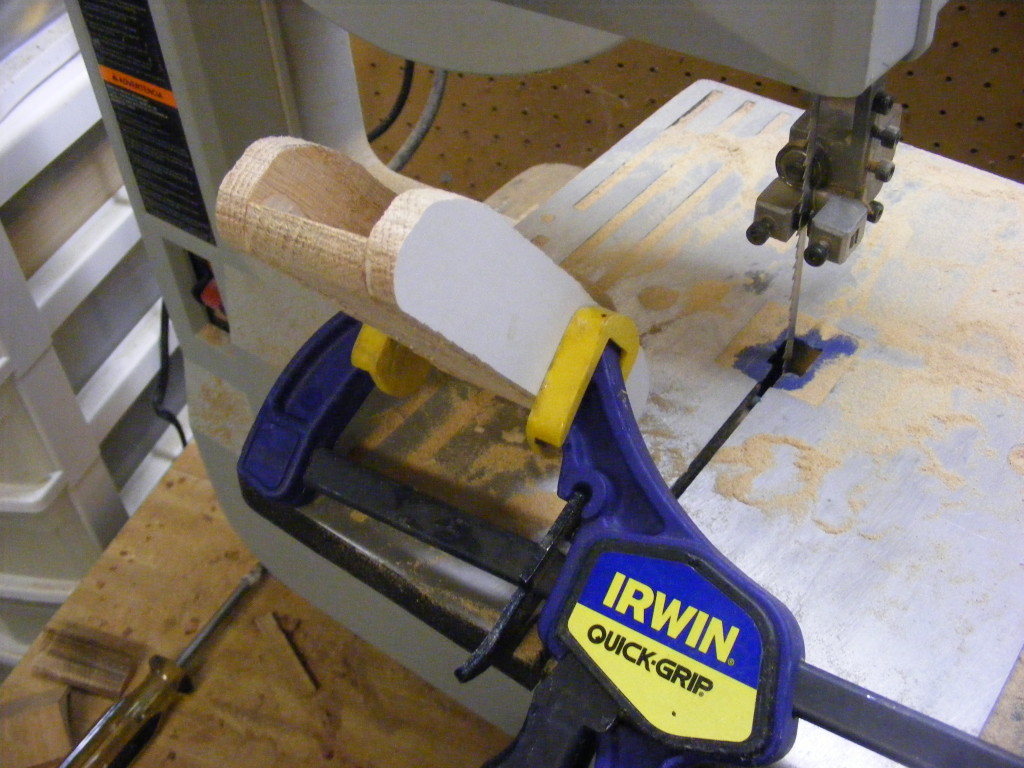
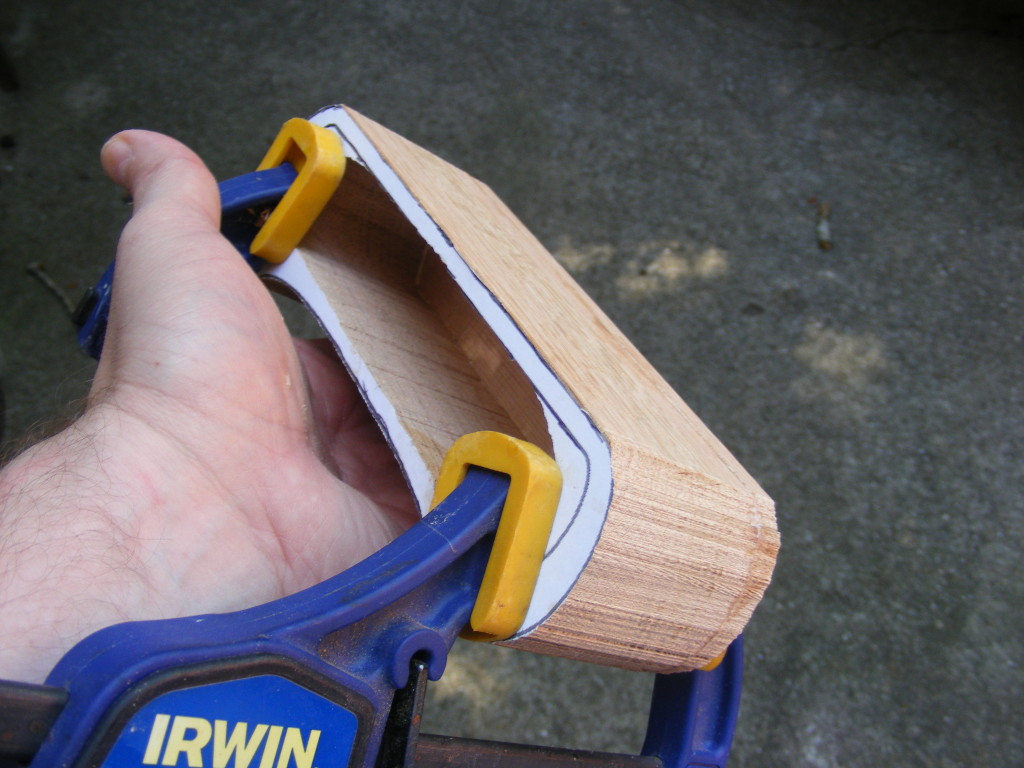
Step 7 – Glue the entry cut. I took some wood glue and bonded that entry cut together. I used one of my quick grip clamps to press the wood together and hold while the glue dried.
Step 8 – Cut off the front and back of the drawer. Next, I went back to the bandsaw and cut off the front and back of the box. All I recommend here is making a few pencil marks or labels so you can remember how they will go back together.
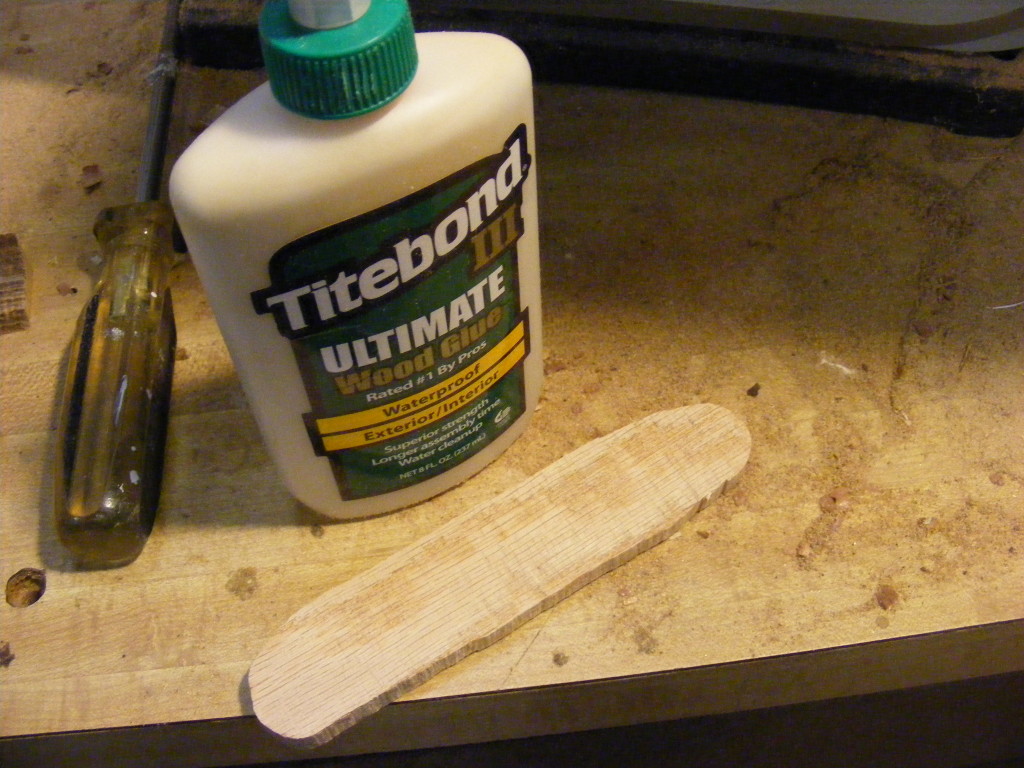
Step 9 – Cut out the drawer. Here again, you can be rather free style on the cut. I had to consider the fit of my wooden pen, so I held it up to the drawer to decide on my cuts. Next, glue the front and back of the drawer back on. I matched these pieces back up exactly, applied some glue with my finger and clamped together. I wiped off the excess glue. Allowed 24 hours to dry. Any wood glue will do. I use Titebond. Either Titebond II or Titebond III is fine.
Step 10 – Glue the back of the box back on. While I was glueing on the front and back of the drawer, I went ahead and glued the back onto the main box. If you recall from step 5, this is the back piece for the entire box. Again I used Irwin Quick Grip clamps. You will need about 4 to 6 of these small size quick grip clamps — that’s for the box and the drawer. I love these clamps and they come in handy for all types of projects. Allowed 24 hours for the glue to dry.
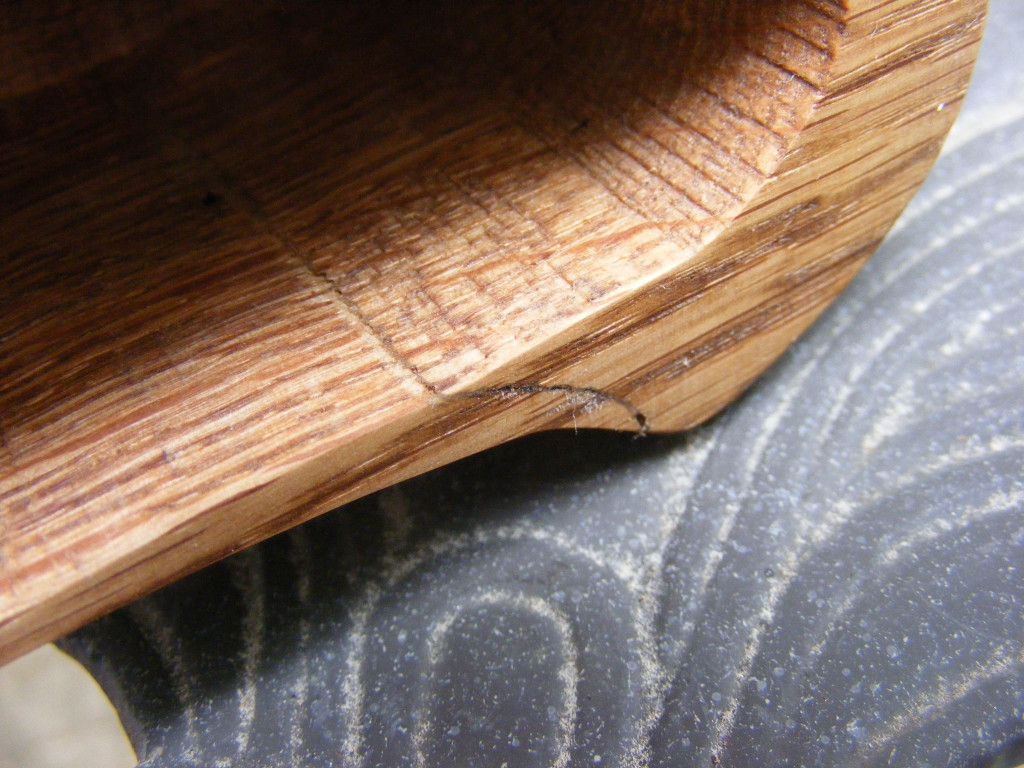
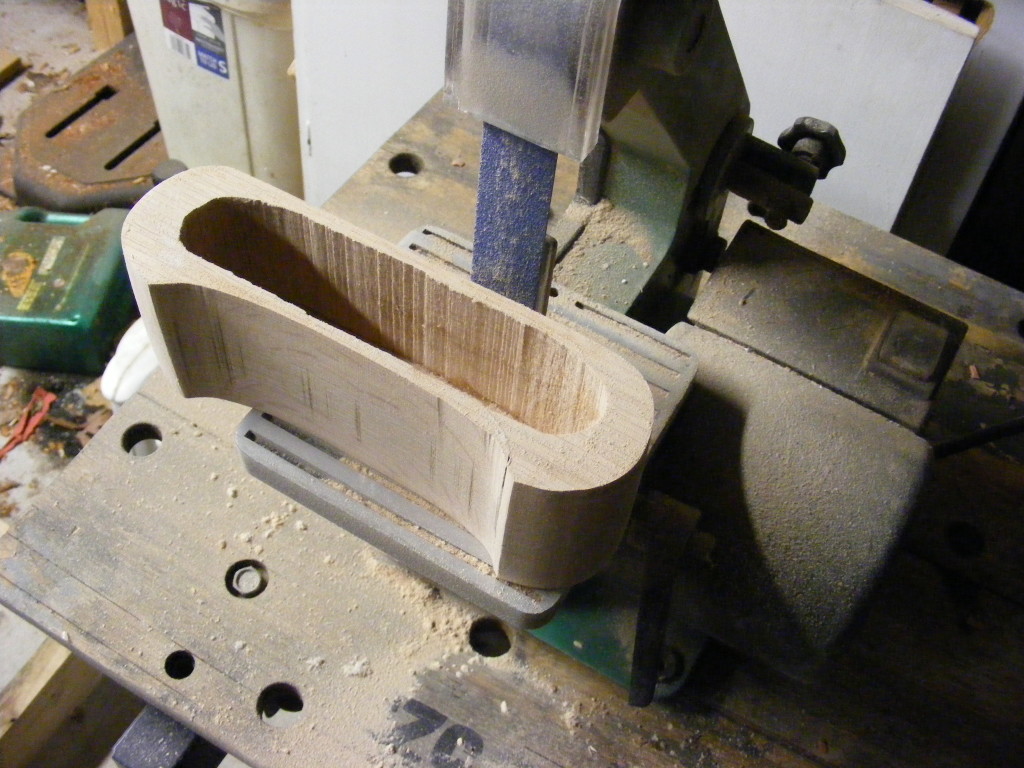
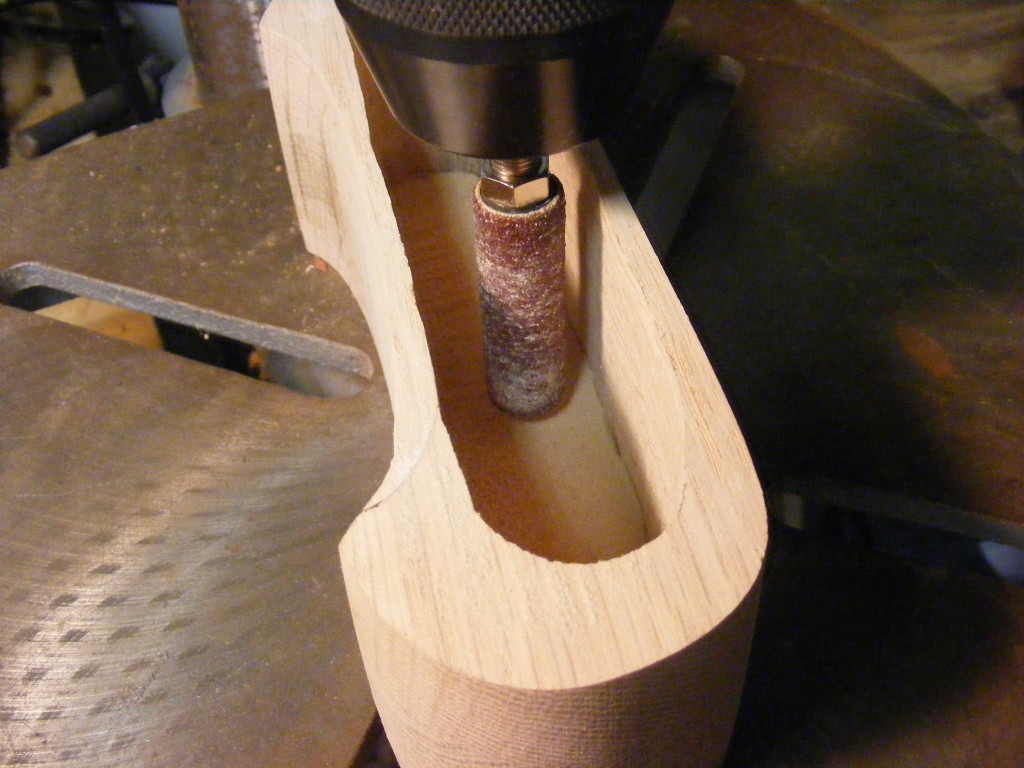
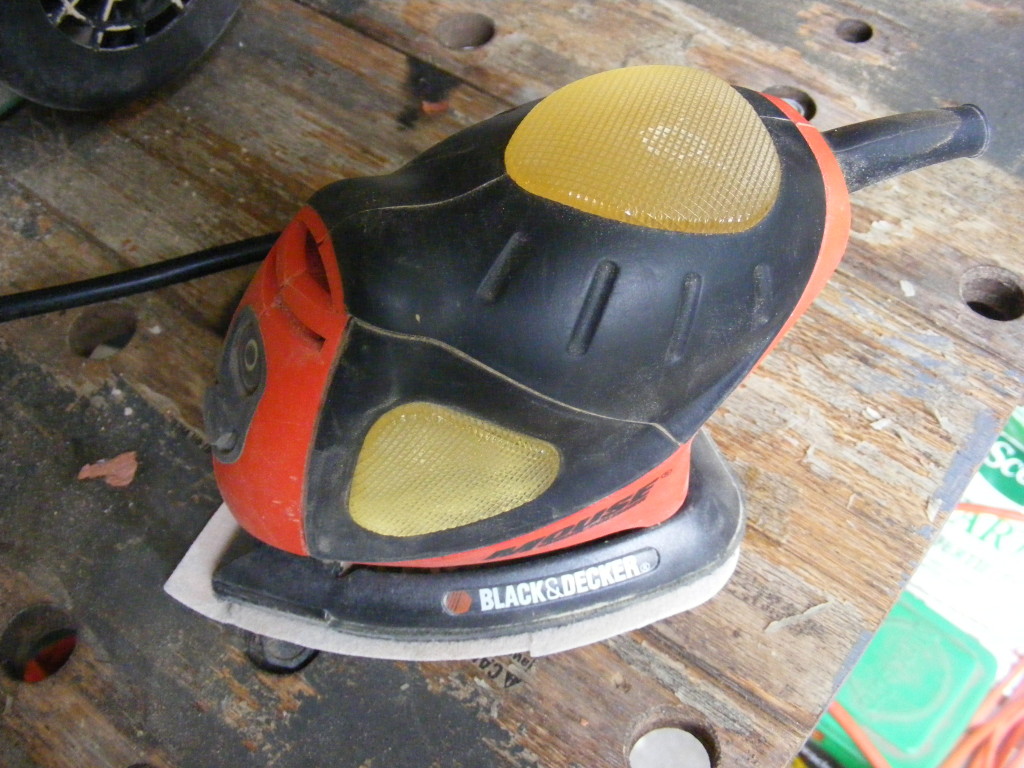
Step 11 – Sand the box. Now the messy part begins. I grabbed my respirator and started sanding the outside and inside of your box. Be careful how much you sand the inside drawer section as you don’t want to create huge gaps — there will be some gaps though. My bandsaw cuts were not that smooth, so I had to do some extra sanding. As the pictures show, I used a combination of belt sander, drum sander (attached to drill press) and my Black and Decker Mouse sander. The Mouse Sander comes in handy for these small projects.
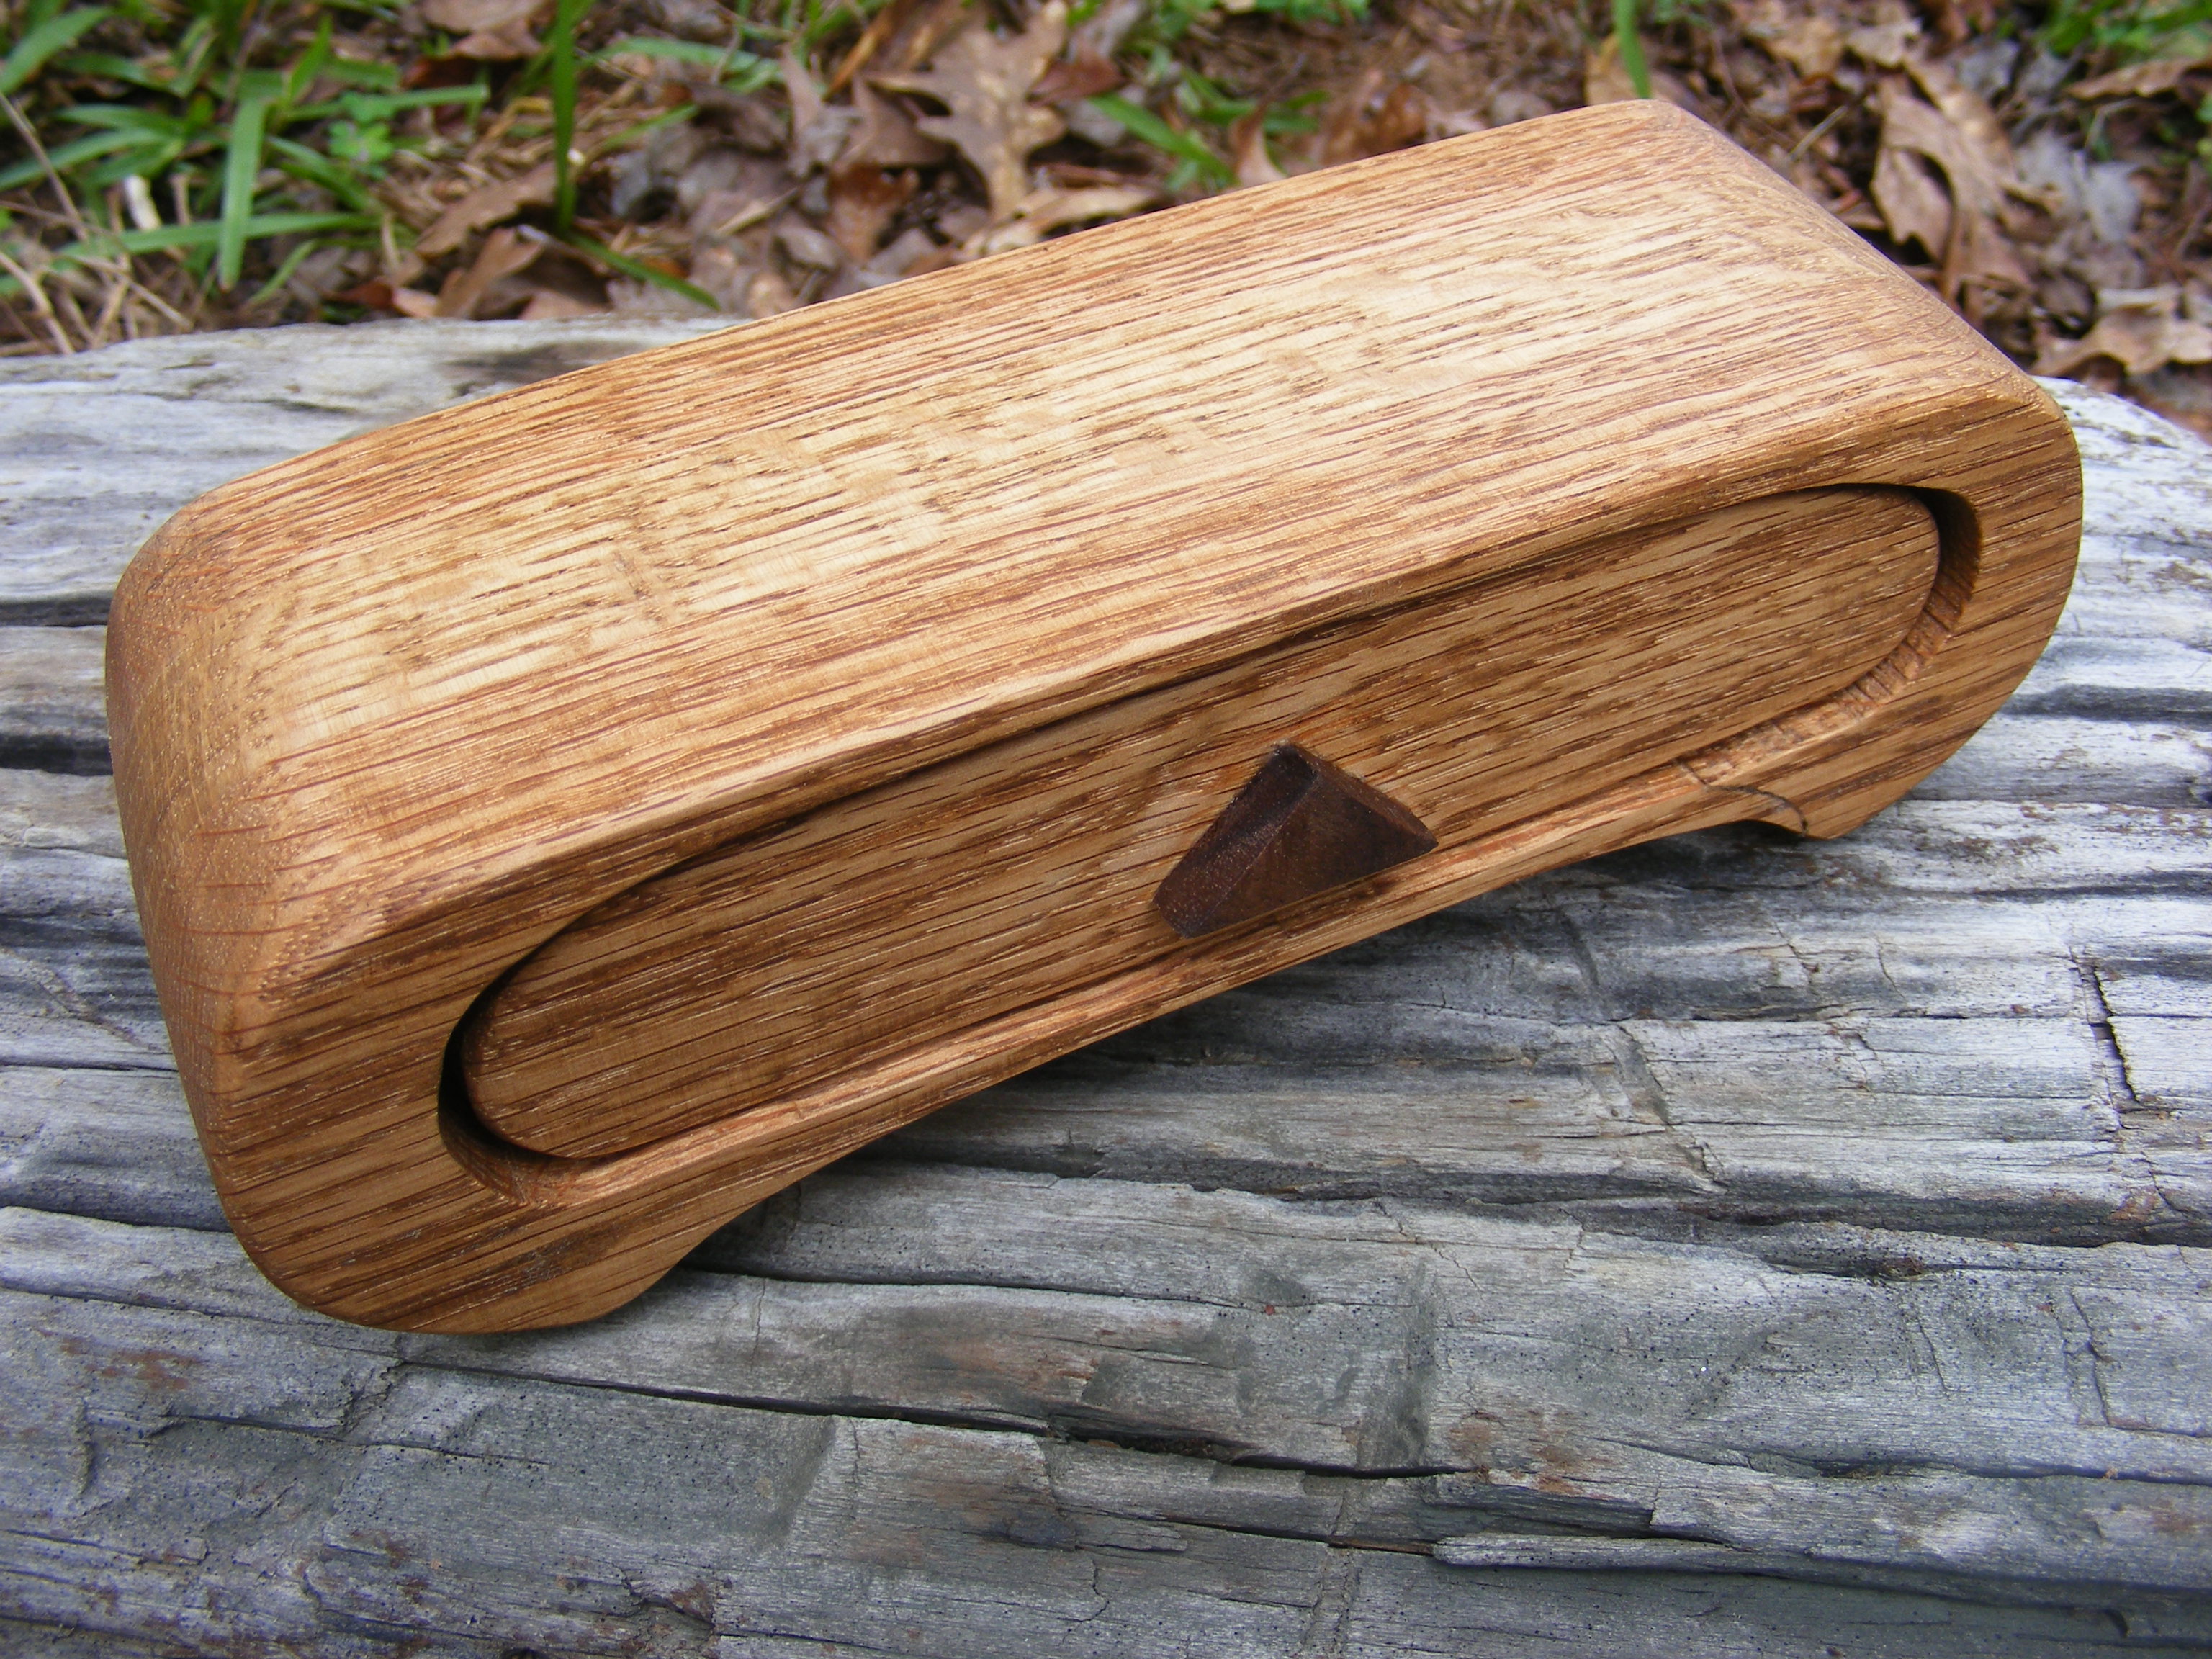
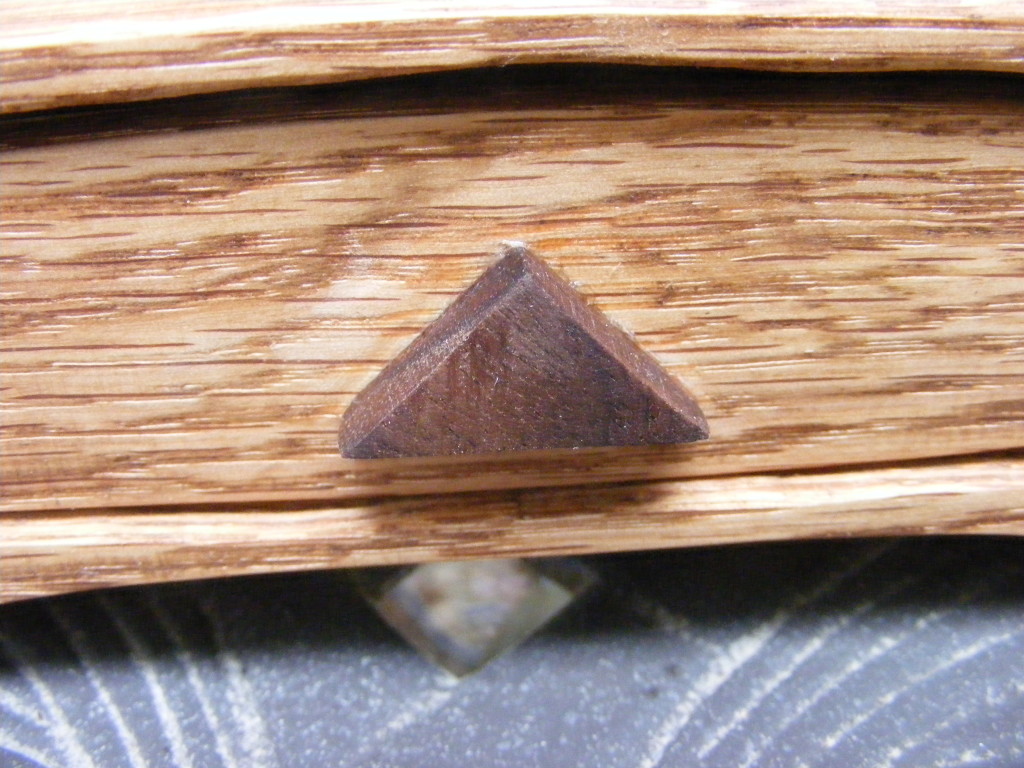
Step 12 – Add a drawer handle. Here is another way to add a creative flair to my box. I decided to use a piece of walnut I had on hand, and I used the bandsaw to cut out a small triangle. I then glued that to my drawer.
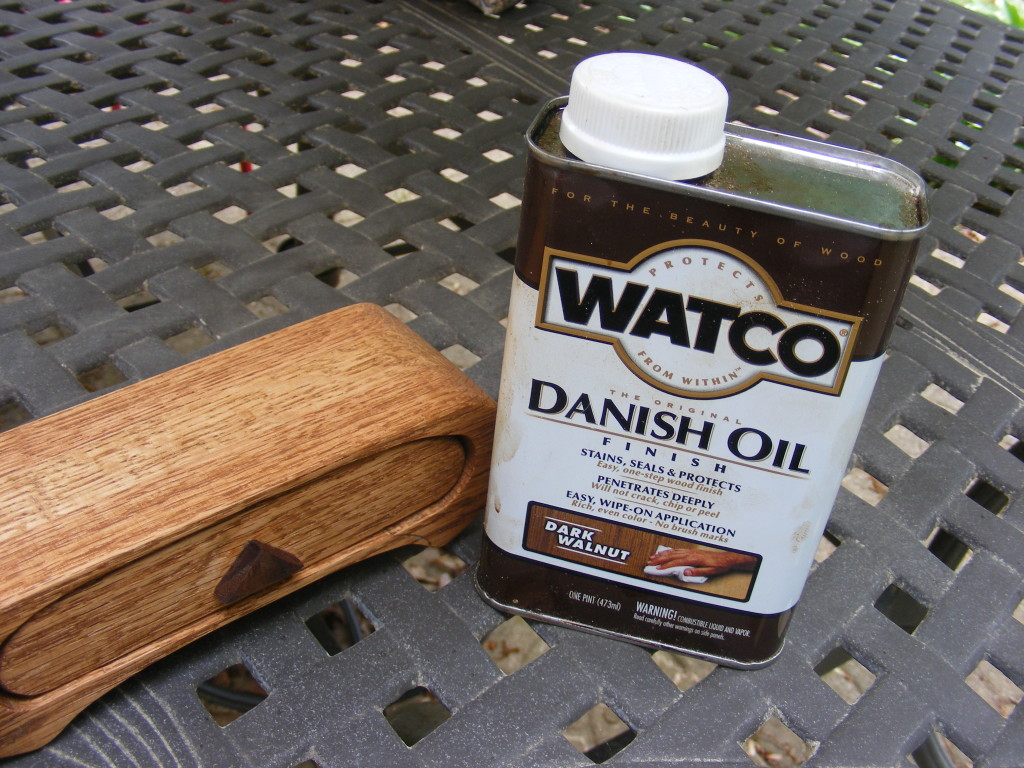
Step 13 – Finish the box. I used a dark Danish Oil and allowed it to dry overnight. You might decide to use a polyurethane. Whatever you use, read the directions on the container for application and drying guidelines.
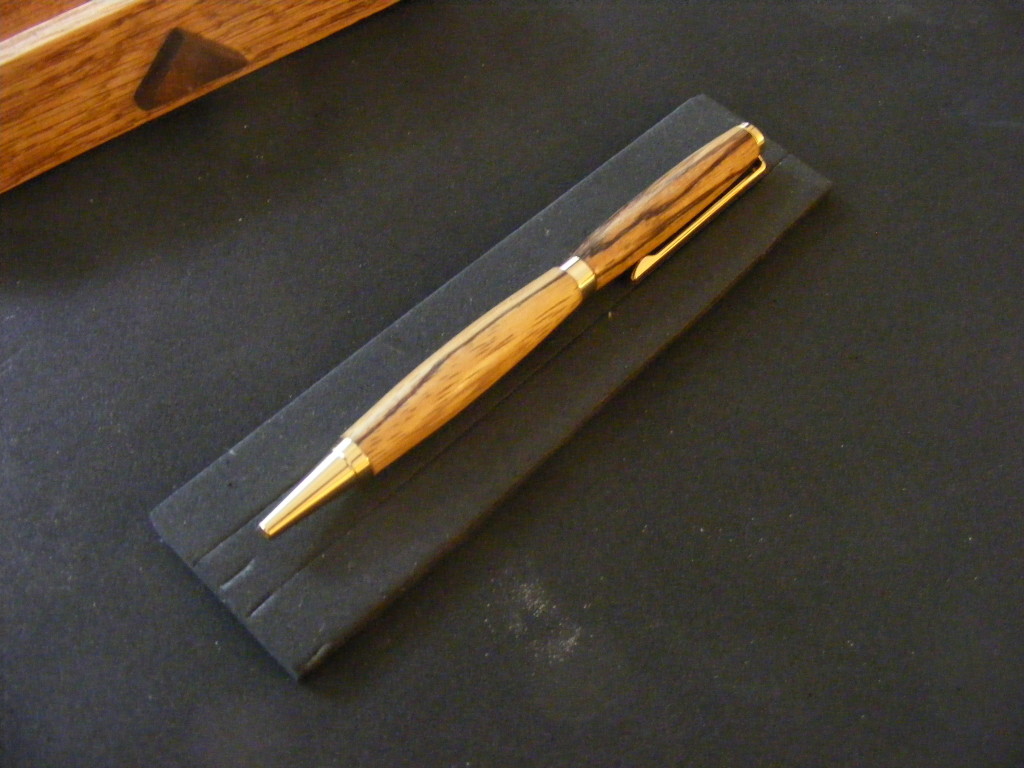
Step 14 – Line the drawer. This is an optional step, but I really wanted a way I could cradle my pen so it would’t slide around haphazardly. I got this foam from Hobby Lobby, measured and cut to fit with an exacto knife. I used 2 layers of the foam. The bottom layer to line the box, then a top layer with a notch cut out for the pen. I decided not to glue this in because it fit fairly snug anyway.
I hope you enjoyed this simple tutorial on how to make a bandsaw pen box. Obviously, you can make these boxes in all shapes and sizes and designs. They can be used for holding jewelry, watches, knives, and who knows what else. Just remember the main limiting factor will be the size and power of your bandsaw. Want to make bigger bandsaw boxes? Then you’ll need a bigger bandsaw with more power. I’m putting a bigger bandsaw on my tool wish list. Hope my wife is reading this — Father’s Day is coming up soon … LOL
For the pen turners who might be reading this, please check out my basic pen making tutorial and my comprehensive pen turning resource. I hope these will be helpful resources for the beginner and advanced turner alike.
If you decide to use this tutorial as a guide, please read my disclaimer. Have fun and be safe!
Please consider subscribing to Four Oaks Crafts where you get tons of free woodworking / DIY tutorials. The subscribe entry box is in the left hand column. You can also follow me on Facebook or Pinterest. Until we meet up again, happy woodworking!



Hi, glad I found this on Steve’s post, I make pens which I sell for charity and always looking for different ideas to sell them and the box is a great idea, will have a go, thanks for the instructions.
Thanks for the comment! I’m glad you like the box.