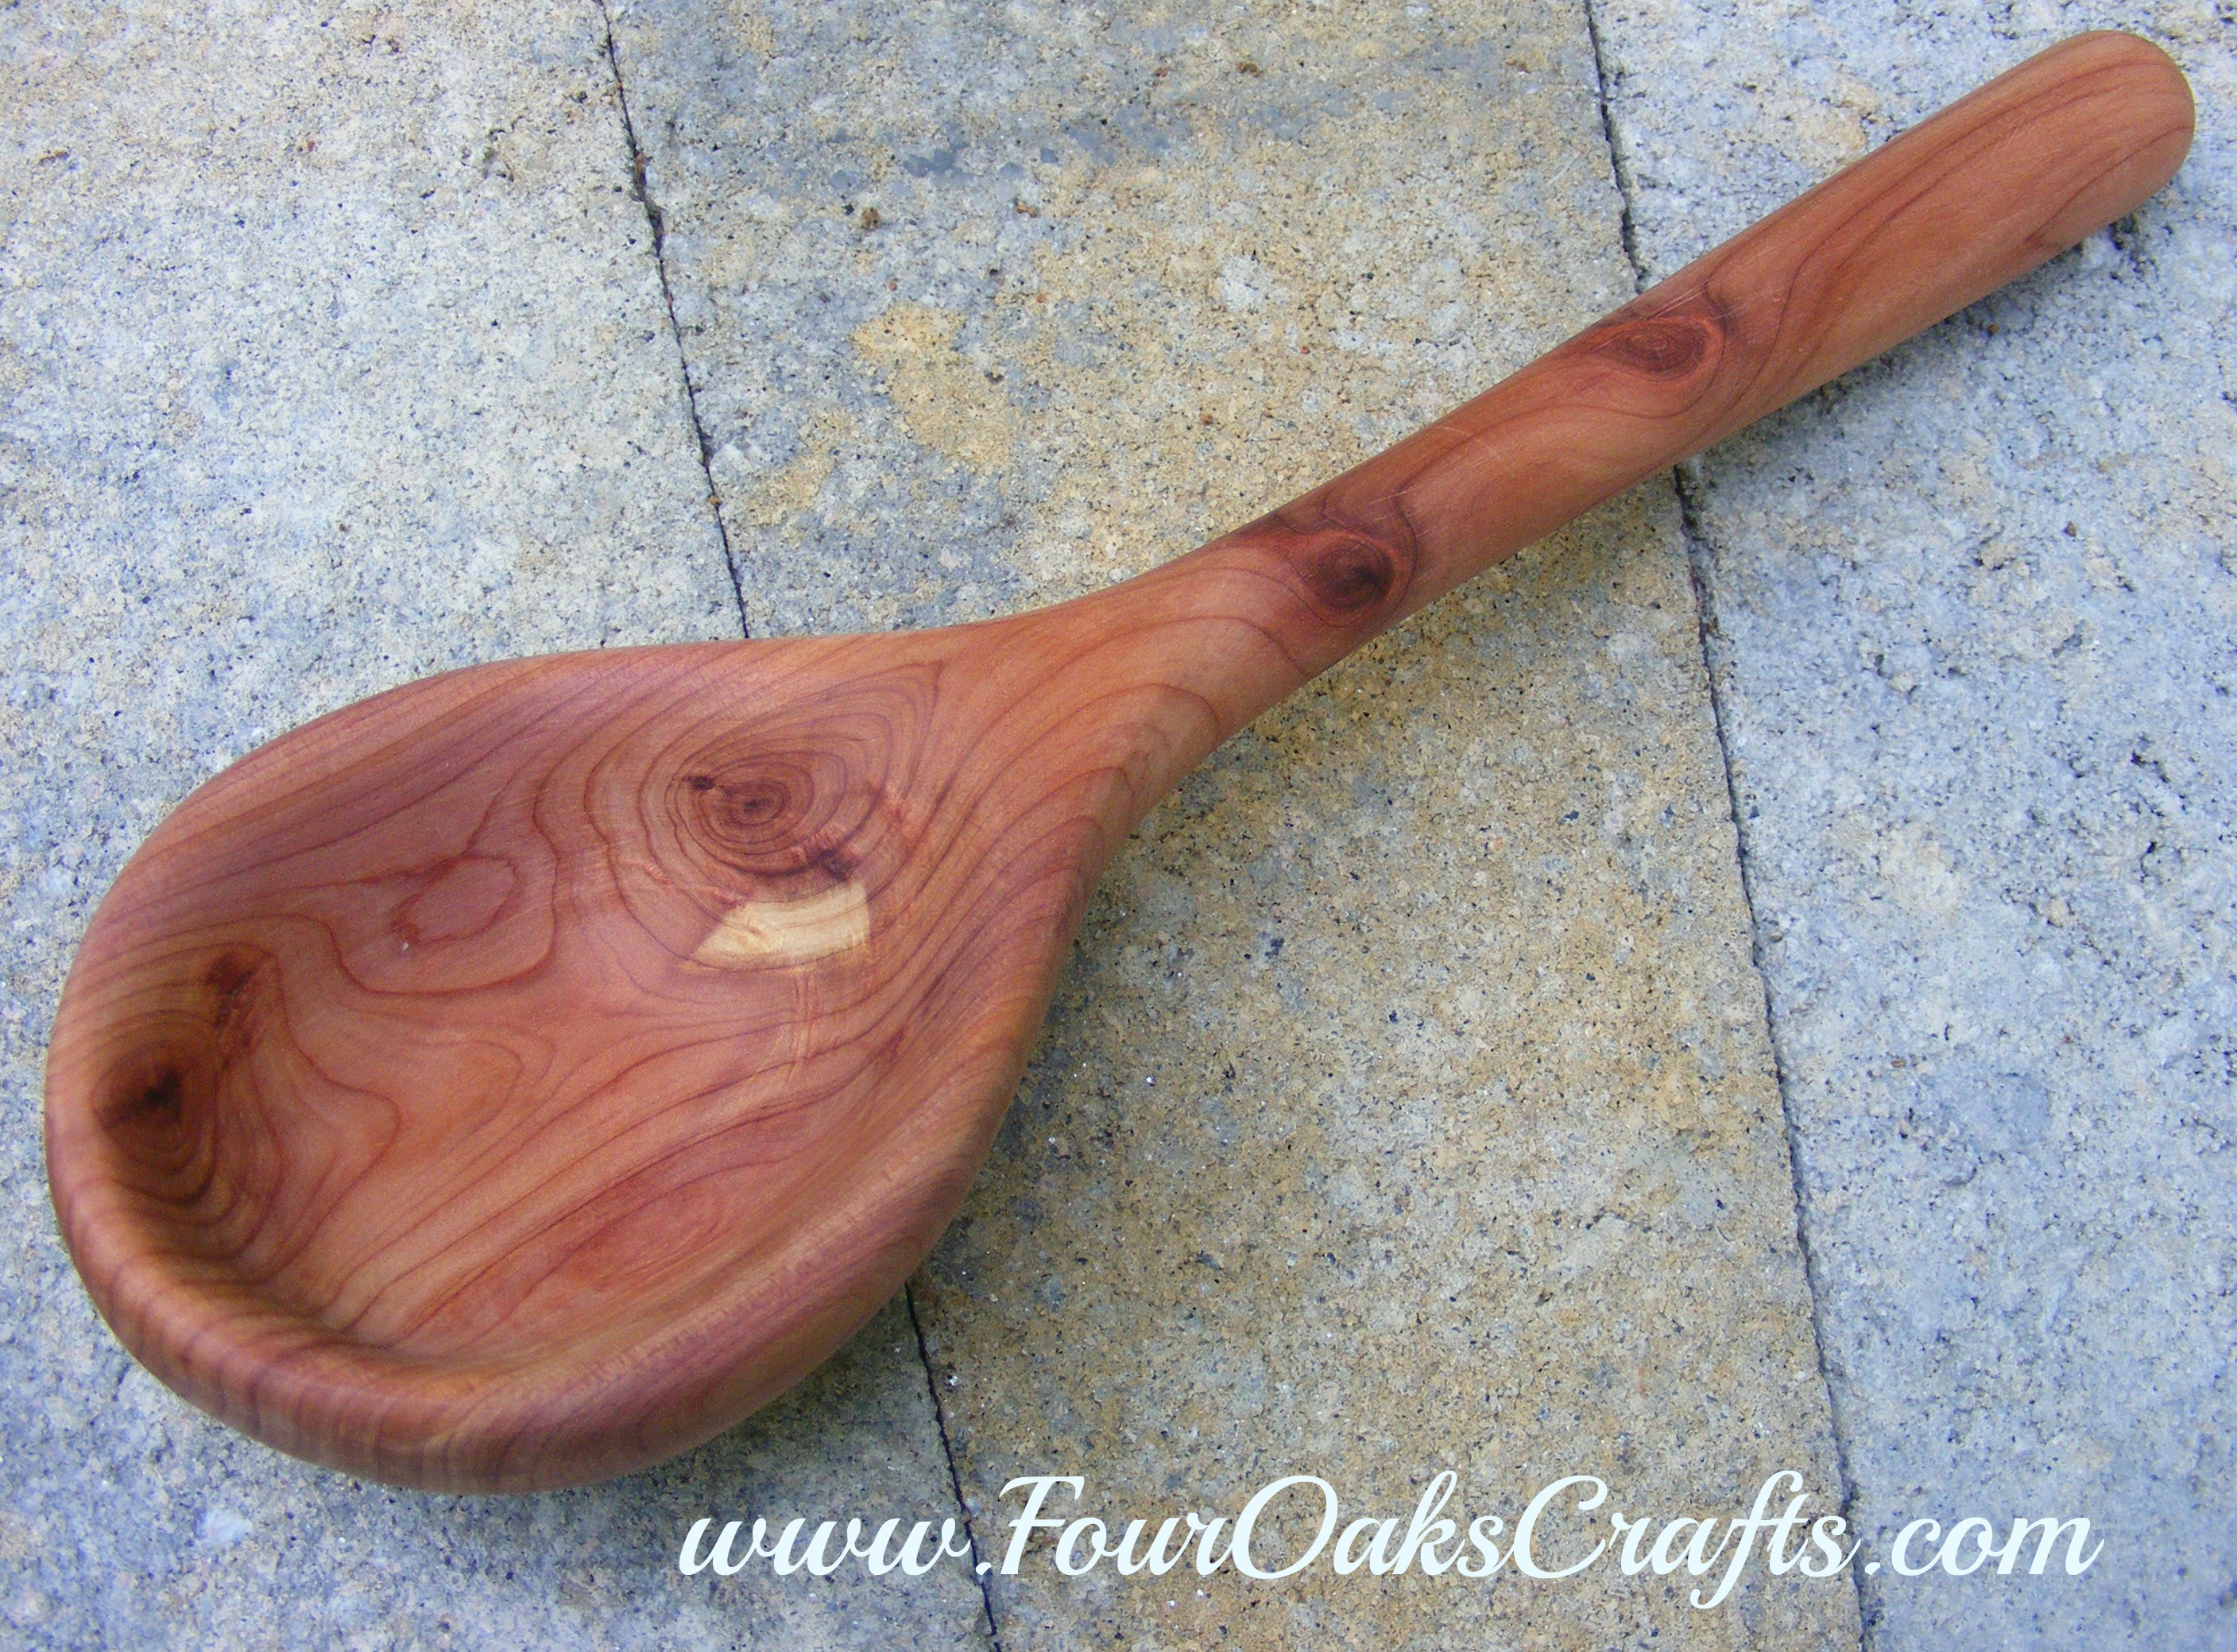
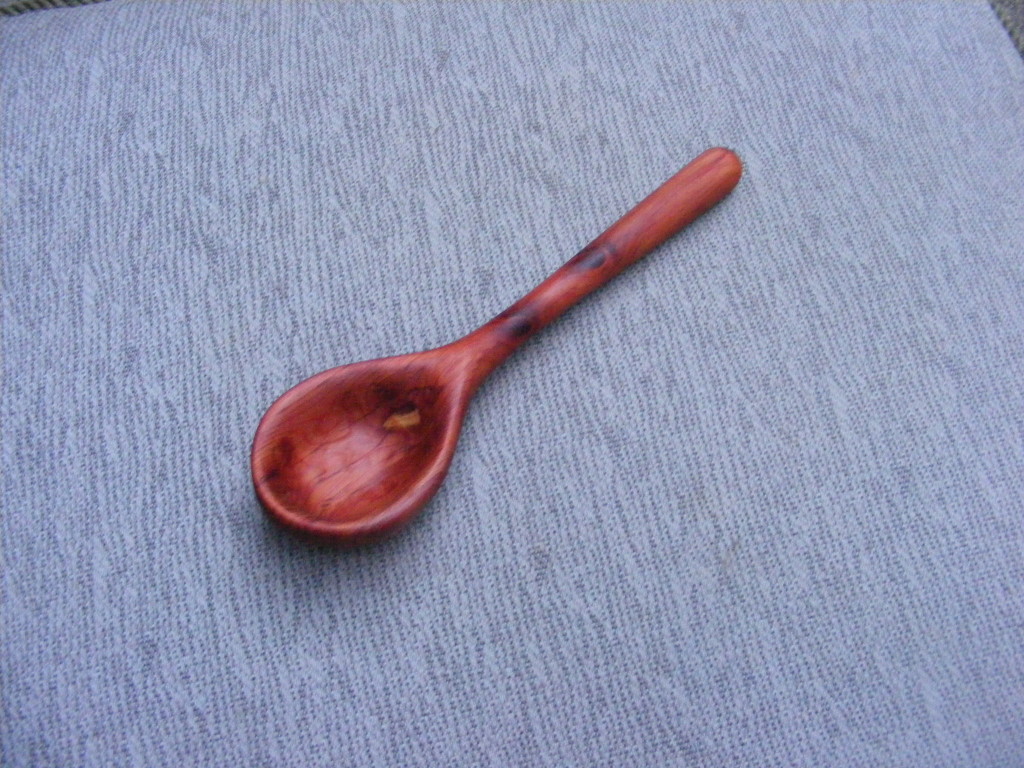
I love finding discarded wood lying around waiting to be changed into something that serves mankind. I almost forgot I had this nice piece of eastern red cedar. It leaned against my shed, originally destined to become a fence post. I saved it from that fate and decided to make a beautiful cedar spoon.
Making wooden spoons is a fun woodworking hobby. And there’s so many ways to make them. You can make entirely by hand or use power tools. I like to pick a happy medium and use both.
Follow along as I show you how I made this lathe turned and hand-carved spoon. I hope this will inspire you to get out into the shop this week and find a piece of wood just screaming for salvation and significance.
The Cedar Spoon Tutorial:
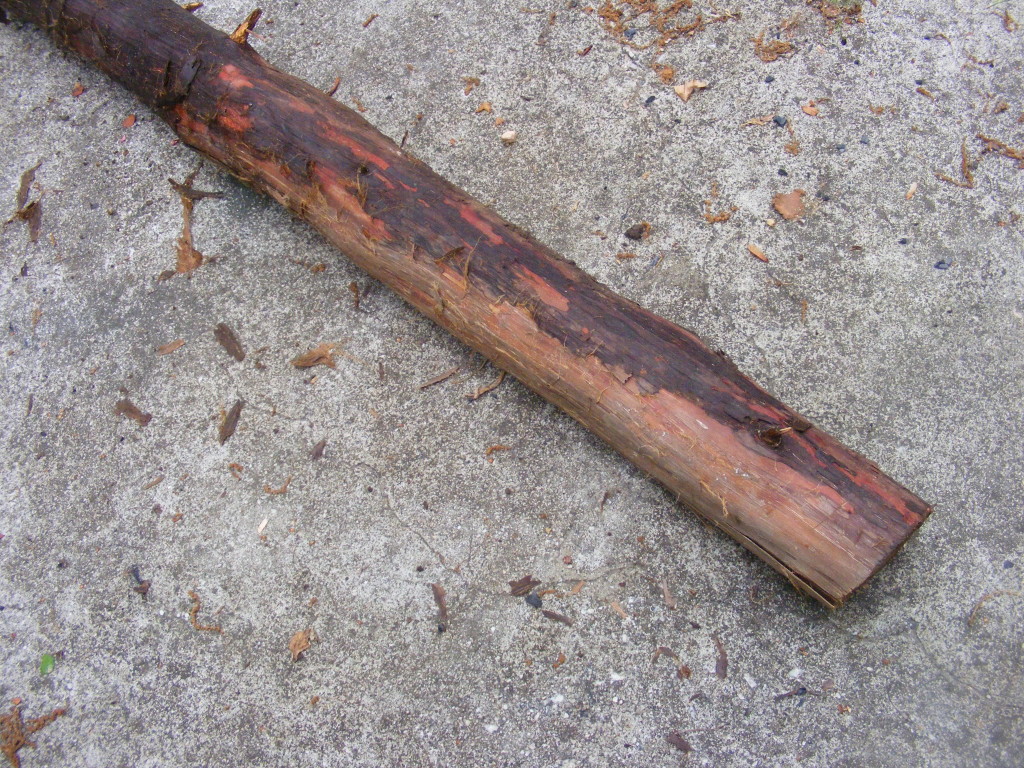
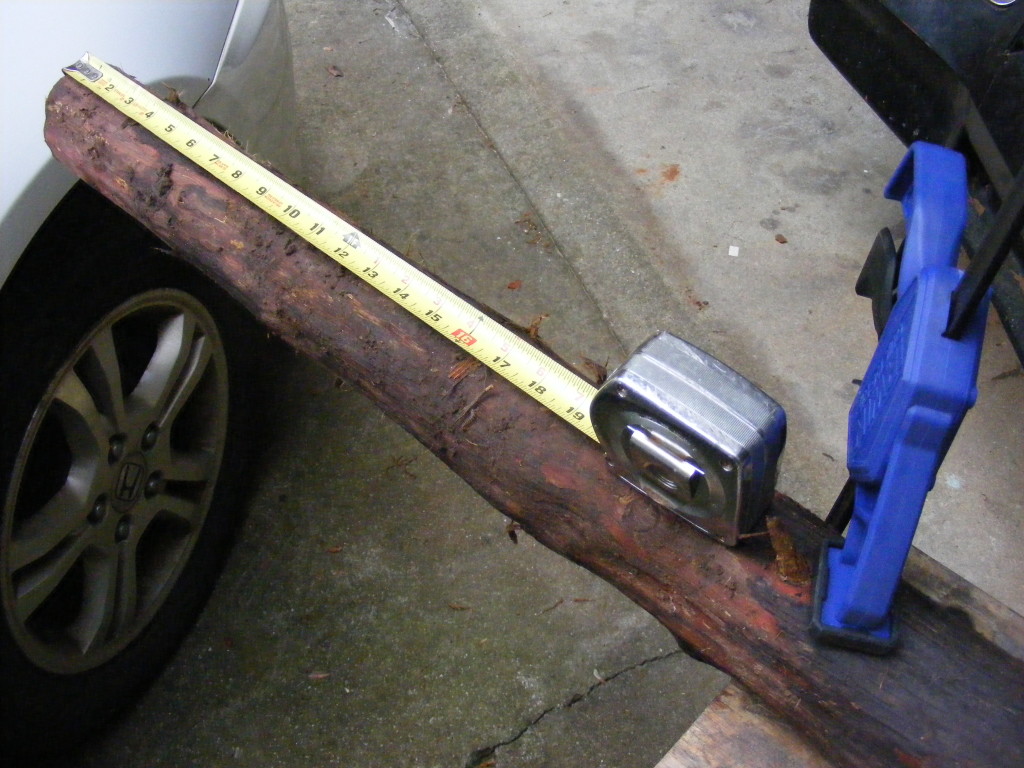
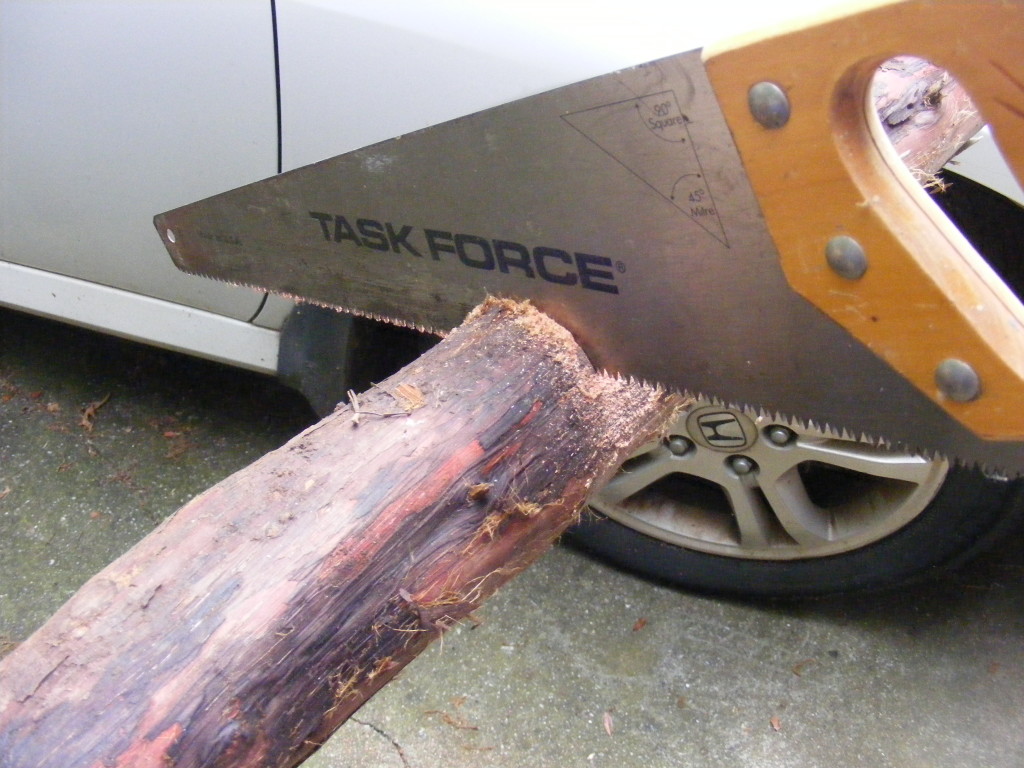
The picture above is my cedar tree trunk. I think this was originally intended to be a fence post. I clamped it down, measured it for my lathe, and used the handsaw to cut off my blank. I took the cut piece over to my miter saw and squared up the ends.
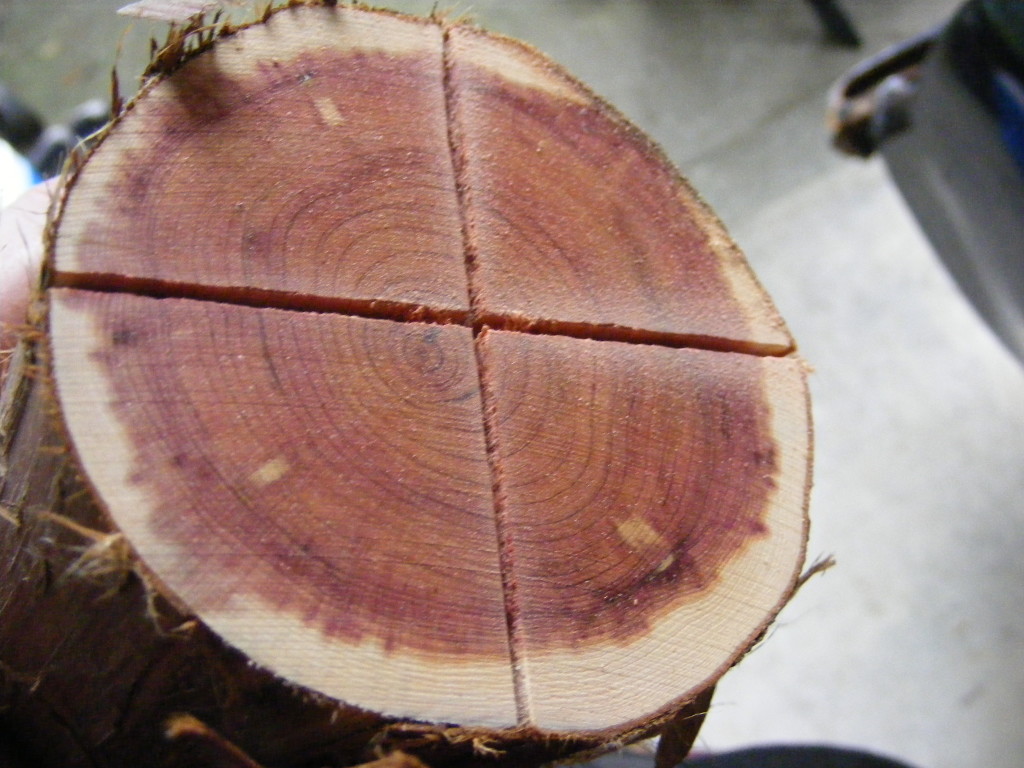
I used my bandsaw to make a few cuts for my spur drive and then mounted it between centers.
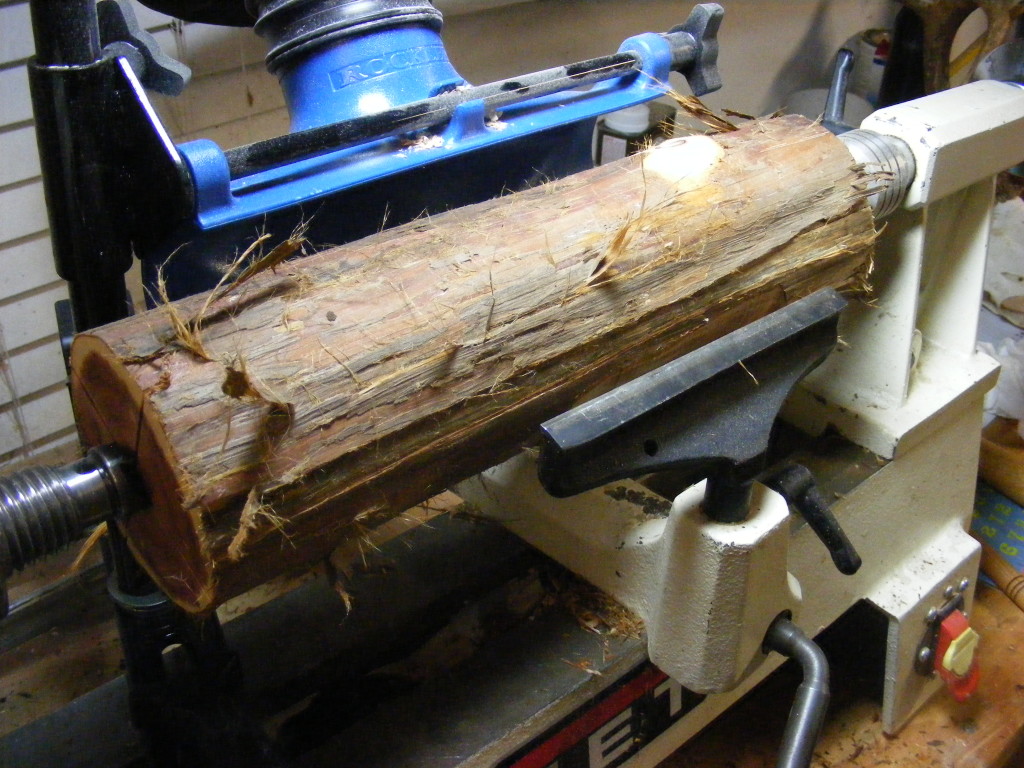
Once I felt the blank was securely mounted between centers on my lathe, I used a roughing gouge to get it down to a cylinder.
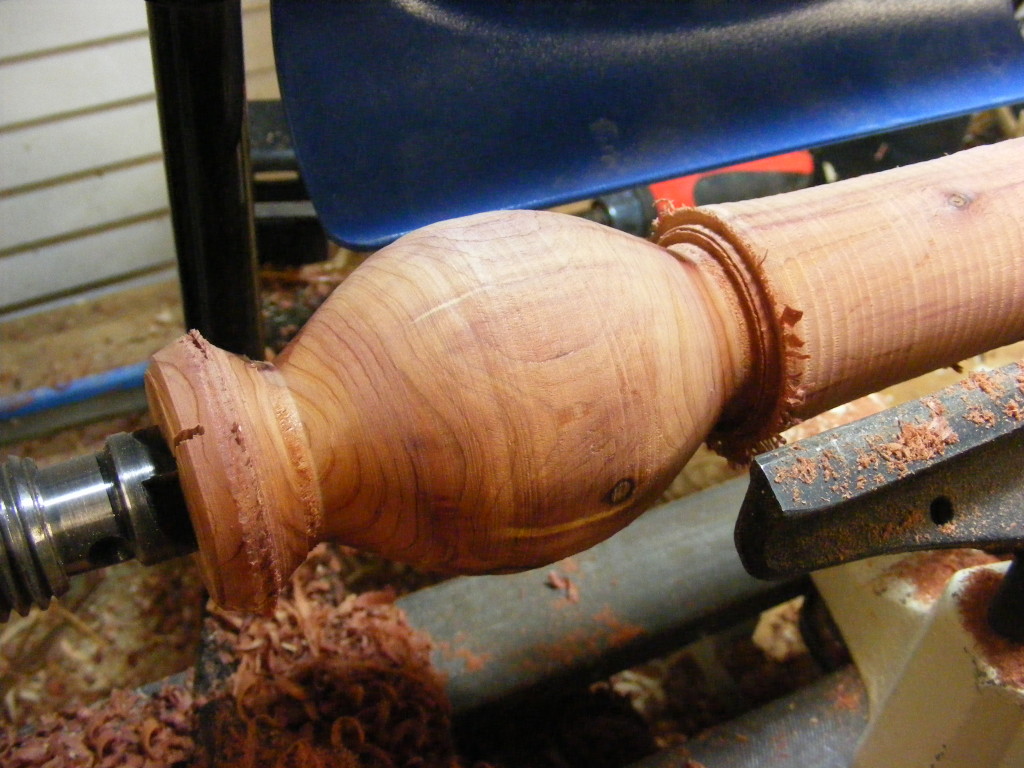
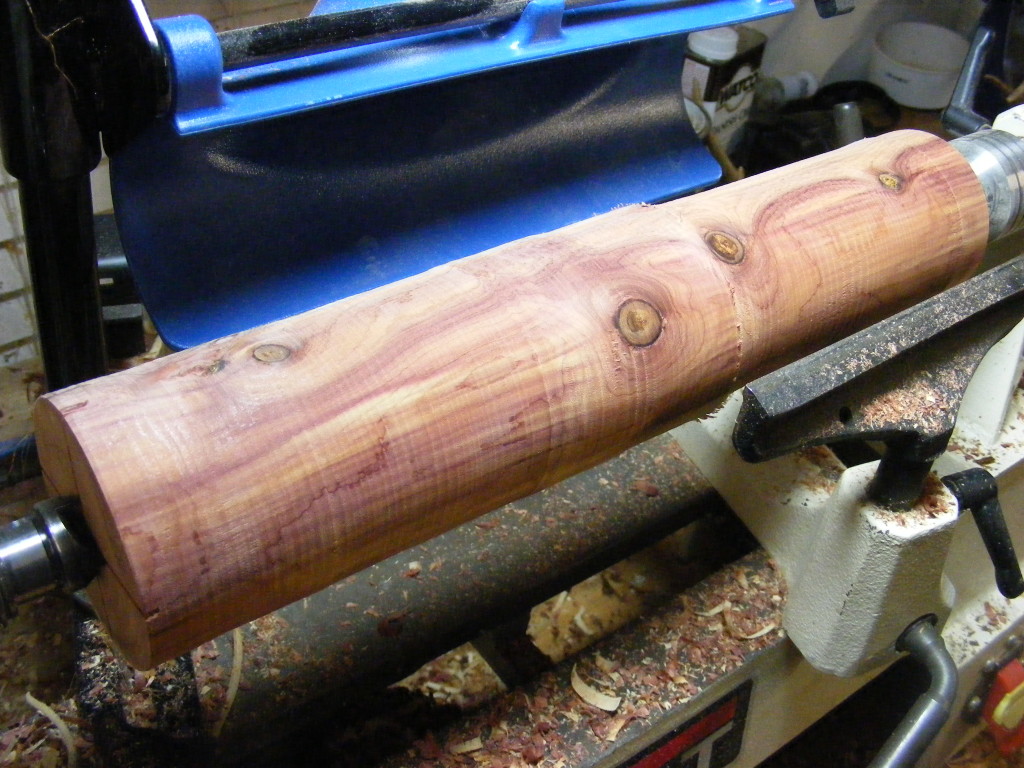
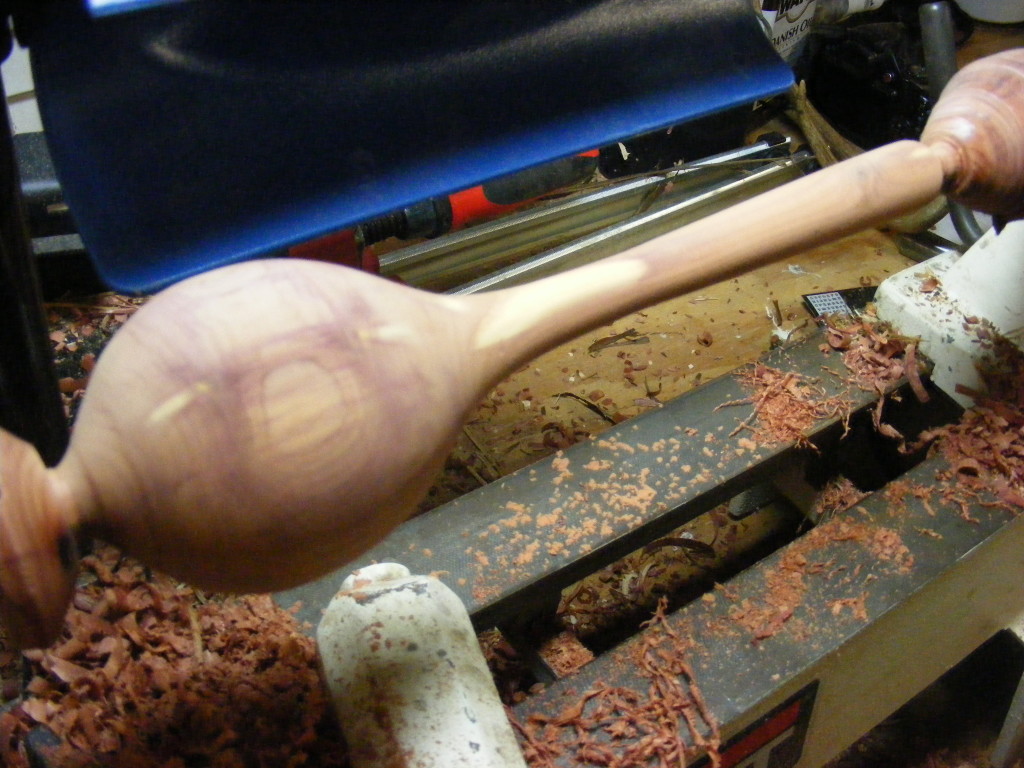
Now I’m creating this large bead which will be the scoop part of the spoon.
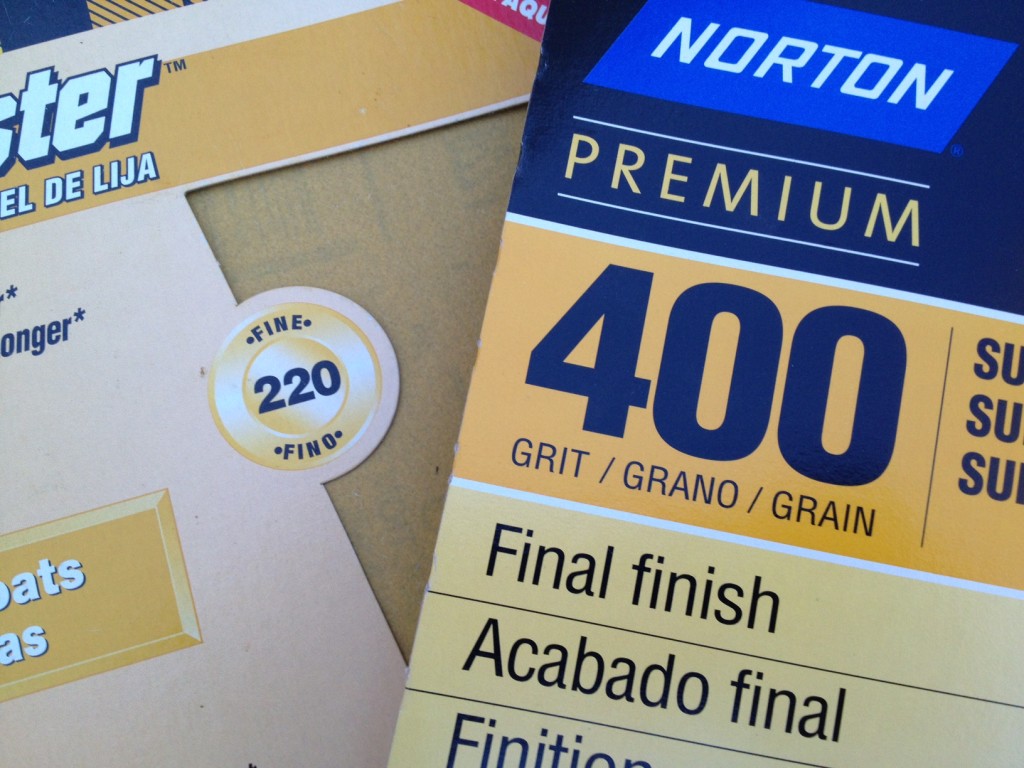
I turned the handle down to the size I wanted and gave it a slight taper. (Sorry about the unfocused picture here.) I used sandpaper — 120 grit, 220 grit, and 400 grit— and made it nice and smooth.
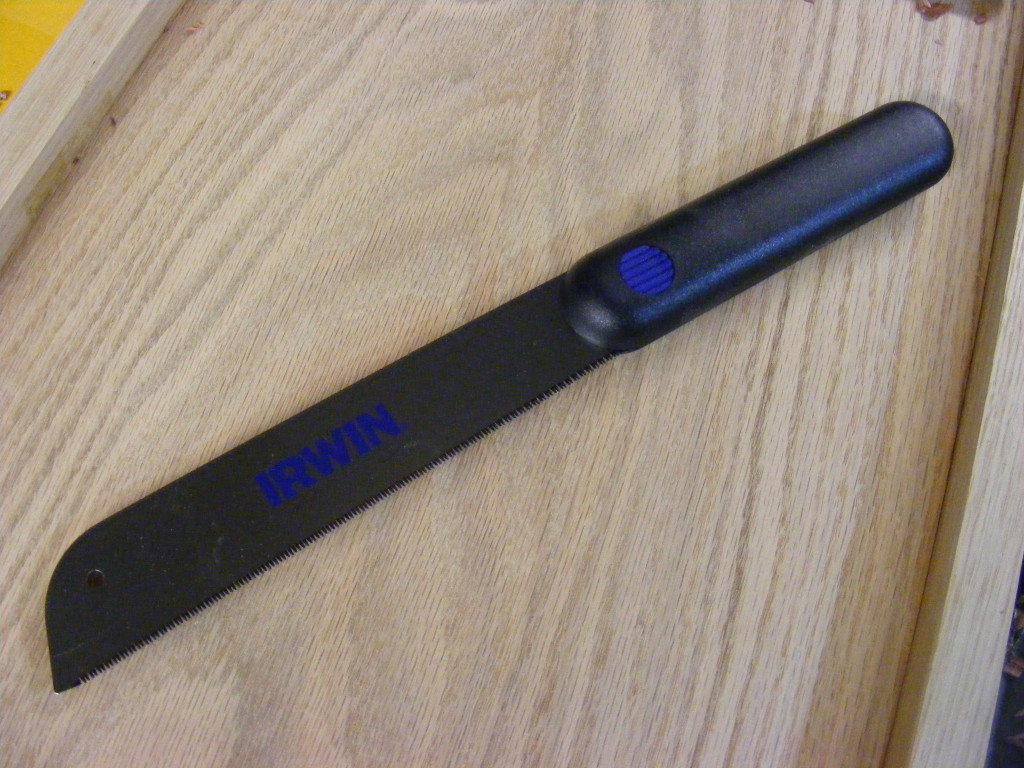
With the lathe off, I used a fine tooth hand saw to cut the in-progress cedar spoon off the lathe and my waste pieces.
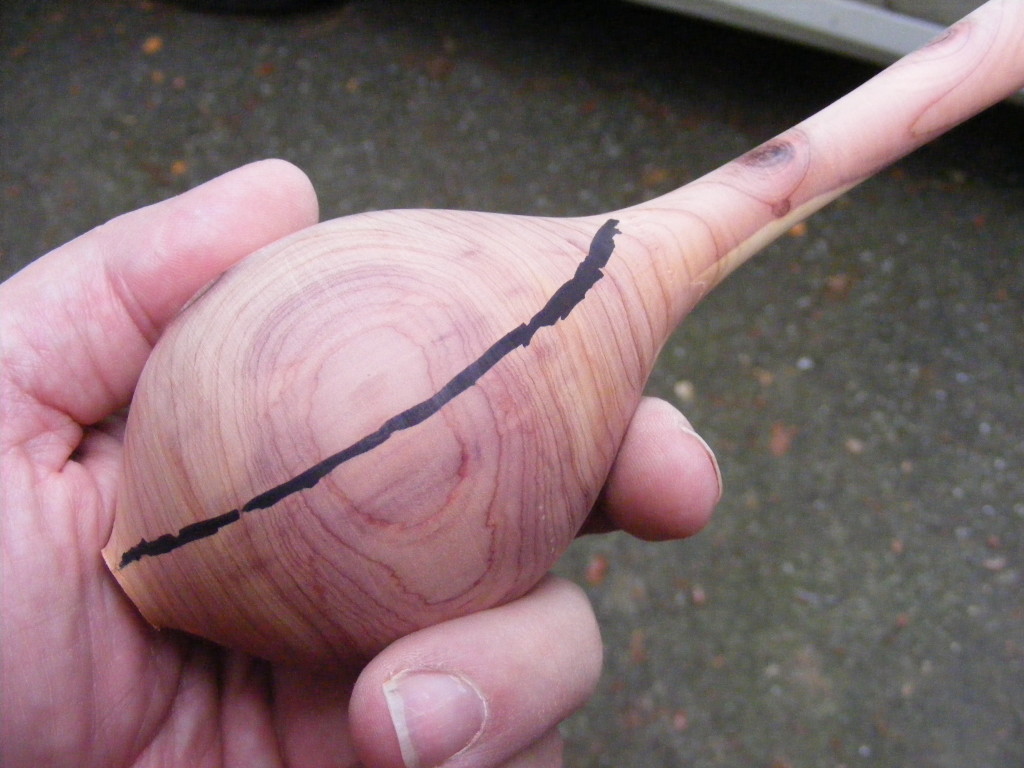
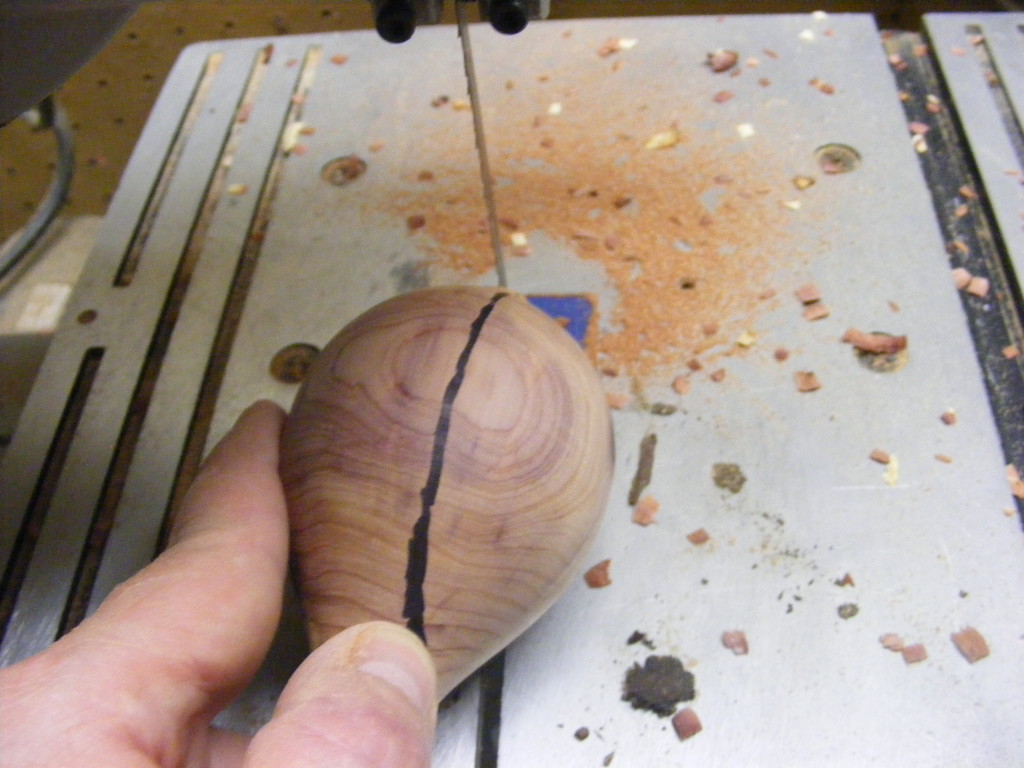
Next, I took a marker and drew a line freehand halfway along the length of the “bead.” Used the bandsaw to cut along this Line.
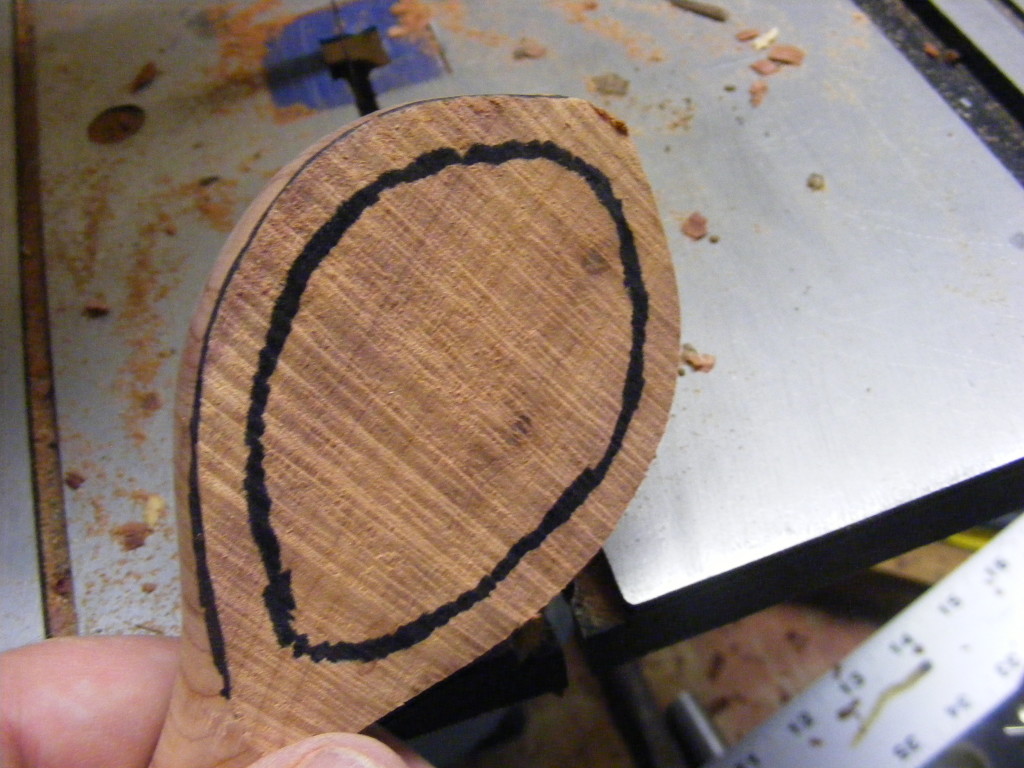
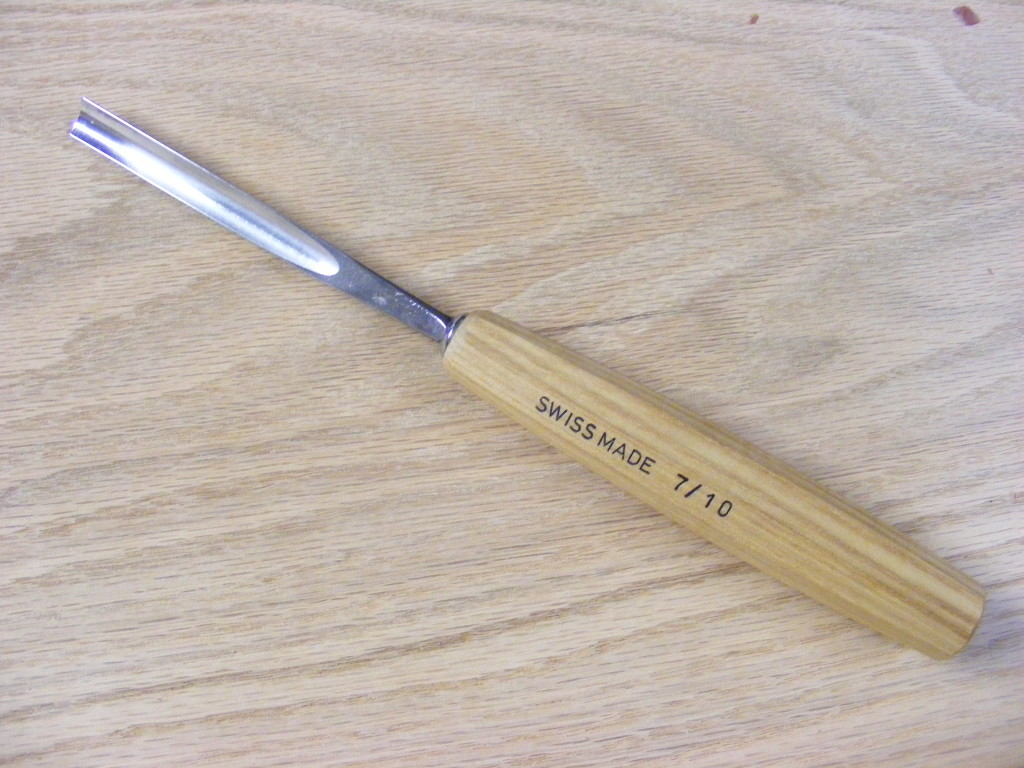
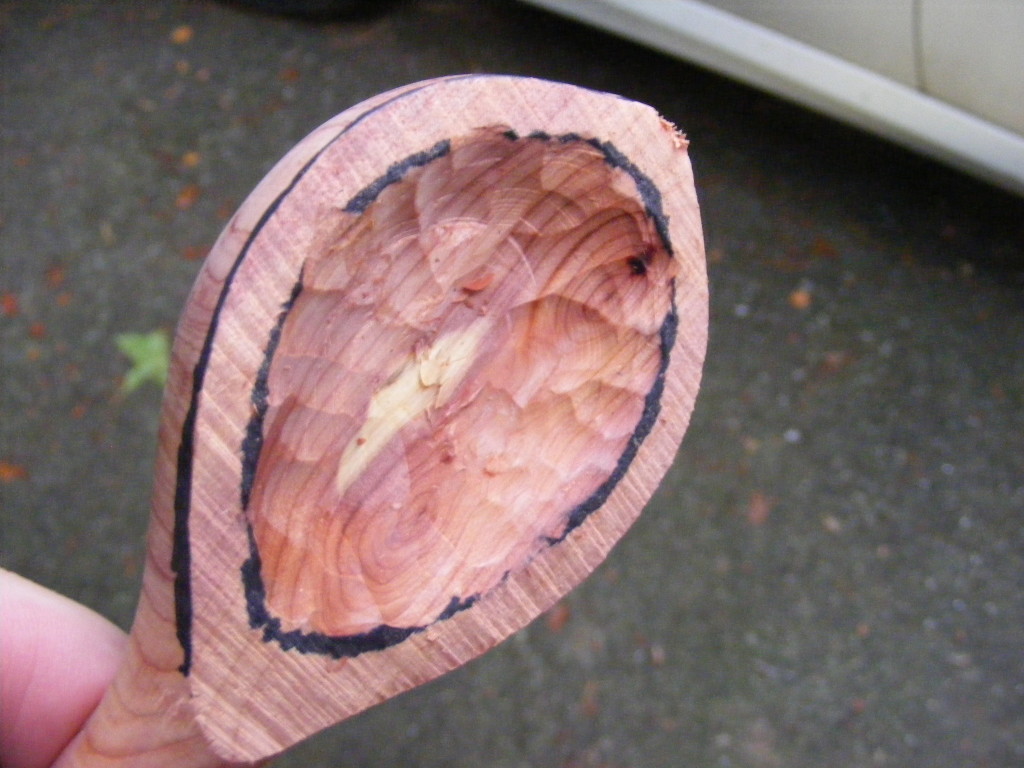
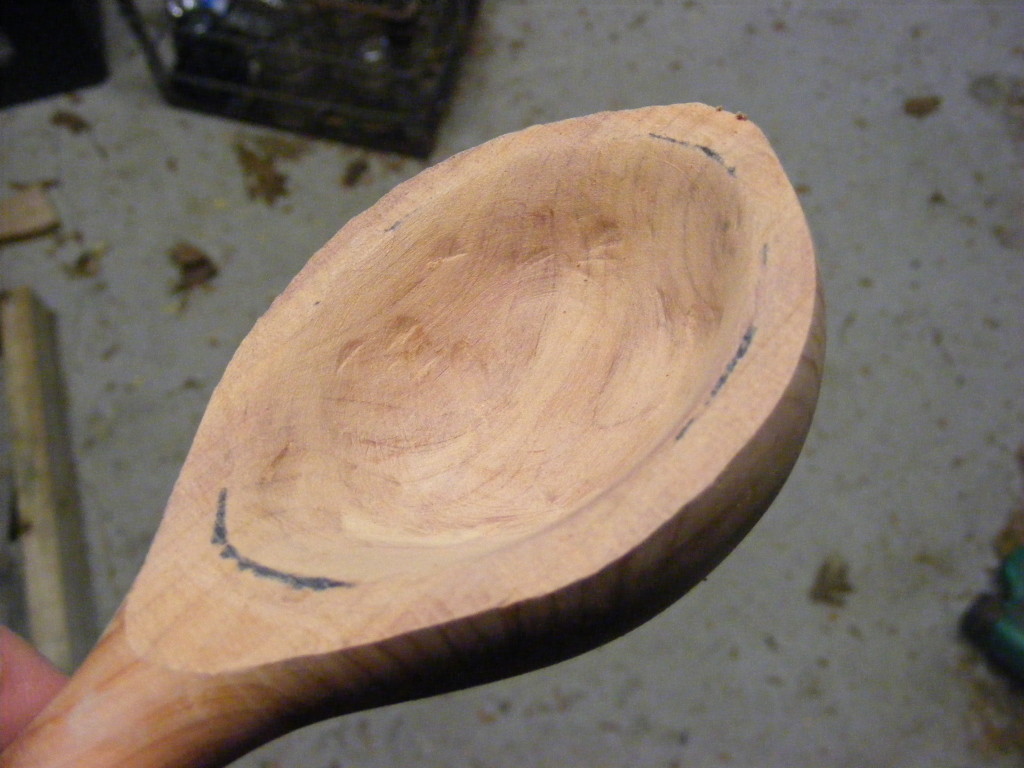
On my cut spoon, I marked out the edges (or walls) of the spoon. Along this line I began digging out the wood using my carving tool. If you go this route, make sure you secure the spoon as the carving tool can slip. I speak from experience LOL.
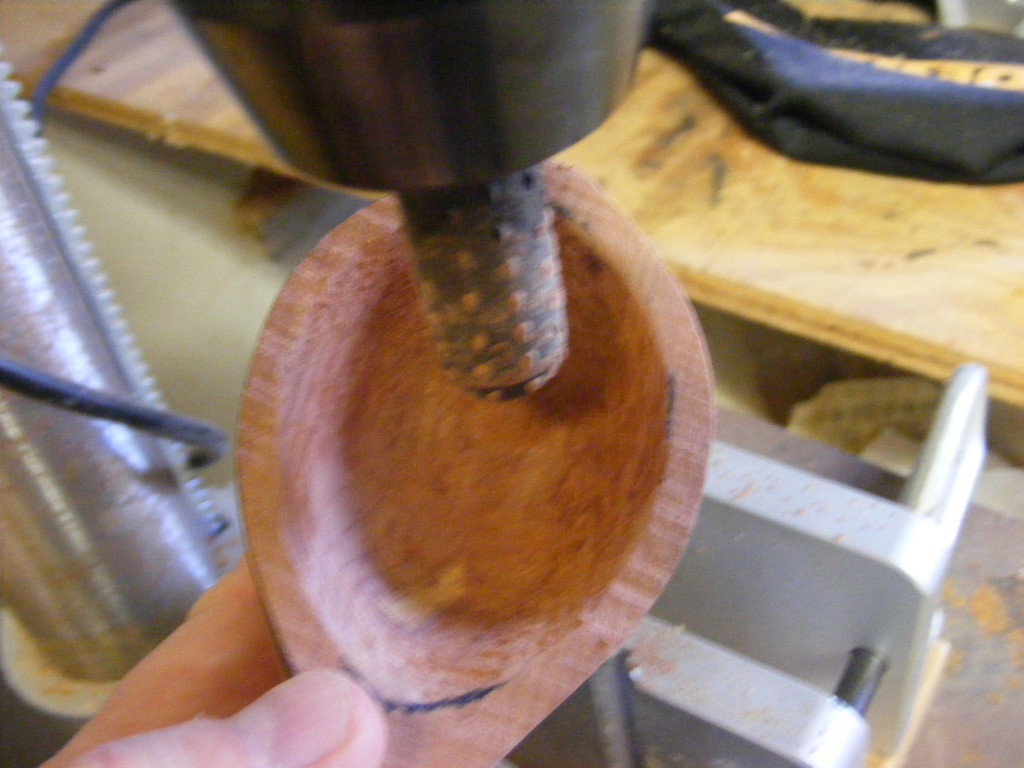
I used the carving chisel to dig out the bulk of the wood from the spoon. Then I used a rasp bit mounted to my drill press to rough it out some more. I used the belt sander to sand the two ends of the spoon.
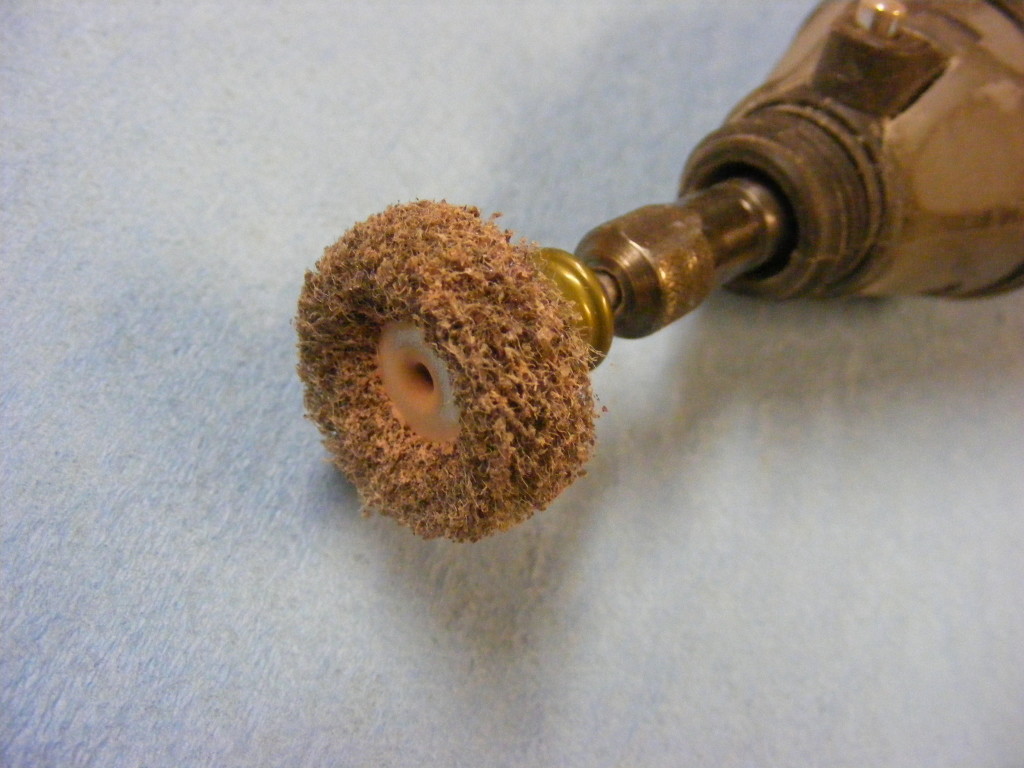
The rest involved hand sanding and using a Dremel sander attachment. The Dremel attachment helped me sand the inside very well. The inside scoop is the hardest part to sand. I welcome any suggestions here for a better sanding method.
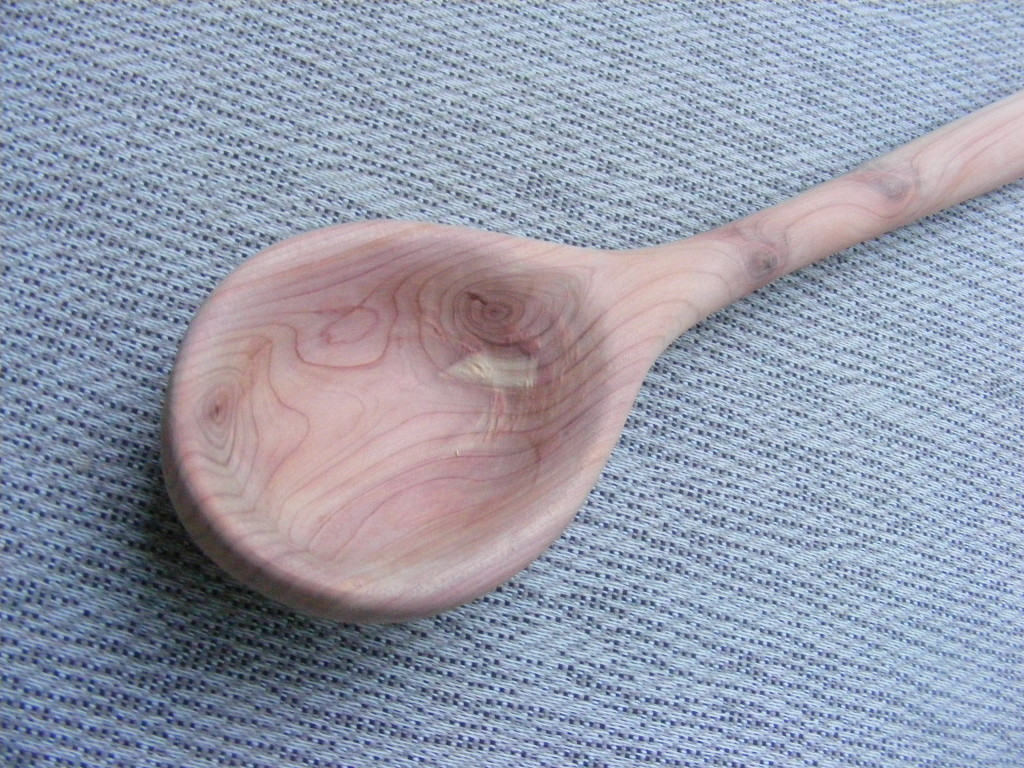
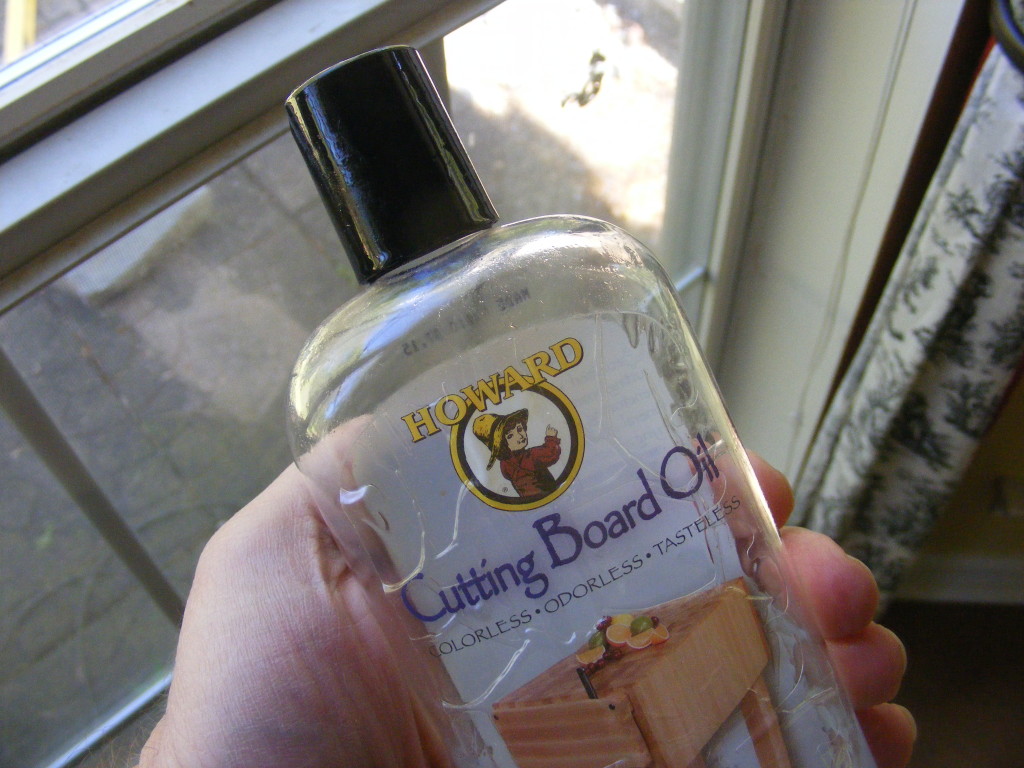
Once the cedar spoon reached the smoothness I wanted, I applied about 3 coats of mineral oil. This may not have been necessary, but for cosmetics it does make the cedar’s grain colors pop. The cedar really soaks it up. I hope 3 coats was enough.
To be honest, I’m still wondering if cedar was a good choice for a spoon. It’s a very soft wood and easily dents. The cedar dust is fine and dry and annoying — so wear a good dust mask. However, I love the aroma of the cedar and the color of the grain. My wife is happy because she got a supply of potpourri. In the next few weeks, I’ll be putting my new cedar spoon to the test and see how it holds up.
Want to learn more about eastern red cedar? Check out this Wikipedia article.
I hope you enjoyed this short tutorial. Please take a minute and subscribe to my site so you can receive free tutorials and woodworking tips. The subscription box is located in the left column. You can also like my Facebook Page.
Feel free to leave a comment. Share your ideas about wood spoons and — what are you making in your shop this week?




Nice One!
Thanks, Laura!
Adorei lindo trabalho e também a escolha da madeira
Thanks for the comment