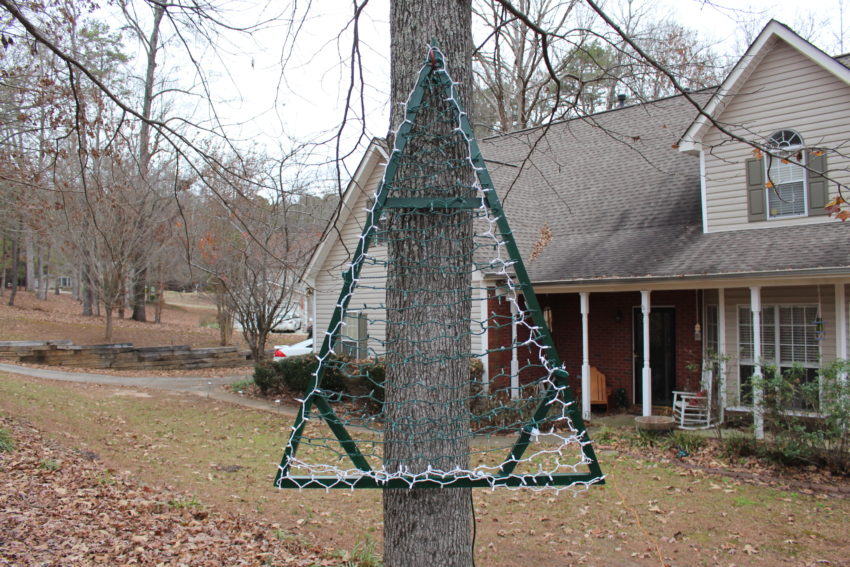
This was a last minute project I did 2 weeks before Christmas, but I love my Christmas tree yard lights. It took me close to a whole afternoon to make two of these, but they are very easy to make. The main tools you will mainly need are a saw and a drill — that’s all. I painted mine green which helps them blend into the woods better.
I hope you enjoy the tutorial. Have a Merry, Merry Christmas and Happy New Year!!
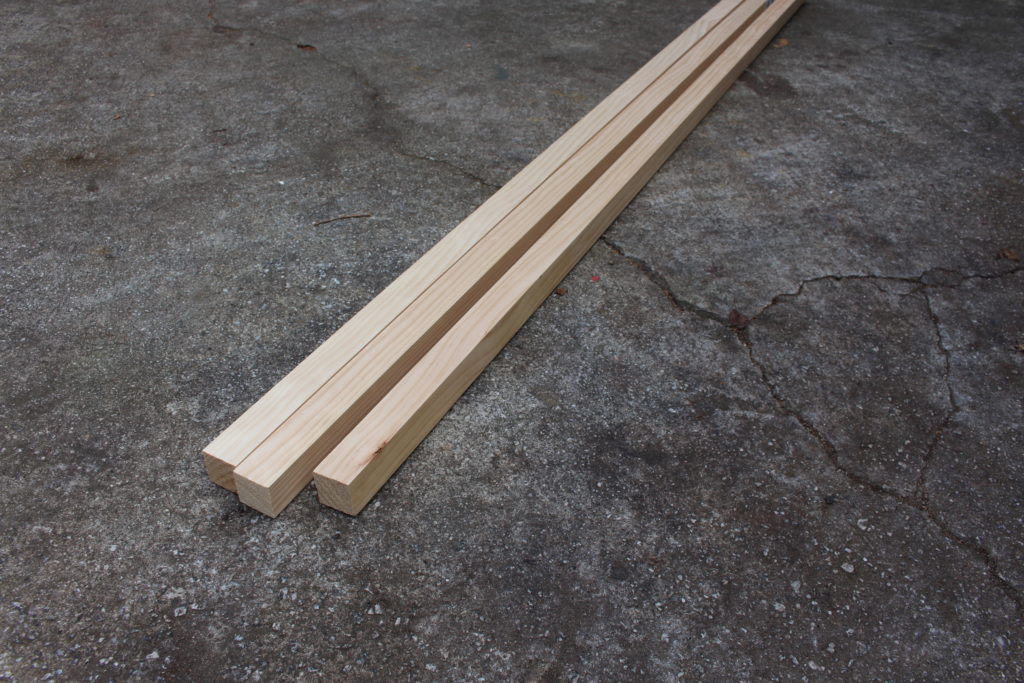
Gather some 2 inch X 2 inch X 6 foot pine boards. You’ll need at least 4 of these (if you add the braces, 3 boards if you don’t). It’s probably a good idea to use treated wood, but treated wood may warp and twist. These 2 X 2’s can be found at your local home improvement store.
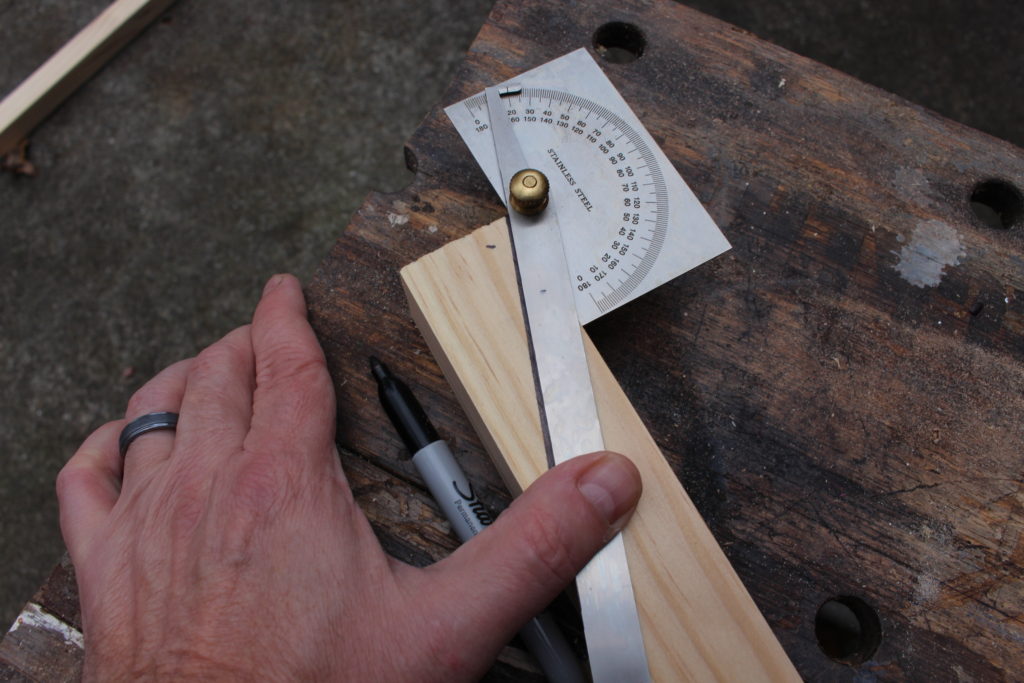
I start by marking and trimming the angle for the joint at the top of the Christmas tree triangle. I used a protractor to get a 20 degree angle on 2 of the boards.
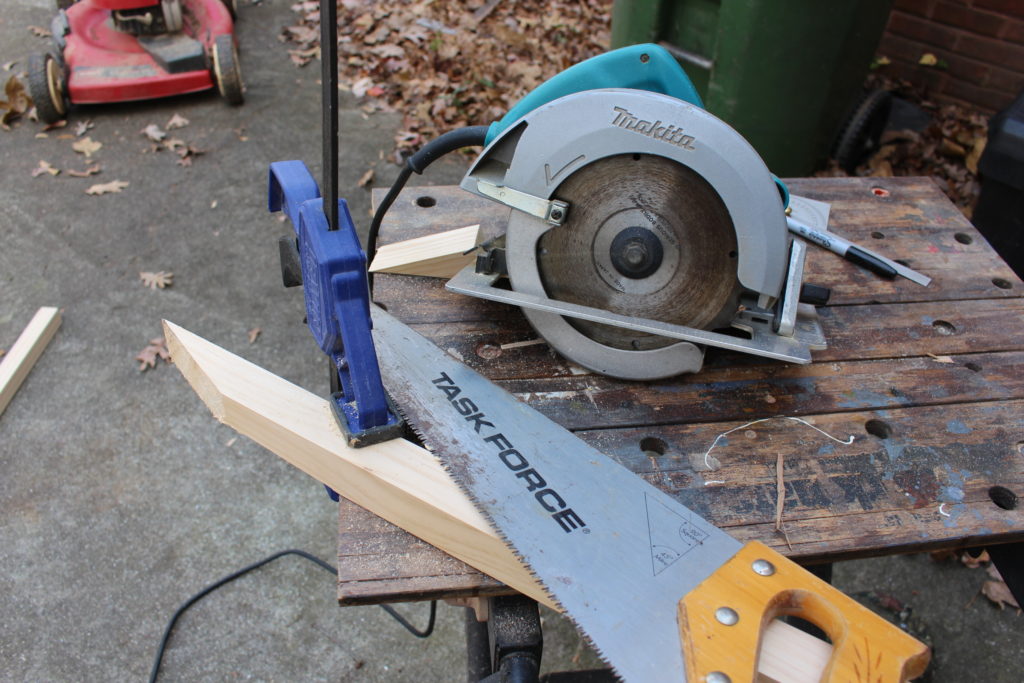
You can use a hand saw or circular saw to cut the angles.
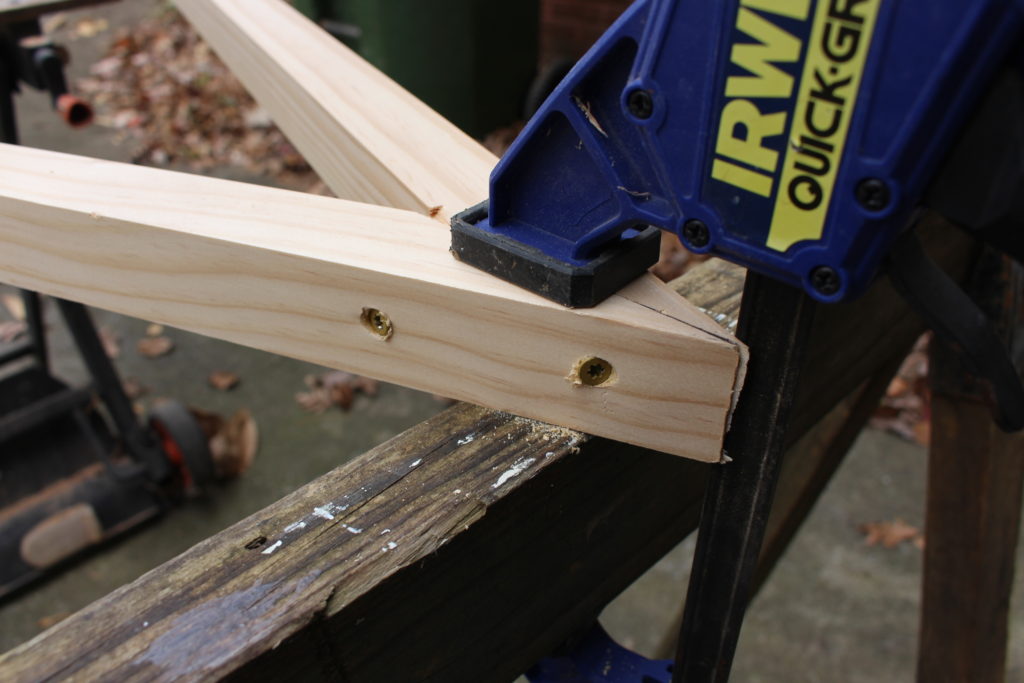
I joined the top of the tree together with 2 inch external wood screws. Pre-drill the holes to prevent cracking. Use wood glue also.
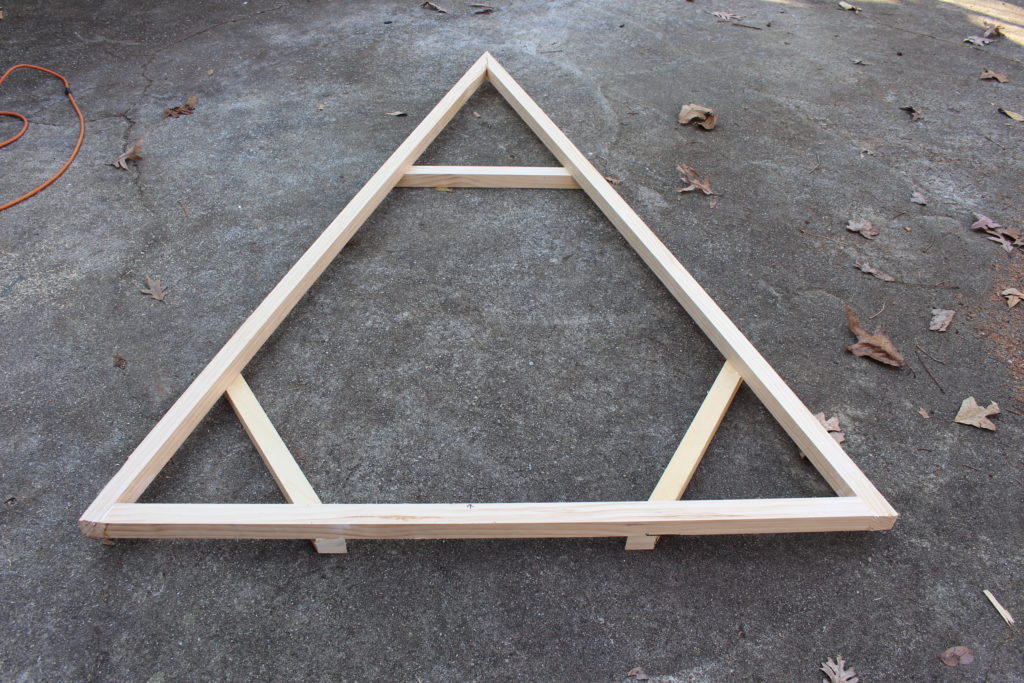
Next, I added the bottom board and added 3 braces. So, the 2 side boards are approximately 6 feet long and the bottom board is 4 feet long. I used wood glue and 2 inch wood screws to join all the boards together.
The braces are optional, but I believe this will help provide more support and perhaps keep the boards from warping.
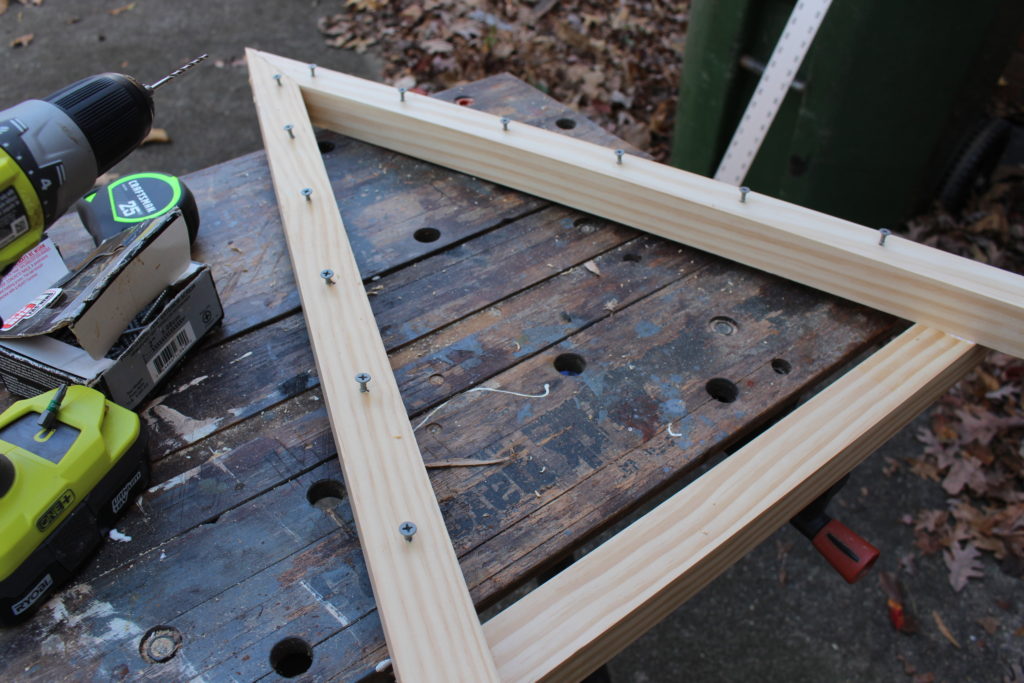
I like to string the lights horizontally so I added the wood screws for the Christmas tree wires to the two side boards. I spaced them 4 inches apart so each side will need approximately 17 wood screws (a total of 34 screws). I used 1.5 inch external wood screws and don’t screw these all the way in. Leave about 1/4 inch to 3/8 inch of the screw sticking out.
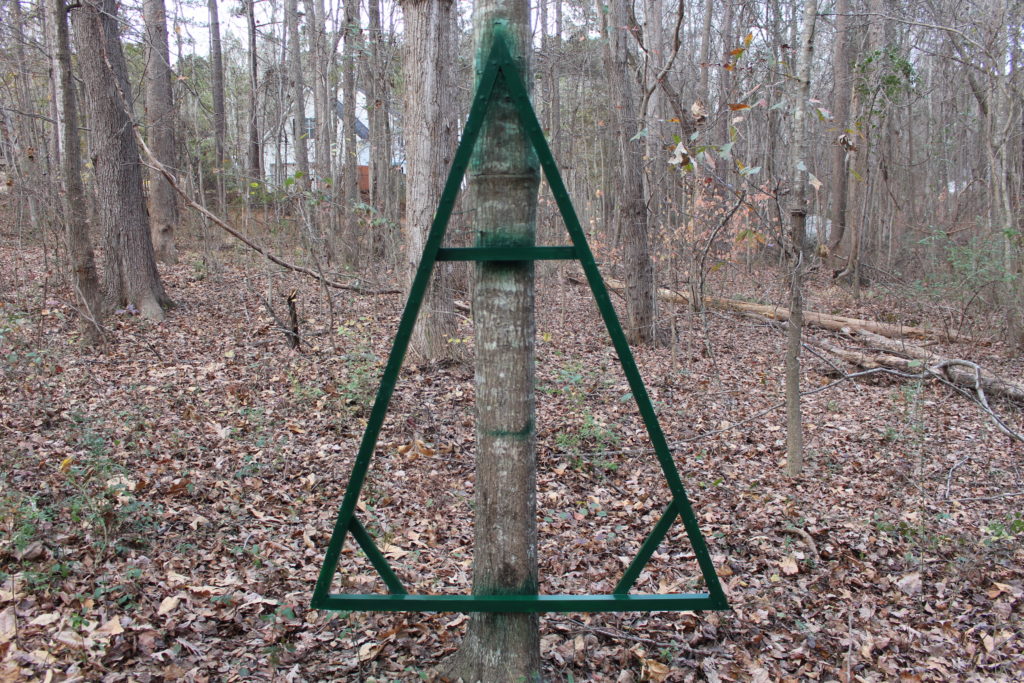
Next, I hung the frame to a tree and sprayed on 2 coats of external paint. If you didn’t used treated boards, I’d also recommend applying 2 to 3 coats of spar urethane. You can buy this is in a spray can also. I wouldn’t worry about getting a perfect-looking paint job since most folks won’t see the wood frame up close.
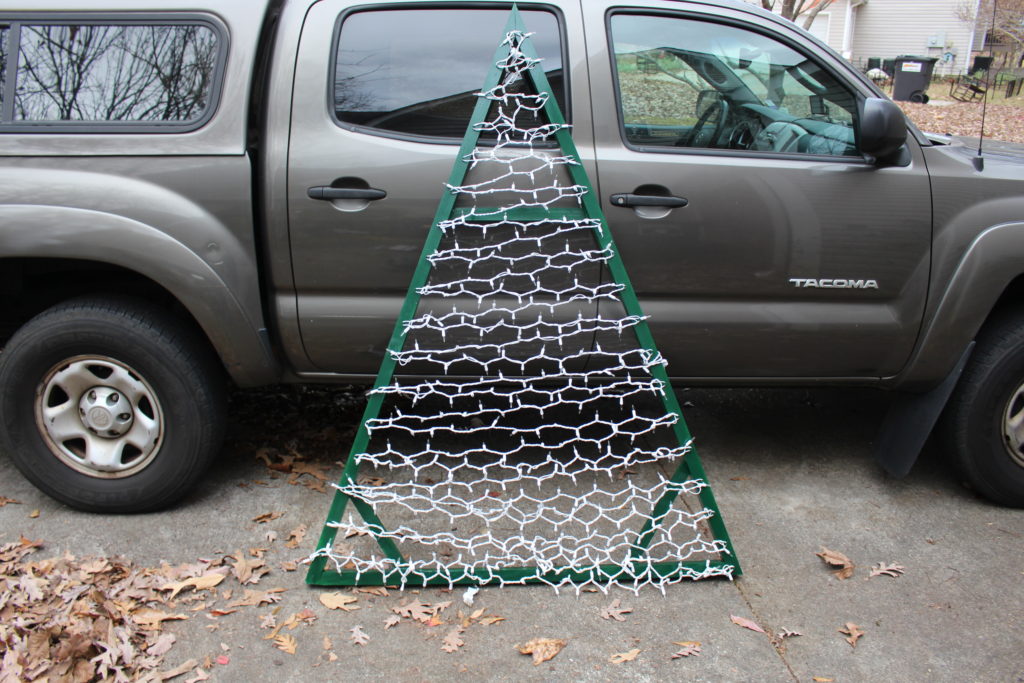
After the paint dried, I strung the lights back and forth from each side. For this tree, I used white-colored wire/lights, but for my second tree, I used green. The lights themselves are clear LEDs so it doesn’t matter at night when the lights are lit up.
You will need at least 400 string lights (OUTDOOR type). I used 4 sets of 100 string lights. That’s roughly 86 to 90 feet of string lights altogether. Note — you may want to plug them in to test them before you string them on the Christmas tree frame.
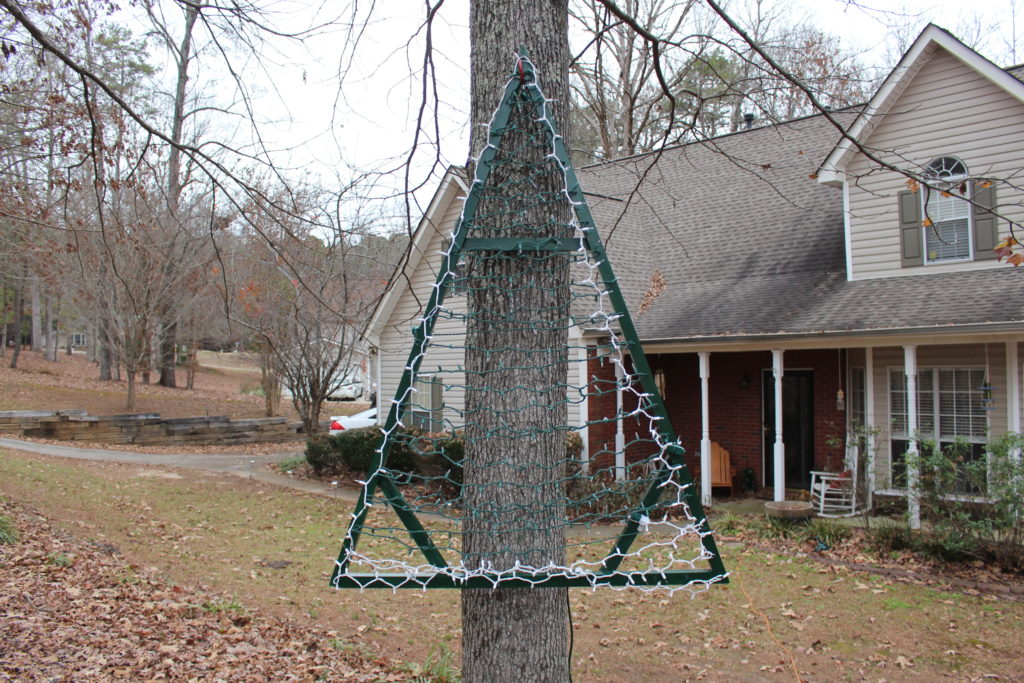
Here is the finished Christmas tree yard lights. You can get 3 to 4 inch hooks from your home improvement store. These are the same kind of hooks folks use to hank up bicycles. It doesn’t matter how high you hang them as long as they’re visible. The bottom of my tree is approximately 3 feet above the ground.

Are you starting up a new shop? Want to work safer in your shop? To help you answer these questions I've put together a 2-part checklist -- Home Shop Safety & Tool Checklist.
I will also send you updates of my latest woodworking and DIY projects. You can get all this by subscribing to my free email newsletter.
