I recently finished up a cutting board for my sister-in-law. Shhhhh — don’t tell her. It’s supposed to be a surprise. Follow along, and I will show you in just a few steps how I made it.
Of course, if you decide to make a cutting board yourself, make sure you are properly trained and familiarized with the operating procedures for the equipment you use. And make sure you are doing everything safely. Identify all the hazards, wear the correct safety gear, you know the drill.
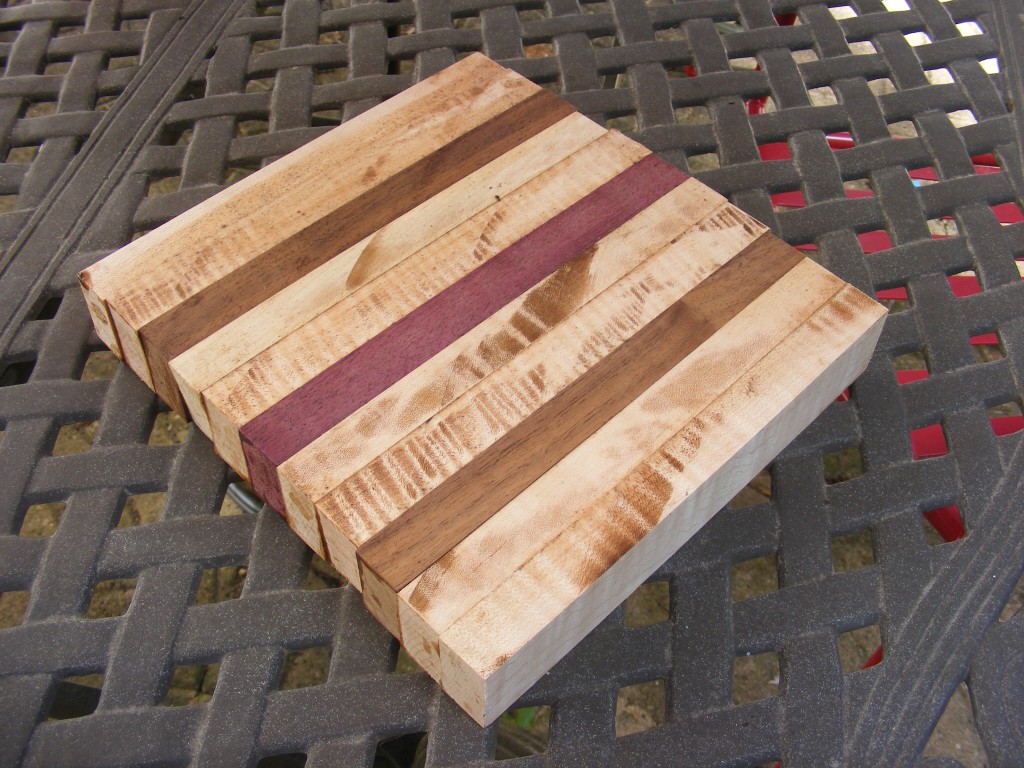
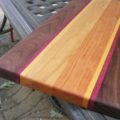
Pictured below is my rough cutting board. I used curly maple (light color wood), walnut (dark color wood), and purpleheart (one in the center). I used Titebond III glue because it’s good glue and it’s waterproof. The night before, I applied a liberal amount of glue between the boards and clamped them together. I tried to make sure the boards were of similar dimensions. My board is about 1.5 inchs thick, which might be too thick by some people’s standards. I’ve noticed that a lot of boards are about 3/4 to 1 inch thick.
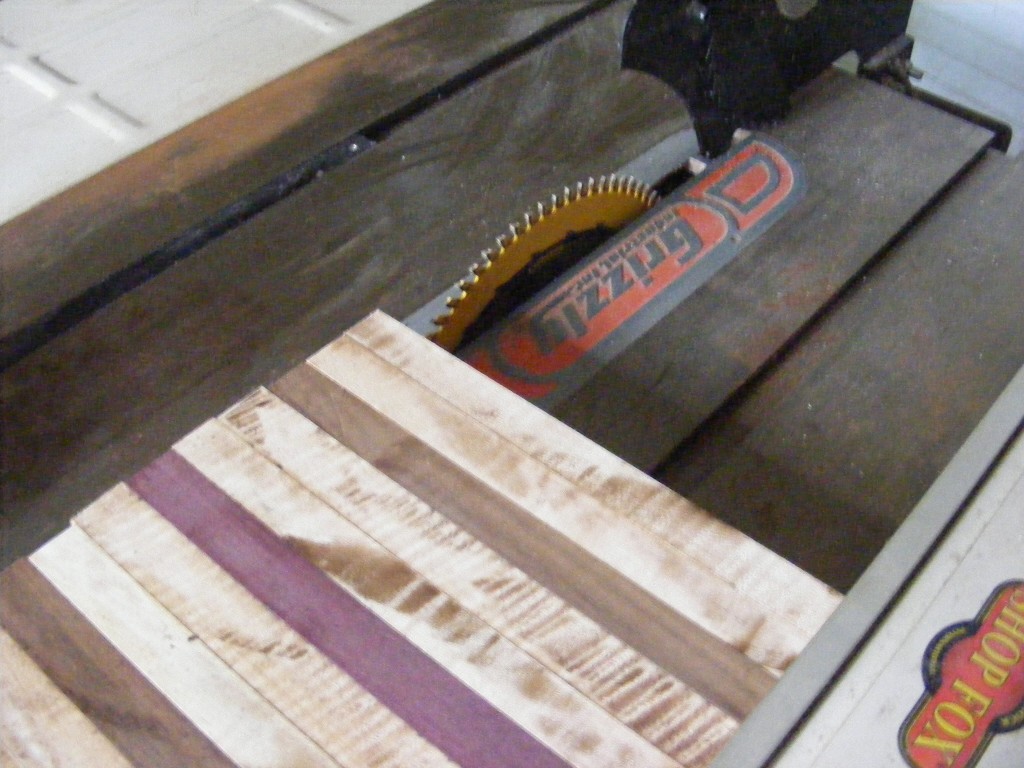
I took my rough cutting board over to the table saw and cut off the ends that were uneven. I didn’t take off much, just 1/4 inch. (If you decide to use a tablesaw, make sure you get the proper training and follow the instructions that came with your saw)
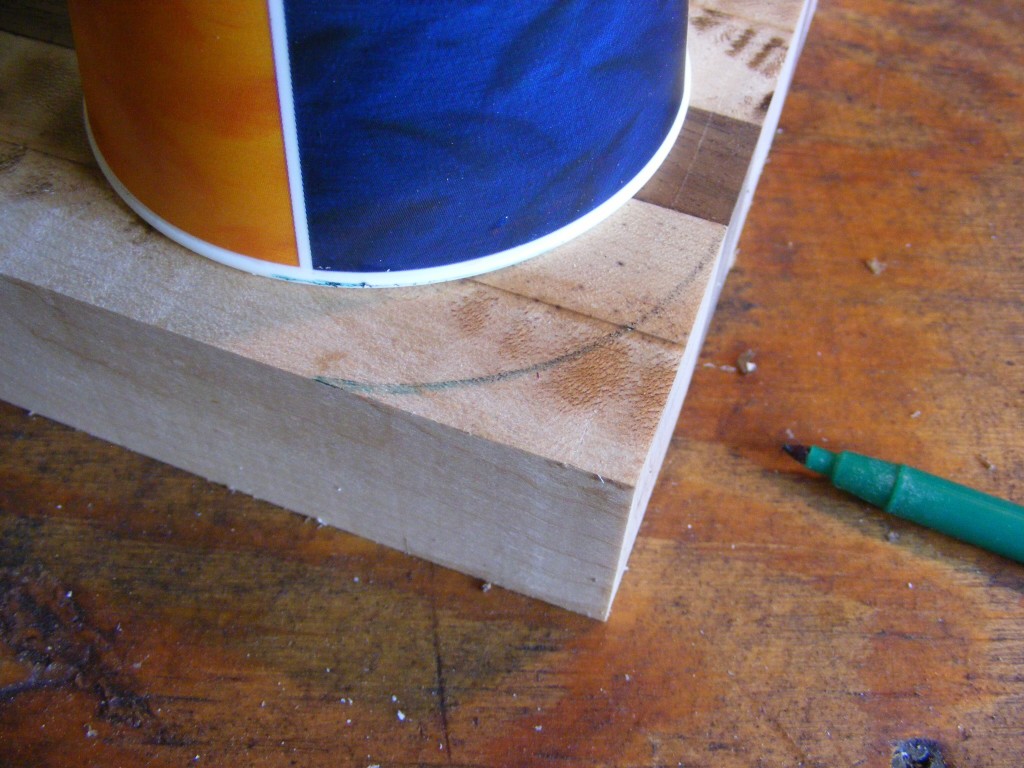
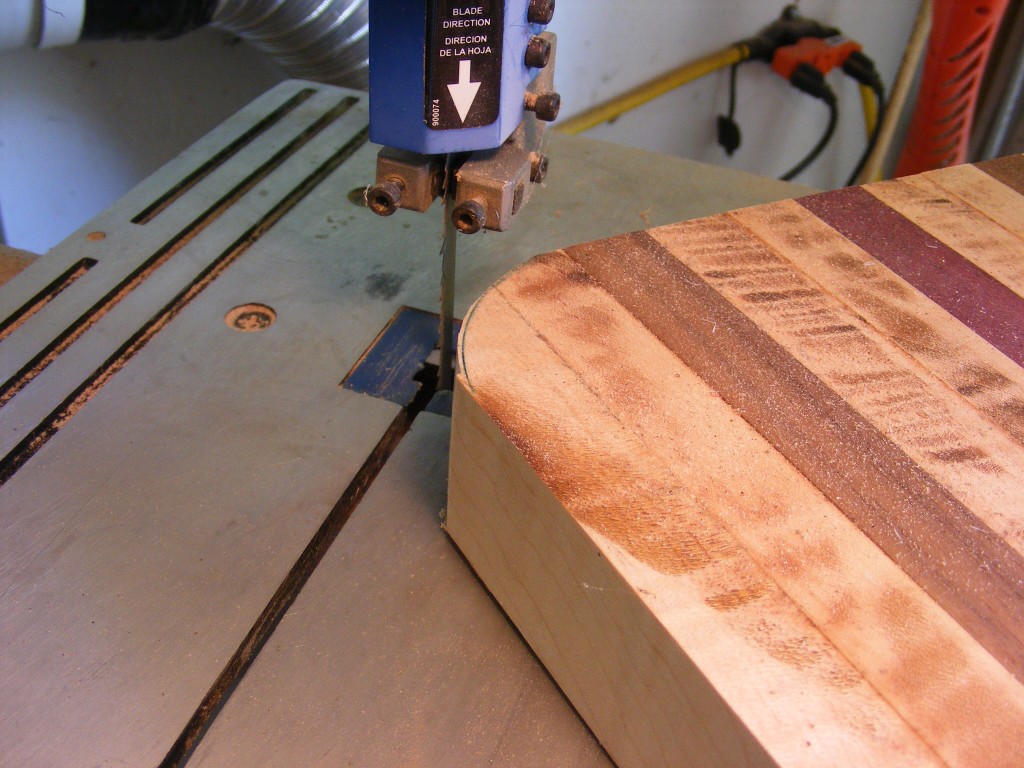
Next I used a cup and drew an arc on each corner of the board. Using my bandsaw, I carefully cut the corners and made them round. (If you decide to use a bandsaw, make sure you get the proper training and follow the instructions that came with the saw)
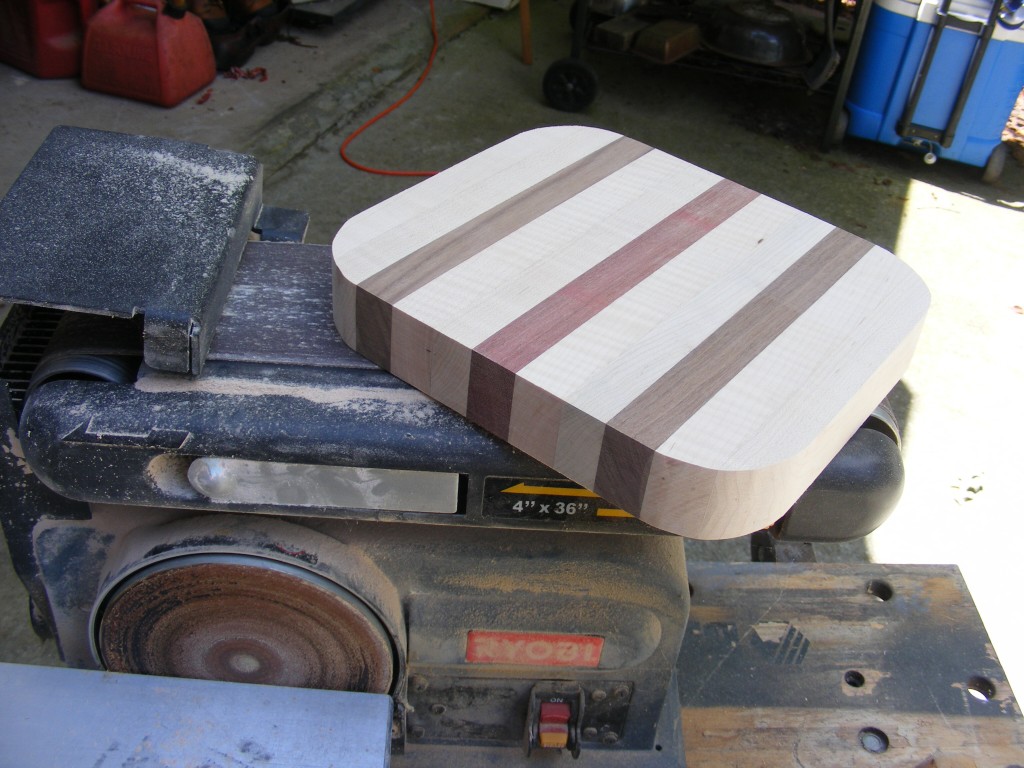
Next step — I used my belt/disc sander to get the board level and even on top. Some use a planer, but I don’t own a planer. I also used the disc sander to sand the sides of the board all the way around.
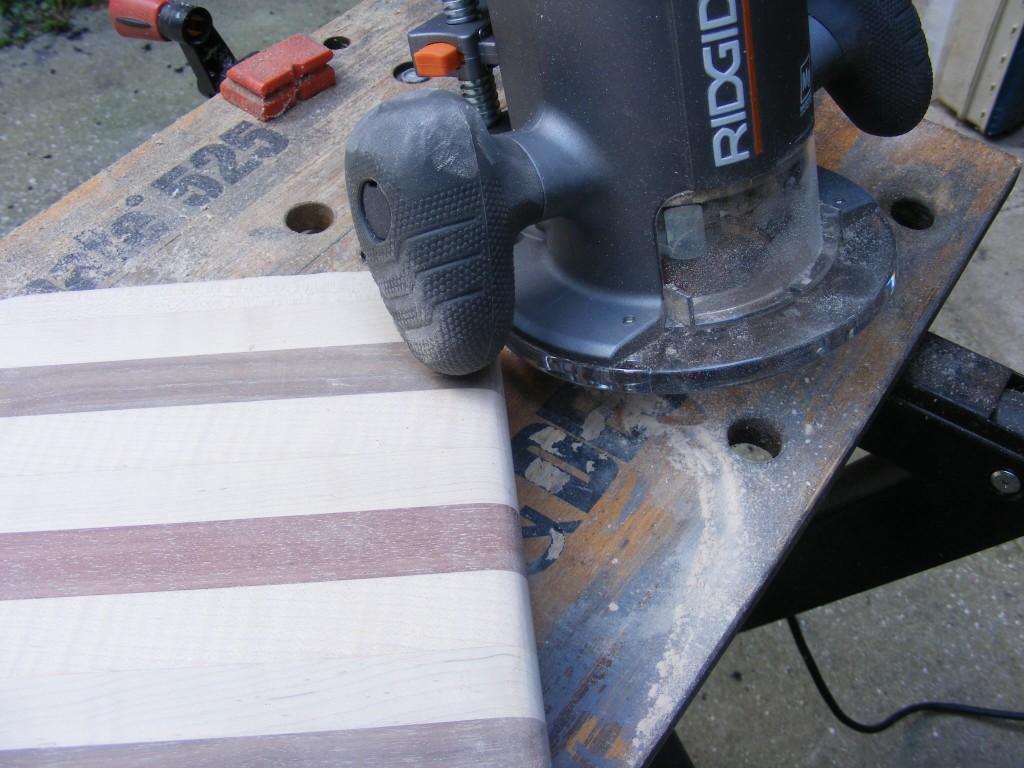
Once I got the board rough sanded, I took my router and rounded the edges of the board. I just did what I condsidered the top of the board. Of course, you can use both sides of the board for cutting food. Some say to do the cutting on one side, and leave the other side alone for looks. That’s up to you. (Here again, if you use a router, get trained and follow the instructions that come with your router.)
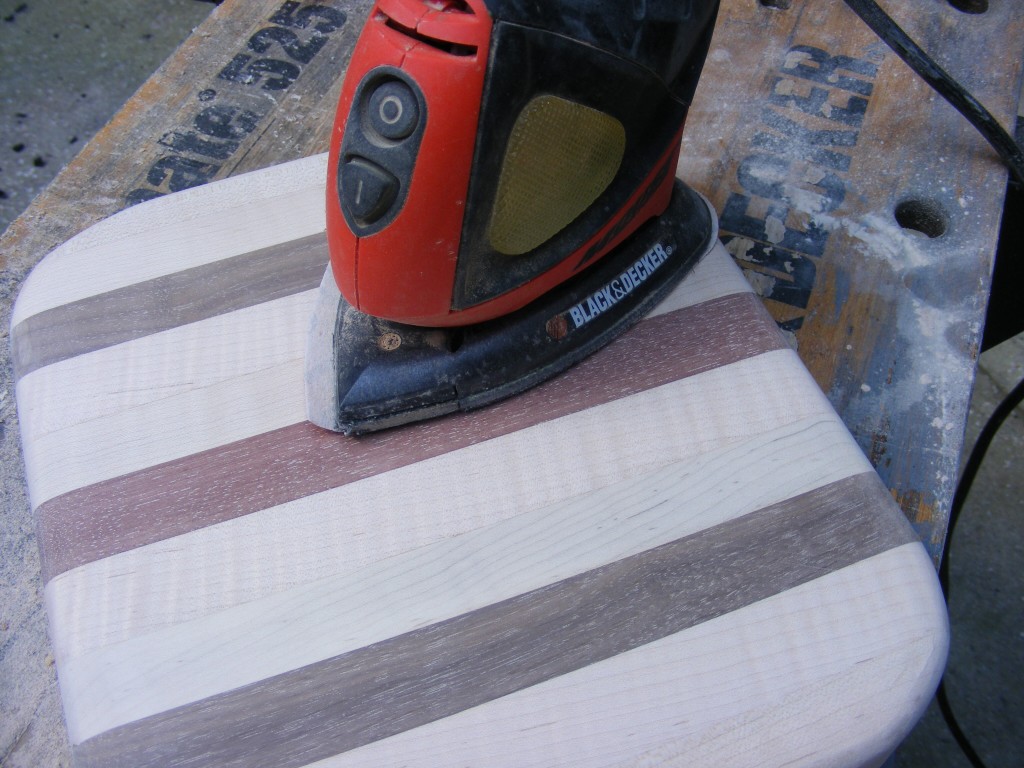
Now the most tedious part begins — the final sanding. I used my Black & Decker orbital sander. I started with 120 grit, then 220 grit. Worked up to 400 grit. I like to take a slightly damp cloth and wipe the board down before I go to the next finer grit. This helps to raise the grain some each time. Finally, I go over it with some steel wool.
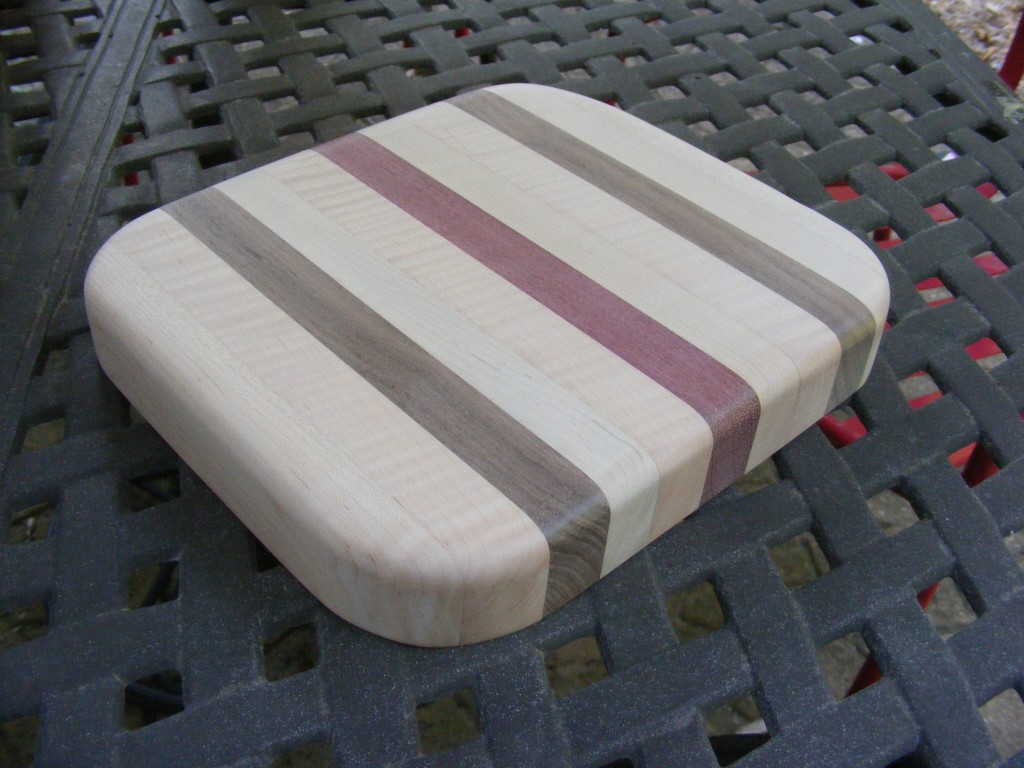
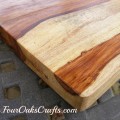
Pictured below is my sanded cutting board. I sanded it so well, that it was very smooth.
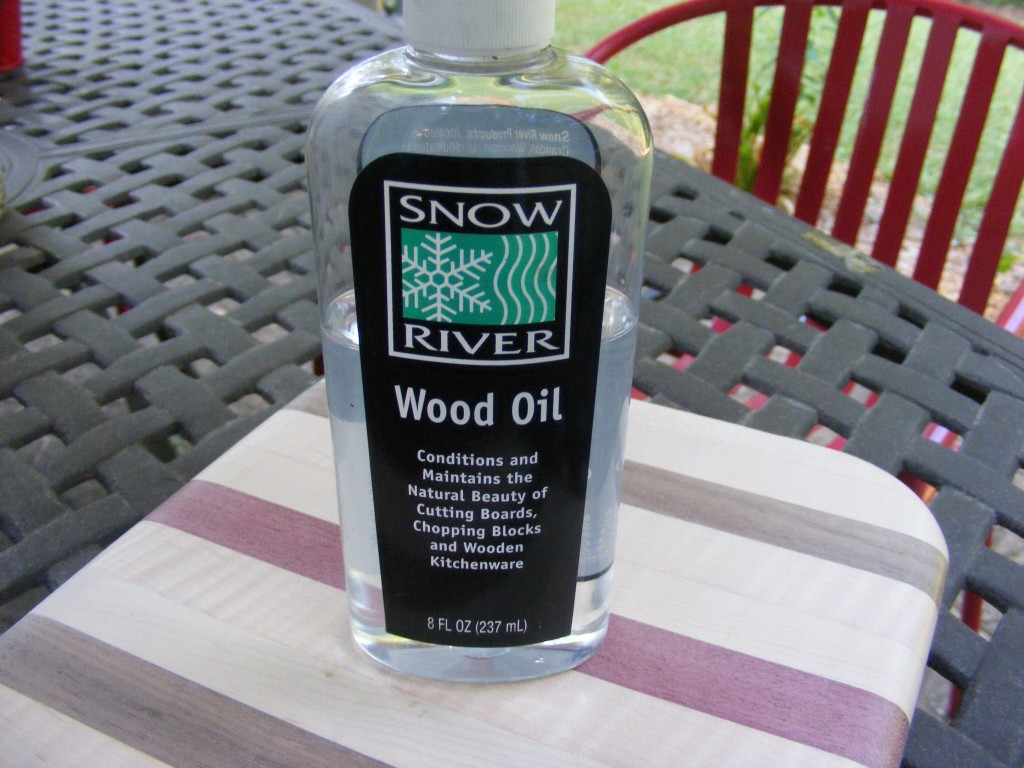
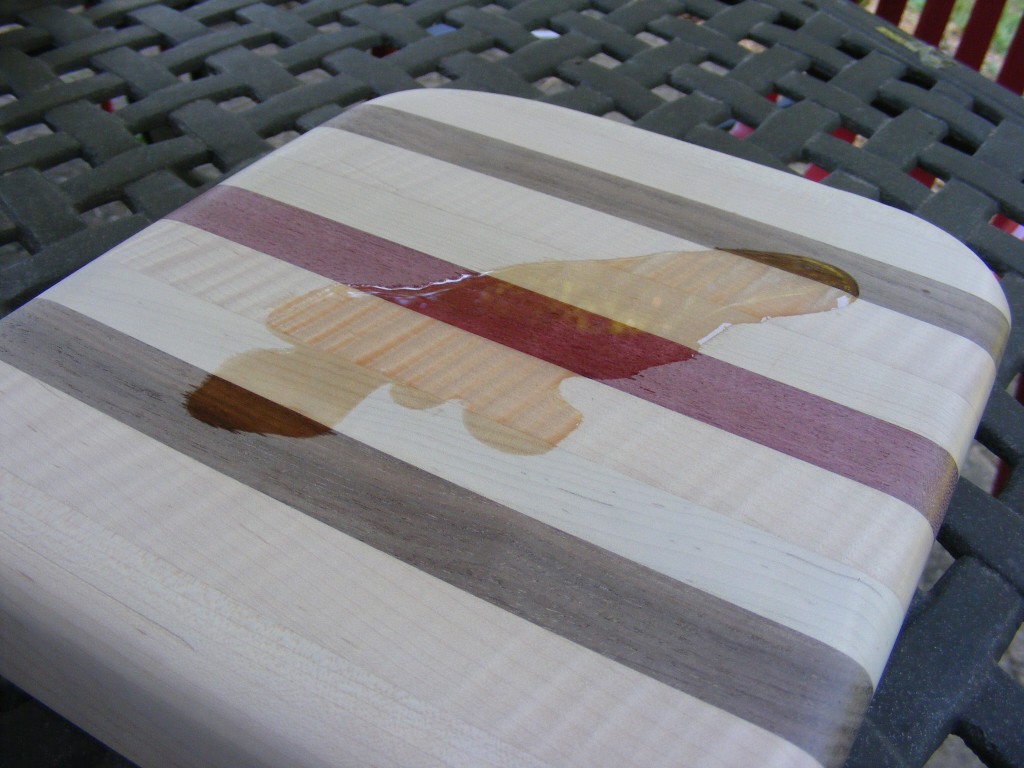
Now I can apply some food-safe mineral oil. You can find this at Home Depot or Beds, Bath and Beyond. Apply with a lint-free cloth. Wait maybe an hour and let this soak in, then apply another coat. This mineral oil will help repel water and preserve your wood. I just love how the wood grain and color pops out after I add the mineral oil.
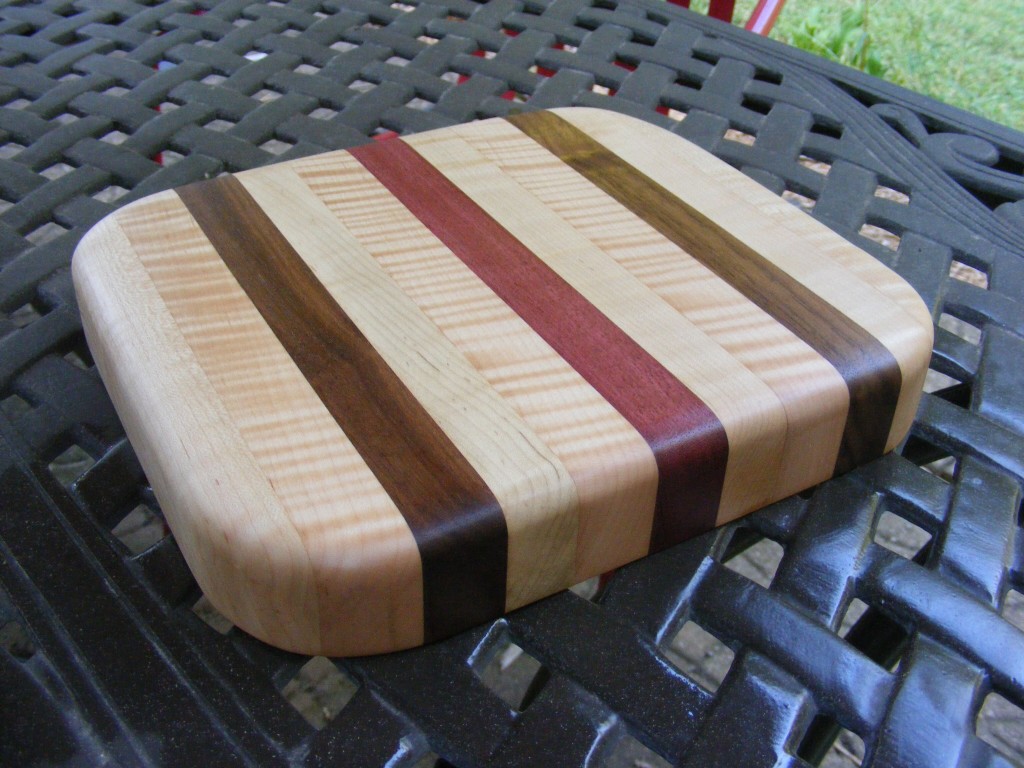
And here is the finished cutting board, with the mineral oil applied. To care for your board, you can wash it in warm soapy water. Just don’t let it soak in the water. Every so often, you may want to wipe on some more mineral oil.
I hope you enjoyed this tutorial. If you have any questions, feel free to email me via the contact link. Also feel free to leave a comment. Any tips on how I can improve this process?

Are you starting up a new shop? Want to work safer in your shop? To help you answer these questions I've put together a 2-part checklist -- Home Shop Safety & Tool Checklist.
I will also send you updates of my latest woodworking and DIY projects. You can get all this by subscribing to my free email newsletter.



1 thought on “Make a Cutting Board”
Comments are closed.