6 Easy Steps on How to Make a Hard Hat Birdhouse
I love discovering ways to recycle discarded materials into something practical and useful. Recently, I was riding down the Silver Comet bike trail here in Atlanta and noticed a couple of birdhouses made from old hard hats.
You may not know this, but hard hats have an expiration date, and I happened to have an expired hard hat from the power company I work for. Once a hard hat reaches its expiration date, it’s usually destroyed. If you happen to wear a hard hat the expiration date is stamped on the hat.
UPDATE: The hard hat birdhouse was successful. It seams like the Wren was the bird that like to take up in the house. The only downside to my design is you have to unscrew the hat to clean it out. Even though I haven’t cleaned it out, the birds still use it.
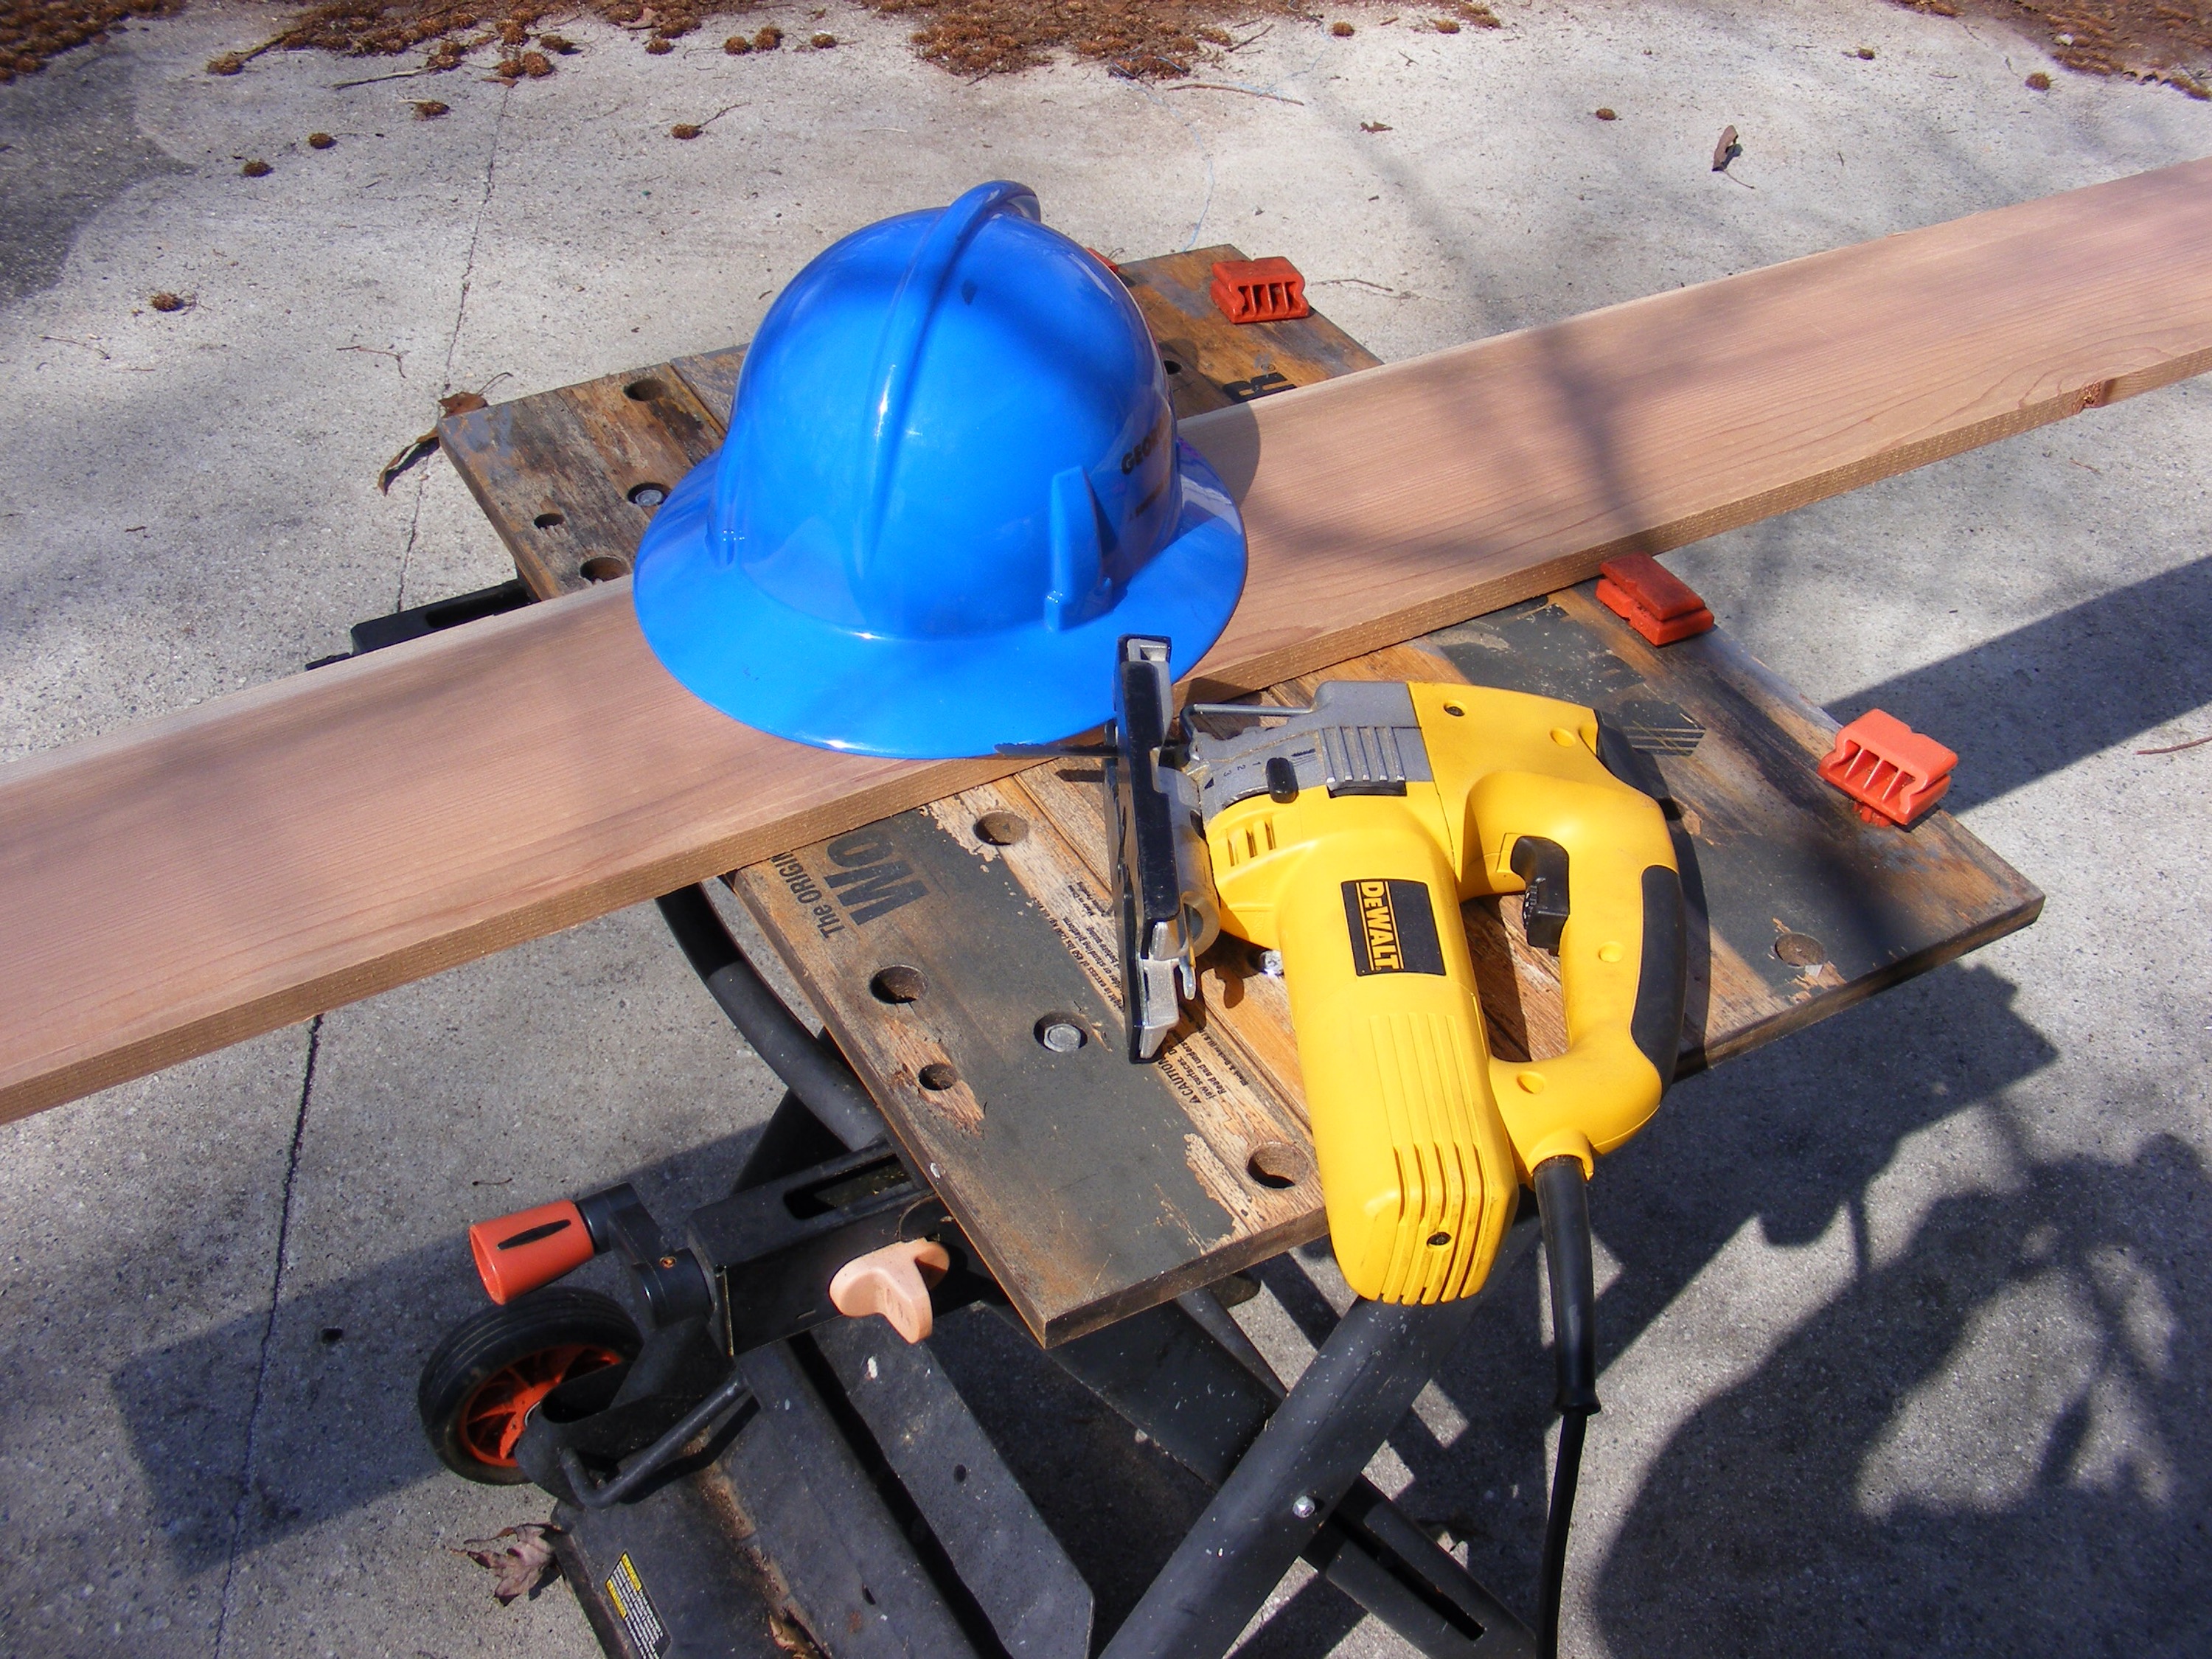
Step 1 — Gather the materials and tools you’ll need.
One expired hard hat, cedar boards, glue, one inch deck screws, drill, saber saw. silicone sealer, and paint. You could use pine or other boards but cedar should last longer. Don’t use treated lumber.
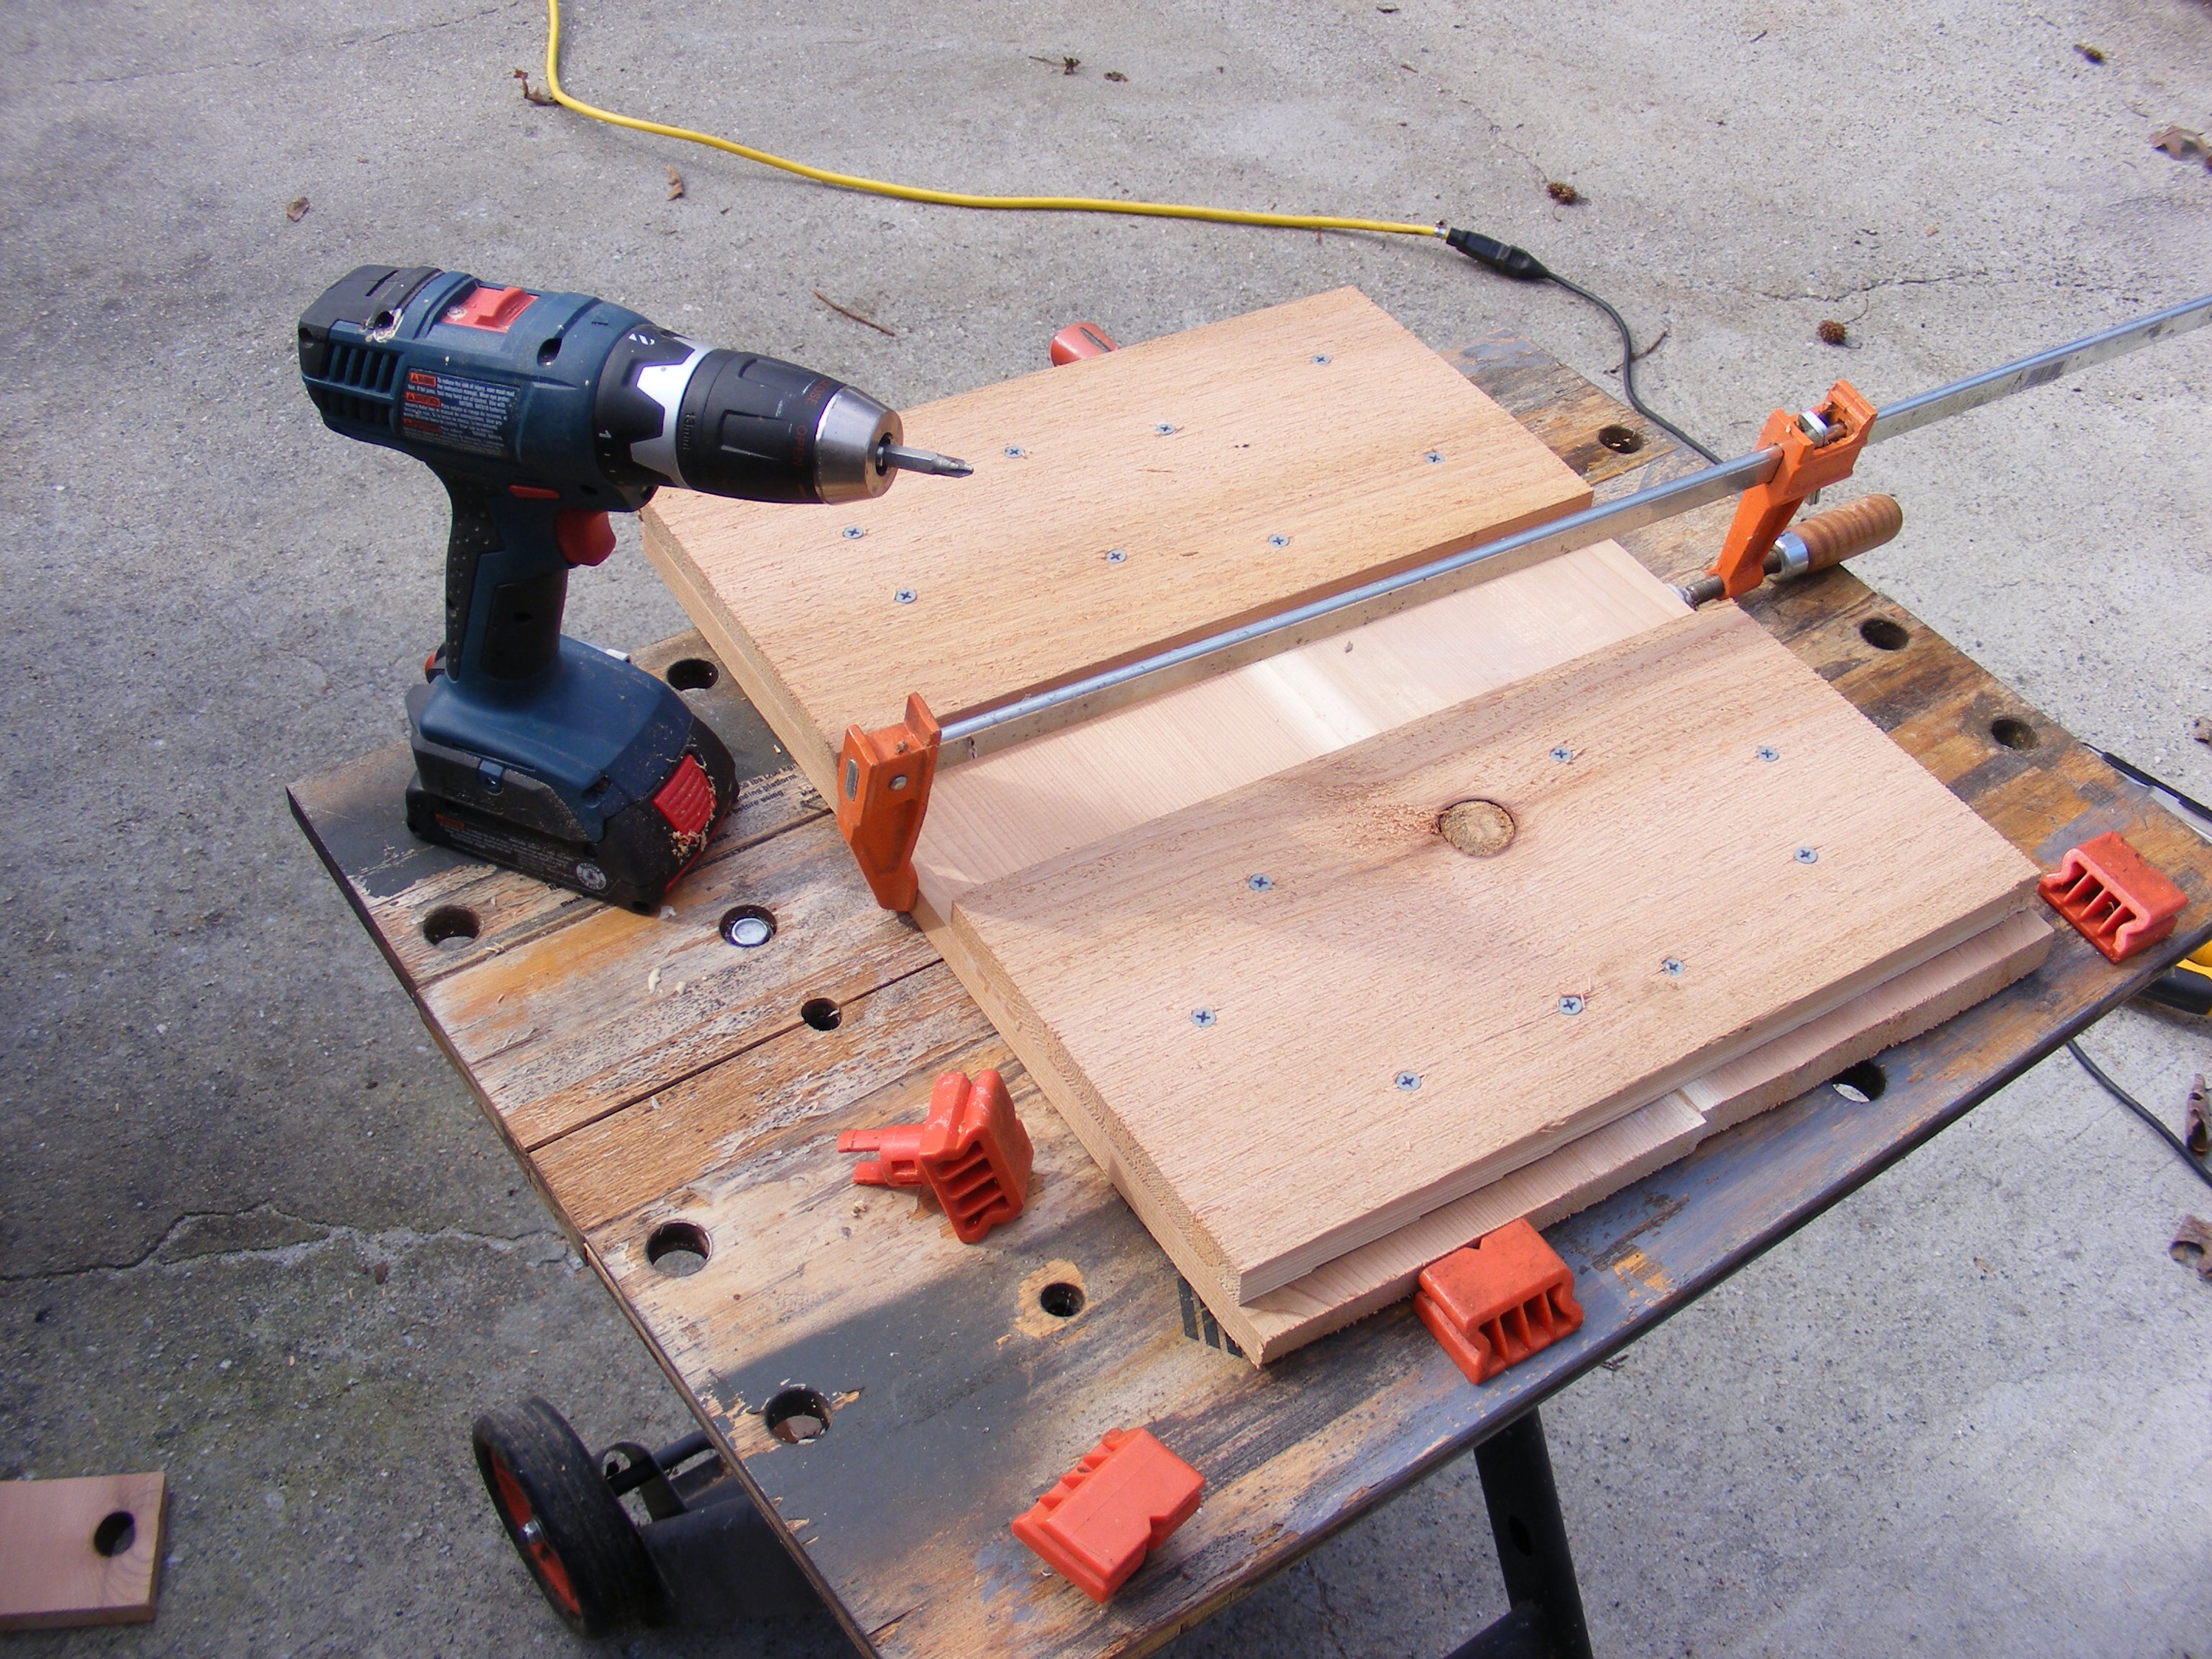
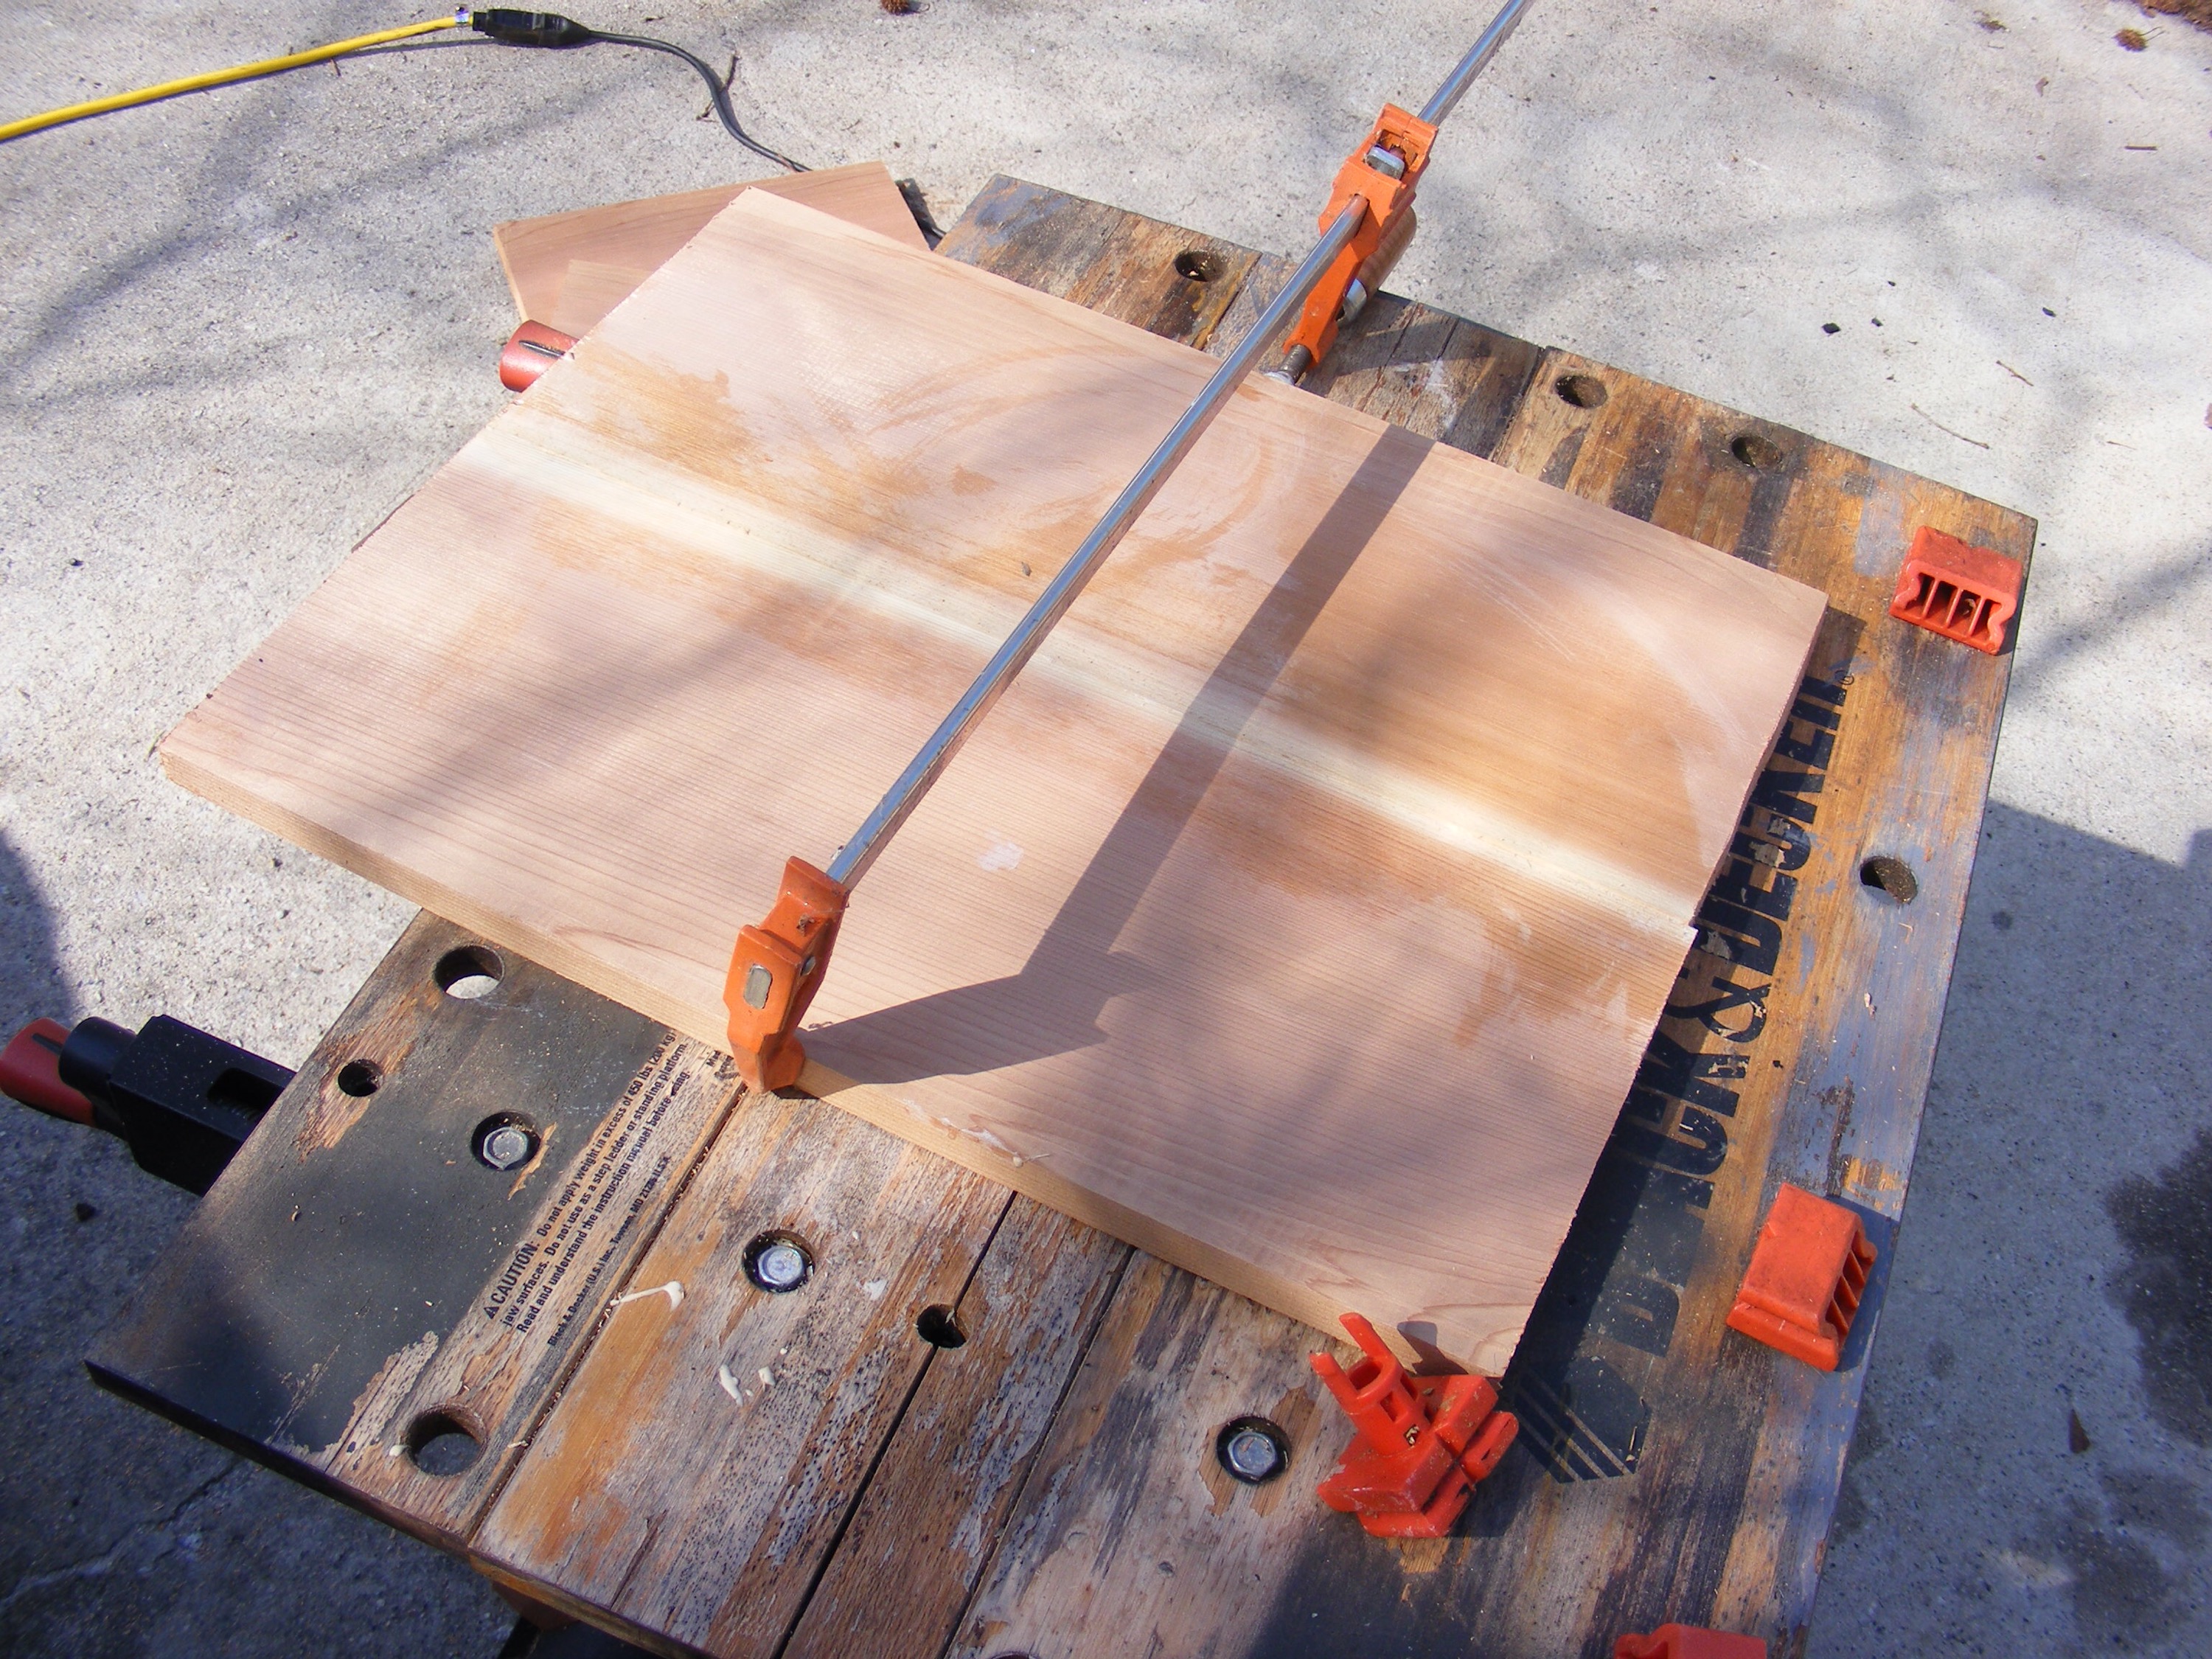
Step 2 — Prepare the Backboard.
I decided I wanted my hard hat mounted to a flat surface. So I took some cedar boards I purchased from Lowes, glued them together, and reinforced them with more cedar board cleats on the back. I used Titebond III glue which is waterproof. My base board is 15 inches by 18 inches, but those dimensions aren’t critical. As long as you have enough board to mount the hat on with room to spare for attaching to the tree.
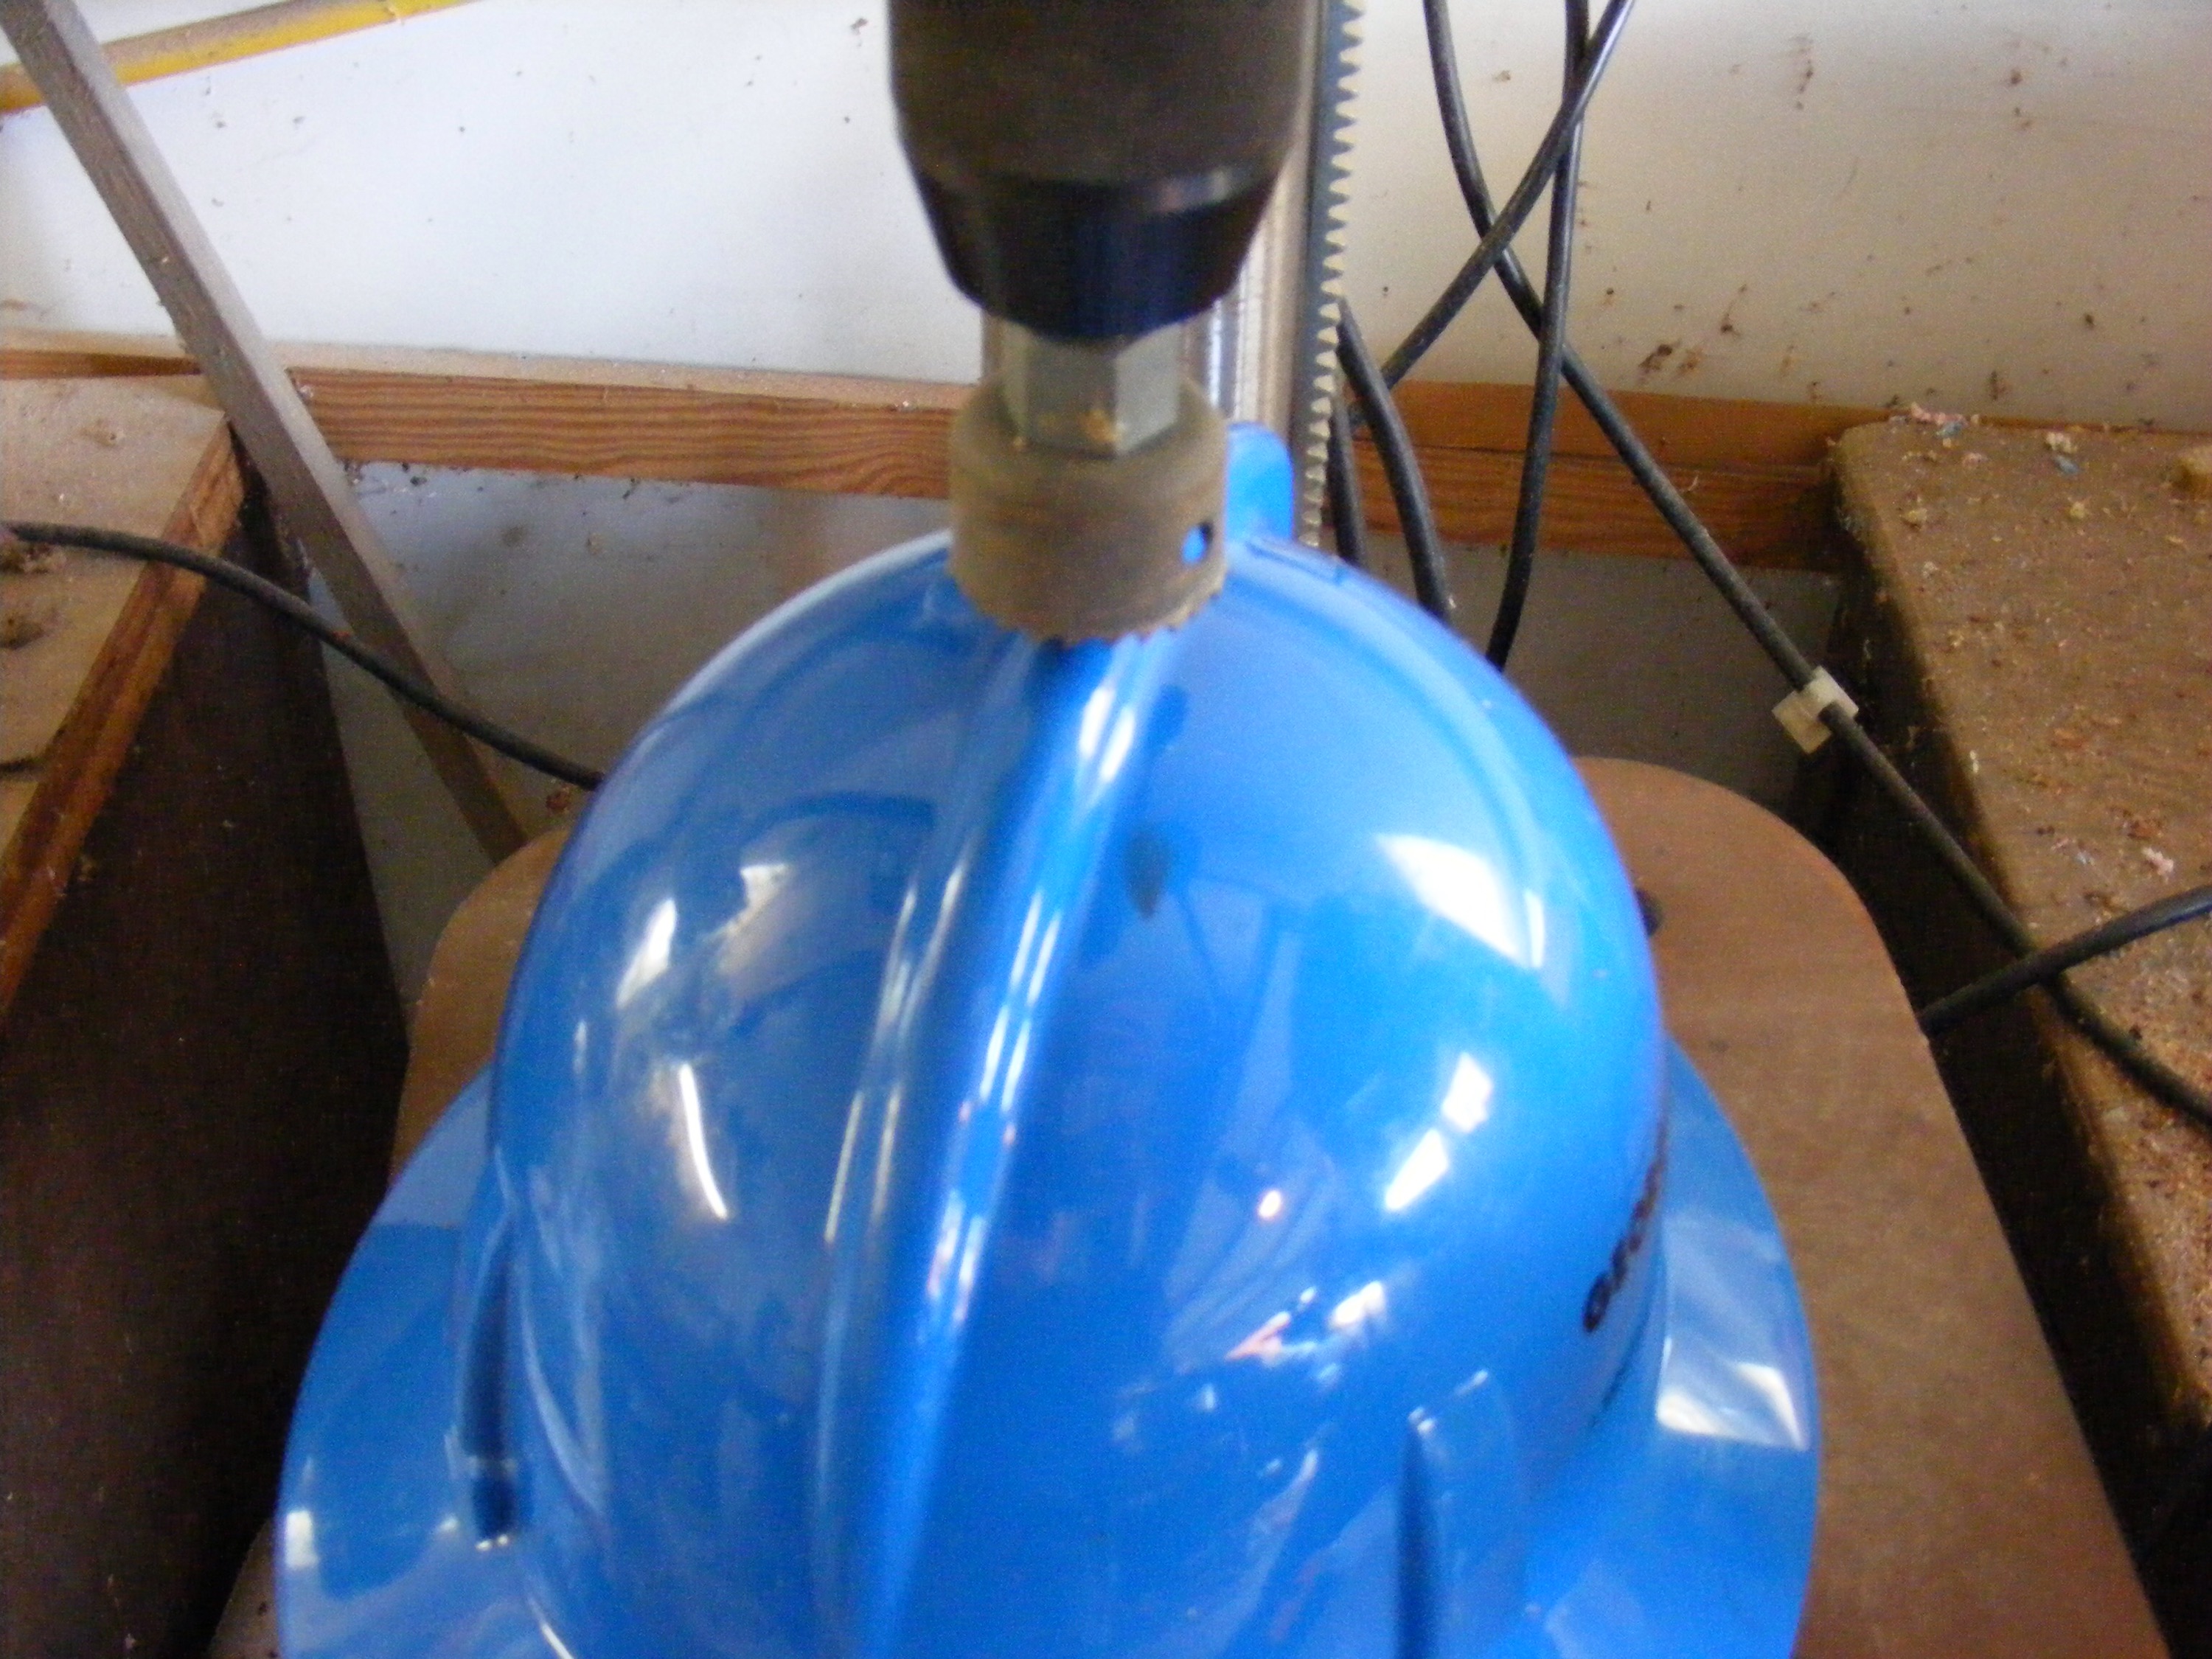
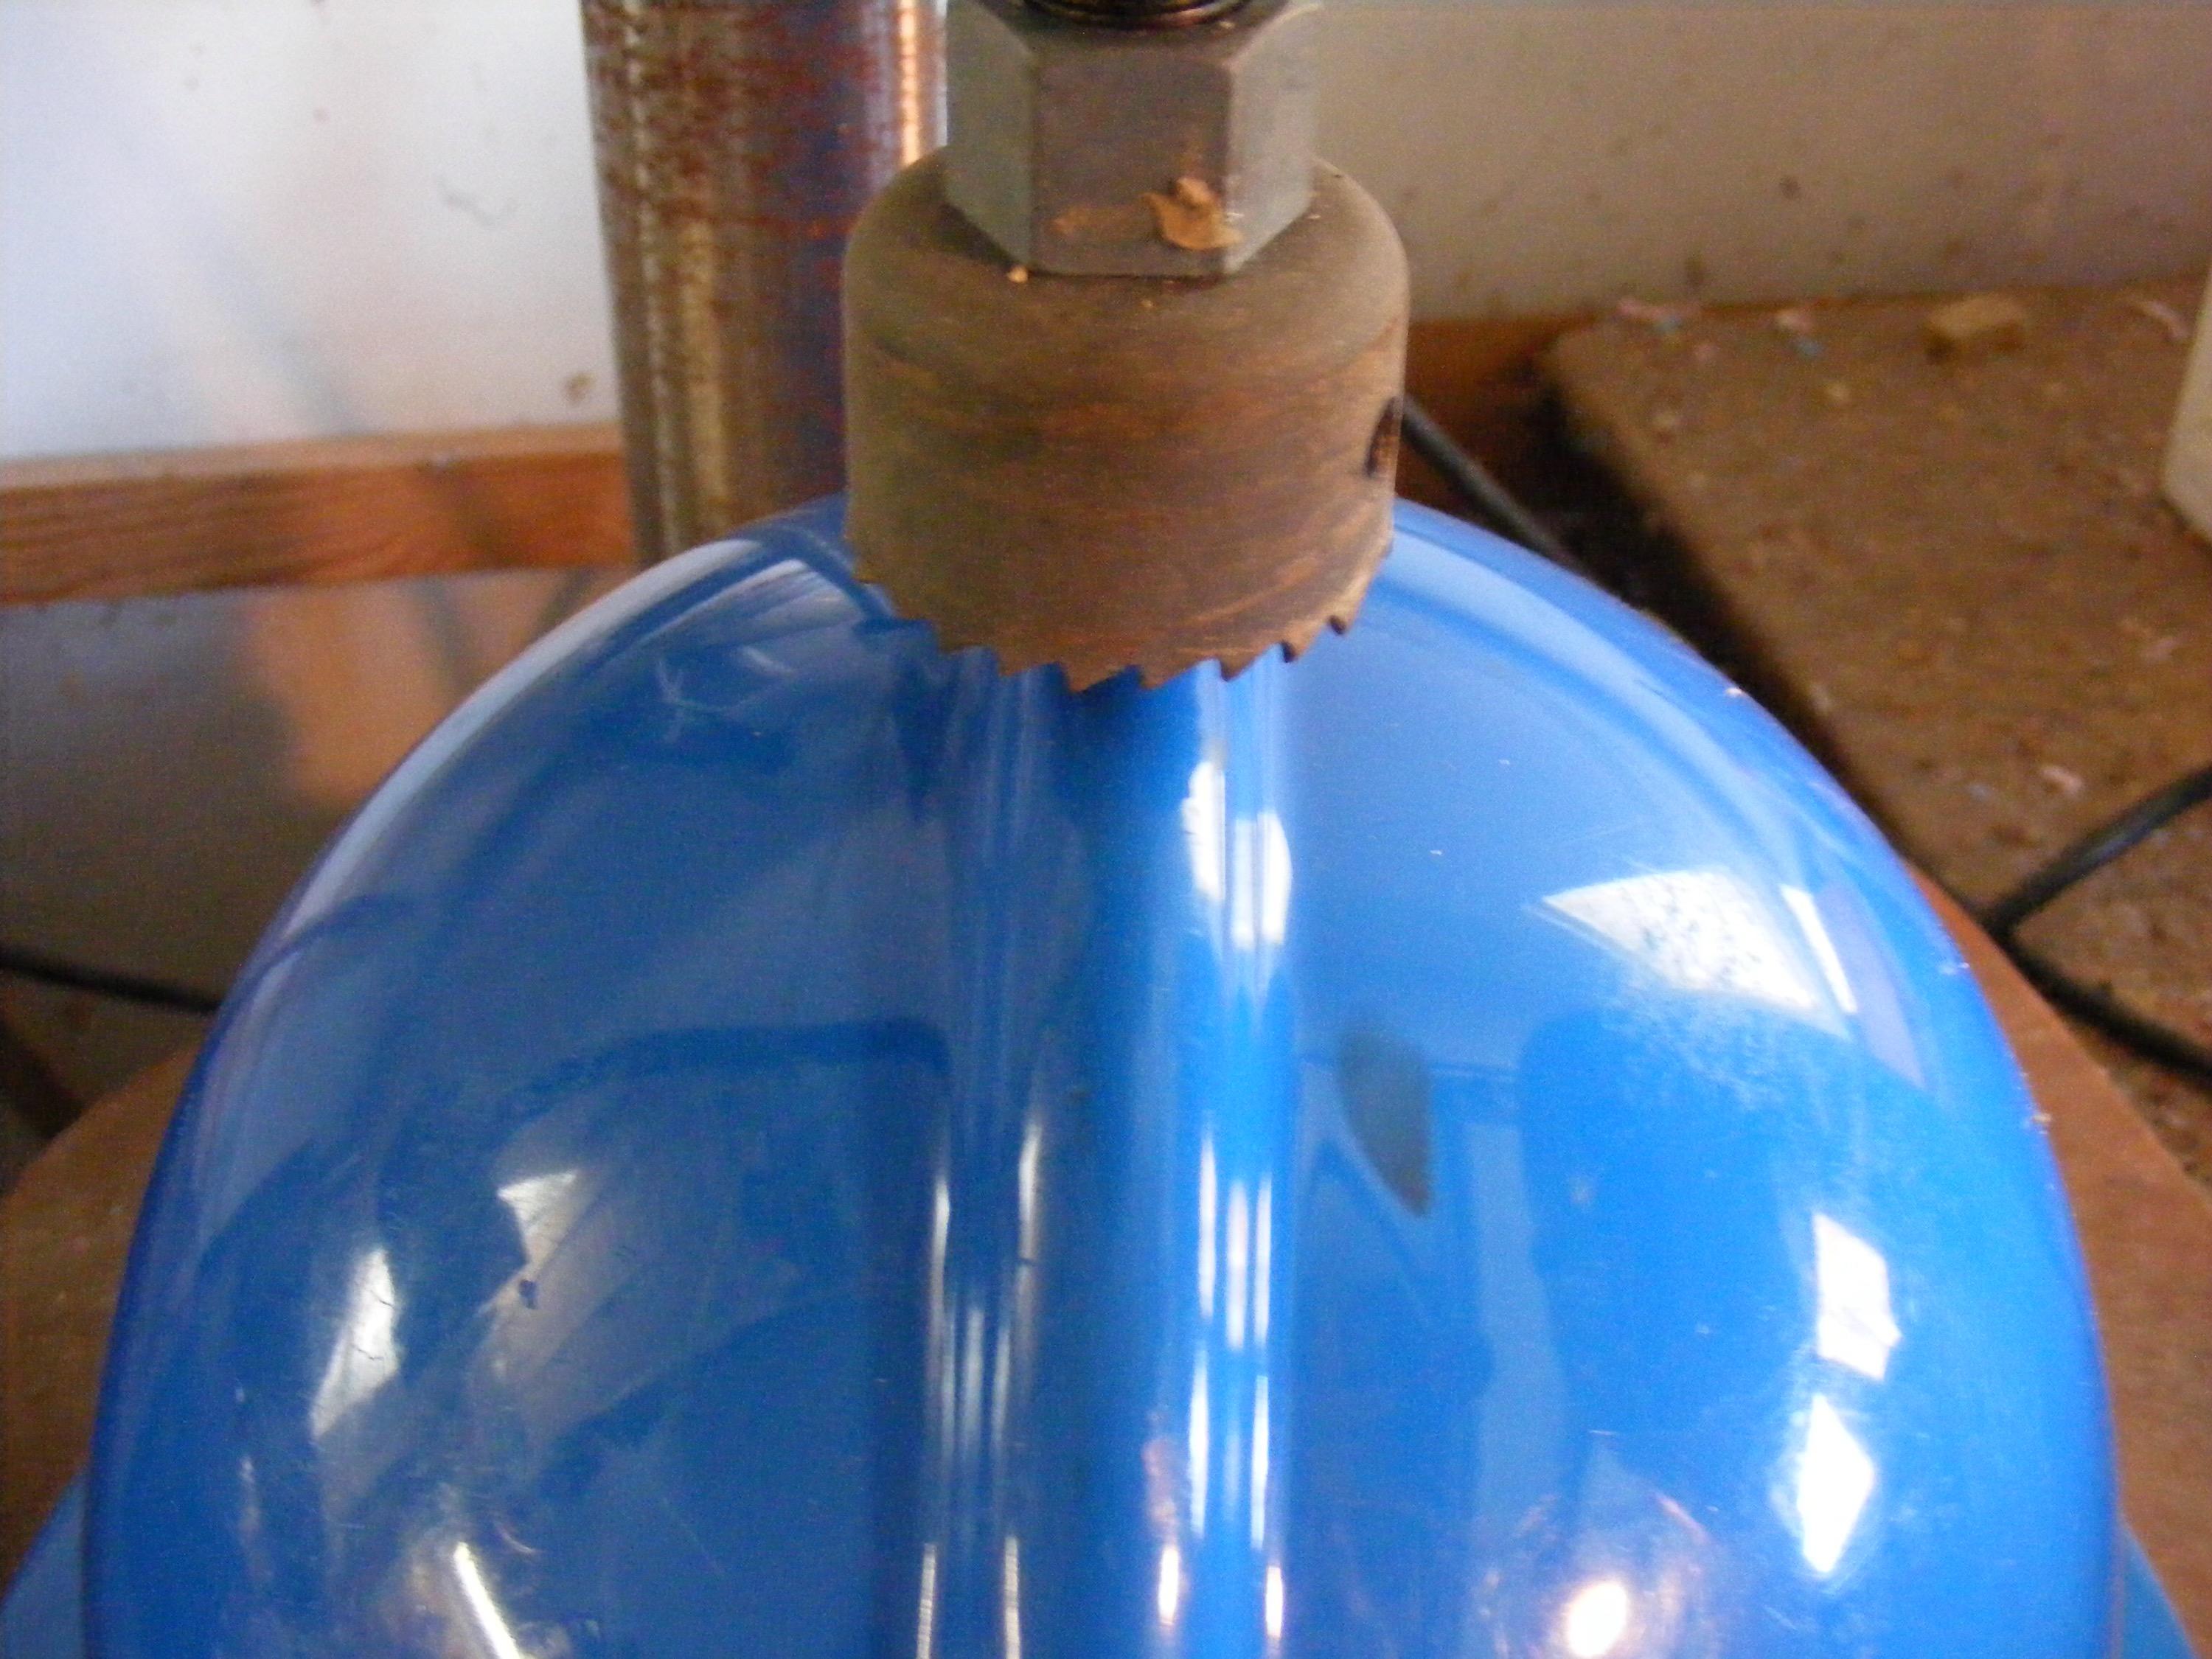
Step 3 — Drill Bird Hole
Using a hole saw and my drill press, I drilled a 1.5 inch hole in the center of the hard hat. Use some kind of clamp to hold the hat while you drill. This hole dimension works well with several bird species.
If you don’t have a drill press, just use a regular handheld electric drill. After you drill the hole out, take some 120 grit sandpaper and clean up around the hole.
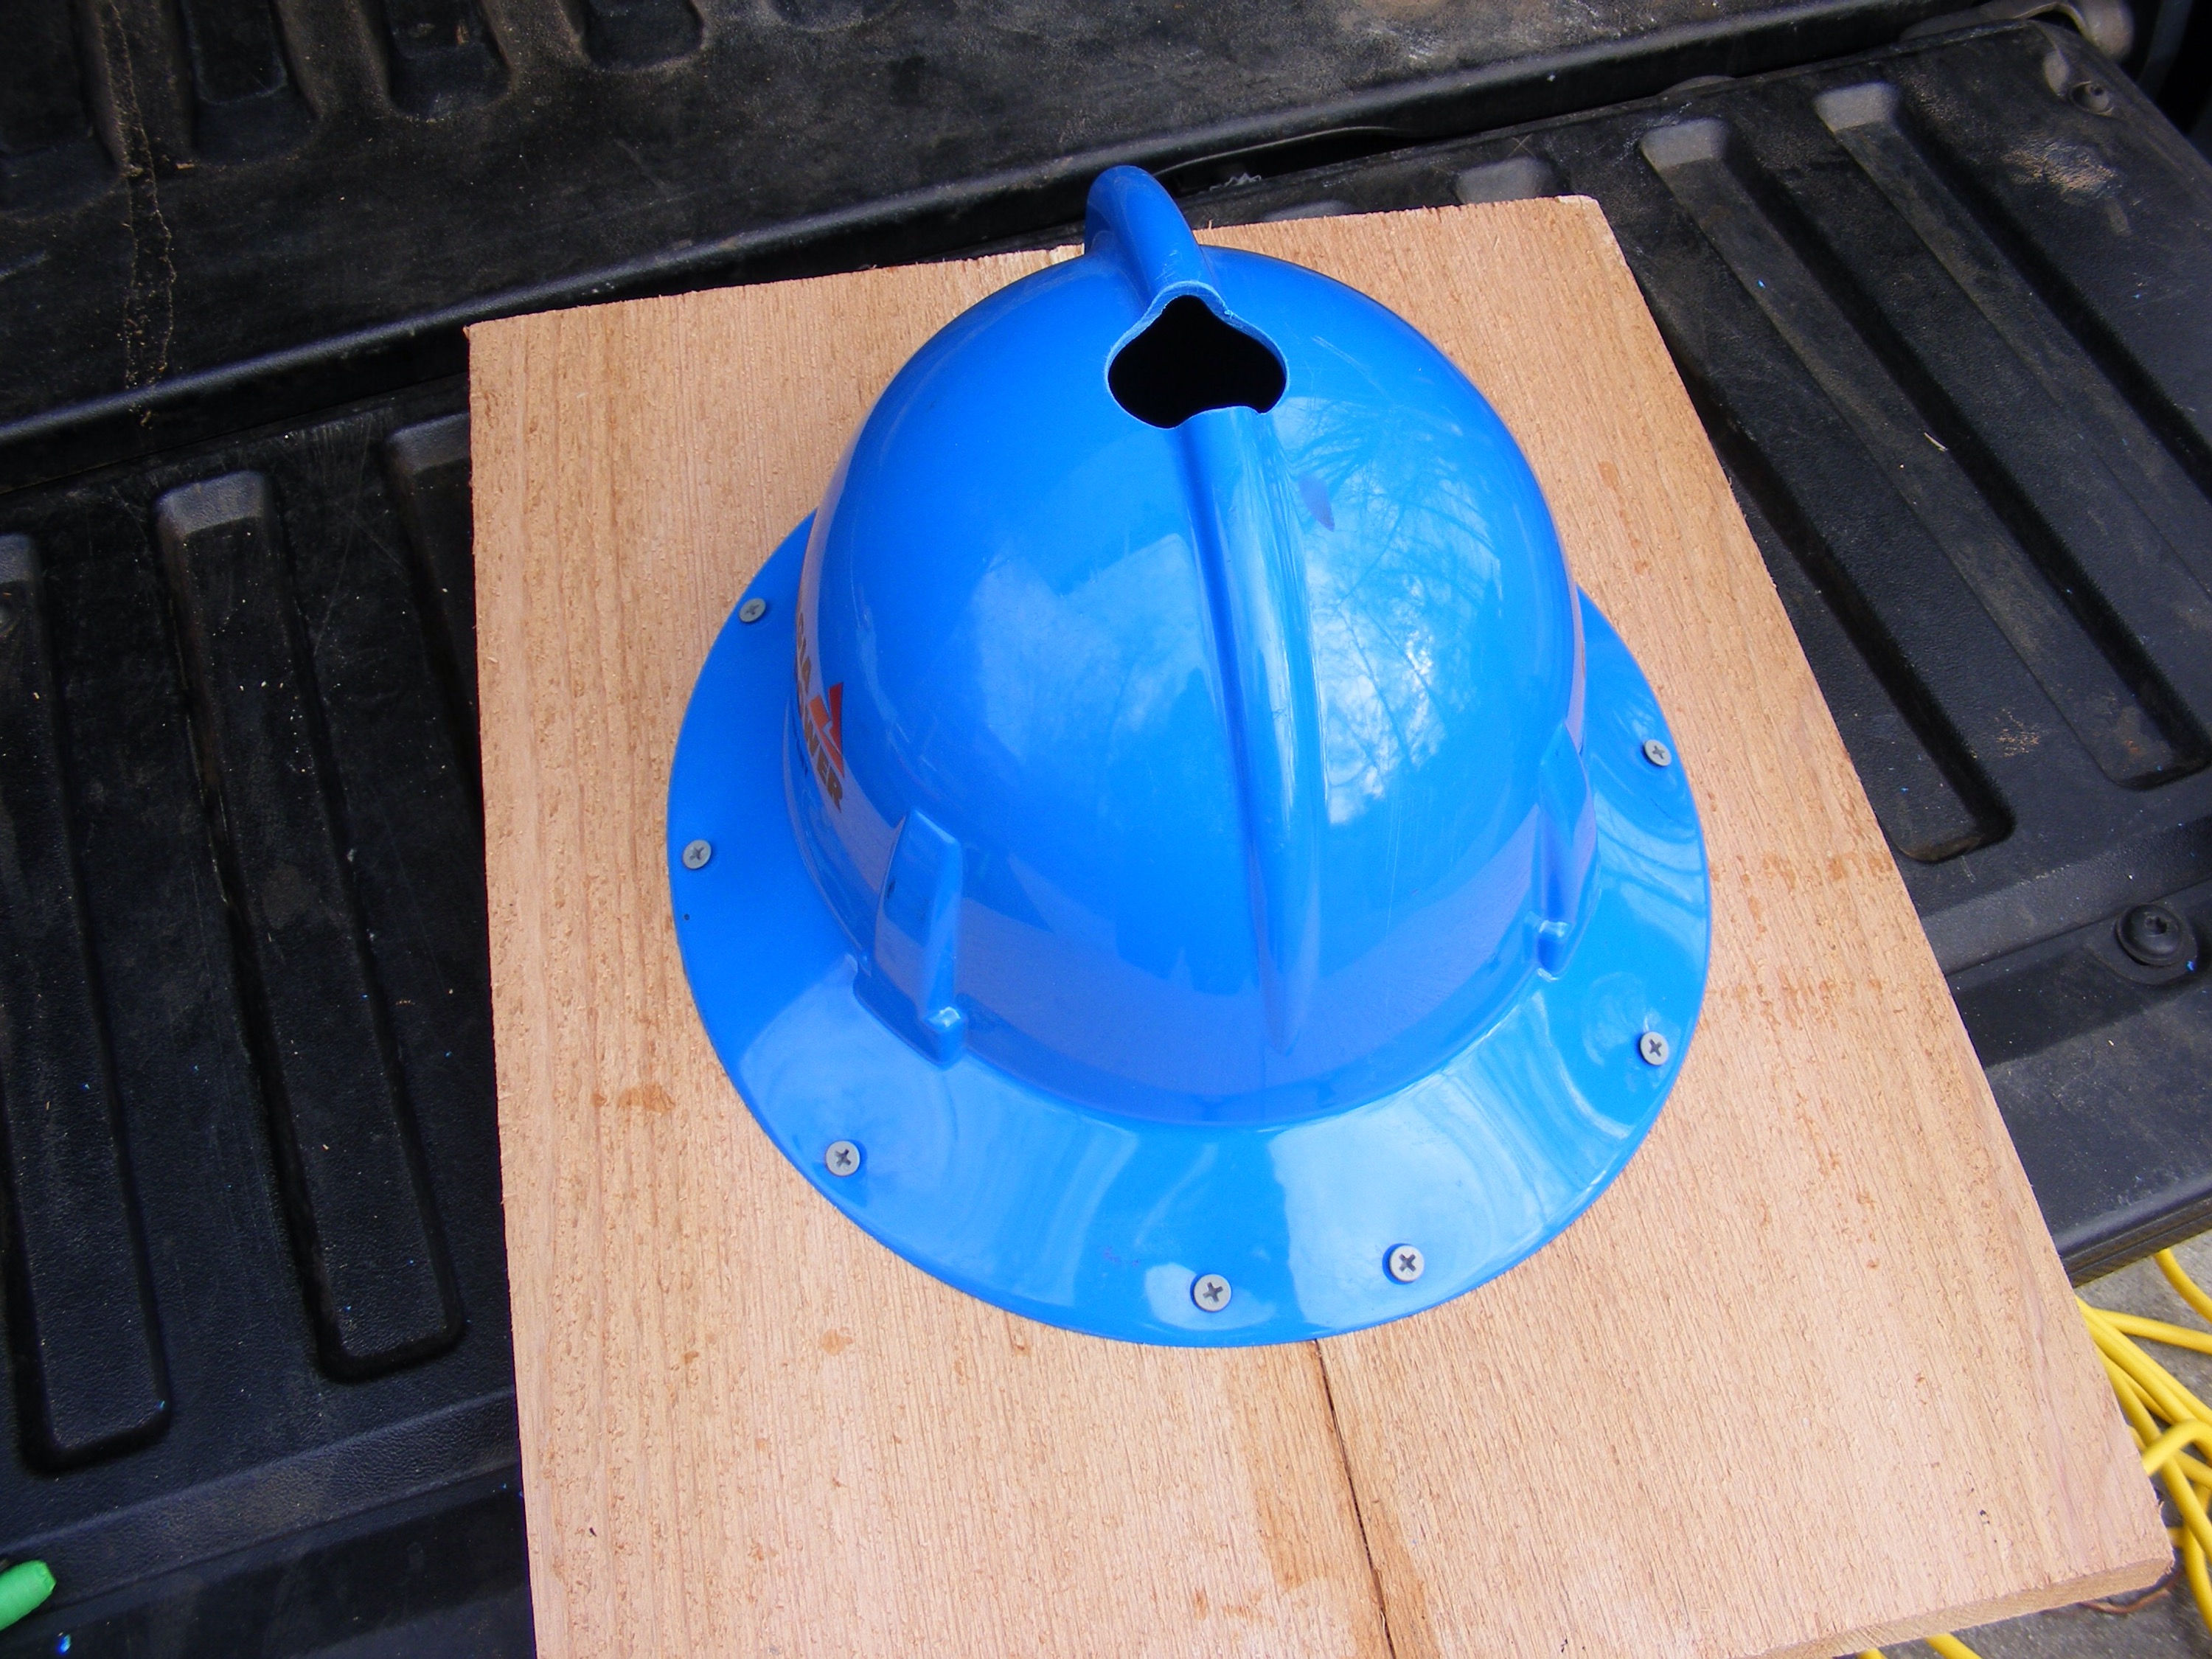
Step 4 — Mount Hat to the Backboard
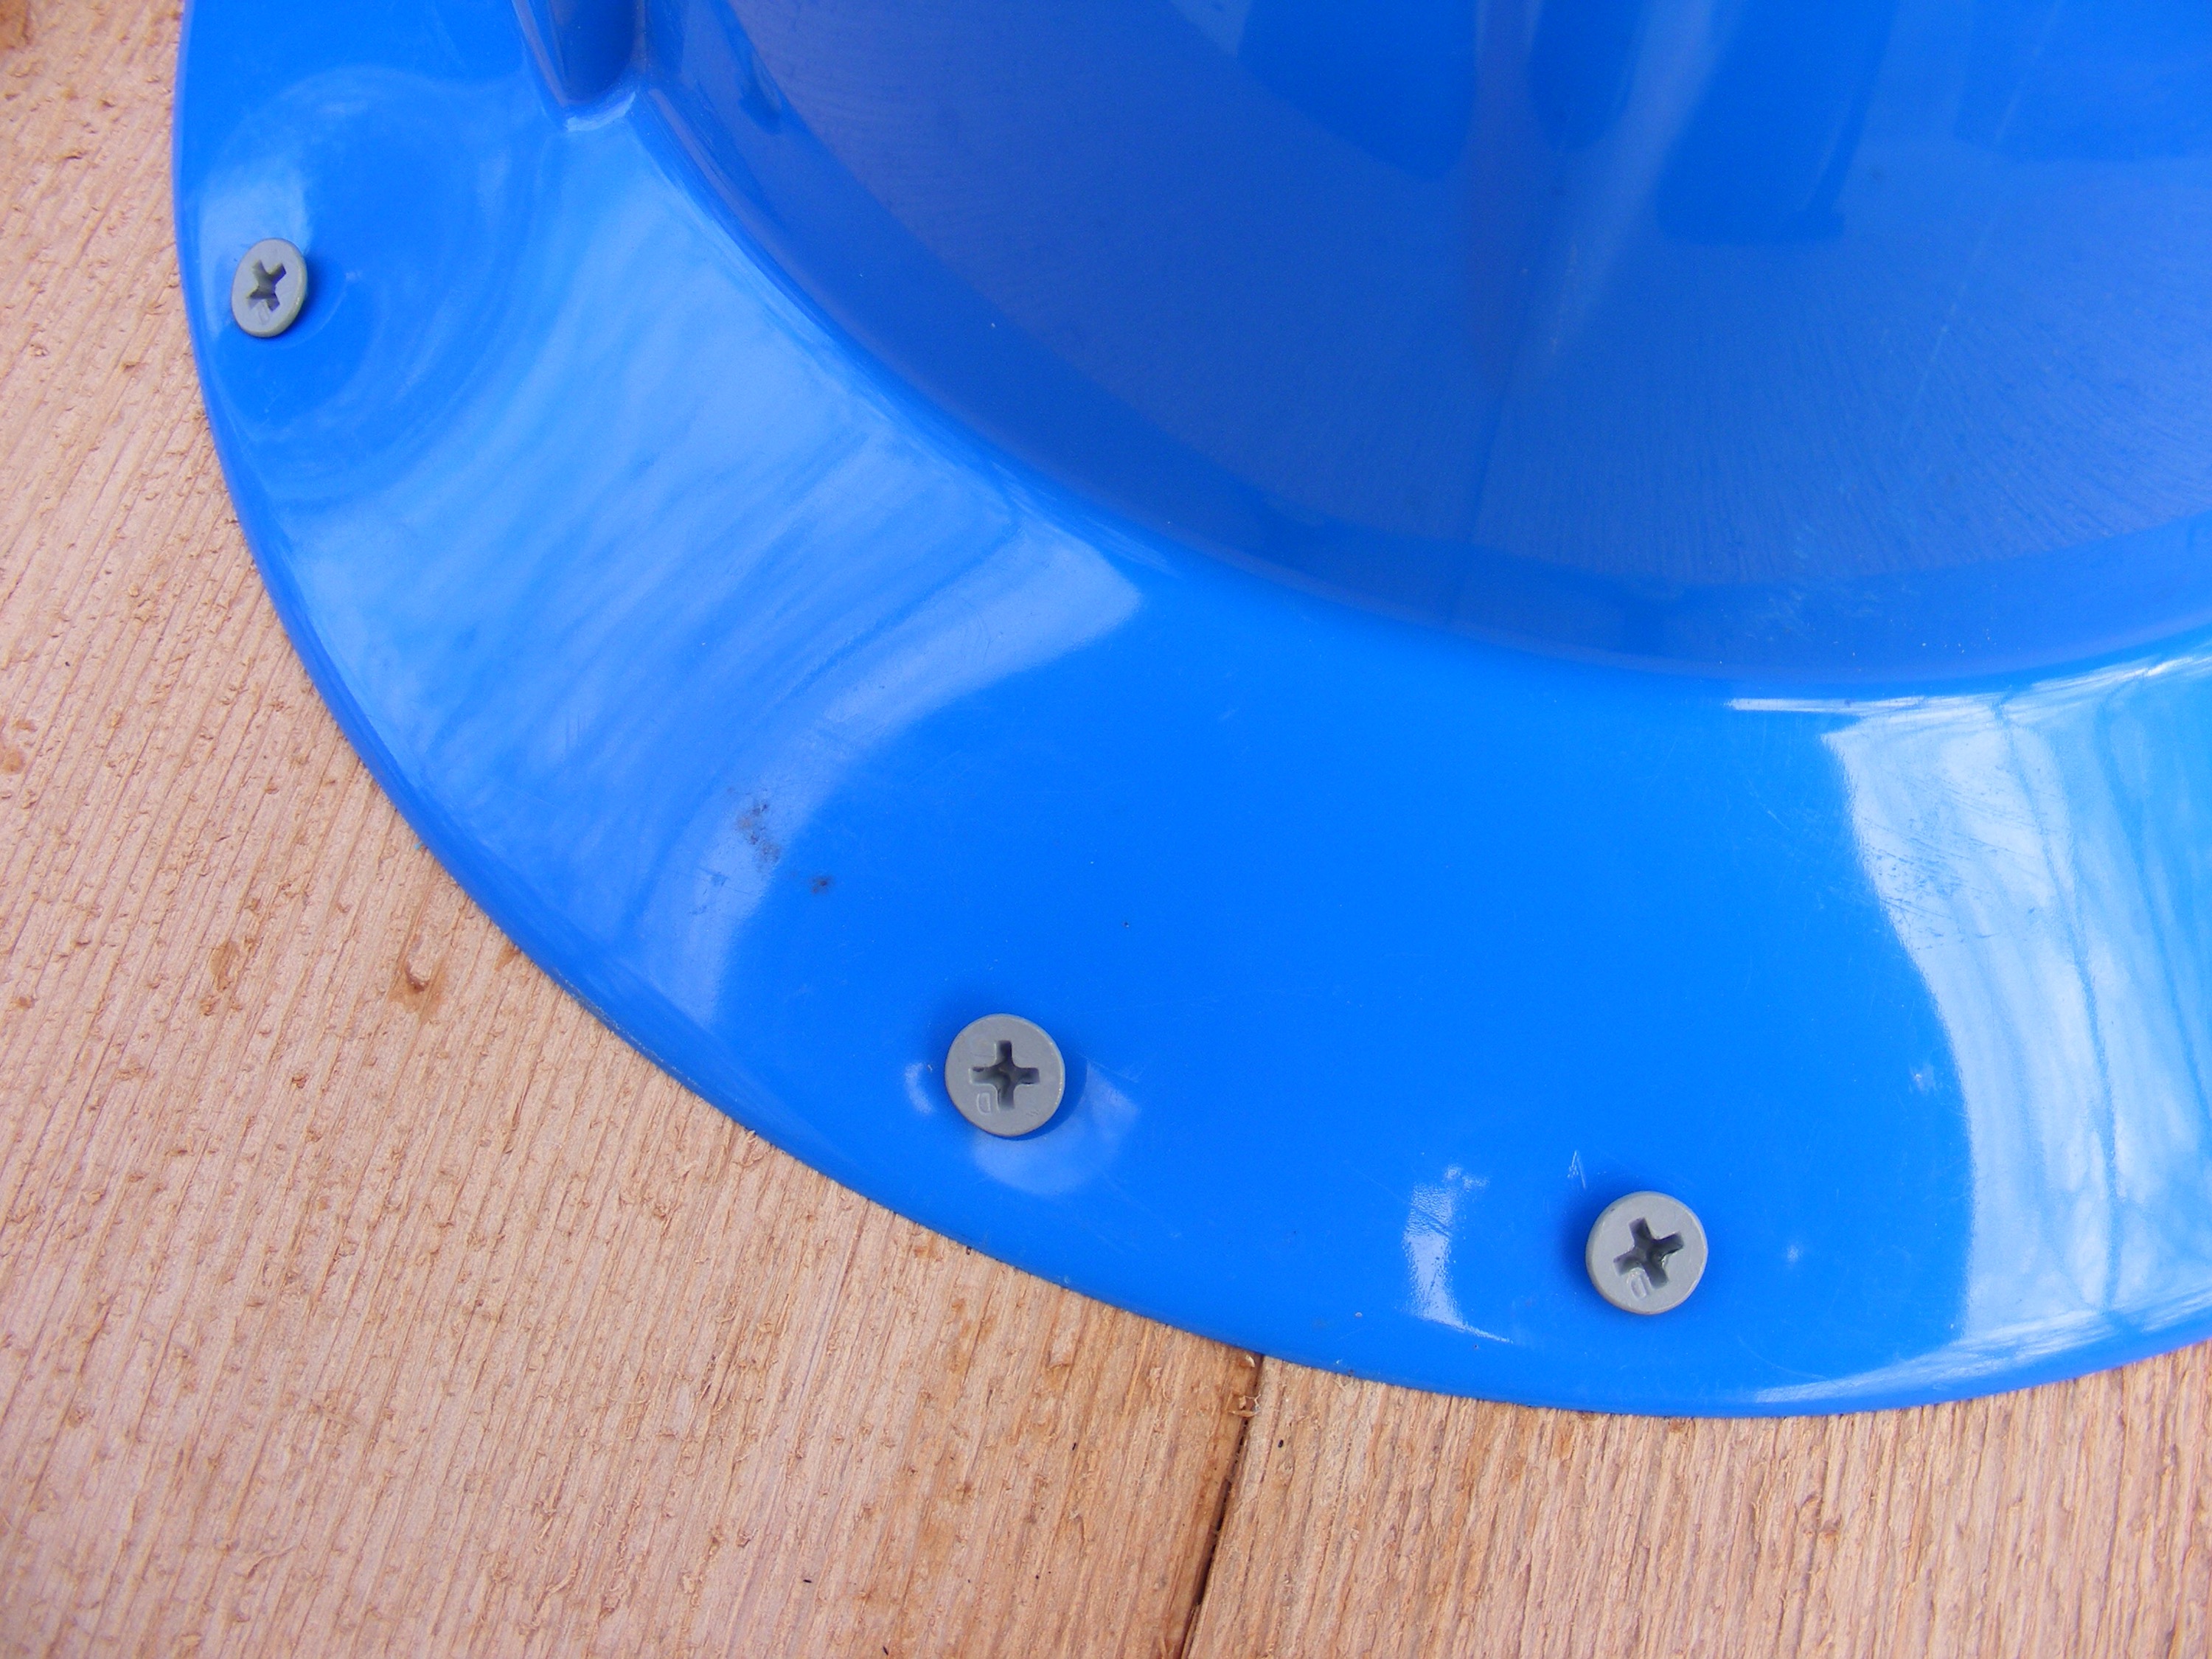
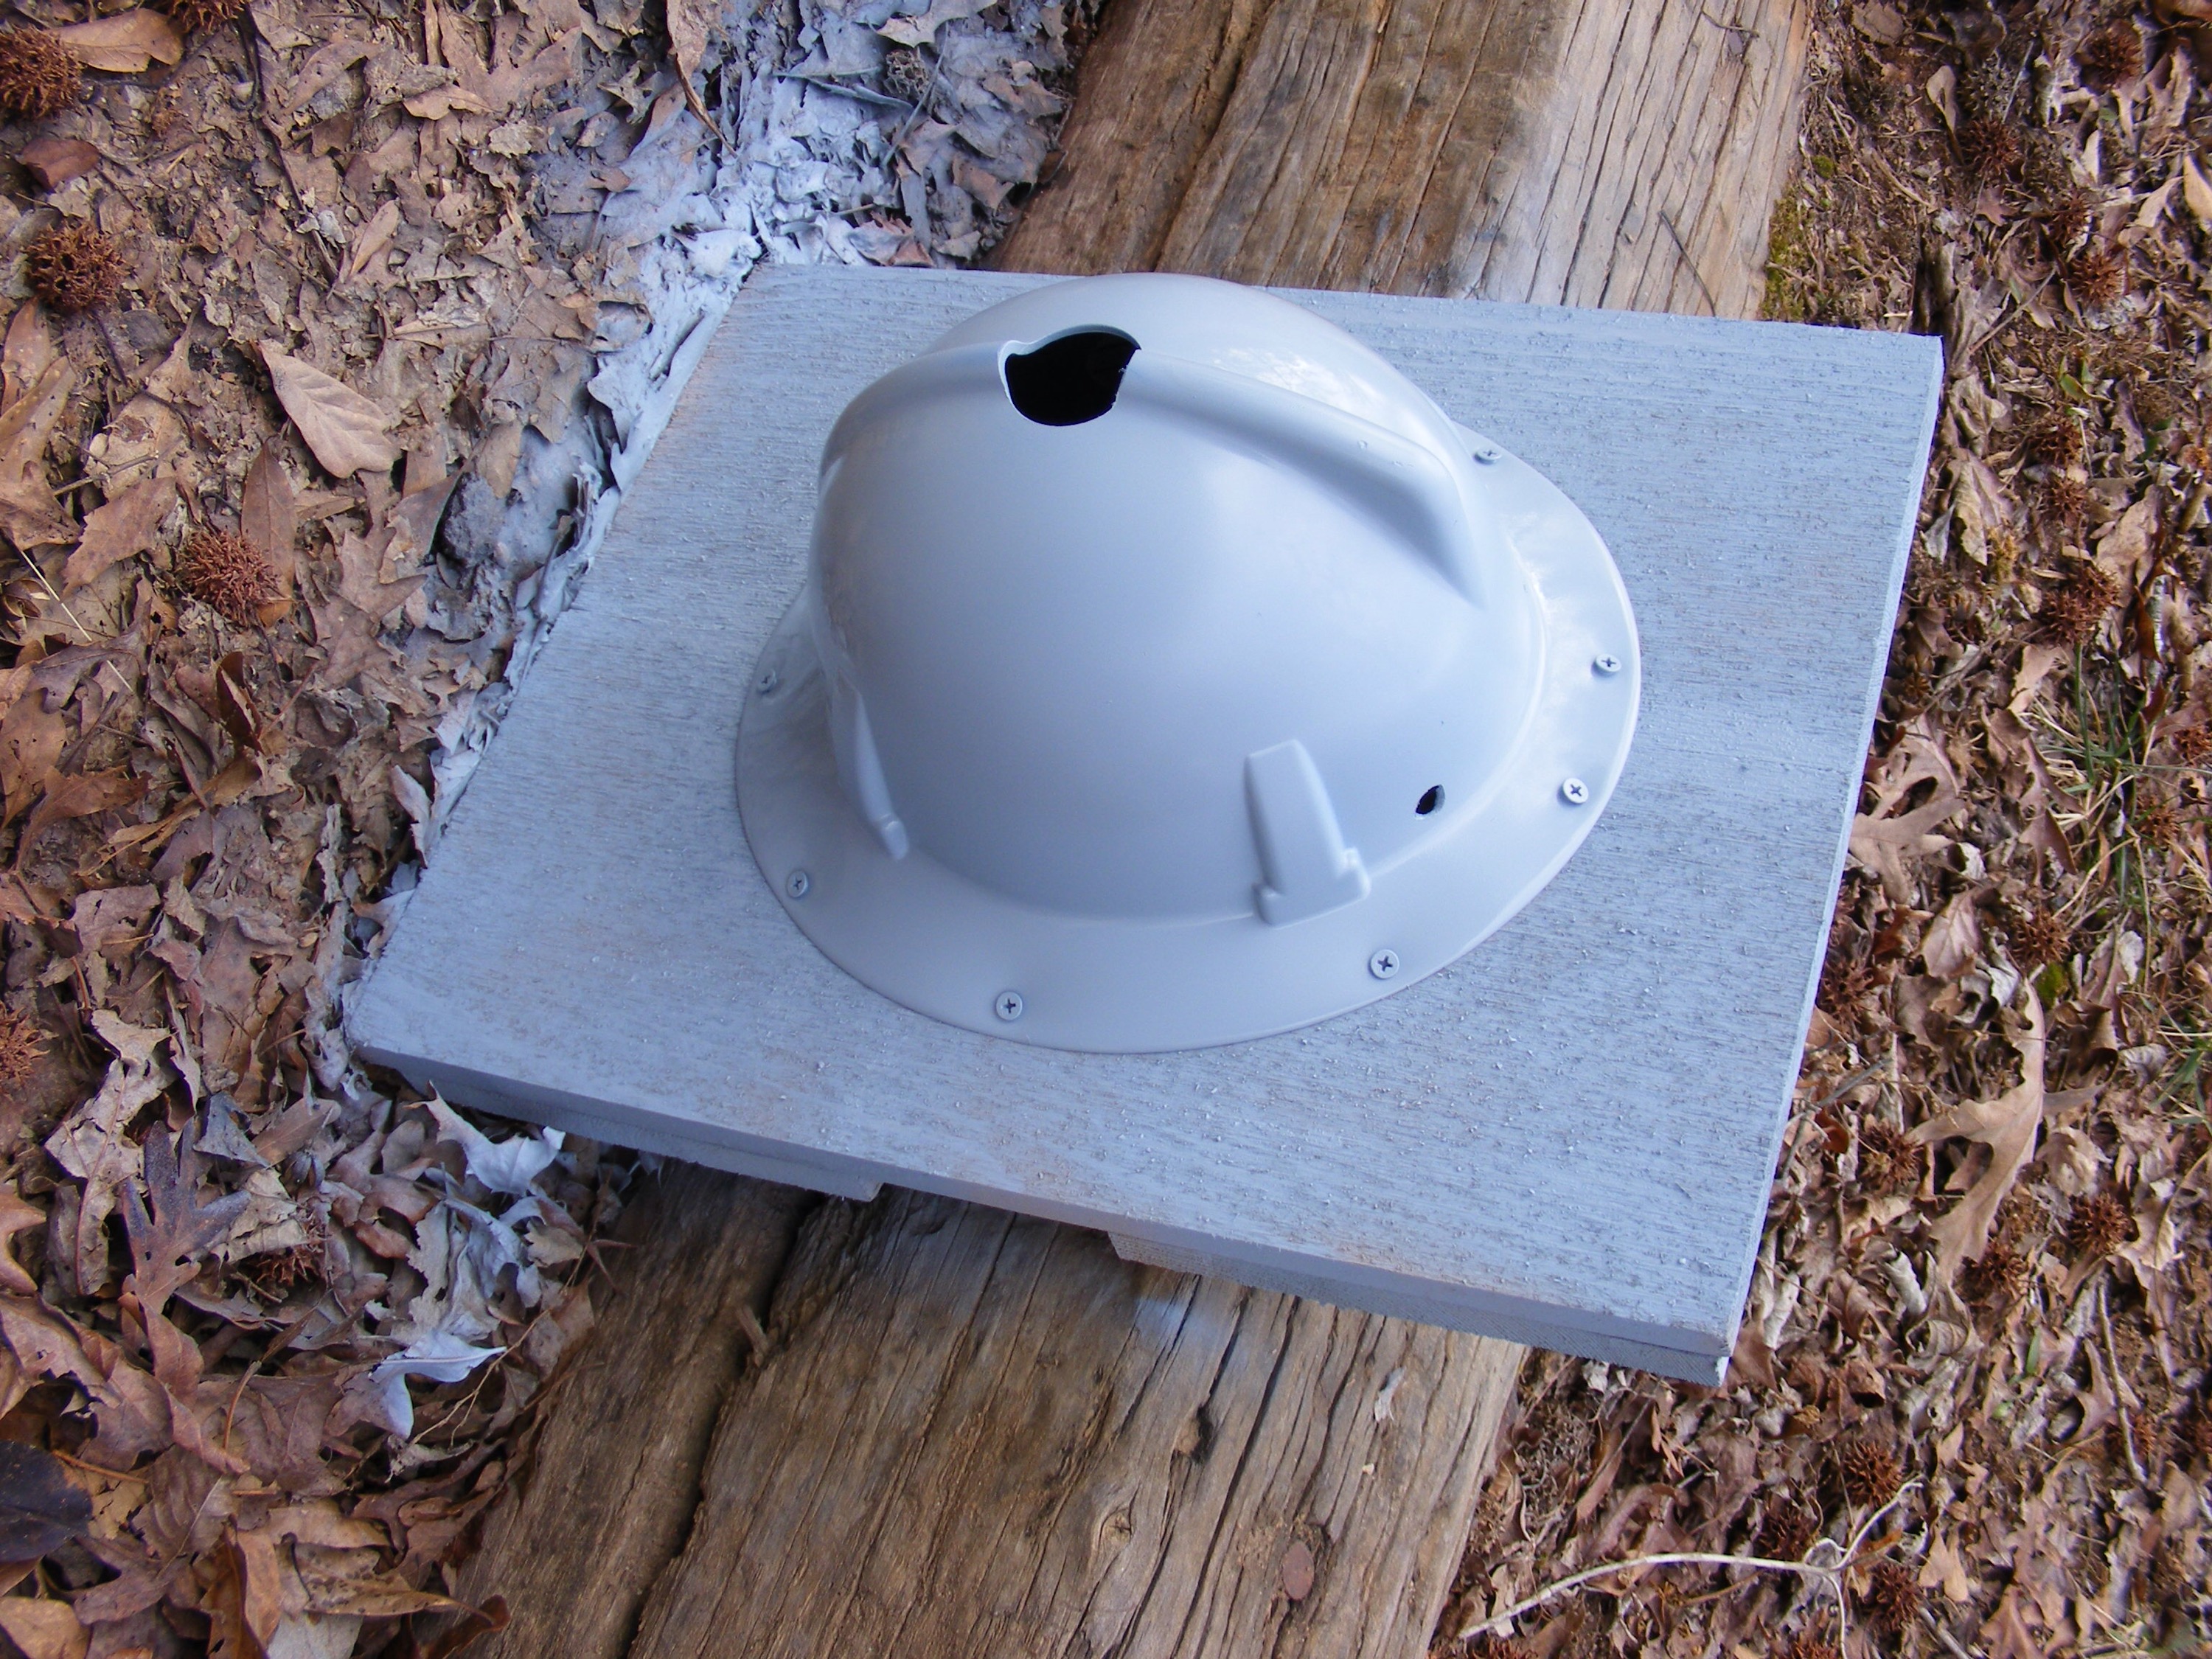
Next, I mounted the hard hat to the cedar board using ten 1 inch deck screws. These are exterior screws.
Before I attached the hat to the board, I took some 120 grit sand paper and scuff up the inside surface of the hard hat. This gives the baby birds an easier foothold when crawling from the nest to the hole.
I drilled ten holes, evenly spaced, around the hard hat brim for the screws. I screwed them in nice and easy. The hard hat does flex some and I wanted a tight fit with the board. Just had to go slow and not over tighten so as not to crack the hard hat.
Another thing you may want to do is drill about 3 – 3/8 inch holes on the bottom so that the bird box can drain. So you’d drill these through the plastic hat.
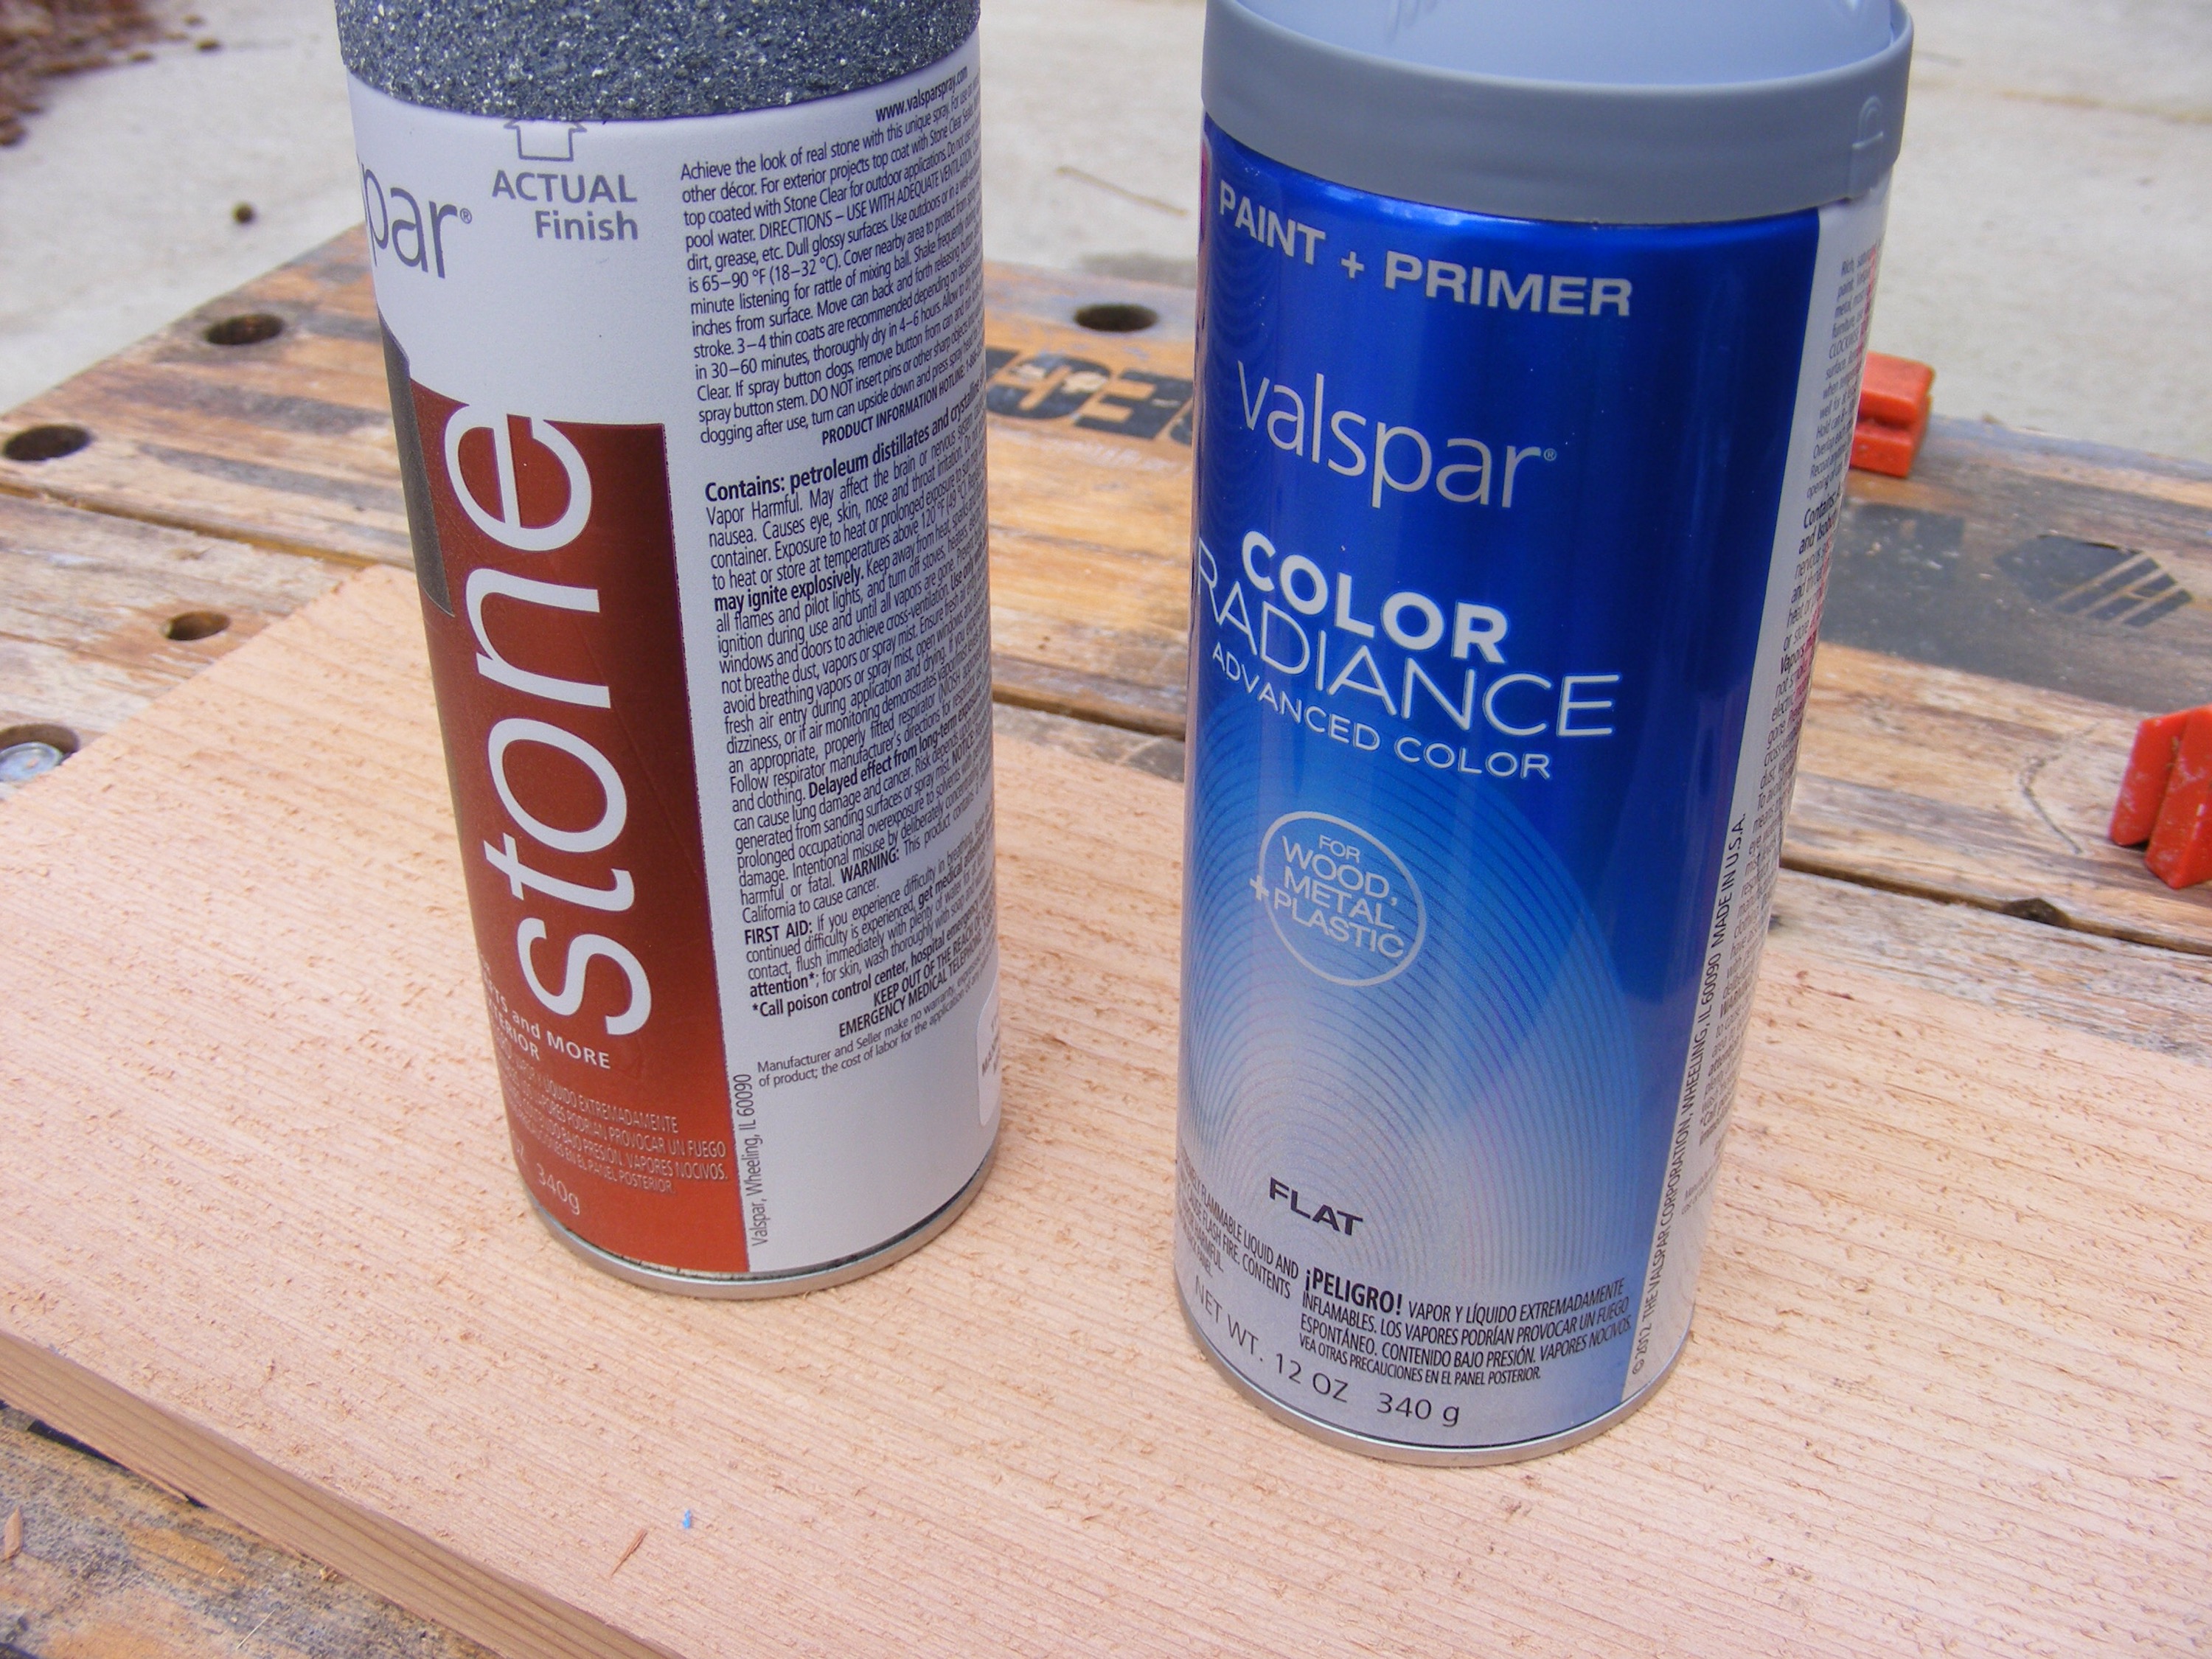
Step 5 — Paint the Bird House
I decided to give the hat and board a base layer of gray spray paint. This color will blend well in the natural environment. I made sure to pick a paint that adheres to plastic. I applied 2 to 3 coats, allowing to dry between coats. Also, before I applied the paint, I took some clear silicone sealer and went around the edge of the hard hat where it attached to the board. Note the 3/8 inch drainage holes on the bottom of the birdhouse.
As a general rule, it’s a good idea to paint a bird house a lite color so it won’t absorb a lot of heat from the sun.
You may be thinking which is better — wood or plastic? I honestly don’t know, but the plastic is relatively thin. It’s possible that wood may be a better medium for a bird house, but I have had birds using the house.
Step 6 — Add Some Camouflage
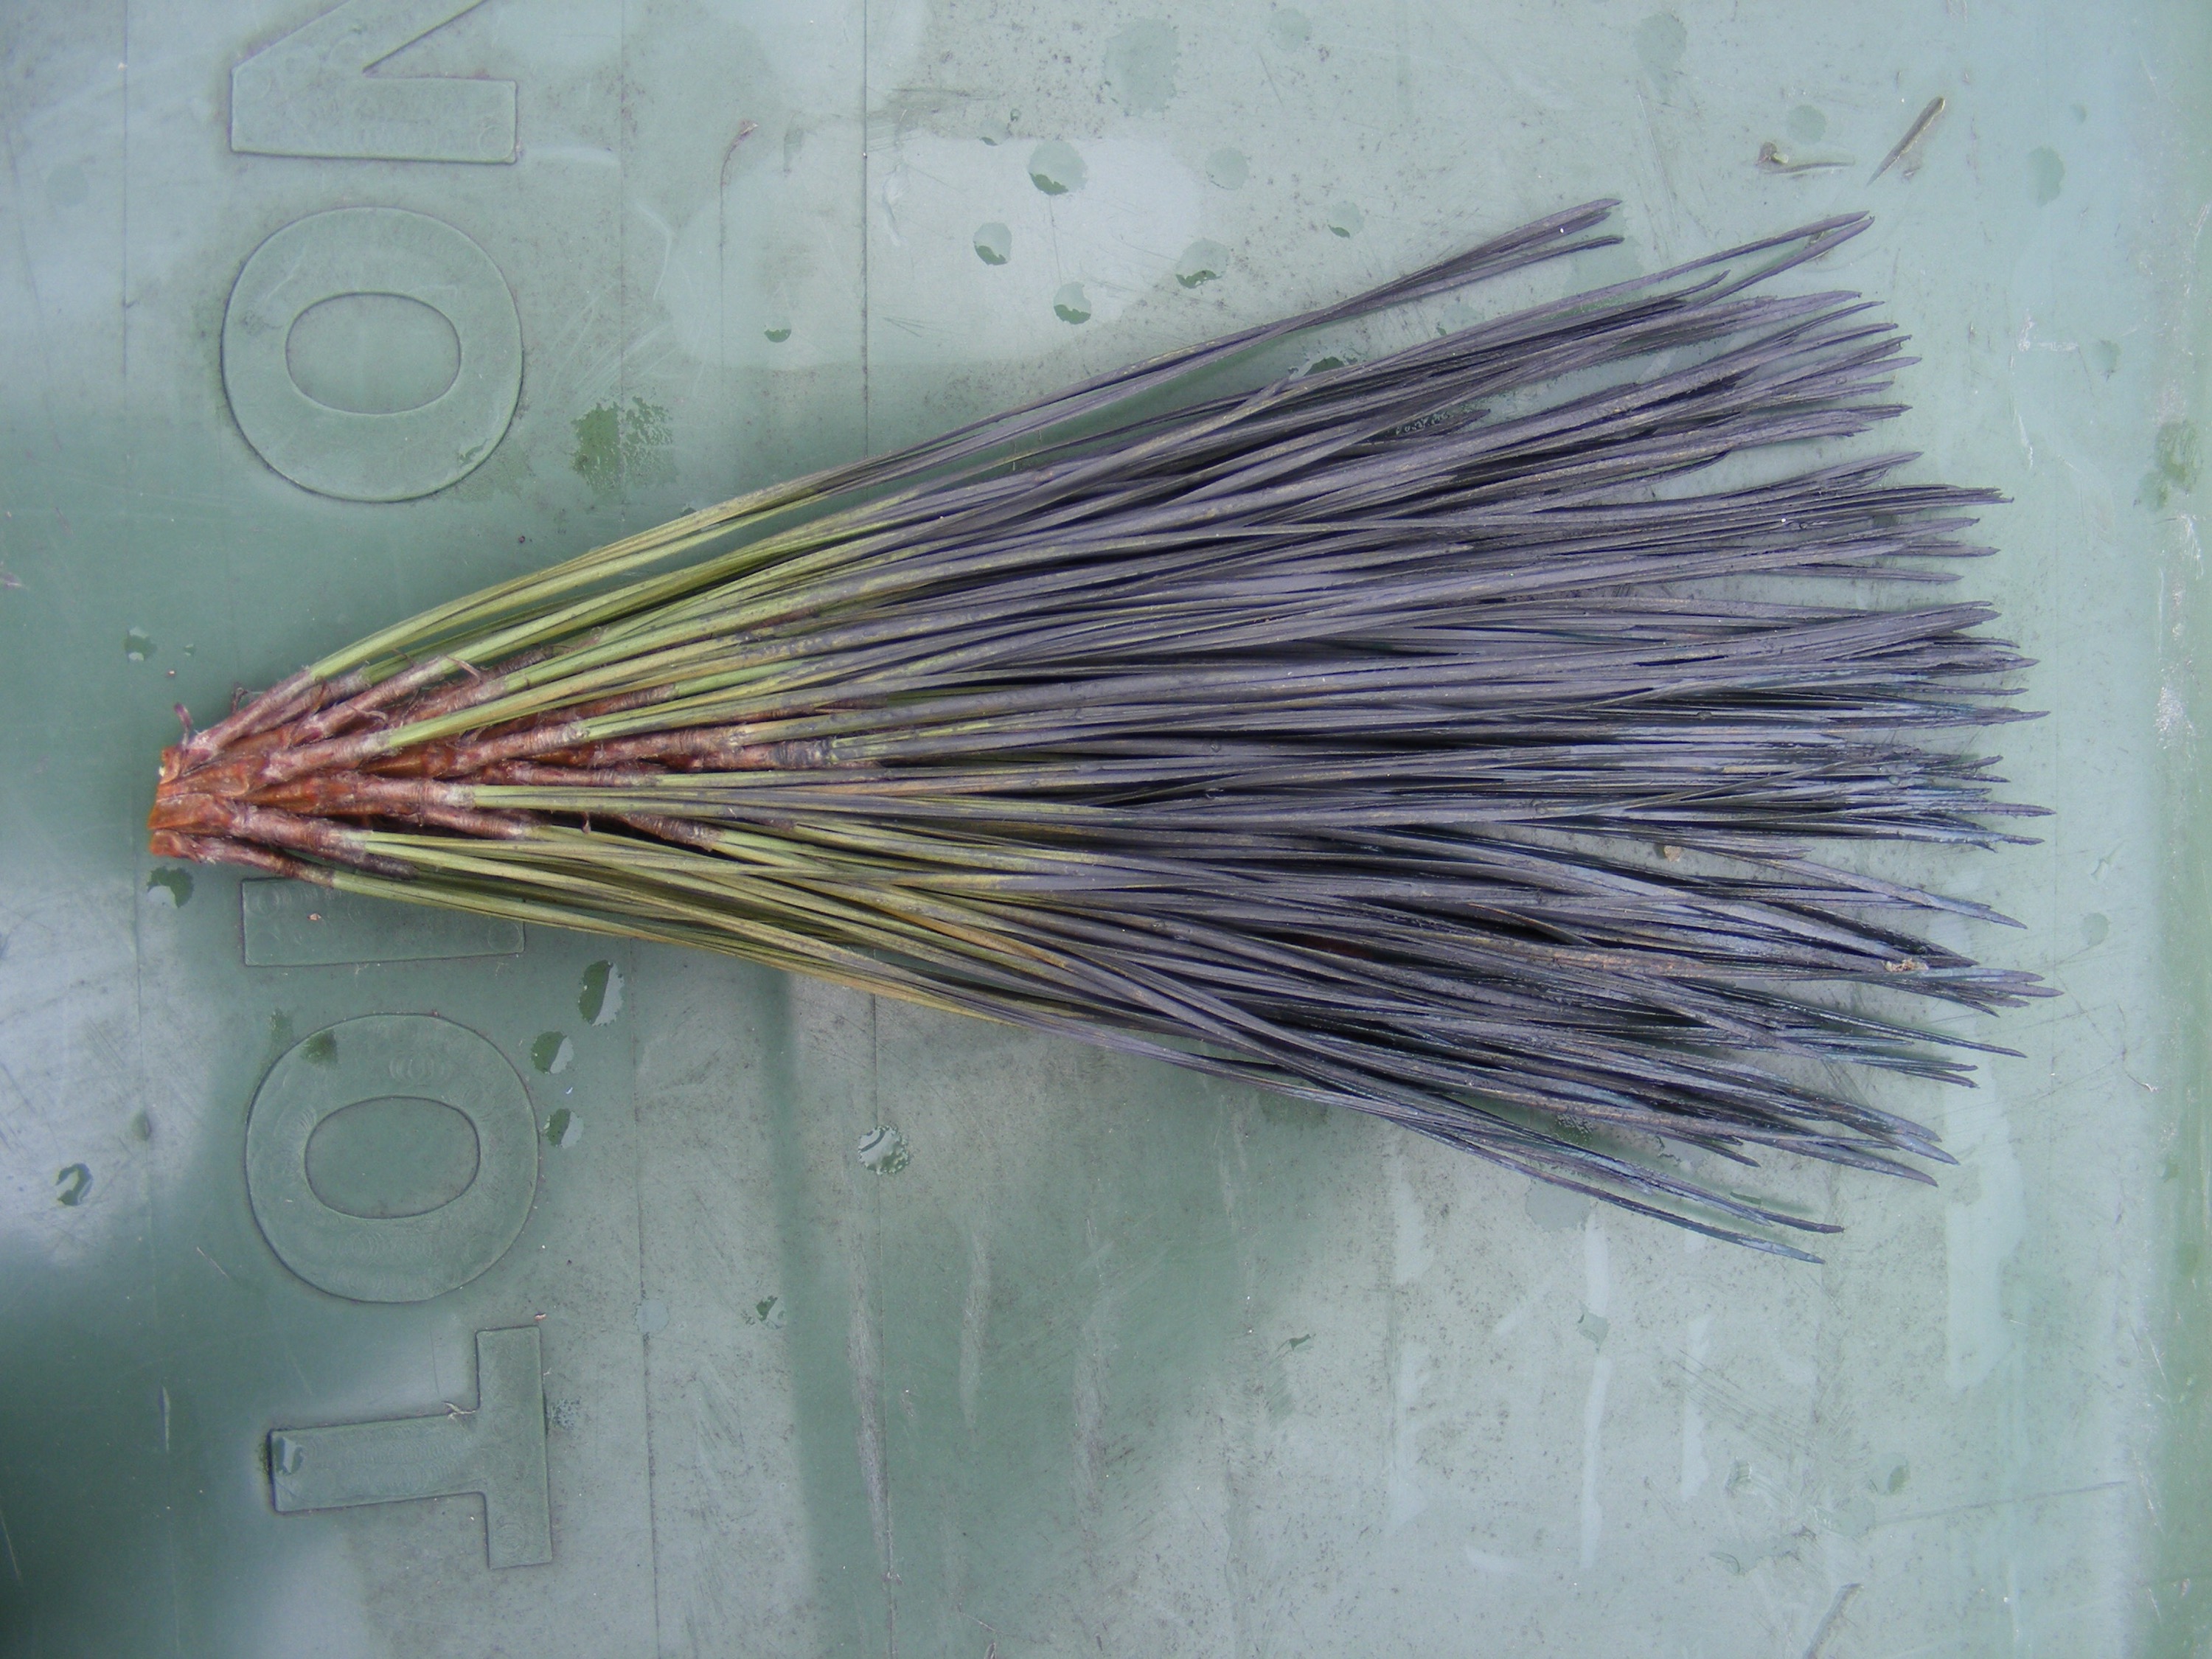
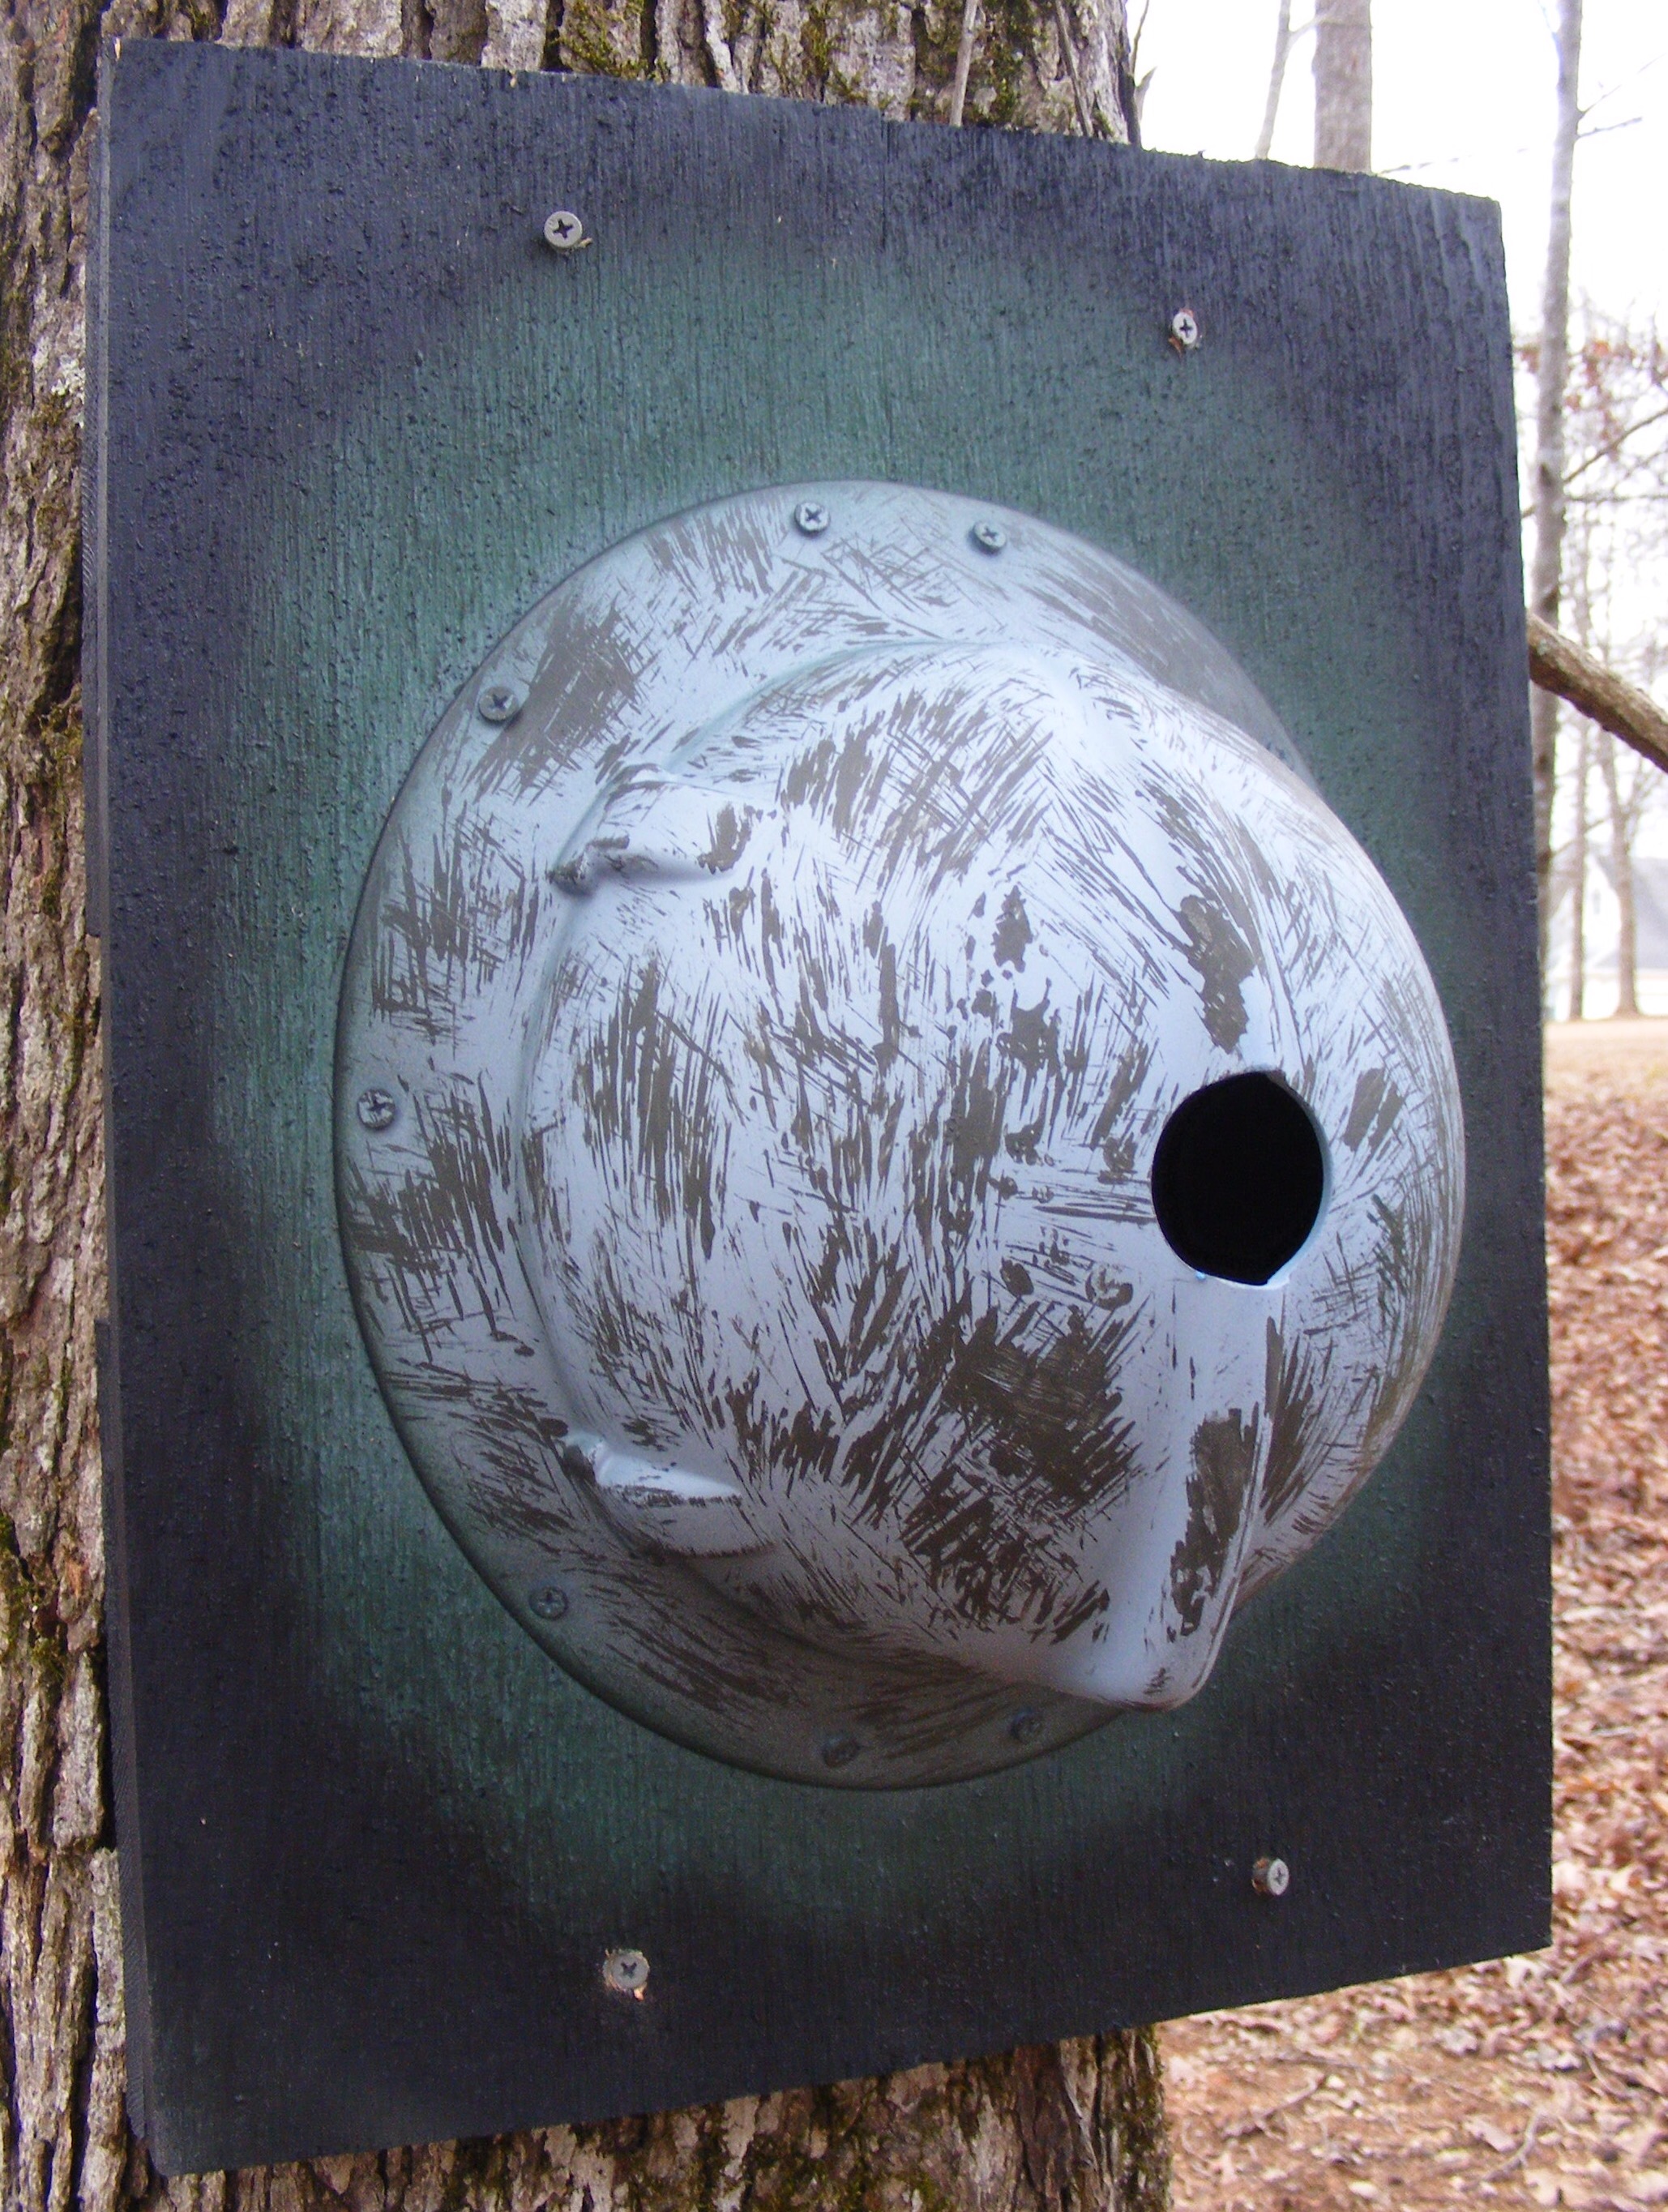
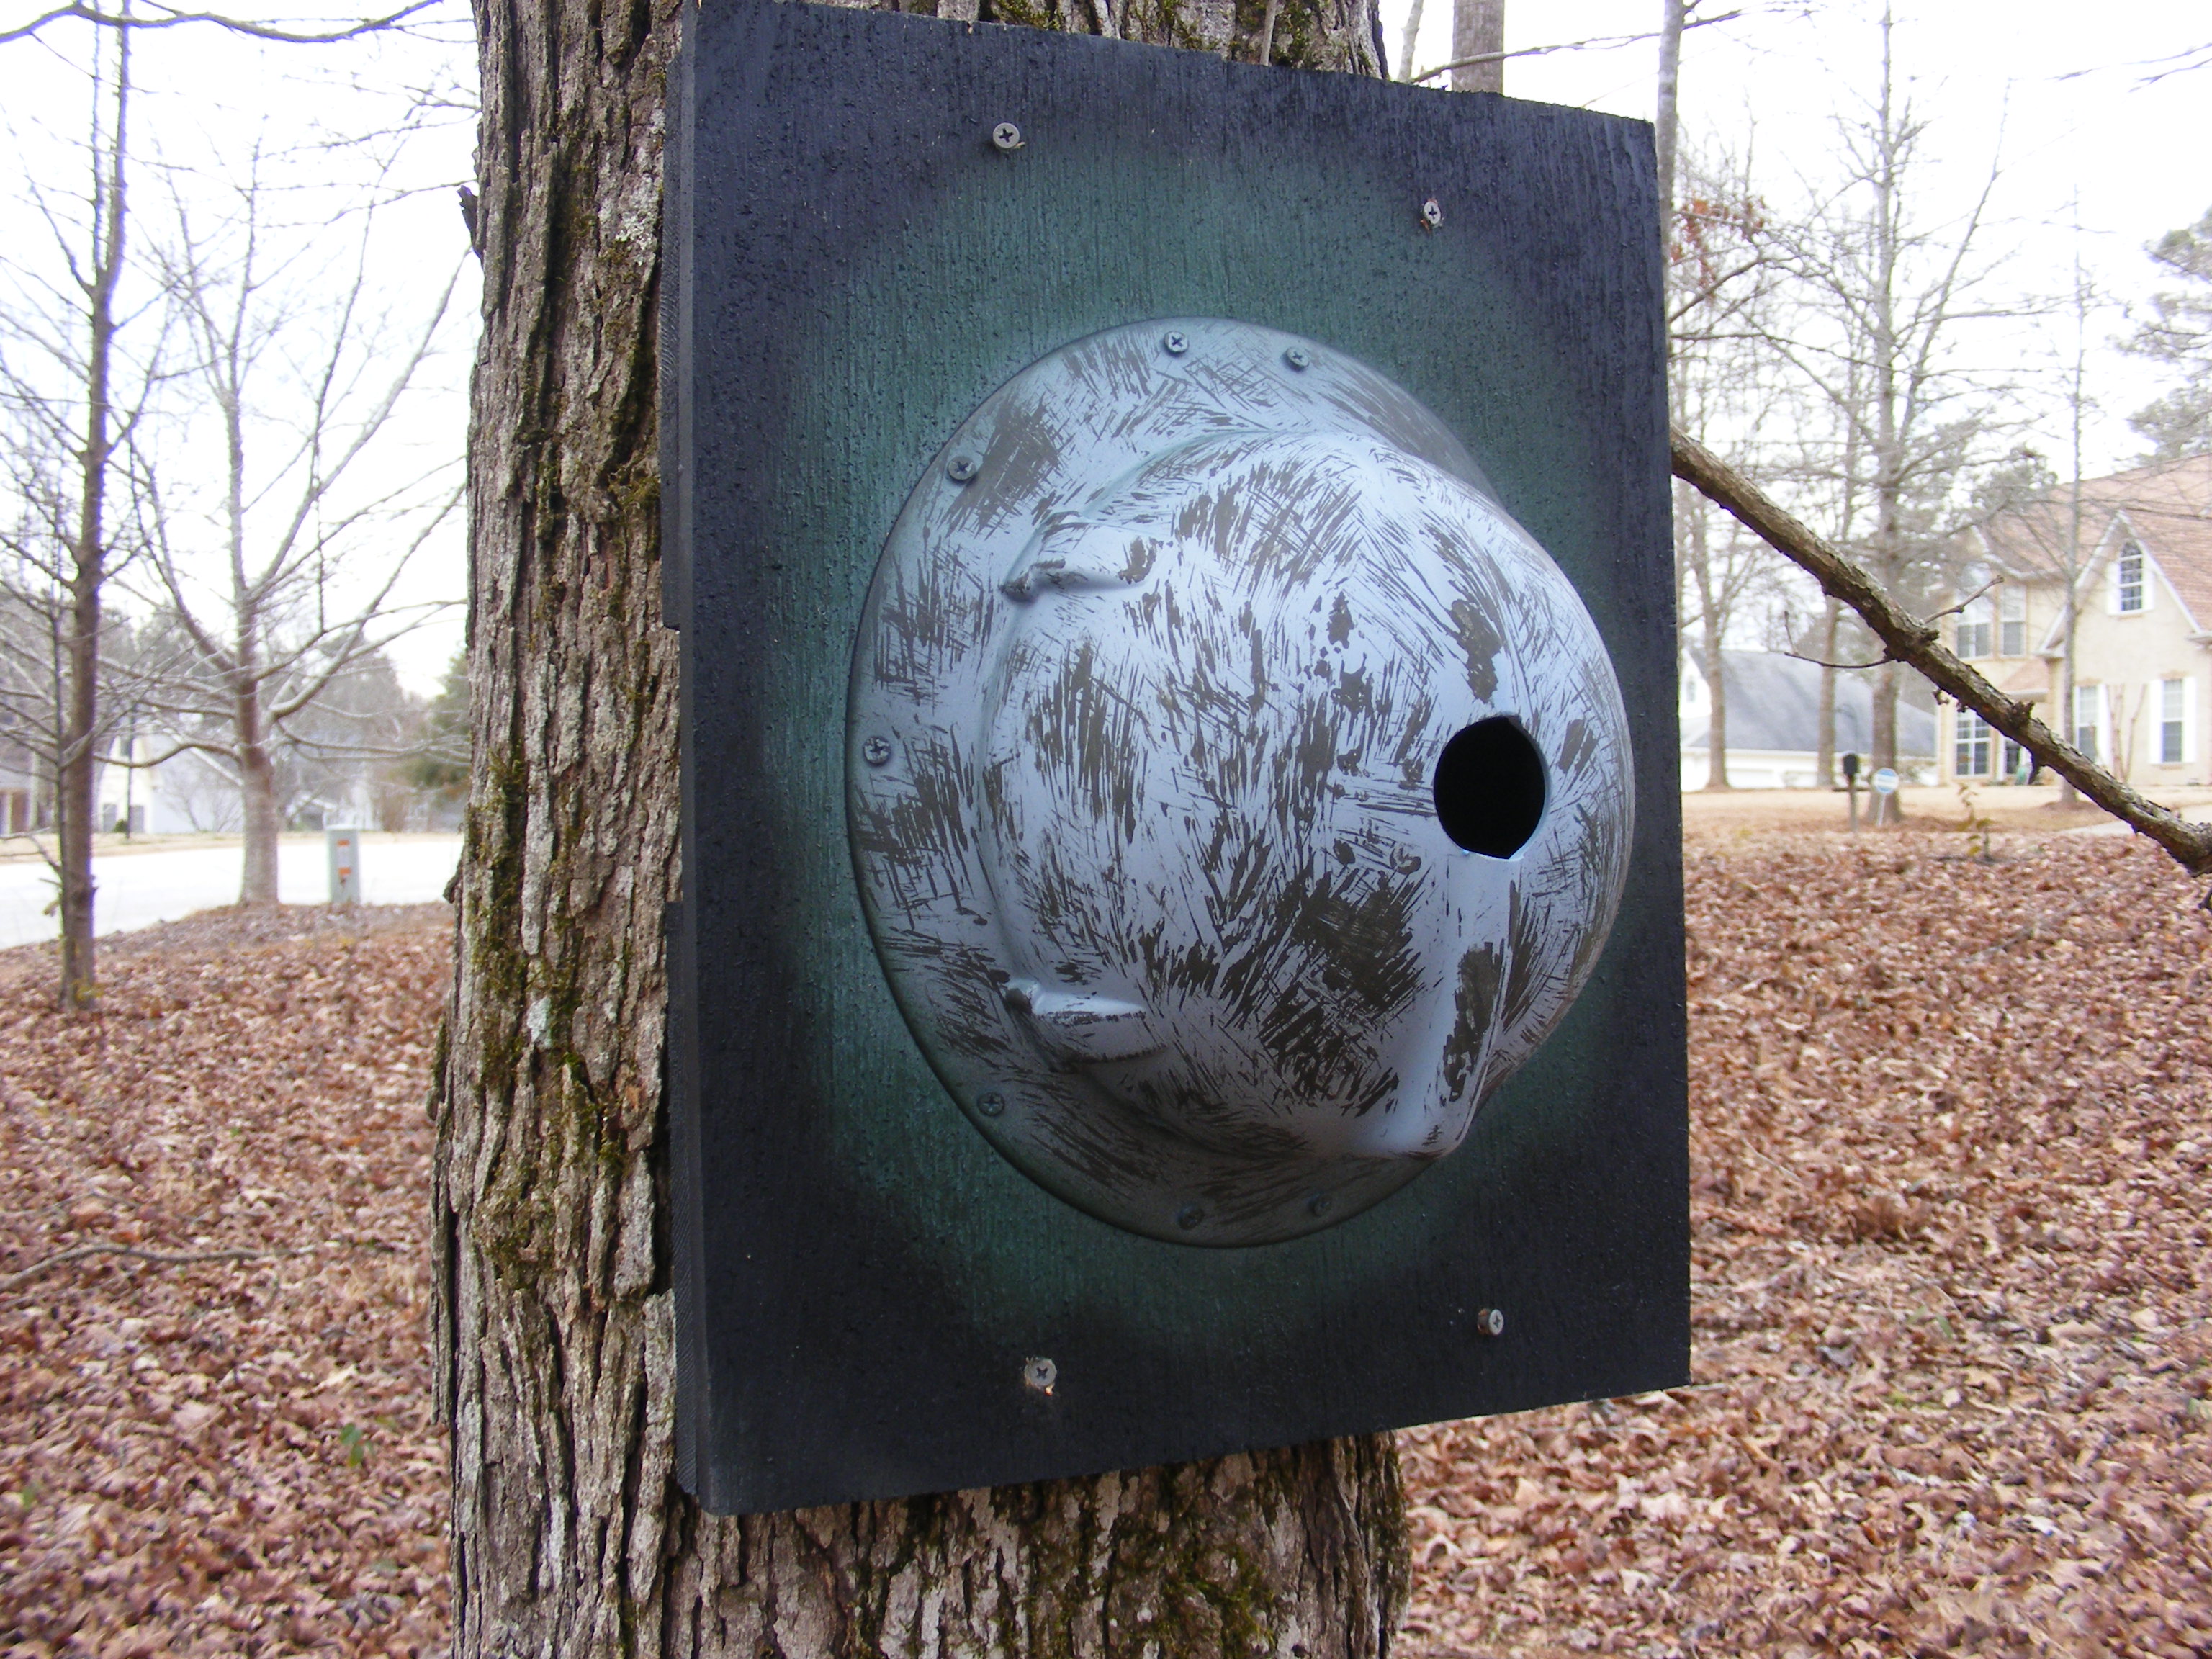
Finally, I finished the hard hat birdhouse by using some pine needles as a natural paint brush. I know—there are tons of cute birdhouses out there with bright, attractive colors, but birds really would like their homes to blend in with the natural environment. So I used black, gray, and forest green colors. I used brown paint with the pine needle brush. You could also finish the entire thing with some clear spray-on sealant if you like.
I used four 3 inch deck screws to mount the birdhouse to the tree. I mounted it 5 feet high and faced it a little toward the east. I also made sure the house faced a relatively open area, which is something many birds like.
As I mentioned at the beginning, the most common tenants of my hard hat house seem to be wrens.
I hope you enjoyed this tutorial. Please email or leave comments if you have questions or suggestions. Please consider joining my blog to receive updates on new tutorials, how-to articles and product reviews. Check out the sign up form below!

Are you starting up a new shop? Want to work safer in your shop? To help you answer these questions I've put together a 2-part checklist -- Home Shop Safety & Tool Checklist.
I will also send you updates of my latest woodworking and DIY projects. You can get all this by subscribing to my free email newsletter.
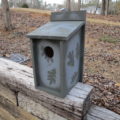
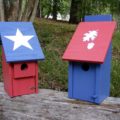
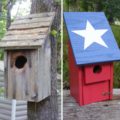


That’s so cool! How long did it take you to make that? I’d love to have a bird house just like that in my own yard, except I’m not sure I have the time or patience to make it myself. I’d prefer that it be made out of wood rather than a hard hat like that. Where do you think I could buy one instead?
Mia … I’m curious to see how the birds interact with the plastic. I saw a similar design along a trail in near Hiram Georgia, and it appeared there where birds nesting there. As far as finding birdhouses, you can buy them commercially, of course, but keep an eye out at any local craft fairs, as they come in all size, shapes, and forms. But as you probably know, certain bird species are looking for particular inside dimensions and entrance hole dimensions. So I guess it also depends on what kind of birds you want to attract.
Doesn’t it damage the tree to penetrate it with screws?
I’ve been attaching birdhouses and other things to trees for years and haven’t seen a tree adversely impacted. I try not to attach to trees that are young and still have a lot of growing to do. I suppose you could find another way like straps or rope, as long as the birdhouse is secure. But even then, you’d need to monitor and readjust straps as the tree will try to grow around it. I’m open to suggestions. Thanks.