Here I go again. This honey dipper made from maple is another item for my dad — the beekeeper. He asked me about making some items that he could give away for door prizes at his bee club meetings. You may have seen the modified slimline pen from two posts back.
In this post I will show you how to make a honey dipper, one of those classic projects that you can easily turn on the lathe. All you need are a few tools. You’ll note that I added some colors — black and yellow — since we’re talking bees. And I finished the honey dipper with a food-safe mineral oil.
Where did I get the inspiration for this project? Well, I’m glad you asked. Fox Chapel has published a great book called Classic Woodturning Projects by Bonnie Klein. The book is chock full of fun and easy projects like spinning tops, letter openers, tool handles, whistles, and, of course, the honey dipper.
Safety First: Please take a minute and read my disclaimer. Wear all the necessary protective gear and read the instructions that come with your power tools. If you’re not sure about something, ask, seek help or get additional training. Happy woodturning!
Here are the tools I used:
Jet Mini Lathe (you’ll also need a spur drive and 60 degree live center– check to see if your lathe has MT#1 or MT#2)
Lathe tools
Sandpaper & Micro Mesh Sanding Sheets
Prismacolor Art Markers
Food Safe Mineral Oil
Here are the steps to making a honey dipper:
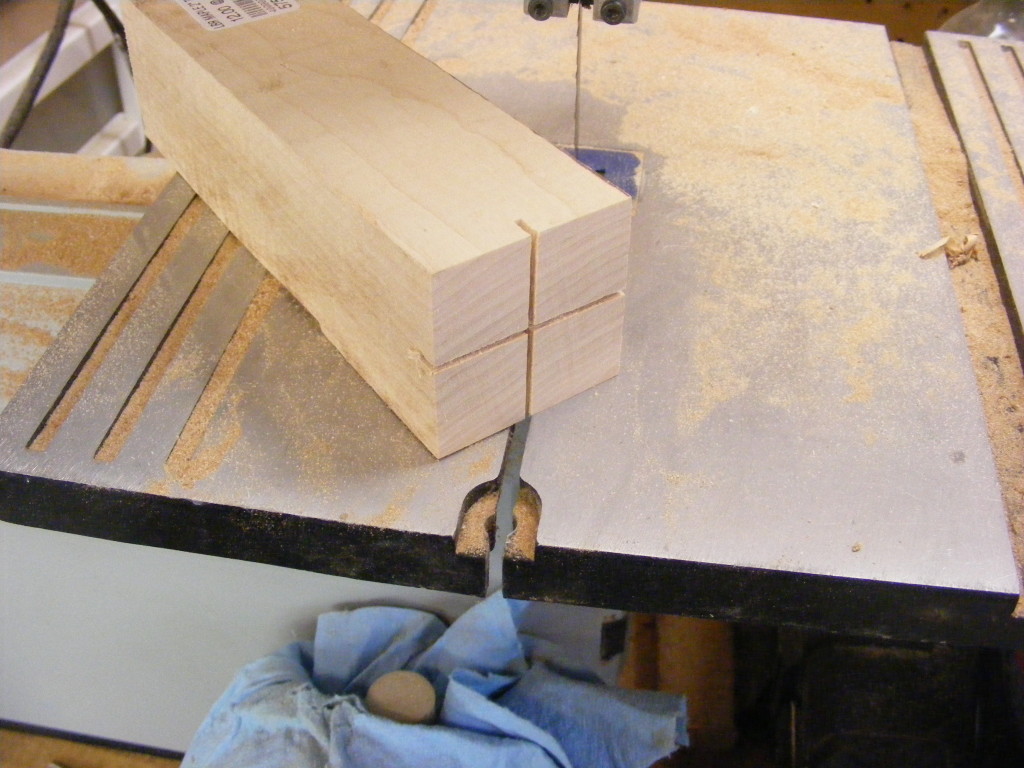
Step 1 — Prepare the blank for the wood lathe. I had this 2 inch by 2 inch by 7 inch piece of maple laying around. Maple is a hardwood and is a good application for wooden kitchen utensils.
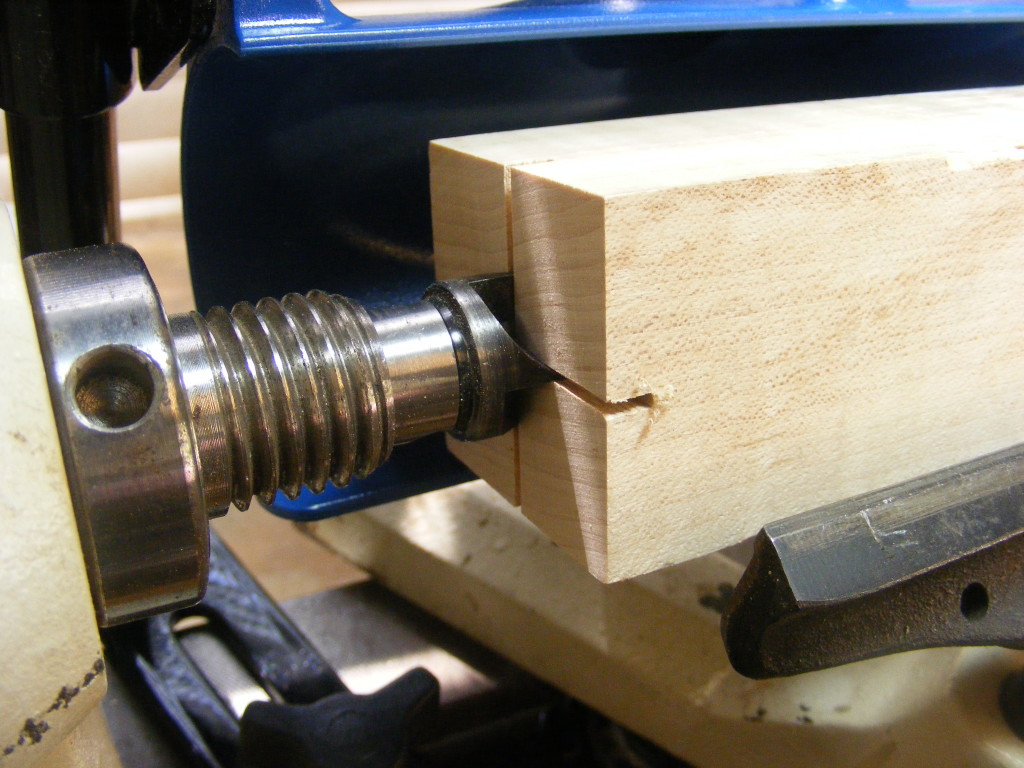
First, I took my maple blank over to the band saw and cut 2 groves, perpendicular to each other on one end. This is where I will place the spur drive, By cutting the grooves it helps avoid cracking the wood and it gives the spur drive a way to secure the wood.
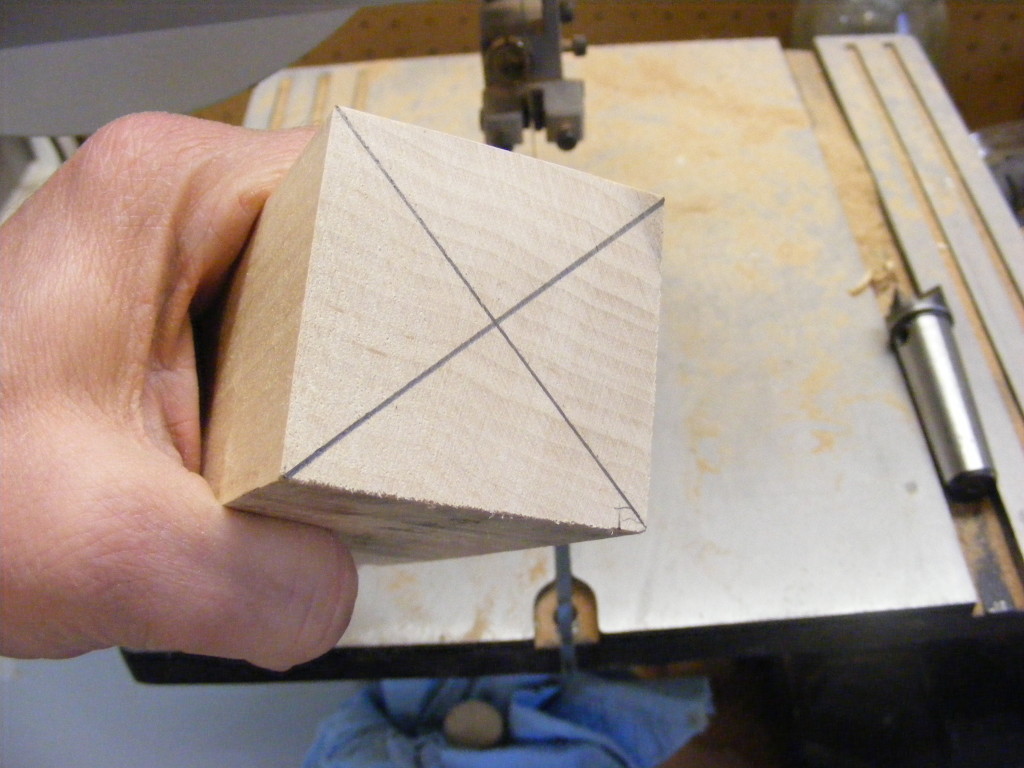
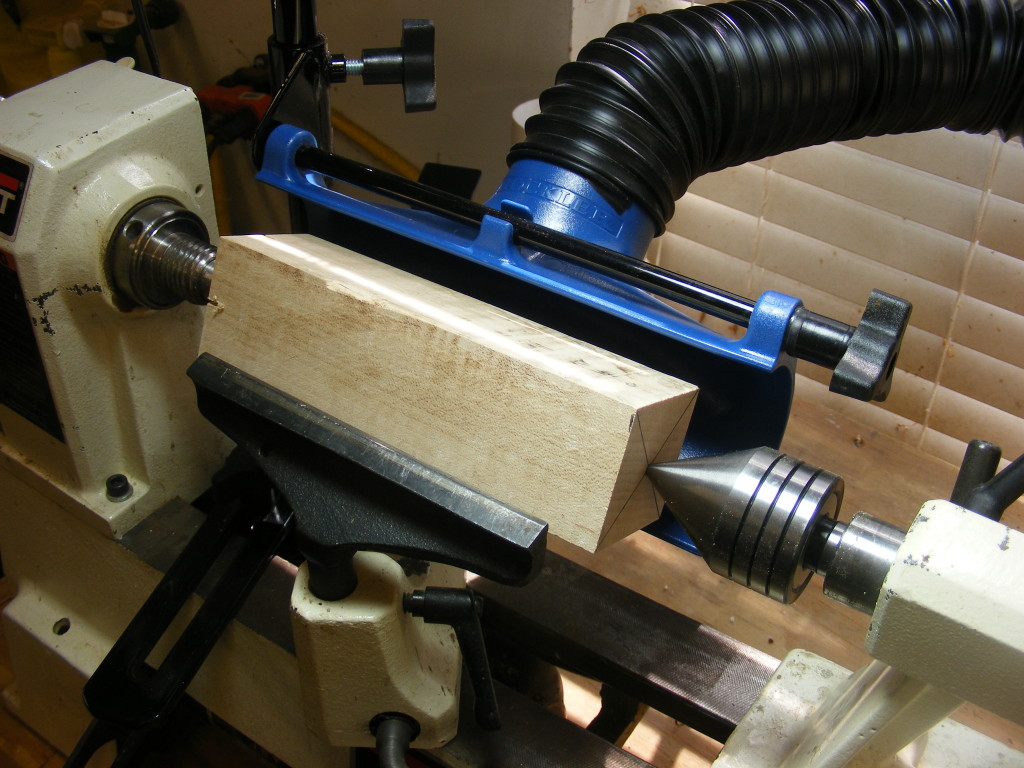
On the opposite end, I simply drew lines across the diagonals to mark the center of the blank. This is where my 60 degree live center will press into the wood.
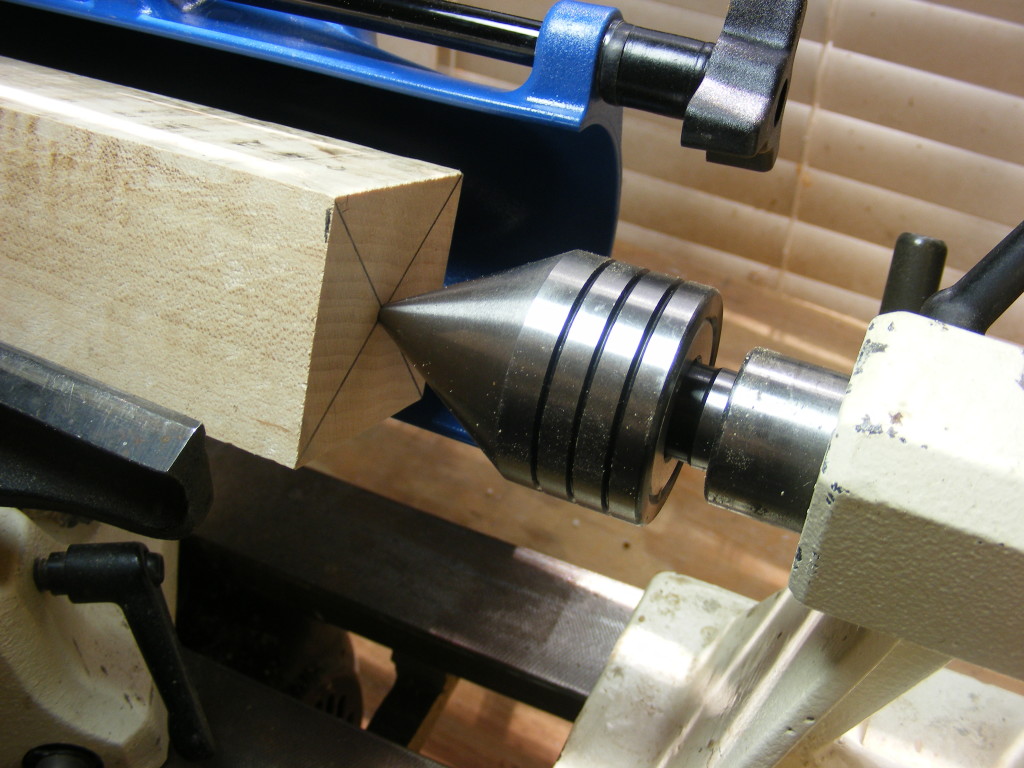
Step 2 — Mount the blank securely to the lathe. I’ll be turning the blank between centers — the spur drive and the live center. I adjusted tool rest so it ran roughly along the center line of the blank. I try to keep the tool rest around 1/8 to 1/4 inch from my workpiece as I turn it.
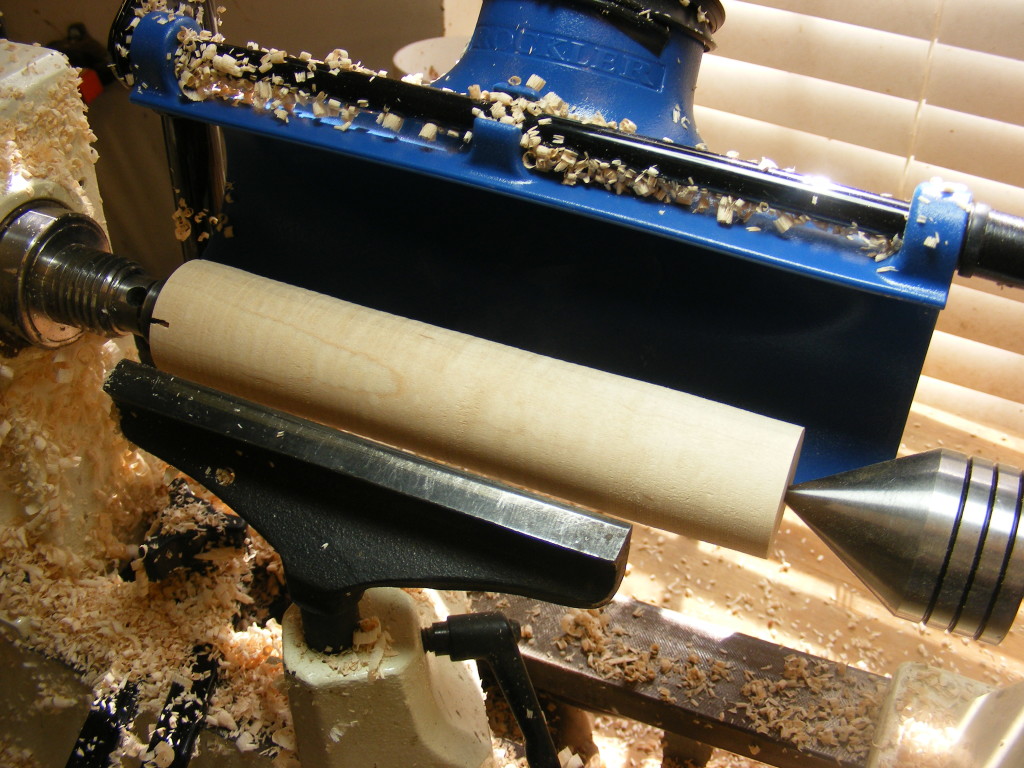
Step 3 — I used a roughing gouge and spindle gouge to turn the blank to a round, cylindrical profile. I had to move the tool rest periodically since it wasn’t as long as the blank.
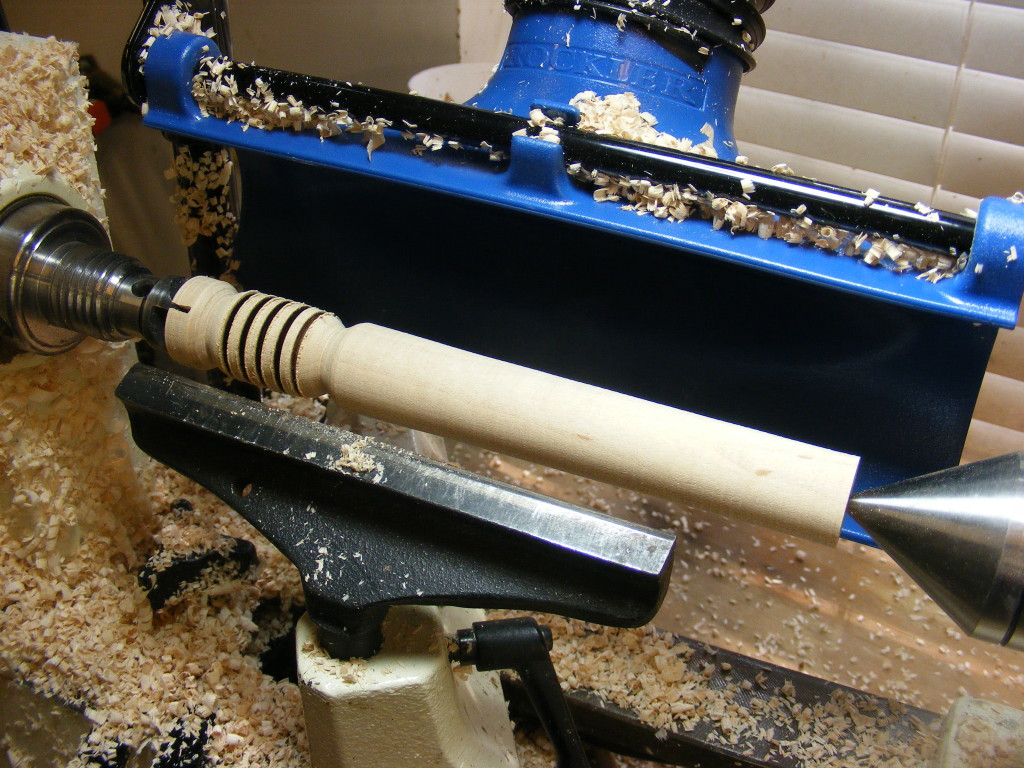
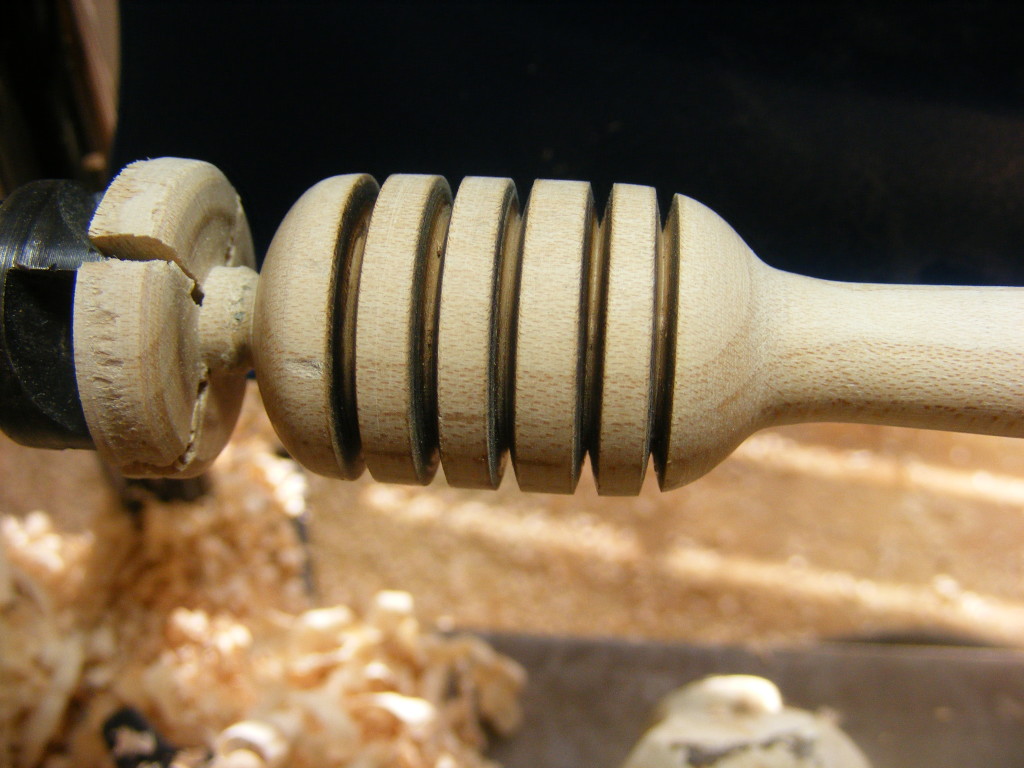
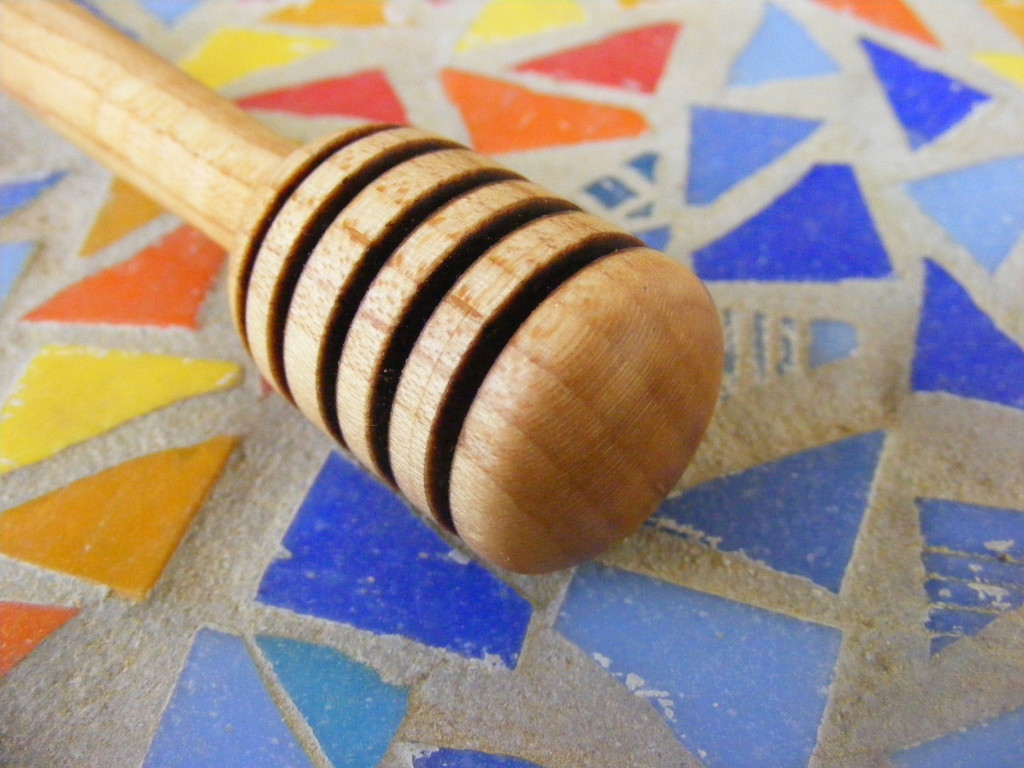
Step 4 — Next, I created the honey dipper section. I left some waste wood on the dipper side and the handle side. Use a small parting tool to create the groves for the dipper (note – my parting tool was a little too wide, so I used my skew instead) The grooves are probably around 1/4 inch deep. And they’ve spaced about 1/4 inch or less apart.
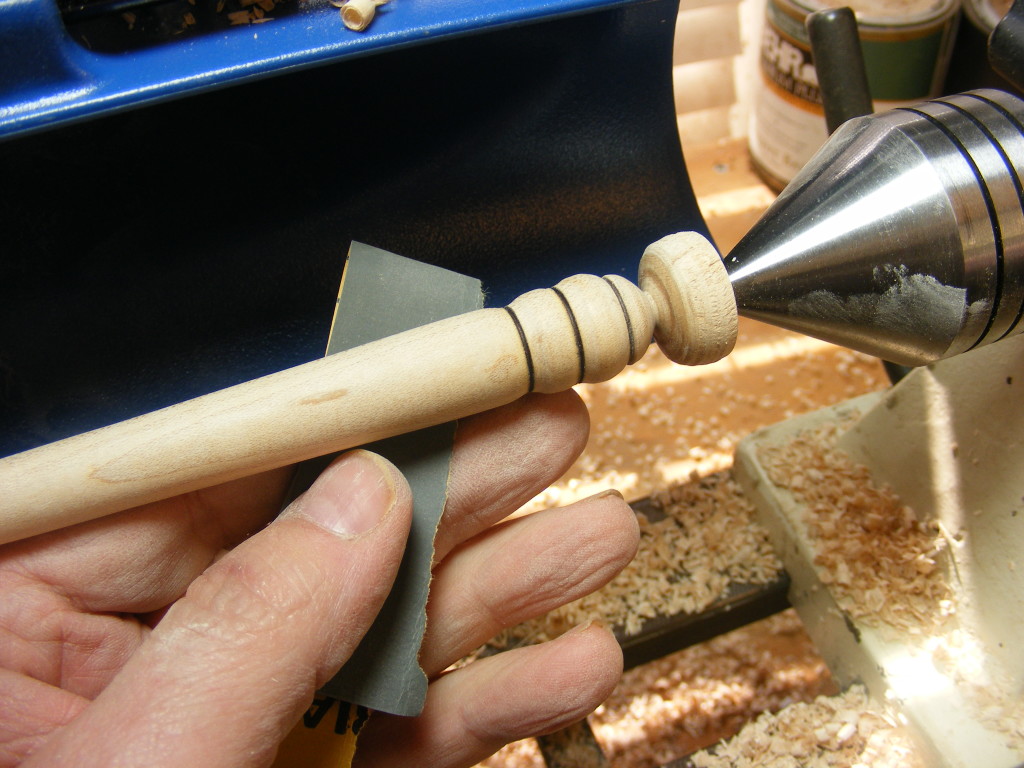
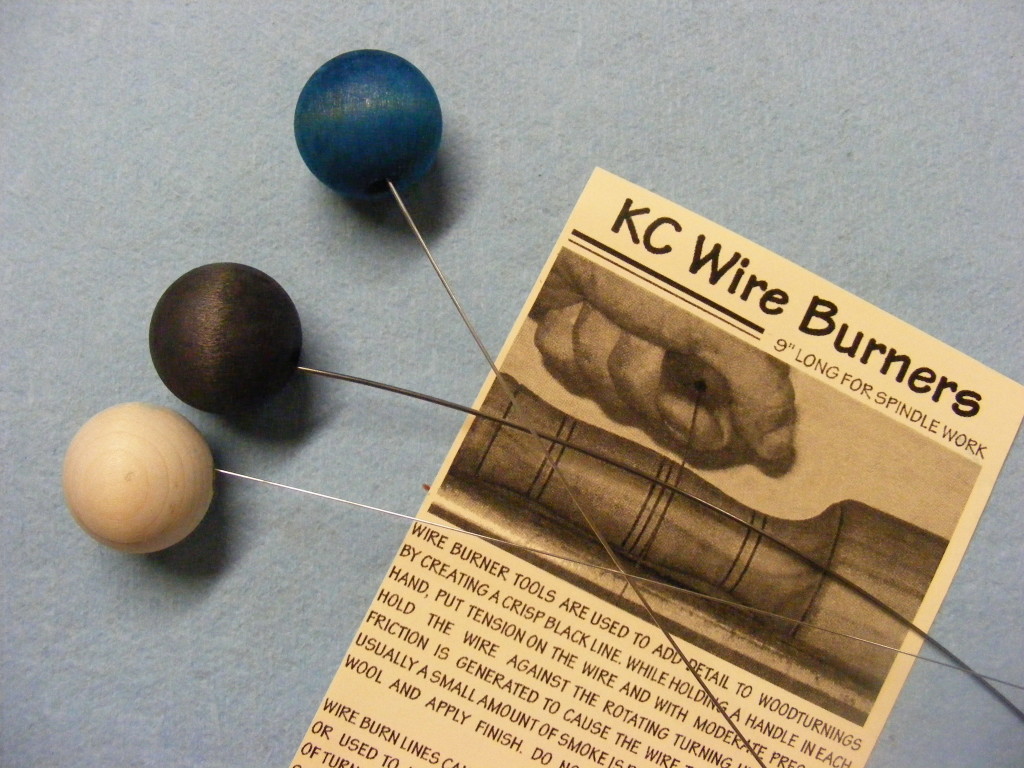
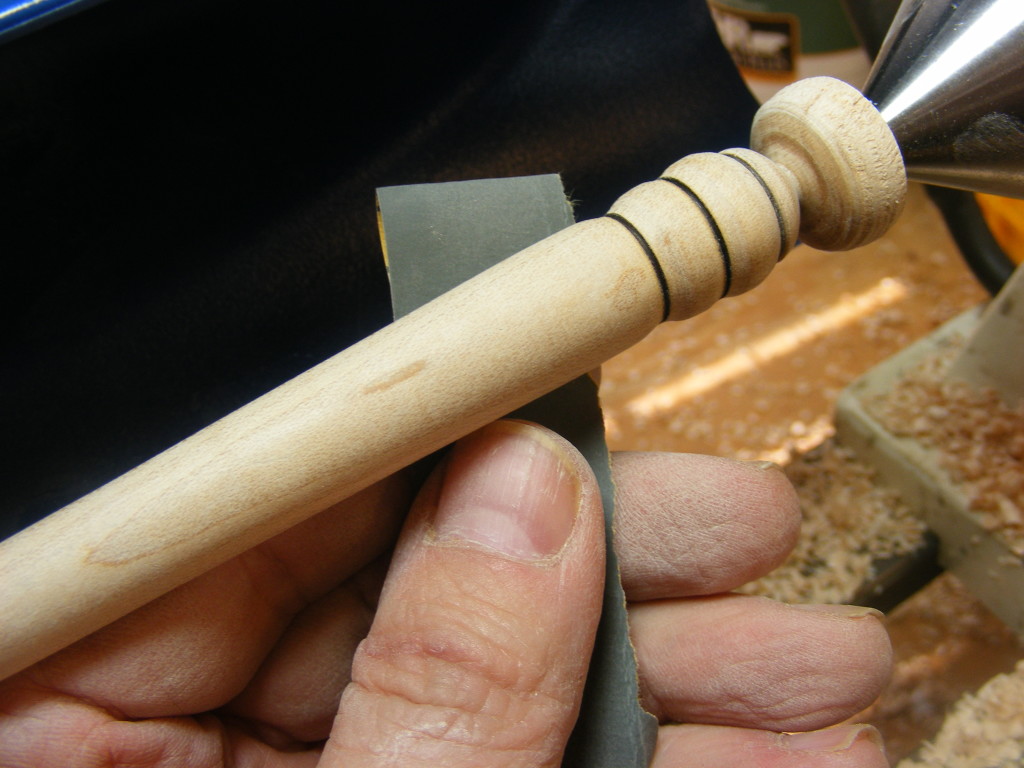
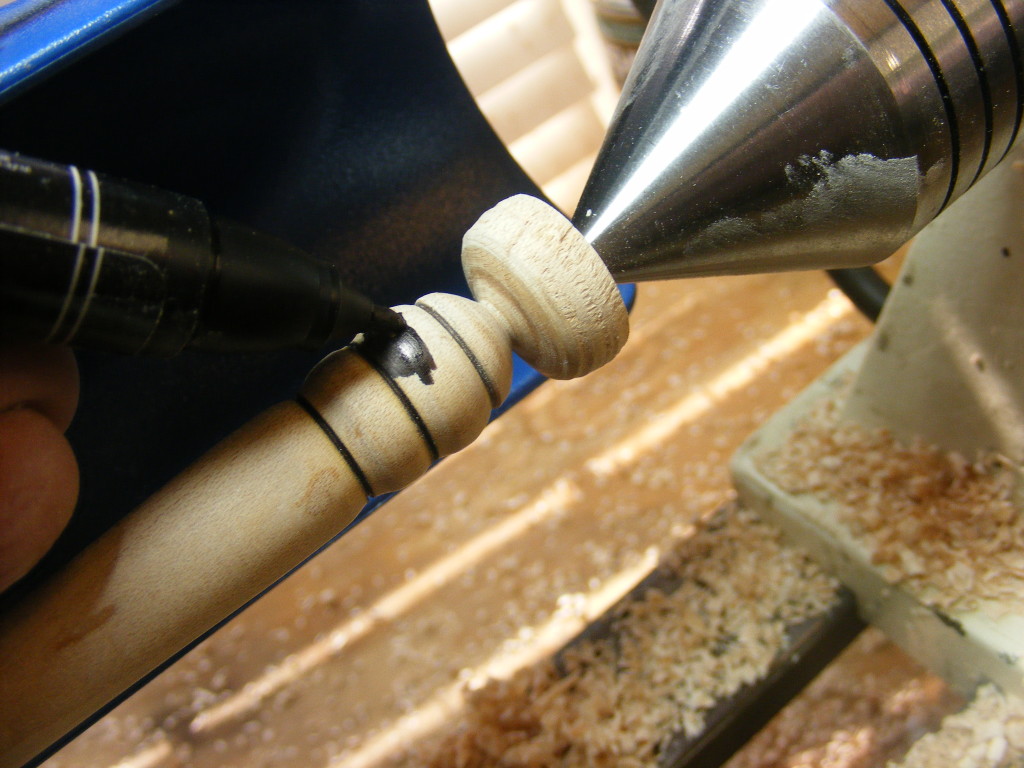
Step 5 — I used a spindle gouge to shape the handle. I created a couple of beads on the end of the handle and wire-burned between the beads. If you do the wood burning, use a store-bought brand like I show in the picture and make sure you follow the safety instructions that come with them.
Step 6 — Sanded the honey dipper and handle. I used 220 grit up to 400 grit. Then I finished sanding with 1500 and 2400 grit micro mesh.
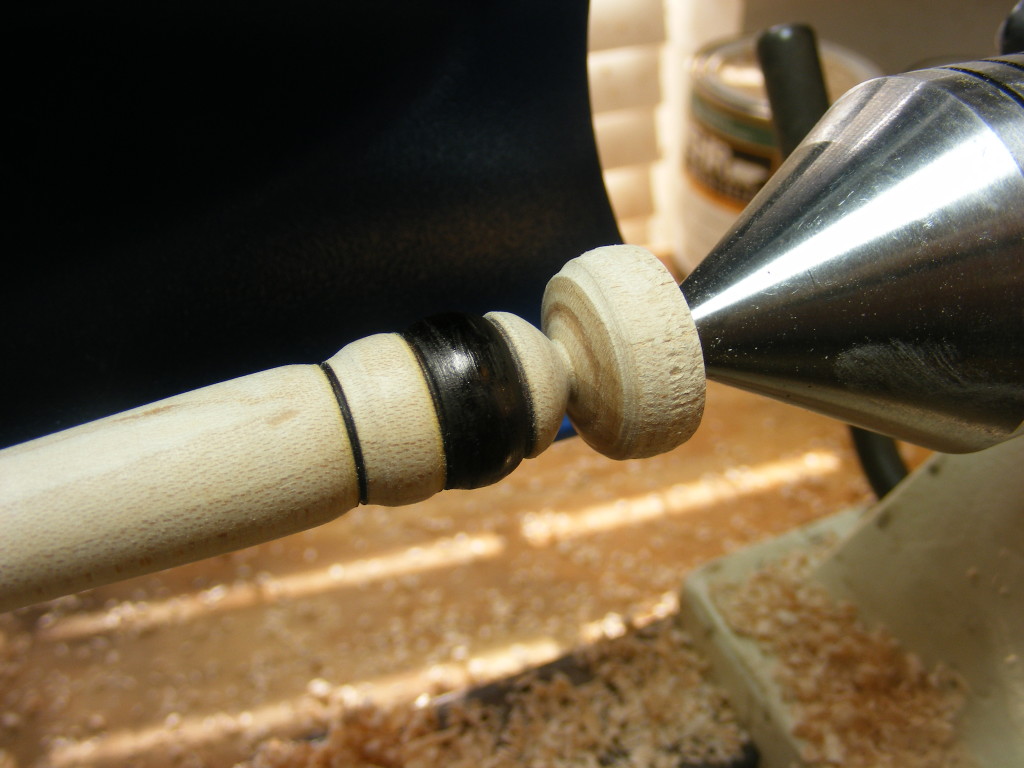
Step 7 — Next, I used some Prismacolor felt-tip markers and applied black and yellow colors on the bead area (lathe off). Allowed the ink to soak in and dry. This was the 2nd project where I used the Prismacolor pens and next time, I want to try using some dyes. There seem to be a few ways you can color the wood.
Although, I don’t show it, I took my hacksaw (you could also use a coping saw, or any thin-kerf saw) and cut the honey dipper off on both ends while still attached to the lathe (lathe still off). Then I sanded the tip of the handle and the tip of the honey dipper. I chose to hand sand at this point, although you could probably use a belt sander if you have one. Just go real light.
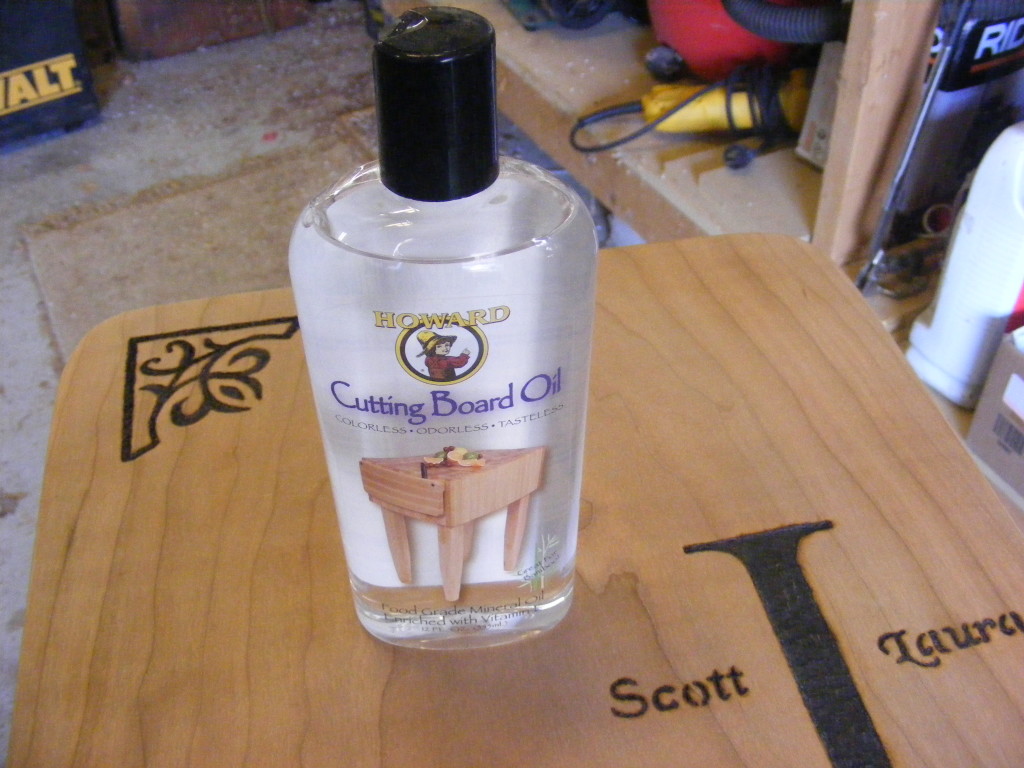
Step 8 — I applied a few coats of food-safe mineral oil, allowing it to soak in between applications.
And there you have it. This was a fun and easy project to make. If I wasn’t giving this to my dad, I would be tempted to go stick this in a jar of honey. But maybe I’ll make one for myself next time. Next, I’m looking into making some kitchen utensils, a letter opener, and maybe a spinning top.
Hope you enjoyed the tutorial. Feel free to leave any comments and give any feedback on the honey dipper project. Feel free to tell us what you’ve been making in your shop. Happy woodworking!!
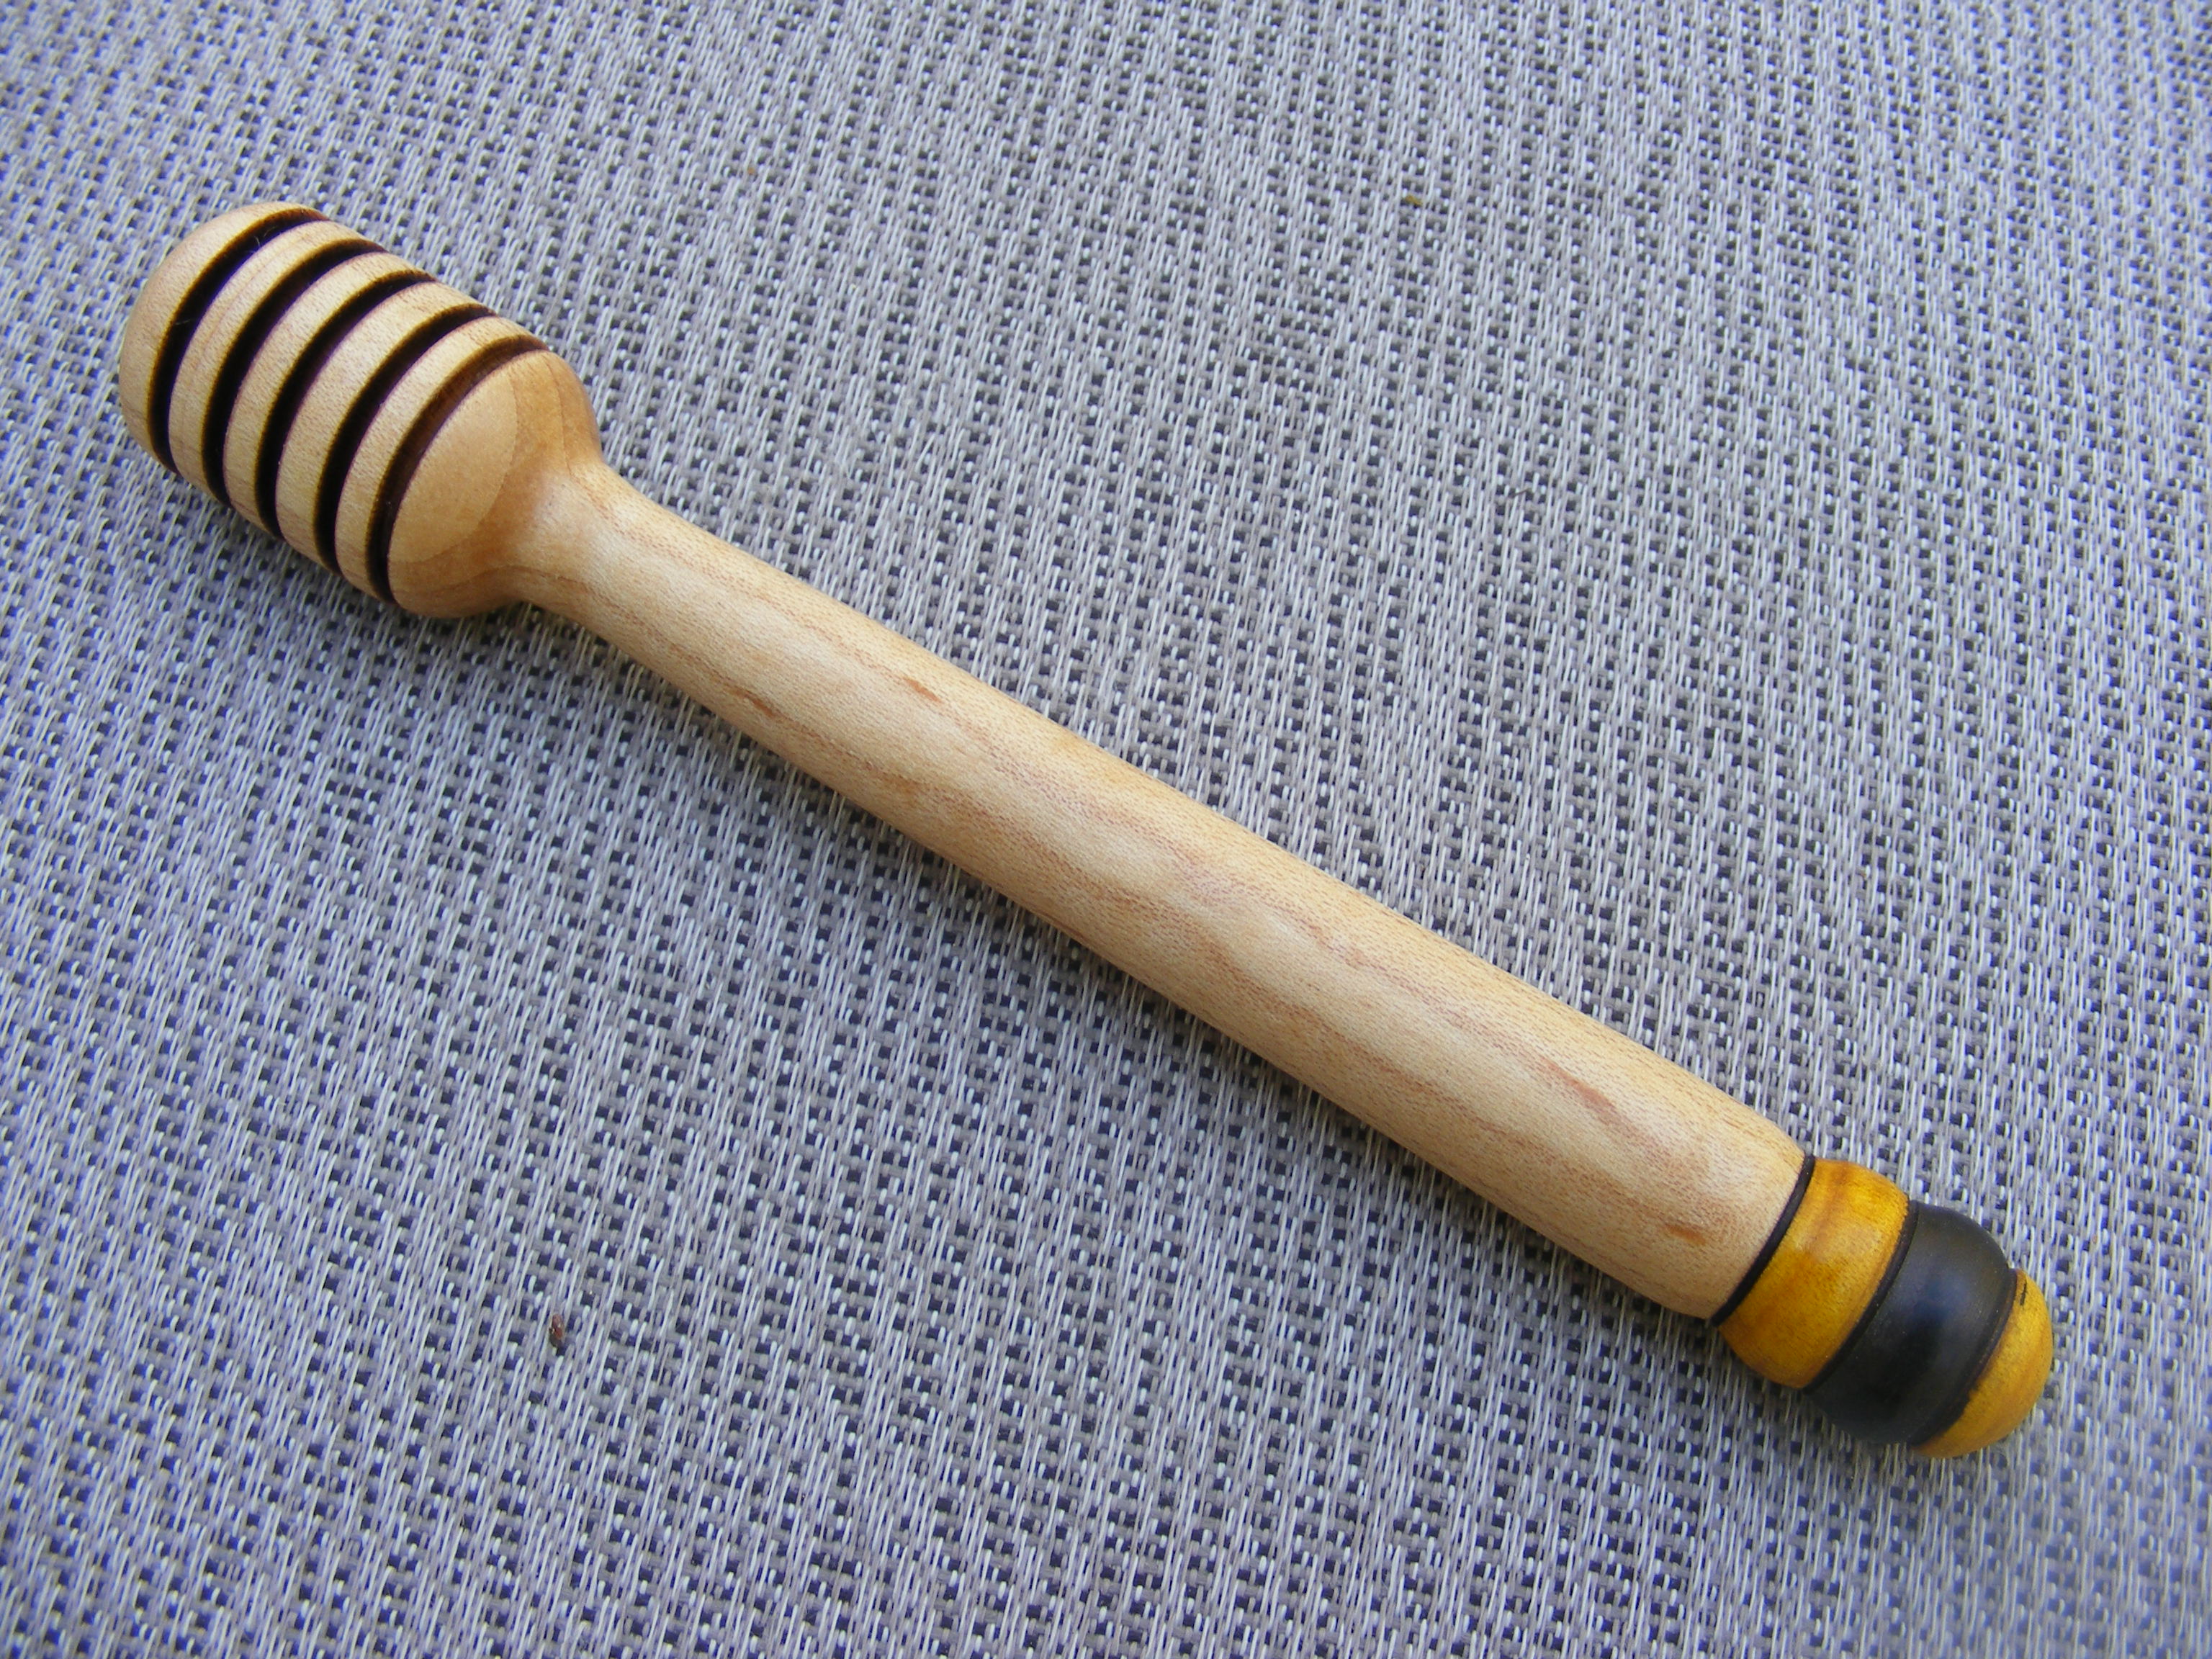
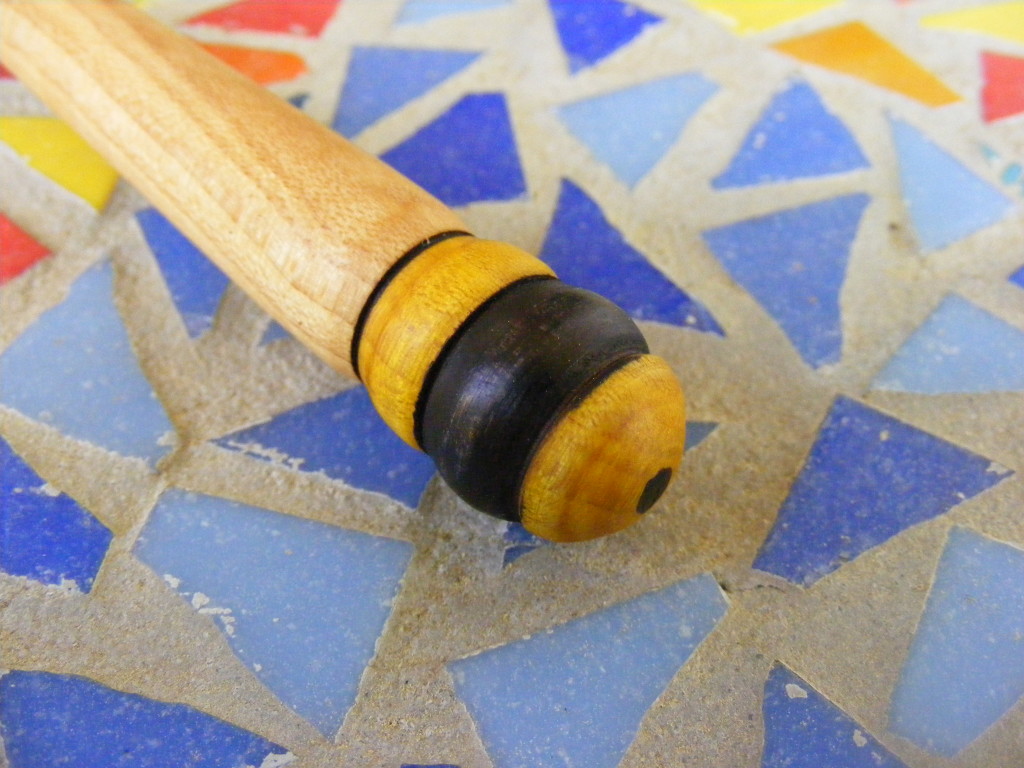



Looks good! Did you color the insides of the grooves or burn them? In the picture they look black on the inside.
I wire-burned between the the beads before I colored the wood. That actually helped a lot because the colors didn’t bleed over into each other. Next time I’m going to experiment with dyes. The ink markers do okay, but it takes that ink a little while to dry.