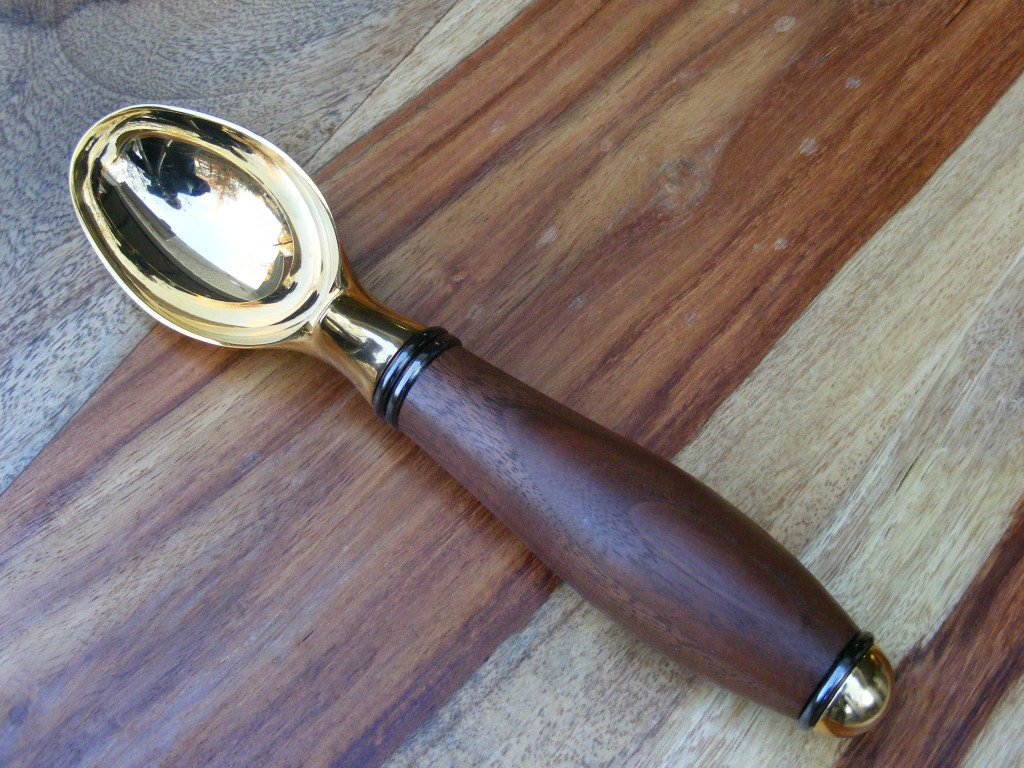
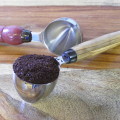
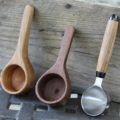
Are you interested in making handmade utensils to spice up your kitchen? What about a gift for Mom, Dad or the grandparents? In this tutorial, I will show you how to make an ice cream scoop. It’s made from a kit that comes in either a gold plating finish or a chrome finish. My wood of choice is walnut, but you can use a wood you like. I recommend using a hardwood which is usually more durable.
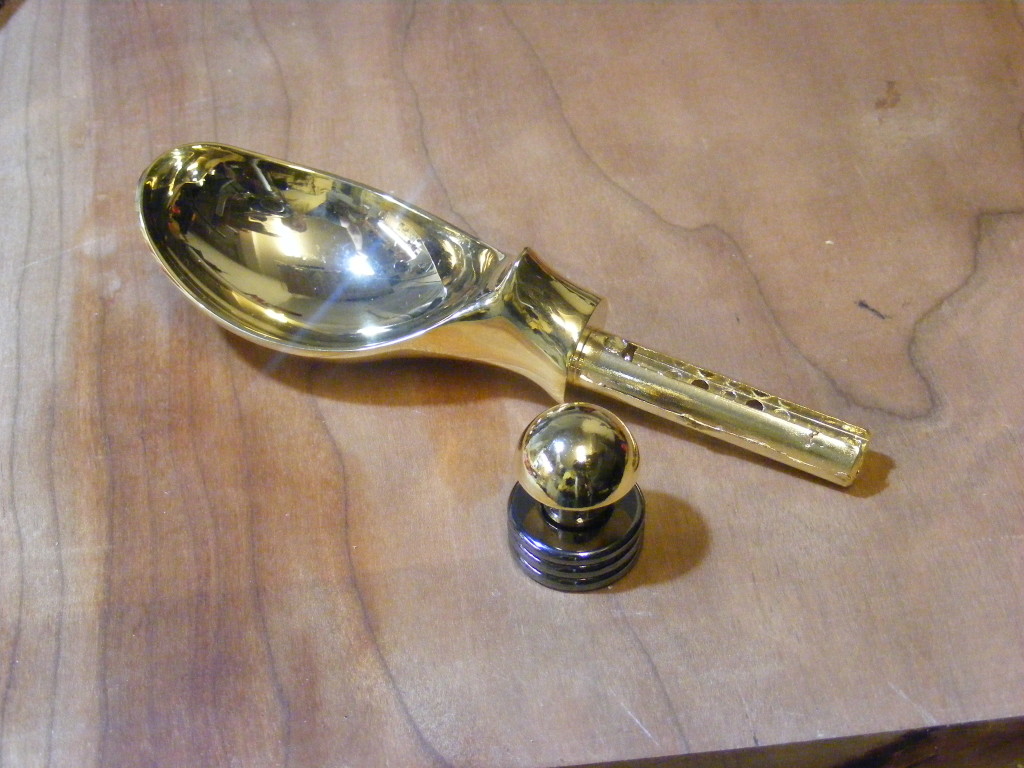
Step 1 – Purchase the kit PKISCOOTN and the wood. I bought both from Penn State Industries. Examine your kit and make sure all the pieces are accounted for. As you can see in the photo, there’s not much to it. The kit consists of the scoop part, the end cap, and 3 decor rings.
Step 2 – Locate the instructions that come with the kit. The kit lists the things needed to make the ice cream scoop. Read through these instructions carefully.
You will need the following:
7mm pen mandrel
7/16 inch drill bit
2 pc bushing set #PKISCOOPBU
2 part expoxy glue (home improvement store)
Finish of your choice
Wood blank – 1.5 inch square by 3.5 to 4 inches long.
Drill and lathe
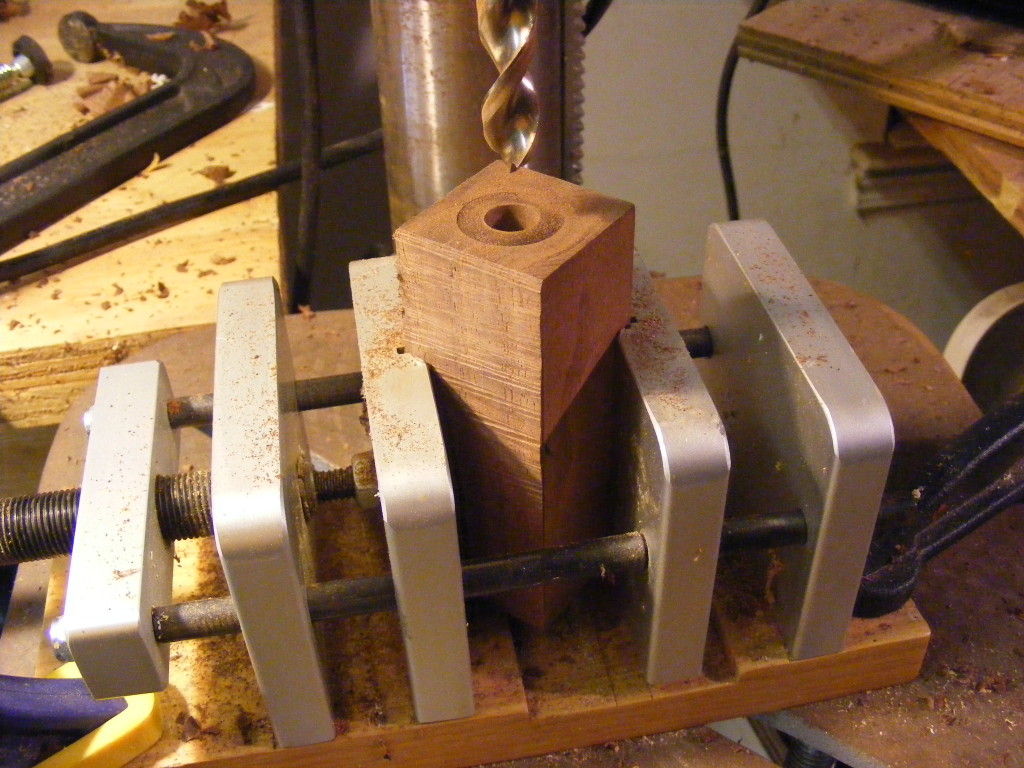
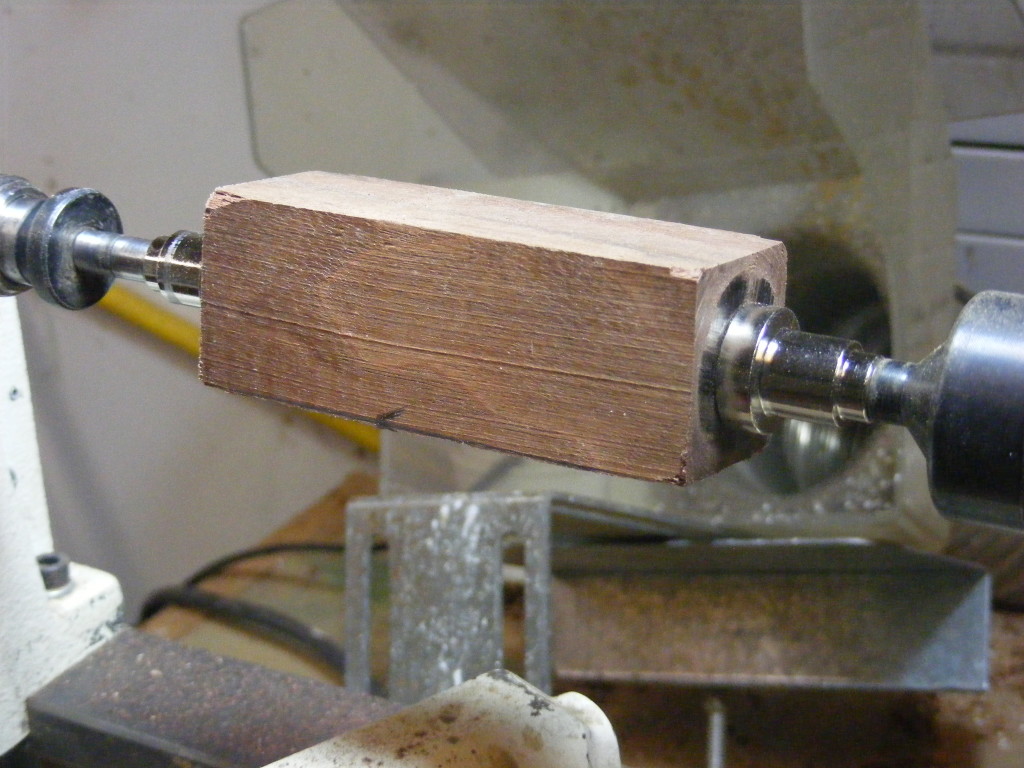
Step 3 – Drill a 7/16 inch hole through the length and center of the blank. I highly recommend using a drill press for this step. Make sure you are familiar with how to safely operate your drill. Clamp the piece securely and make sure you’ve adjusted it so the bit can travel the entire length of the blank.
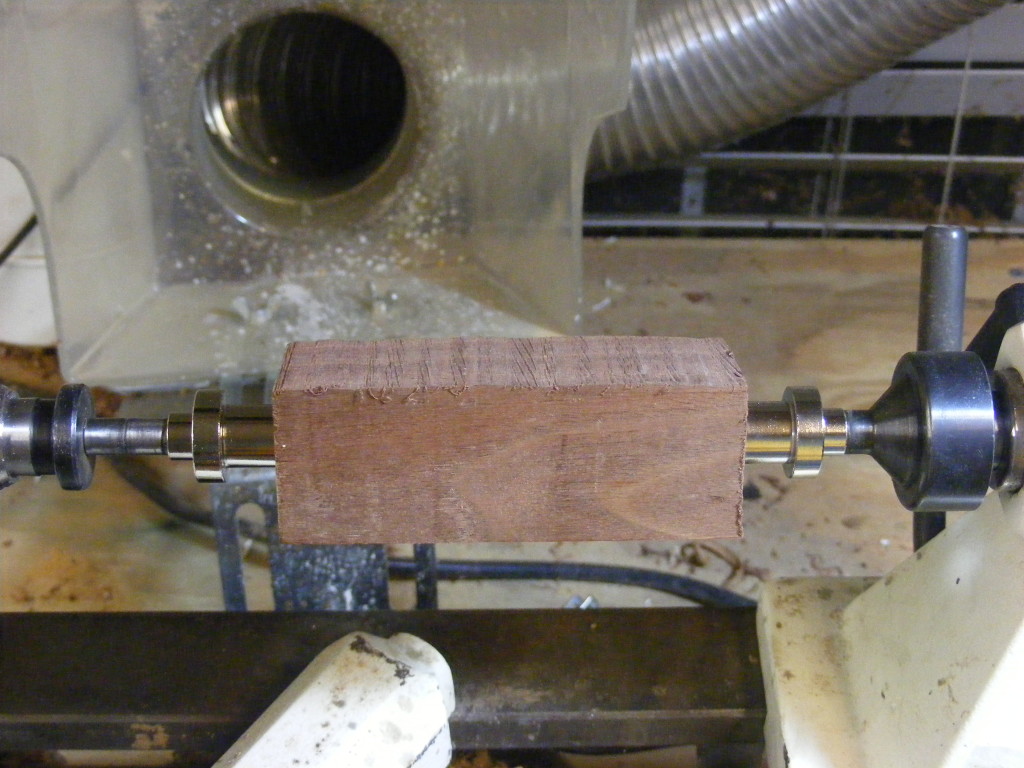
Step 4 – Square up the blank on the lathe. The kit instructions will show a diagram for doing this, but basically you will reverse mount the bushings to begin with. Use a parting tool, and carefully square up each side of the blank. I suppose you could also do this with a disk sander or some other means.
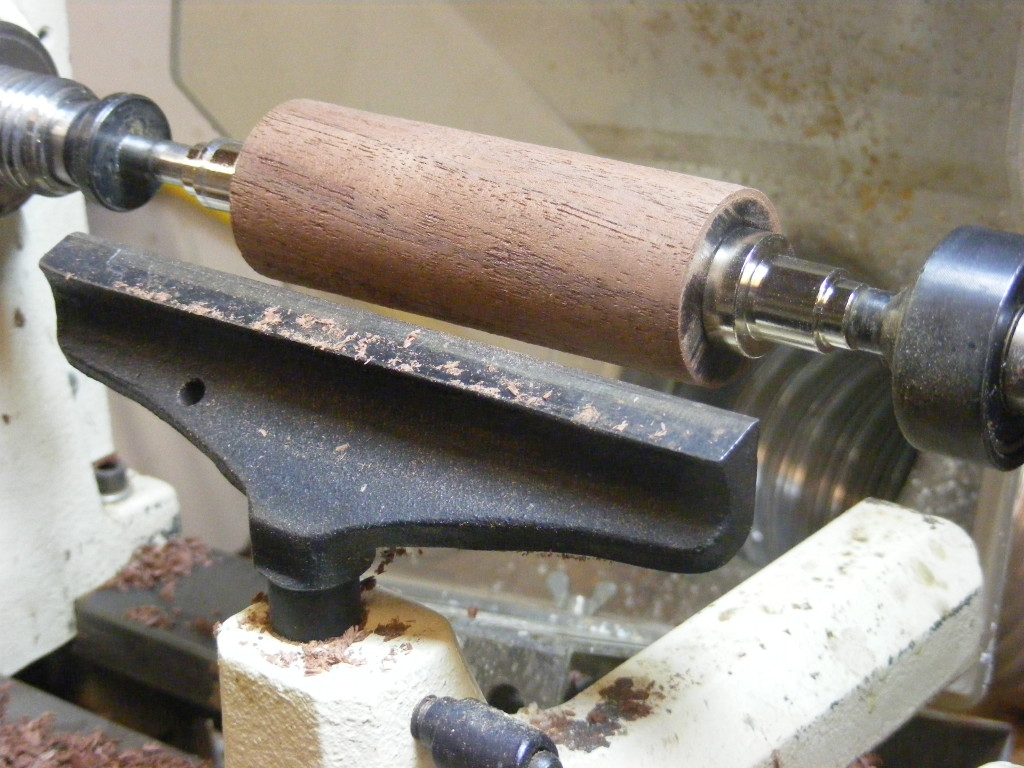
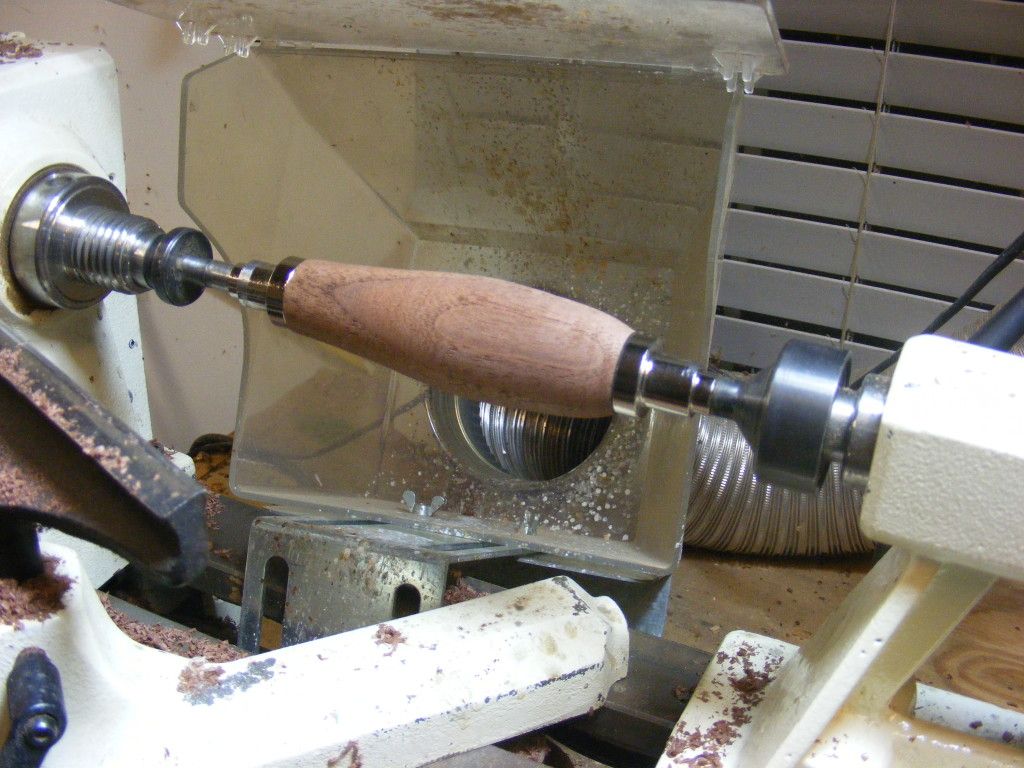
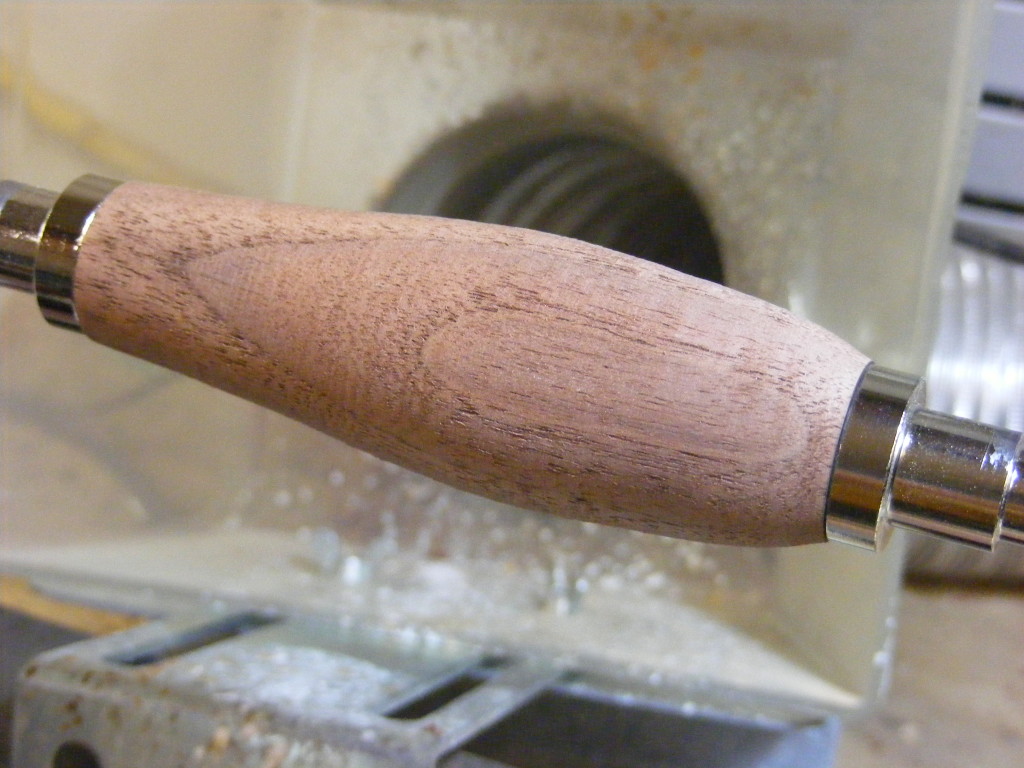
Step 5 – Turn the blank. The kit instructions show a recommended profile, but create the shape you want. I stuck with the recommend profile. On future scoops I would like to experiment with creating some coves or wire burning some lines.
For this step, you’ll need to remove the bushings from how they were mounted in Step 4 and reverse them again. Place them back on the mandrel according to the kit instructions. Don’t worry about getting them mixed up because they are the same size. Just make sure the widest diameter of the bushing is oriented correctly against the blank.
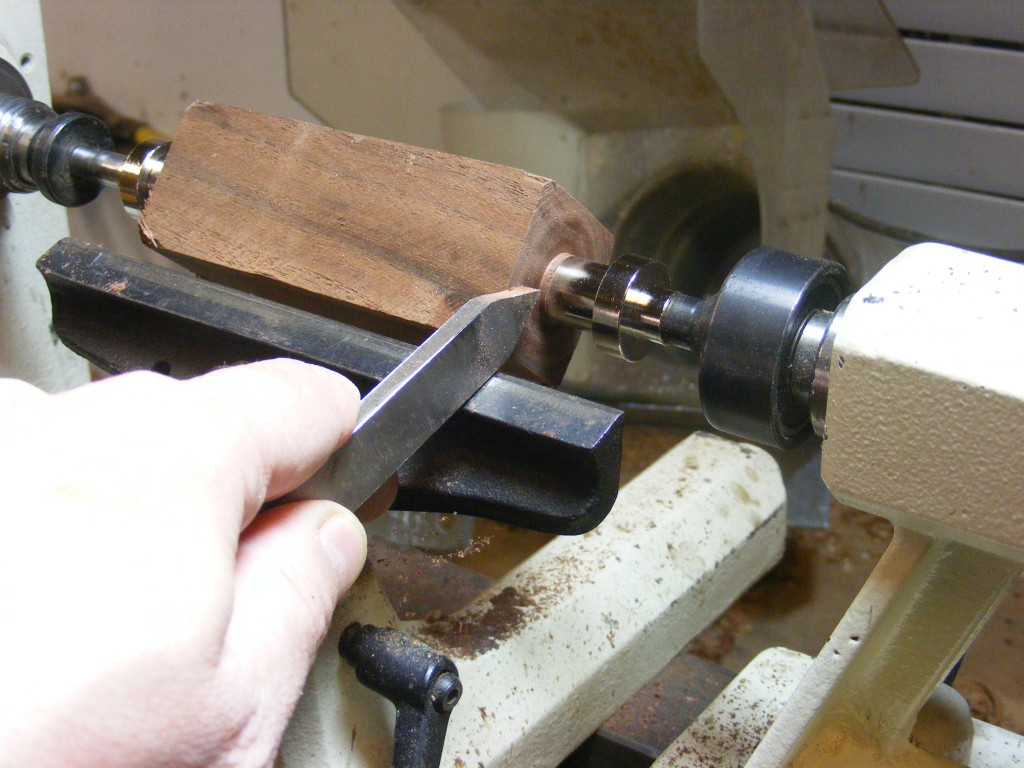
Secure everything on your mandrel and begin turning. I used a roughing gouge the whole time. Turn the blank until you have the desired profile and the wood is almost flush with the bushing.
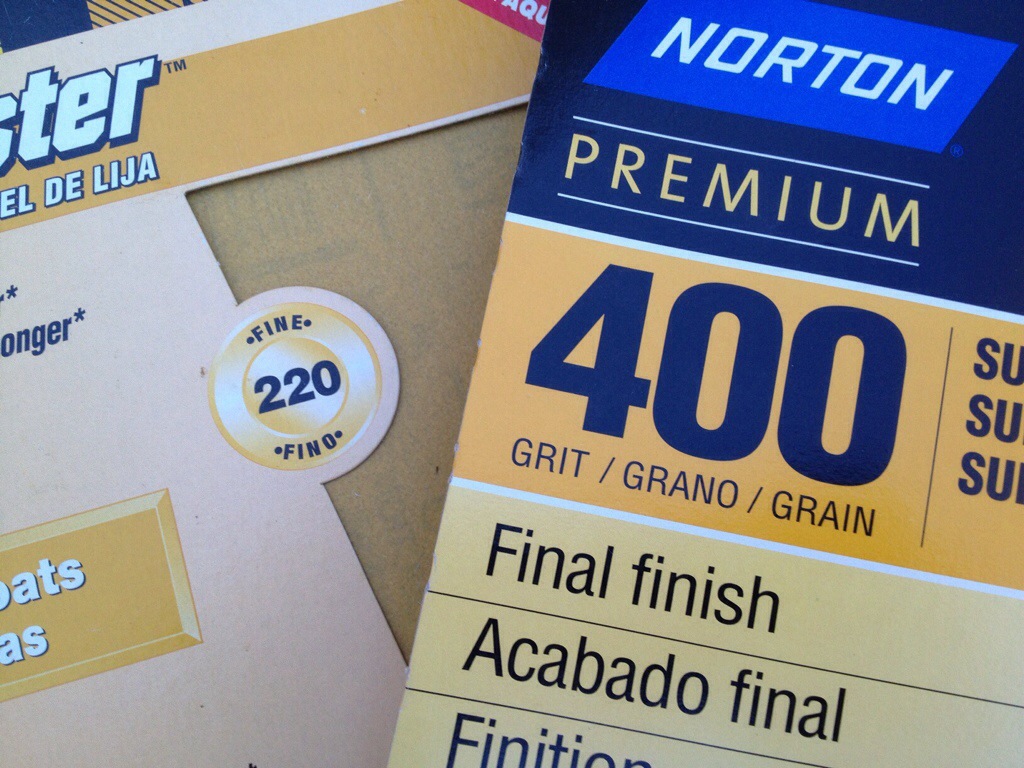
Step 6 – Sand the scoop handle. I like to sand any remaining wood down flush with the bushings. Be careful not to sand your metal bushings down. Start with 120 grit, then move to 220, 320, and finish with 500 or 600 grit. If you have Micro Mesh, you can sand it even smoother. Check your progress periodically. Look for any cracks or imperfections that may need to be addressed.
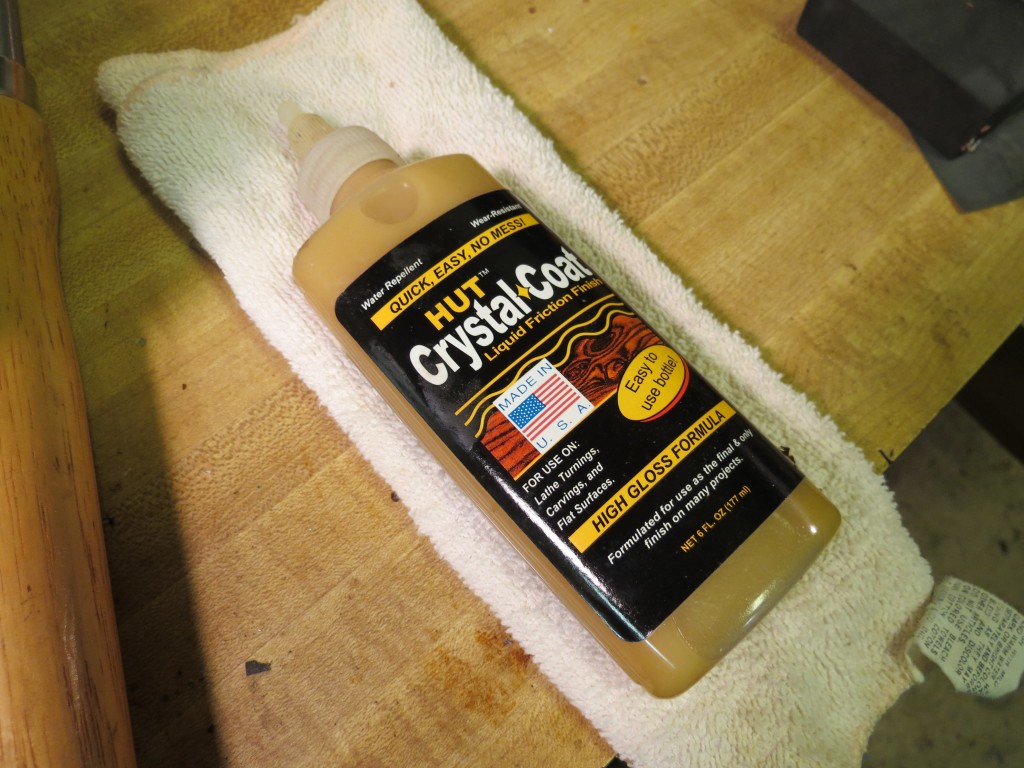
Step 7 – Finish the scoop handle. I used a friction polish made by HUT called Crystal Coat. I don’t believe that the friction polish is food safe, but it would probably be preferable to use a food-safe finish. You could also use mineral oil, Danish Oil, or a wipe-on poly which are considered food-safe. Danish Oil and wipe-on poly are food-safe once dried. A good finish will increase the longevity of the scoop.
The instructions say – Handwash only. DO NOT place in dishwasher.
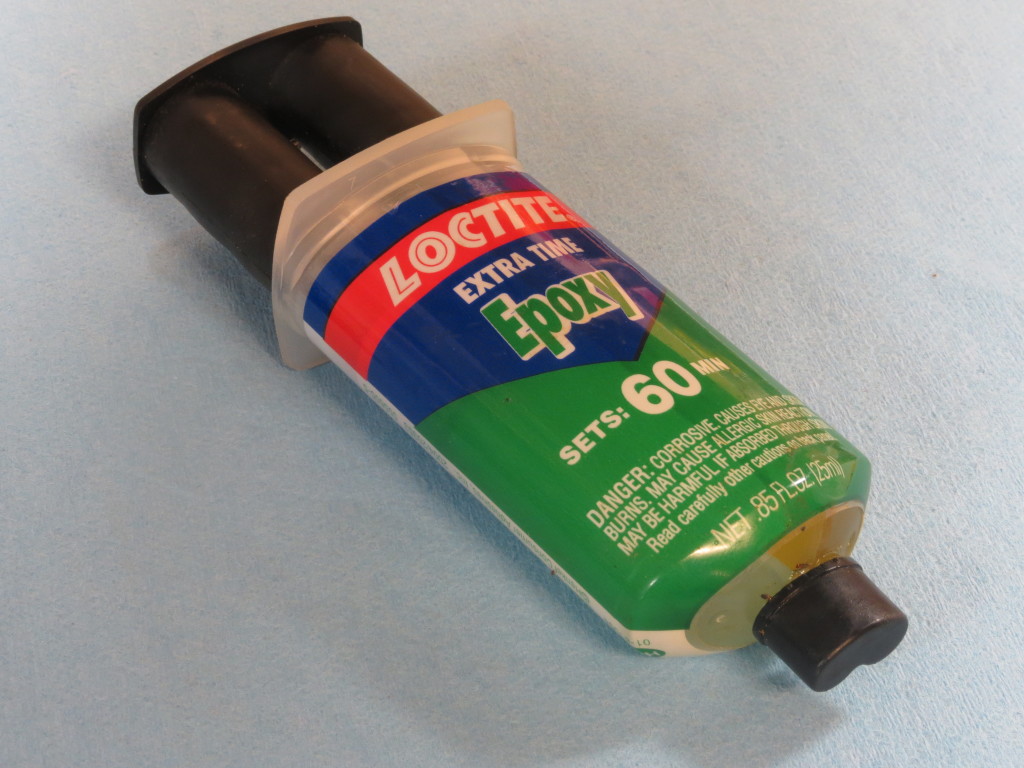
Step 8 – Assemble the scoop. The Kit comes with 3 decor rings which give the scoop a nice finishing touch. I placed 2 decor rings on the front end and one on the back end. Mix the epoxy and note the setting time of your epoxy. I used a q-tip and stuffed epoxy into the holes and around the scoop’s metal tang. I did the same thing for the end cap. Wear some nitrile gloves to keep glue off your skin, and have some paper towels handy to wipe away excess glue that might get pushed out or on the outside surface of the scoop.
Push the scoop end in first and then the end cap. Use a twisting motion to make sure the glue gets spread around. Make sure both ends are pushed completely in. Wipe away any stray glue that might have found its way on the outside of the scoop. Set it aside and allow the glue to dry. To be safe, I let mine cure overnight.
That was easy. In just 8 simple steps I was able to make this one-of-a-kind ice cream scoop. I encourage you to buy this kit and give it a try. I think you will be very pleased and satisfied with the end product.
I hope you enjoyed today’s tutorial. Feel free to ask questions or leave suggestions in the comment field.

