Pen making has brought an added level of joy and excitement to my life. There’s nothing more satisfying to write with one of my handcrafted pens, and being able to tell folks, “I made this.” For those who want to start the pen-making hobby, I have written this detailed tutorial on how to make a Slimline pen.
Most pen-turning beginners will start with the Slimline pen. They’re a simple, yet elegant pen, and they’re easy to make. The design of the Slimine makes for a very versatile pen. And—they don’t thin your wallet.
A quick way to start your pen turning hobby is buy the PSI Pen Making Starter Pack 2. This will give you about everything you’ll need except for the mini lathe. All you really need for pen turning is a mini lathe — not a full-size lathe. Shop around to get the best price. I decided to go with a JET Mini – Lathe
. If you want to do some research on wood lathes, I also wrote an article on choosing a wood lathe.
Also, don’t forget to checkout a new resource I created: Pen Turning: A Comprehensive Guide.
In the steps and pictures below, I will give you the information and know-how to make your first Slimline pen.
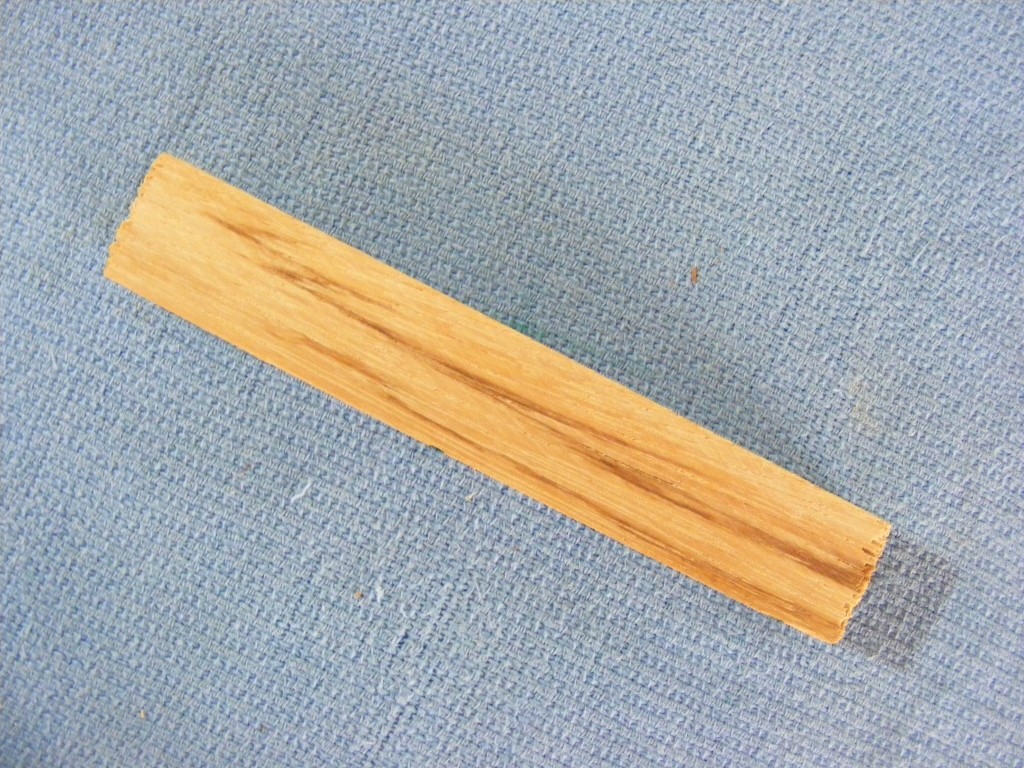
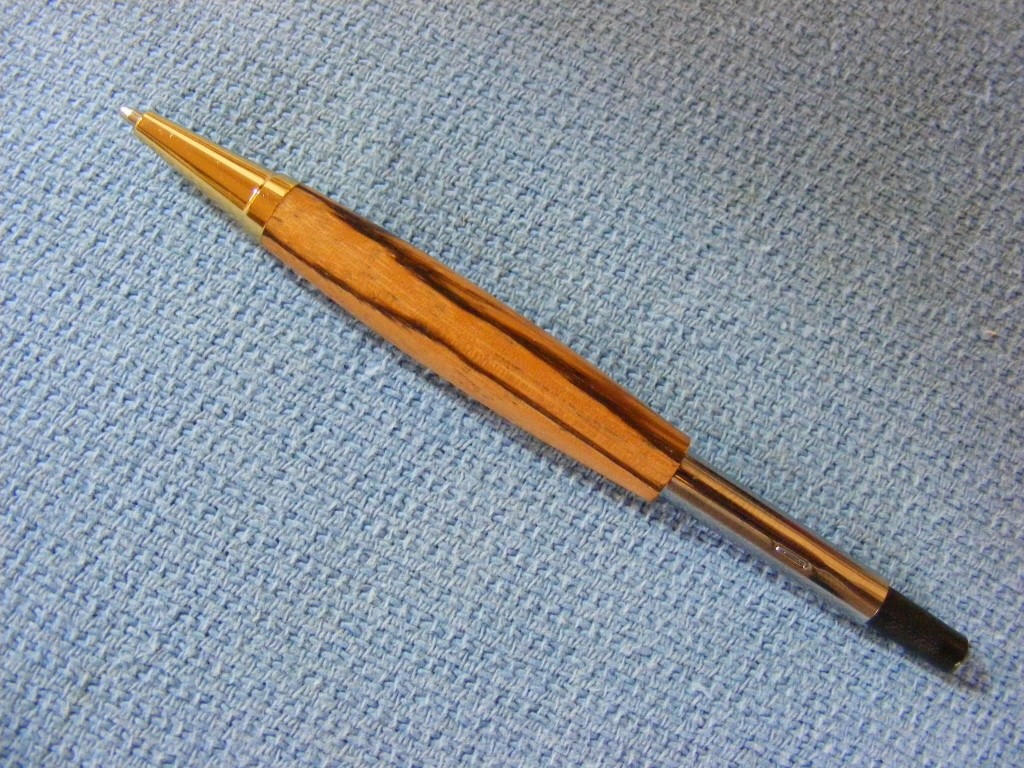
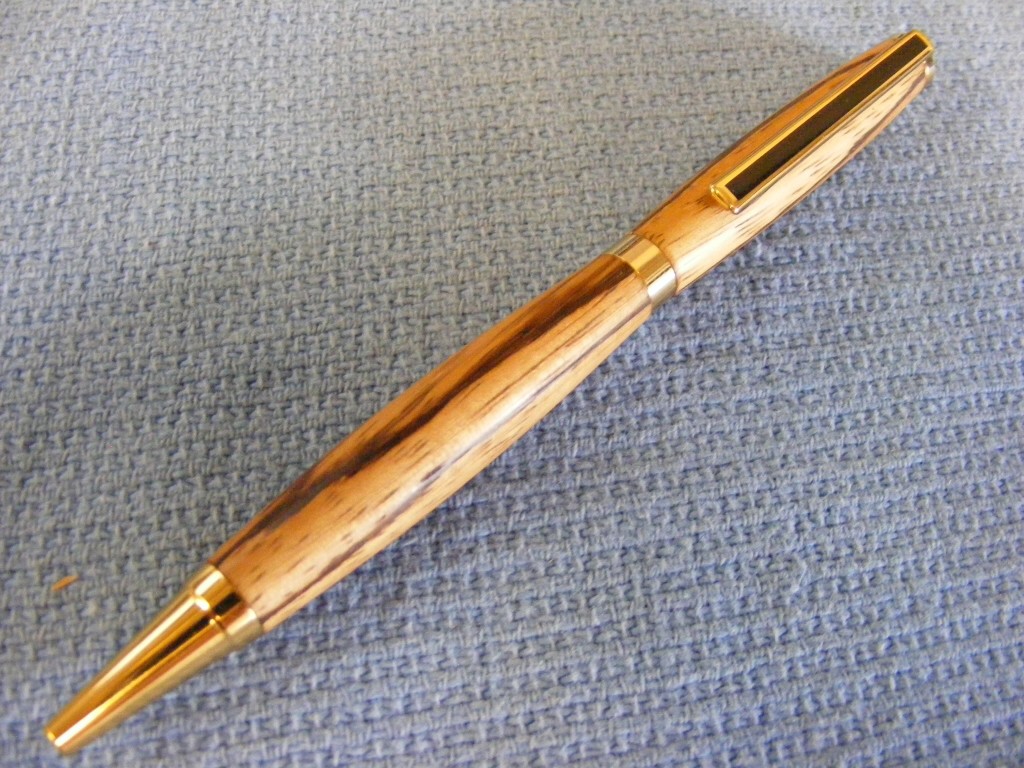
Step 1 – Select a wood blank. You’ll only need a small piece–3/4 by 3/4 inch and 6 inches long. For this tutorial, I’ve chosen this beautiful piece of Zebra Wood, which is an African Hardwood. For durability I highly recommend a hardwood. Look through any pen supply catalog and you will see pictures of various woods being used. The catalog pictures give you a great idea of what looks good and what doesn’t.
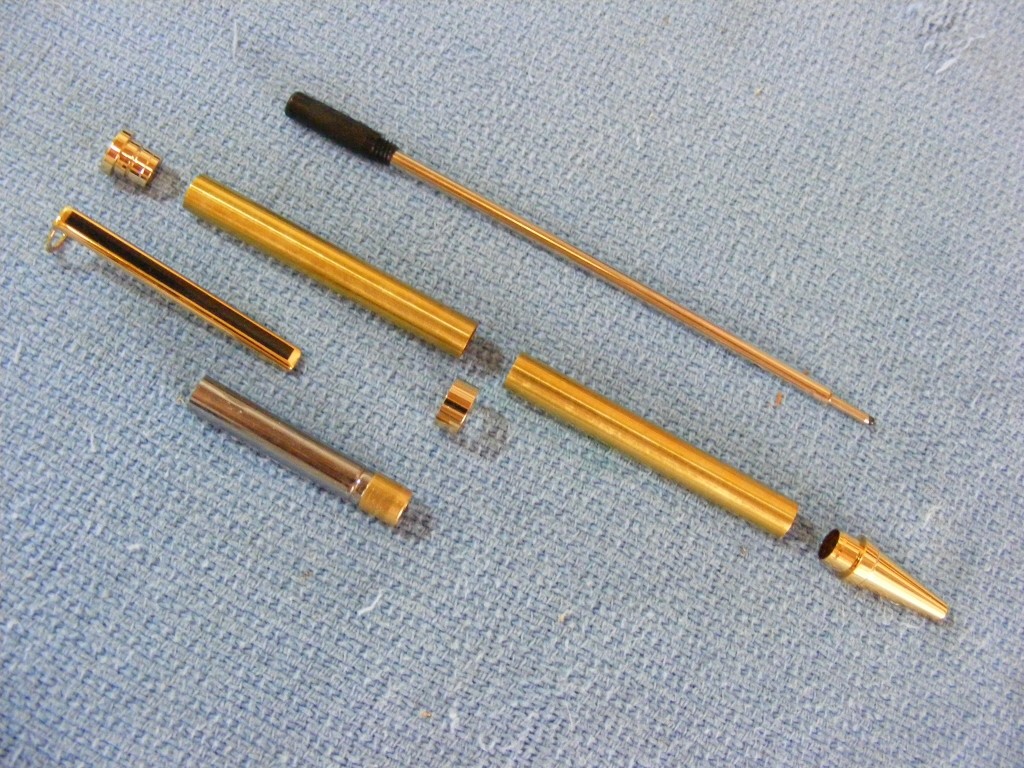
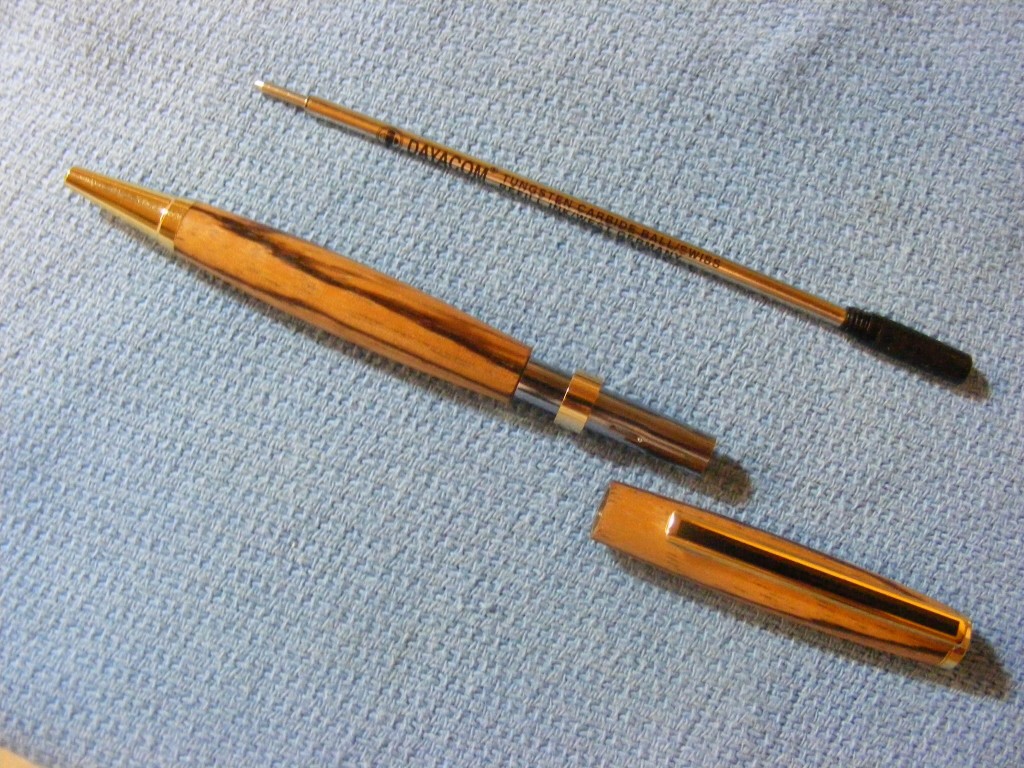
Step 2 – Pull out the contents of the Slimline kit and make sure you have all the pieces: pen tubes, ink refill, cap and clip, twist mechanism, center band, and the tip. NOTE—each kit should come with a set of printed instructions. Make sure you carefullly read and follow those instructions.
The pen parts come in different colors and styles of platings. Match your wood color with the plating. Again, I recommend looking at finished pens in catalogs or magazines to get ideas.
Some platings like Titanium or Platinum are very durable and resist wear and tear much longer.
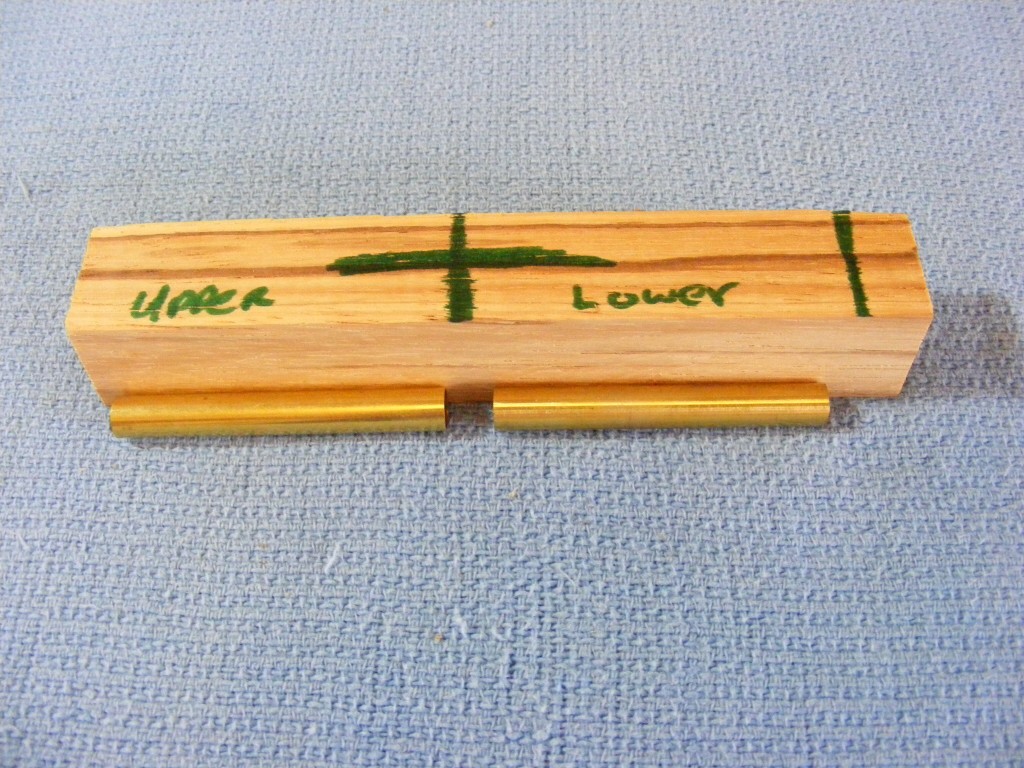
Step 3 – Using the Slimline pen tubes as your guide, mark the areas on the blank, which will get you ready for step 4—cutting with the bandsaw. Leave about 1/8 inch extra length on each end of each blank section. DO NOT cut the sections exactly to the tube length.
Also, mark a line along the center of the blank so you can keep the grain pattern matched up. I like to use the sections of the blanks with the most interesting grain patterns.
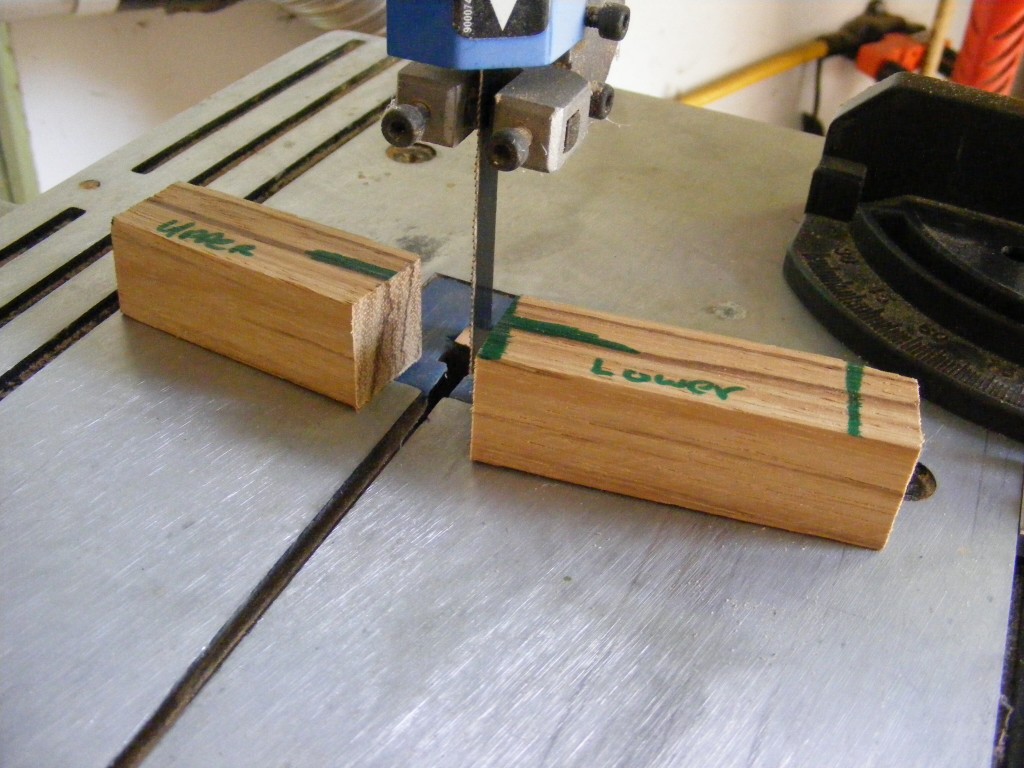
Step 4 – Cut the blank on the previously made marks. I like to use a bandsaw, but any saw will do. Getting a perfectly square cut is not that critical at his point. You will see why when we get to step 7.
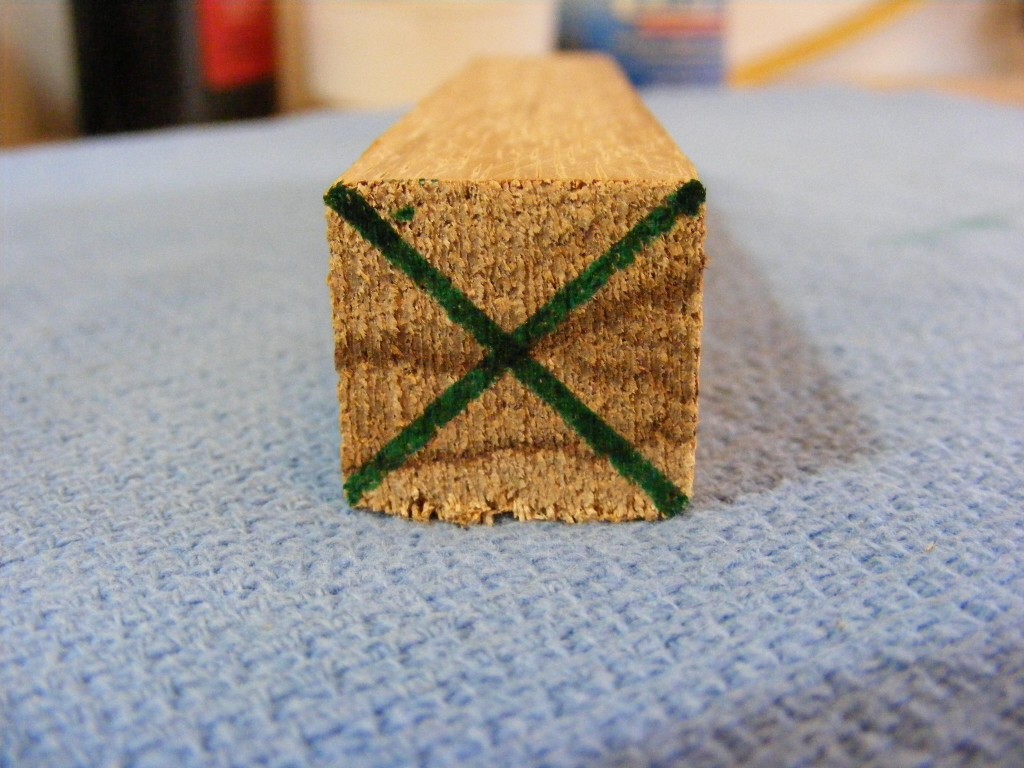
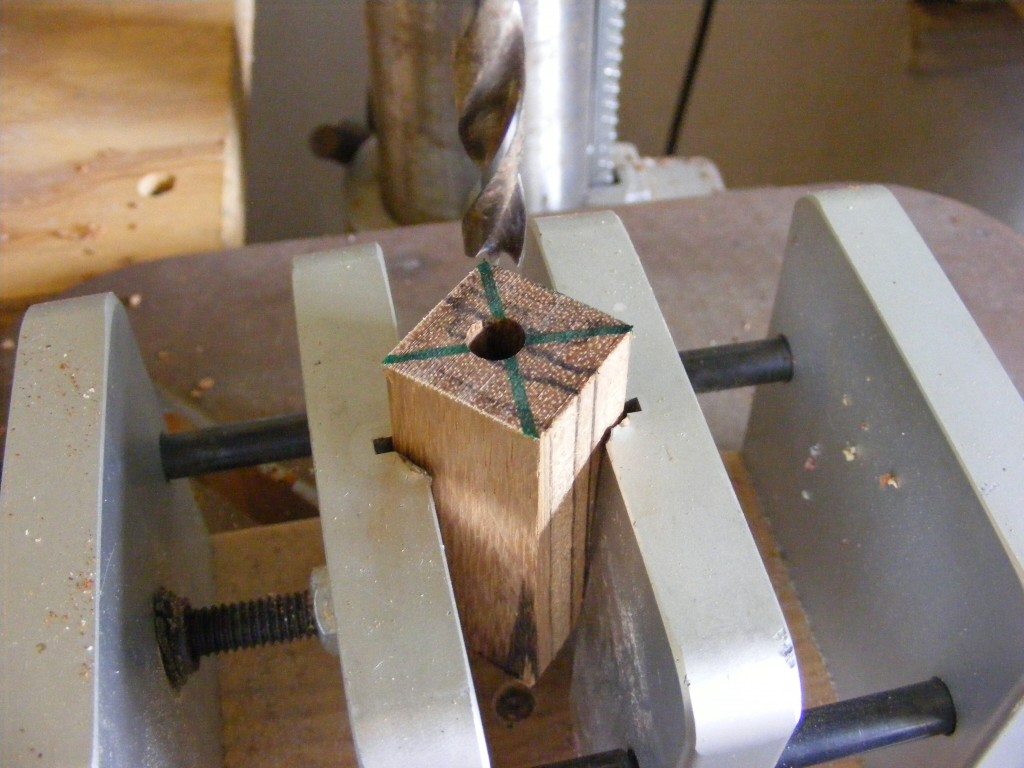
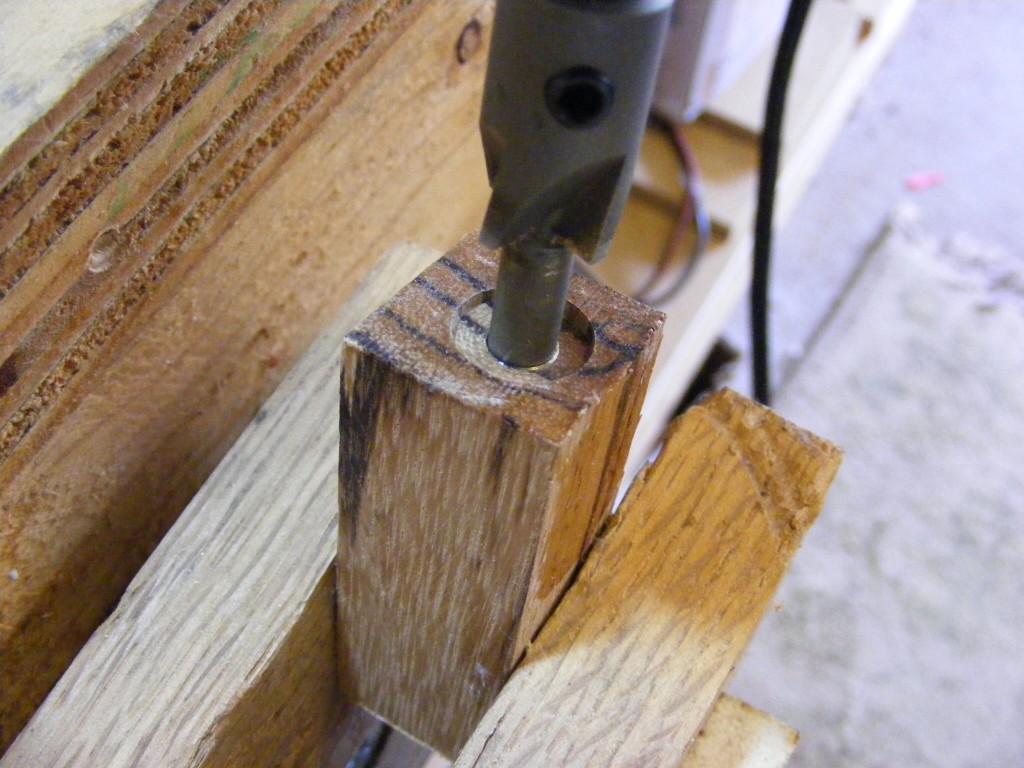
Step 5 – Using a 7mm drill bit, drill through the center point of the upper section and lower section. Don’t drill too fast and don’t overheat the bit and wood. Go into the wood a little ways and then pull out to remove waste wood. Following this process ensures you get a clean hole for the pen tubes and minimizes the risk of blowing out your wood blank.
In the second picture below, you can see I’m using a drill press and a vise made specially for pen blanks. But you can use other generic type vises. You can even use a hand drill for this step, but just make sure you get a straight, even hole.
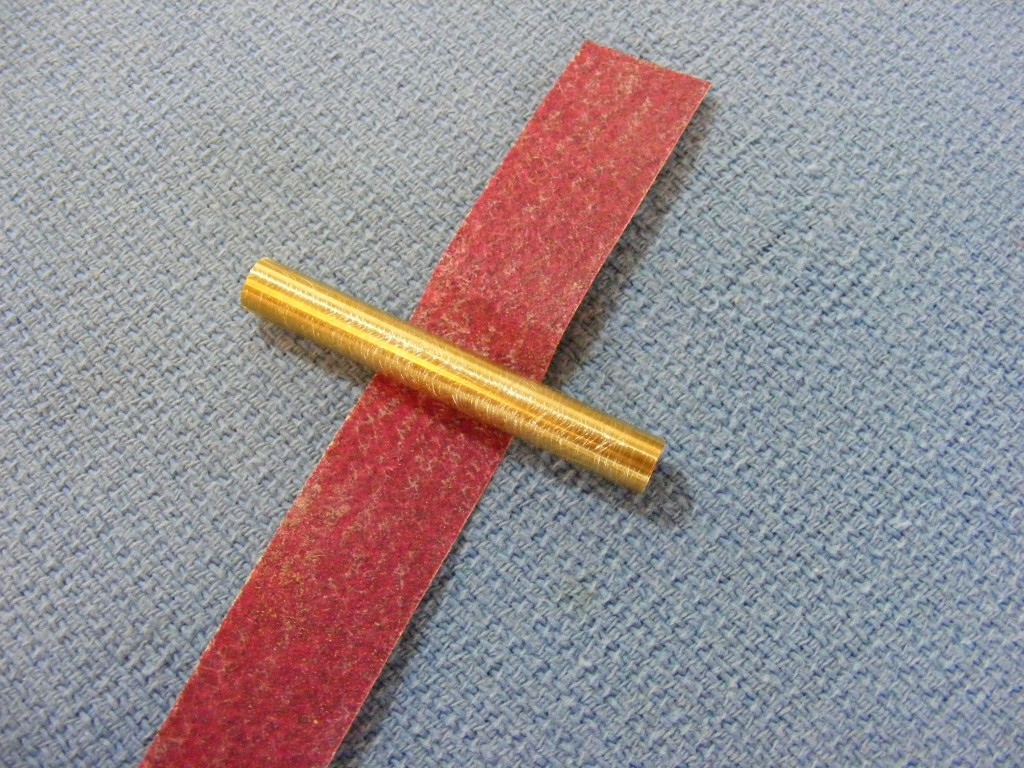
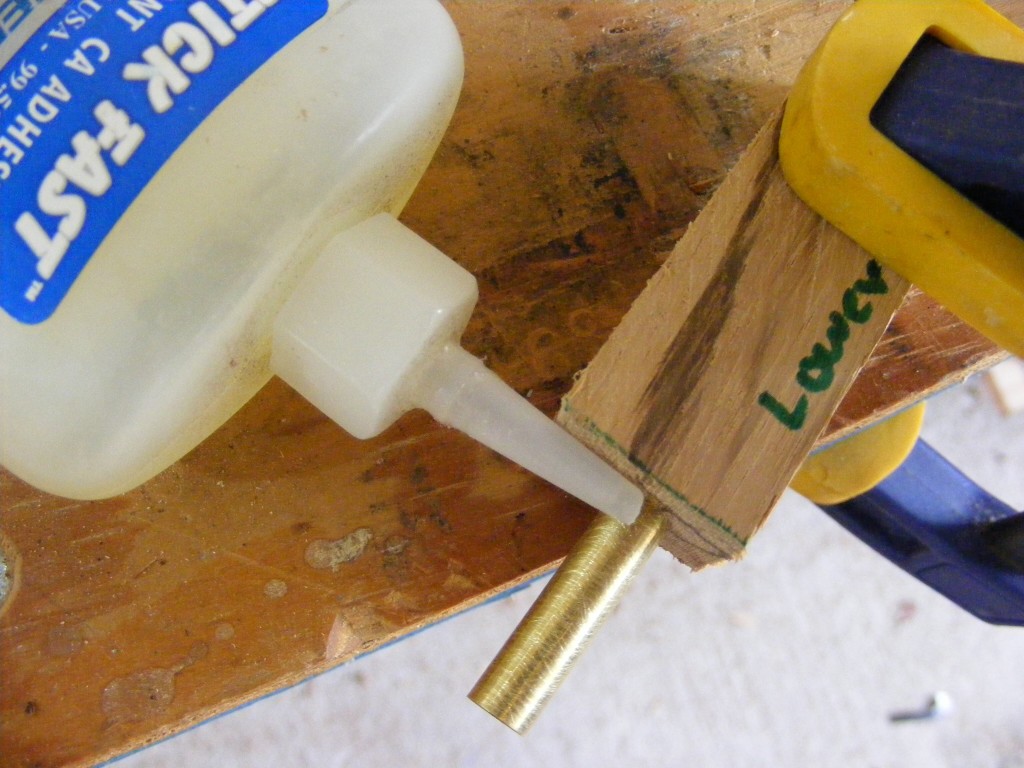
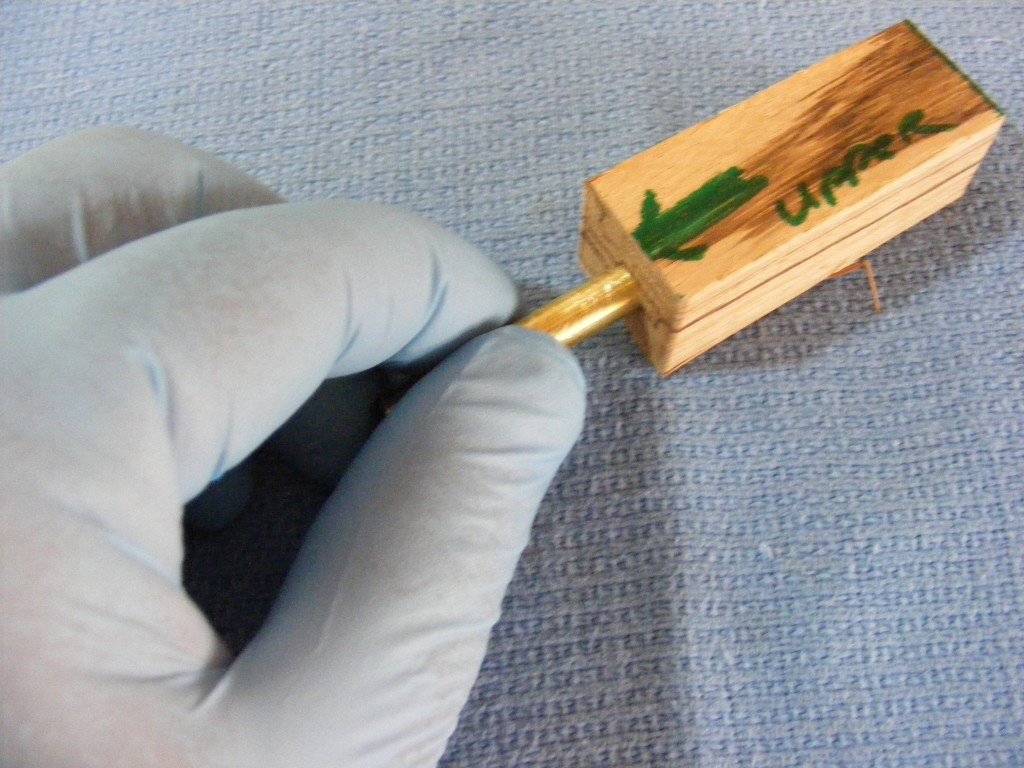
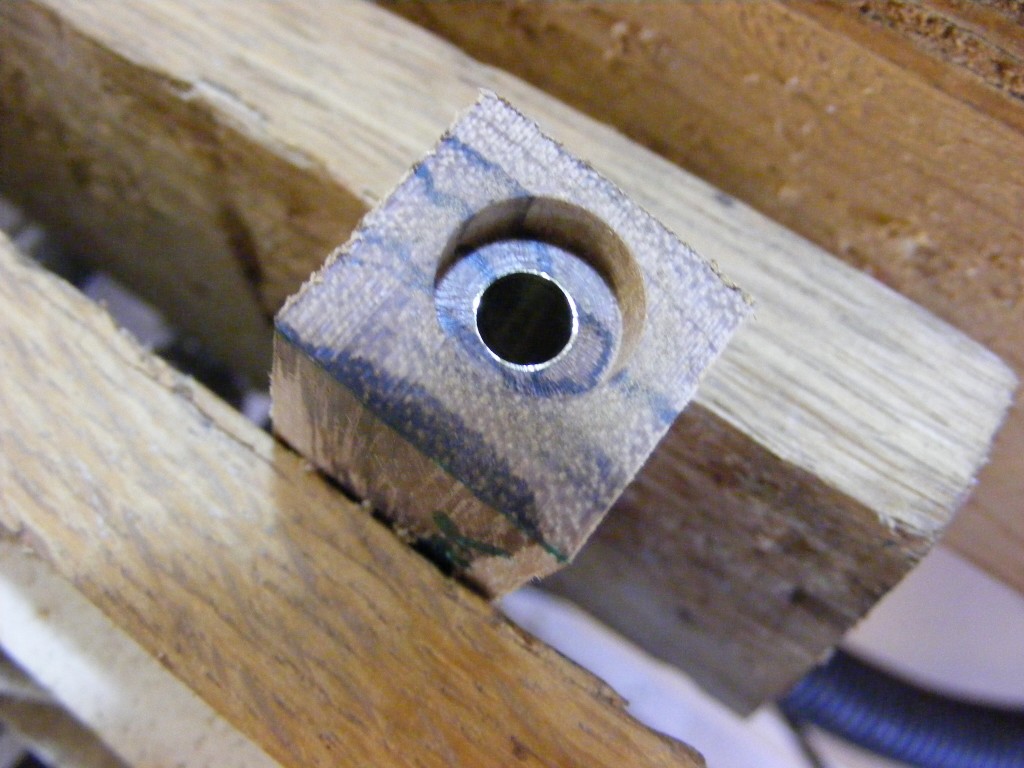
Step 6 – Next, use CA glue (medium) to glue the pen tubes in place. Before you glue, make sure to take some sand paper and scuff the tube’s outside surface. Make sure glue is dispersed across the whole outside surface of the tube. Be careful, and try not to get glue inside the pen tube. Each tube should be recessed within the blank so extra wood is left on each end (preferably 1/8 to 1/4 inch) for the barrel trimmer (step 7).
CA glue sets really fast so don’t delay in getting the tubes positioned and set in the blank. Some people like to use an expoxy instead of CA.
I like to use nitrile gloves so as not to get the CA glue on my skin.
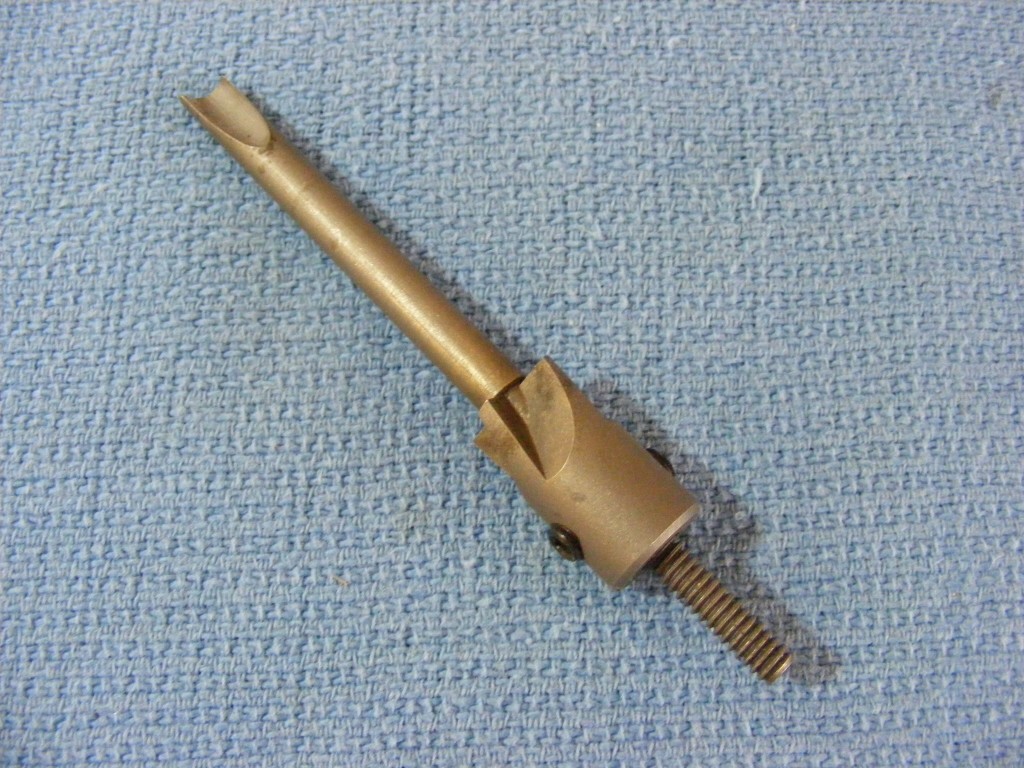
Step 7 – After the glue has set (I usually like to wait an hour) you can then take the barrel trimmer (1st picture below) and trim the wood down to the pen tubes. For this step, I like to use a portable drill. Go light and be careful not to cut deeply into your pen tubes. Simply trim until you start to see the brass from the tube, then stop. The trimming process will ensure that the ends of the blanks are square for the pen parts which will be pressed into place in step 12.
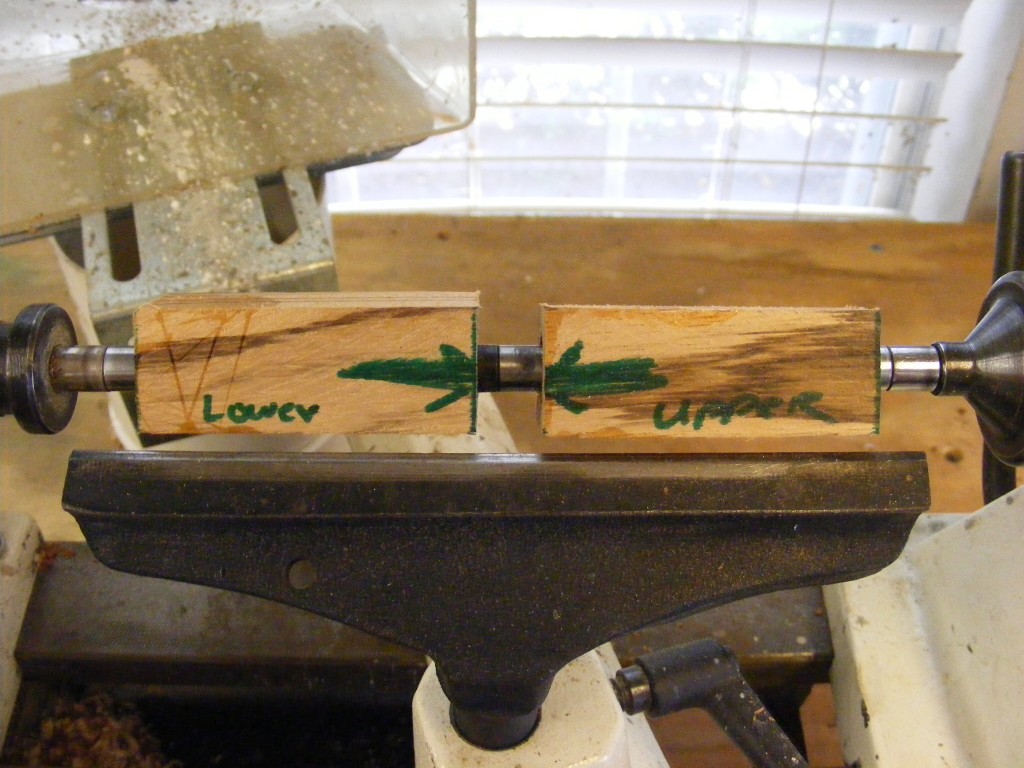
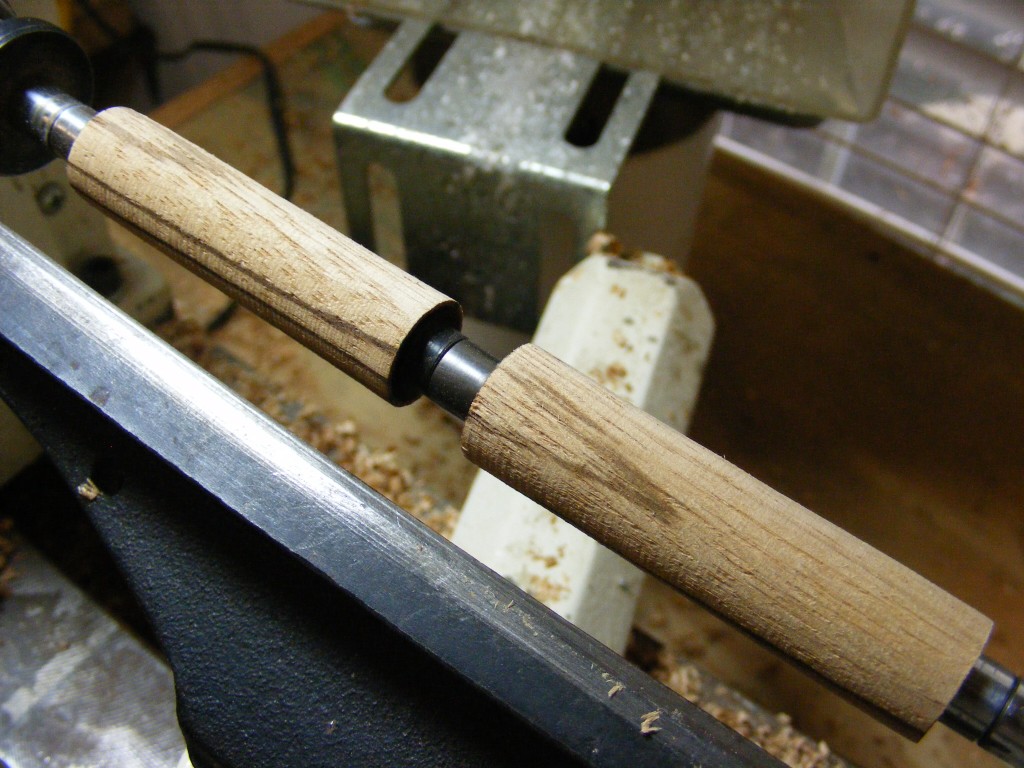
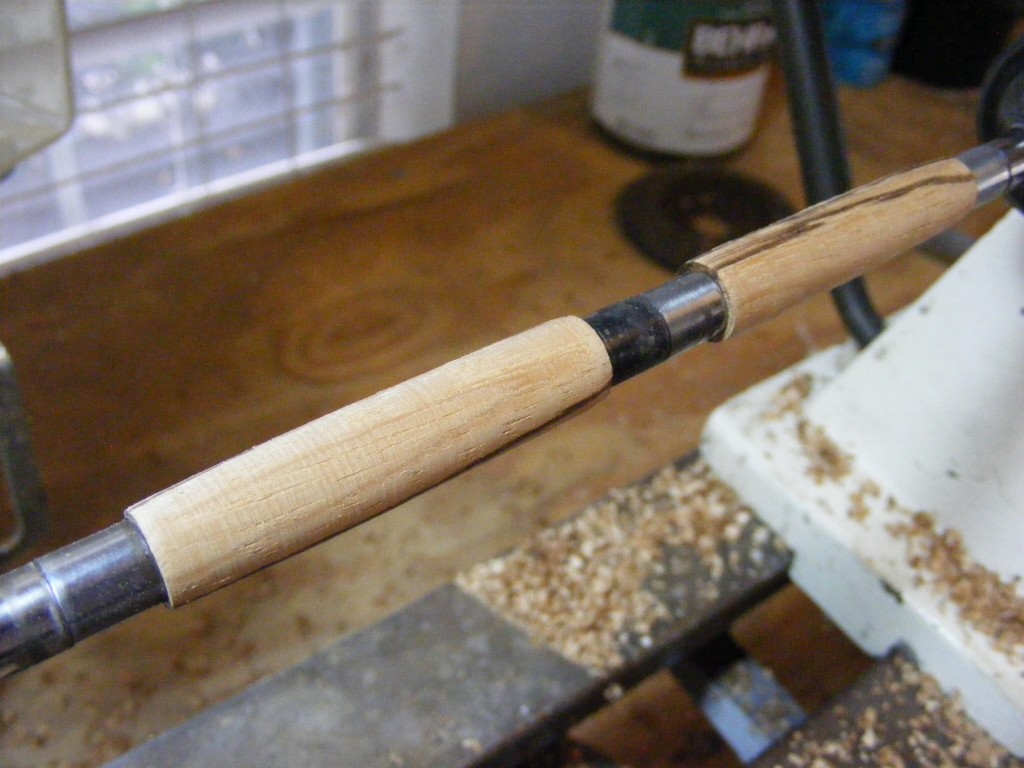
Step 8 – Now you can mount the blanks to your turning mandrel. Place the Slimline bushings on both ends and the center, between the blanks. The bushings control the dimensions of the pen. If you try different pen kits at a later date, it’s critical to make sure you have the correct size bushings. As you can see in the two pictures below, I’ve left enough room between blanks and the around the ends so I can easily maneuver my turning tools.
Also, turn the blanks and mandrel by hand to make sure the wood blanks at least clear the tool rest.
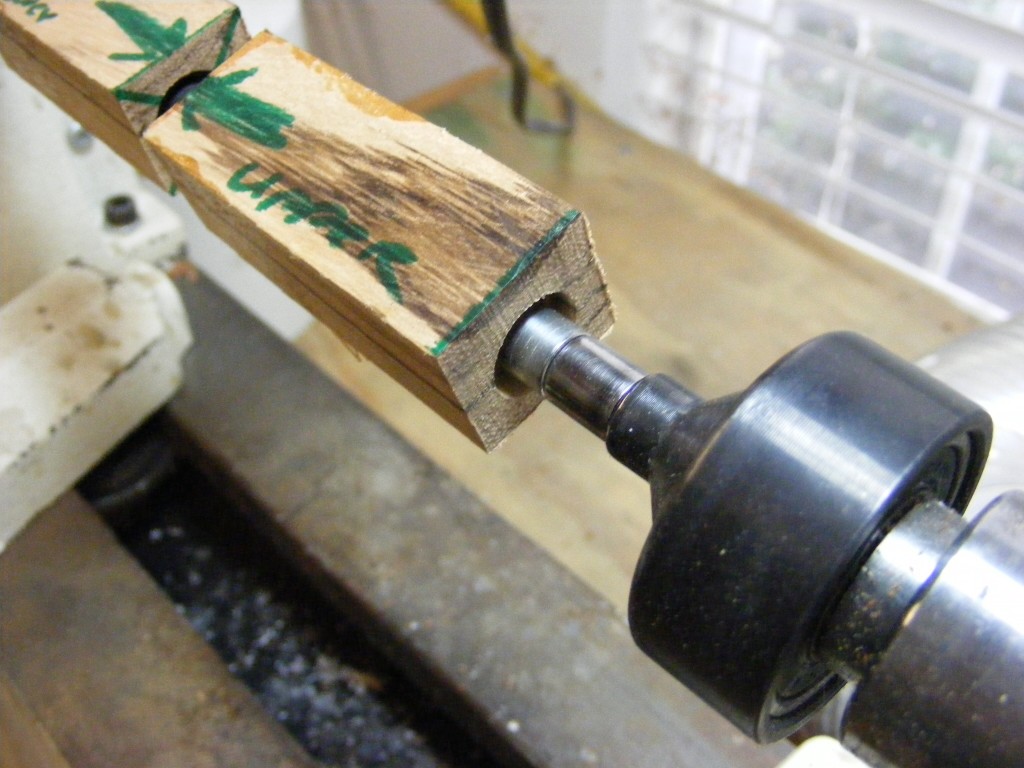
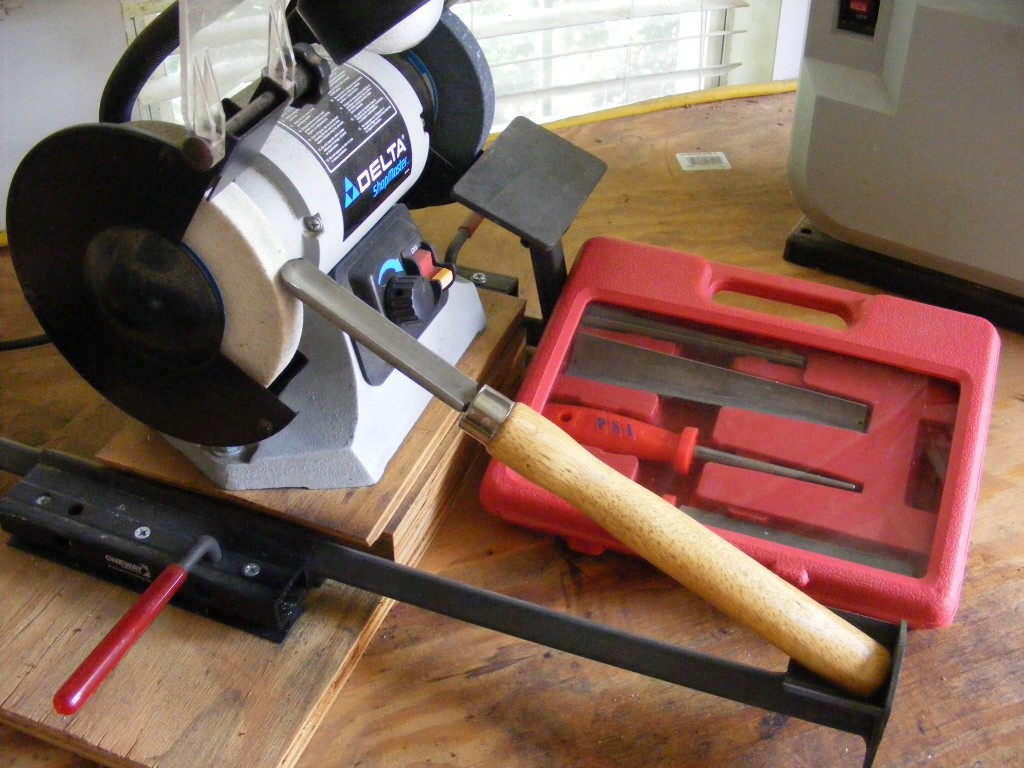
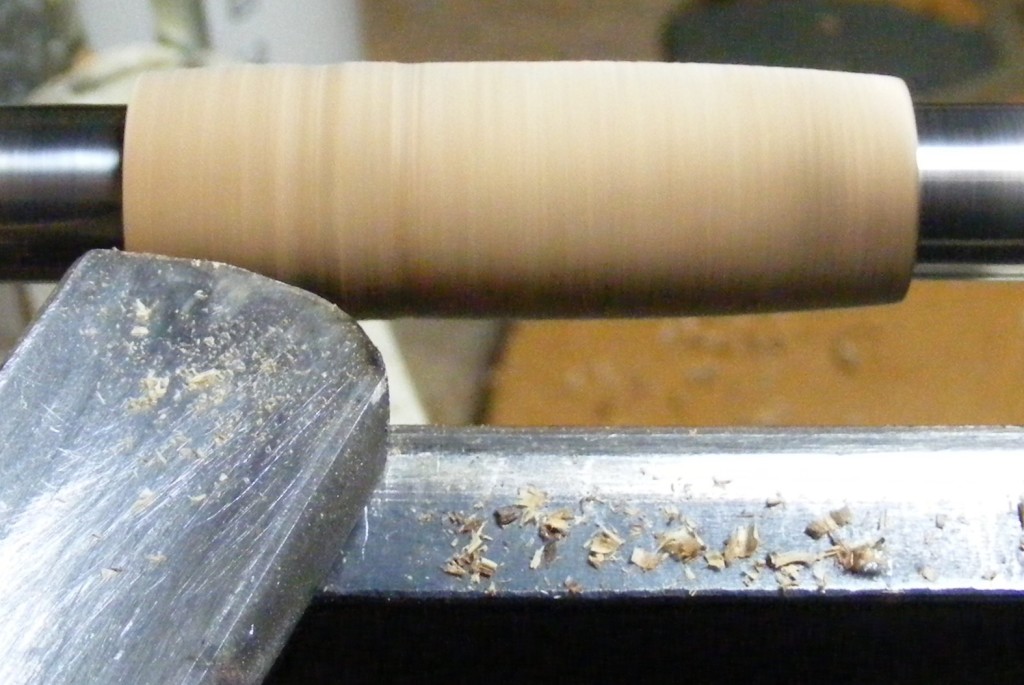
Step 9 – Make sure your turning gouge is sharp and begin turning the blanks into cylinders. I use a spindle gouge and a skew. DON’T go all the way down to the bushings. Wait for the next step of sanding. Make sure your tail stock is locked and has firm pressure on the pen mandrel. Only not too tight. Setting the tail stock too tight could make the mandrel bow.
Put on your face shield and turn on the lathe. Lathe speed should be about 2000 to 3000 RPM (revolutions per minute). Make sure the gouge or skew is firmly setting on the tool rest and you have positive control of the tool. Next, ease the tool into the wood. You will know when you’ve oriented the blade of the cutting tool correctly because the wood will easily shave away. Use the gouge for rough cuts and the skew for finer/smoother cuts.
Note—if you’ve never used a lathe before, you might want to get some training and/or practice on scrap pieces just to get the feel and understand the technique. I assure you that this is very easy to master.
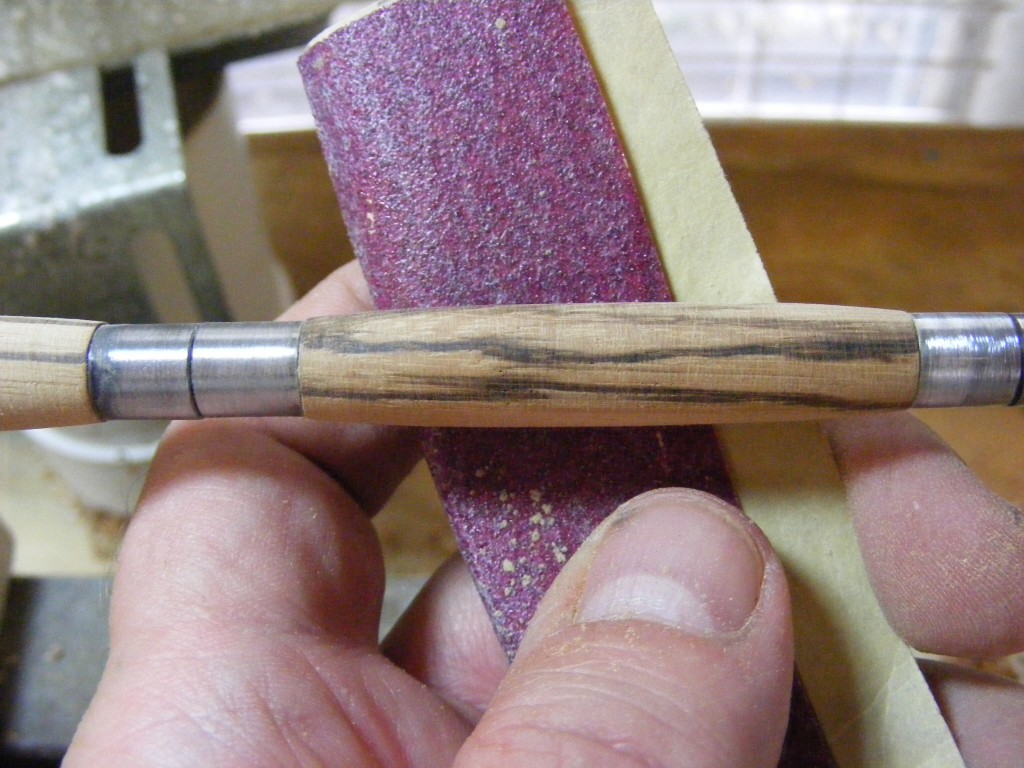
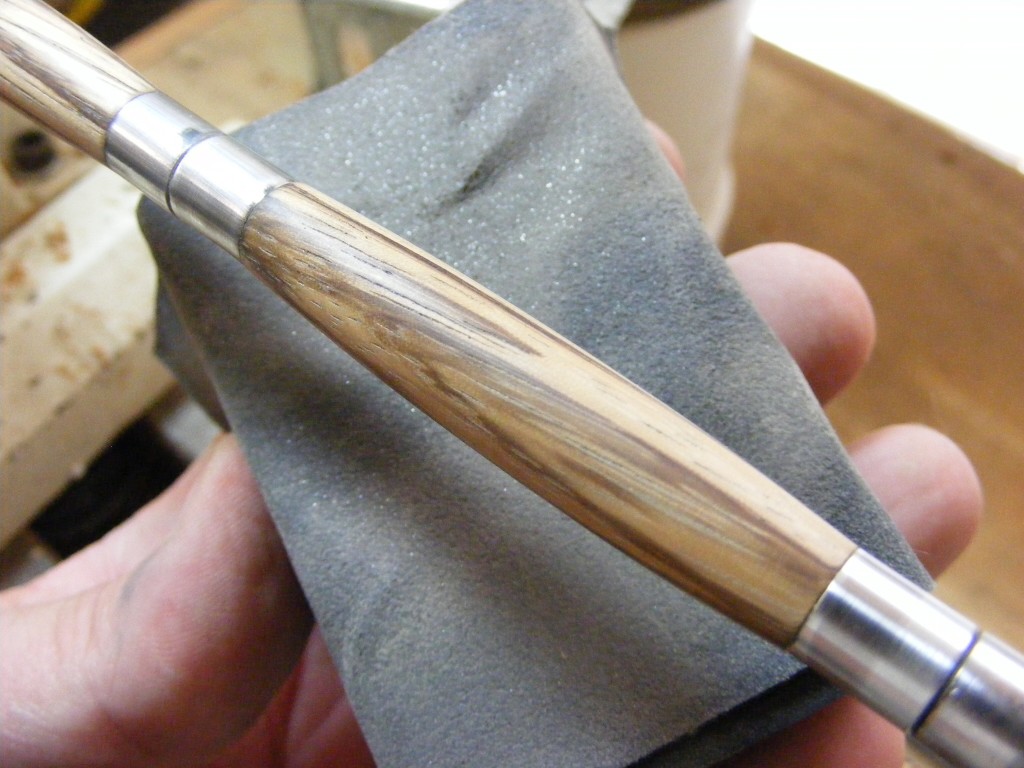
Step 10 – Remove the tool rest, and now begin sanding the blanks with 120 grit sandpaper. Notice how the wood is getting closer to the dimensions of the bushings. Move from 120 grit, to 220, to 320, and then 400 grit.
Use the finer and finer grit sandpaper until the wood becomes flush with the bushings. Stop the lathe regularly and check your progress. Also, each time you stop the lathe, swipe the sandpaper back and forth length-wise along the blank to remove any circular scratch marks in the wood.
I take some additional steps and use Micro Mesh sanding cloths (1500 grit to 20,000 grit). This is optional.
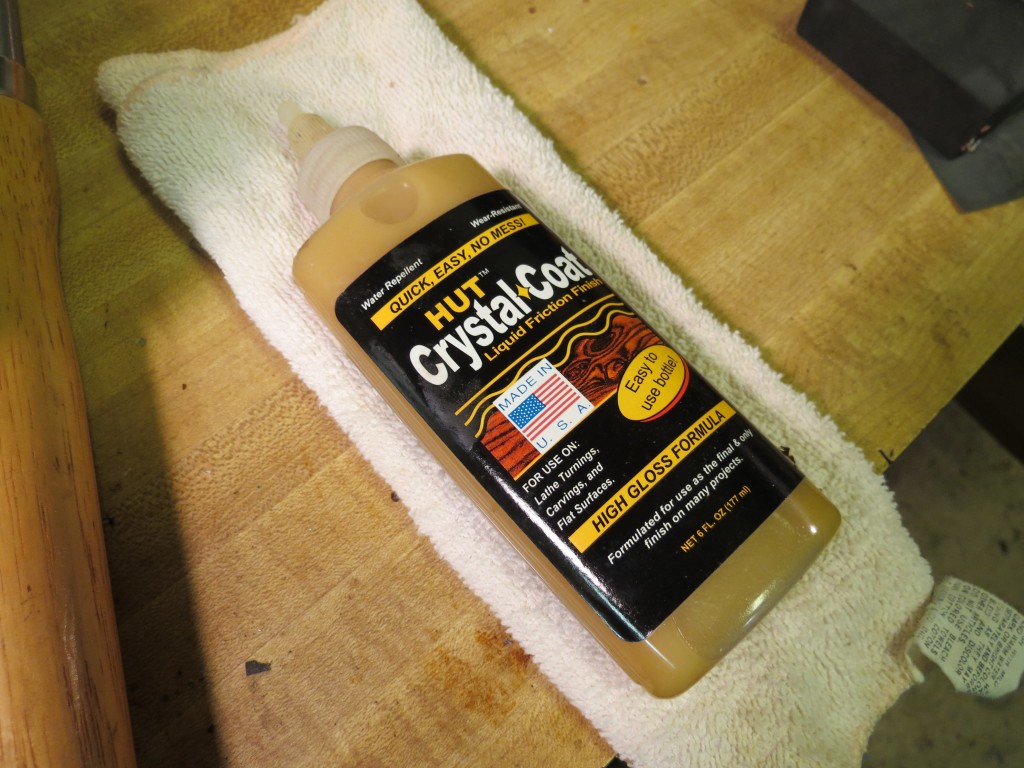
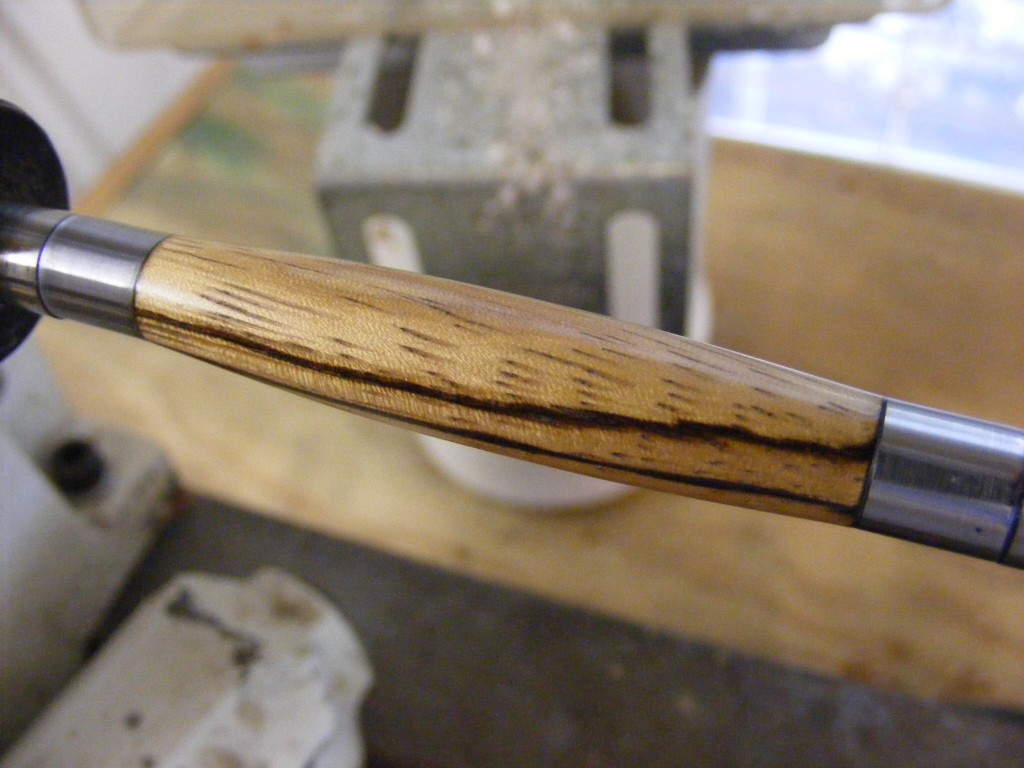
Step 11 – Once I’ve sanded the blanks perfectly, I like to finish them with a friction polish (Note–there are other ways to finish a pen — some like to use CA glue, but that’s for more advanced turners). Use a clean paper towel (Viva is a good brand) and squirt out about a quarter size area of polish. With the lathe off, work the polish good around the wood blanks. Put on your face shield and turn on the lathe. Carefully bring the paper towel up to the blanks and gently allow it to rub against them. I like to use a paper towel because it is safer. If the paper towel were to get stuck on the wood, it would just break away and not potentially pull your finger or hand into the spinning wood.
Maintain and control the point of contact all along the blanks. The warmth from the friction will help the polish cure. Make sure you read the instructions on the polish container.
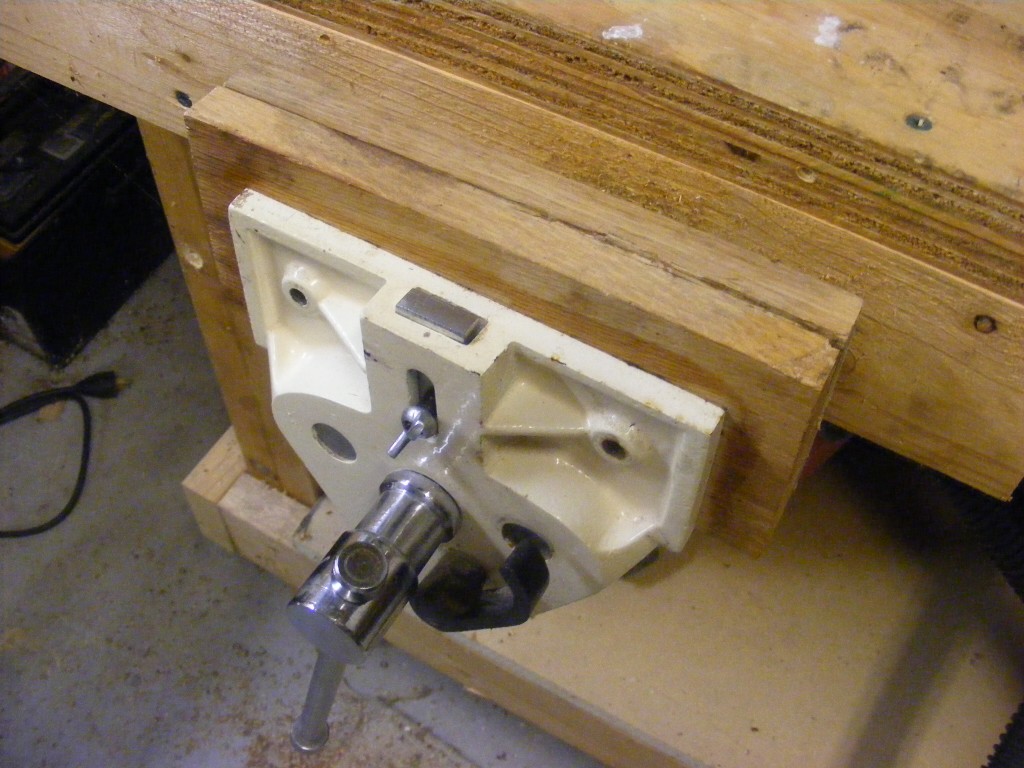
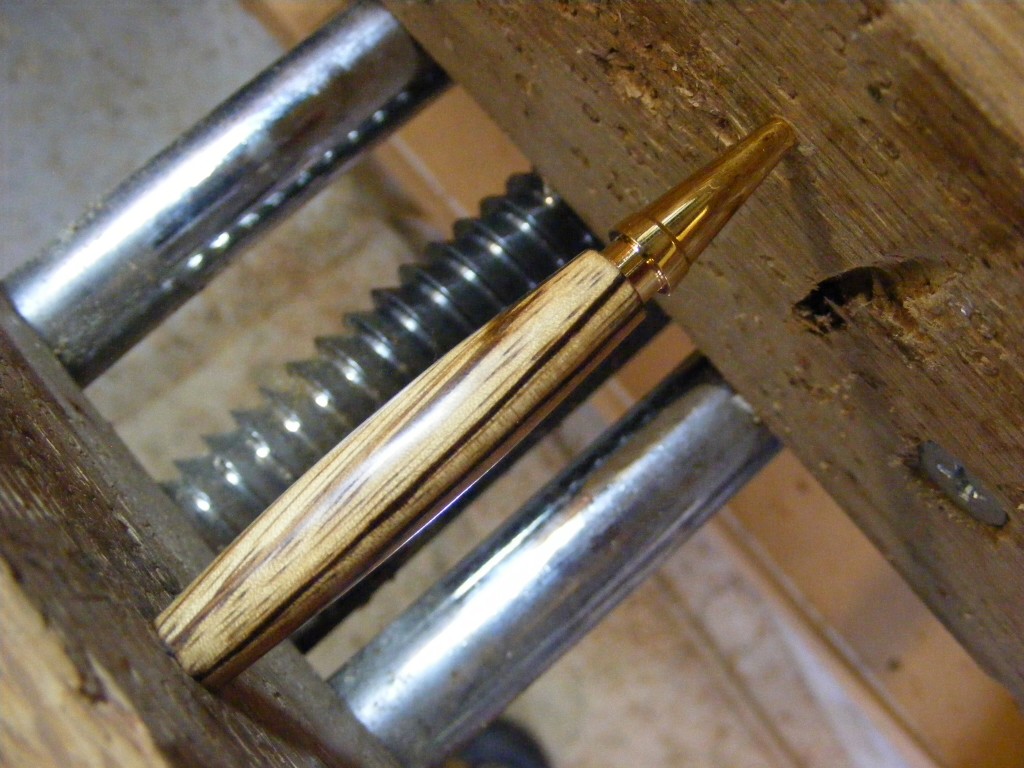
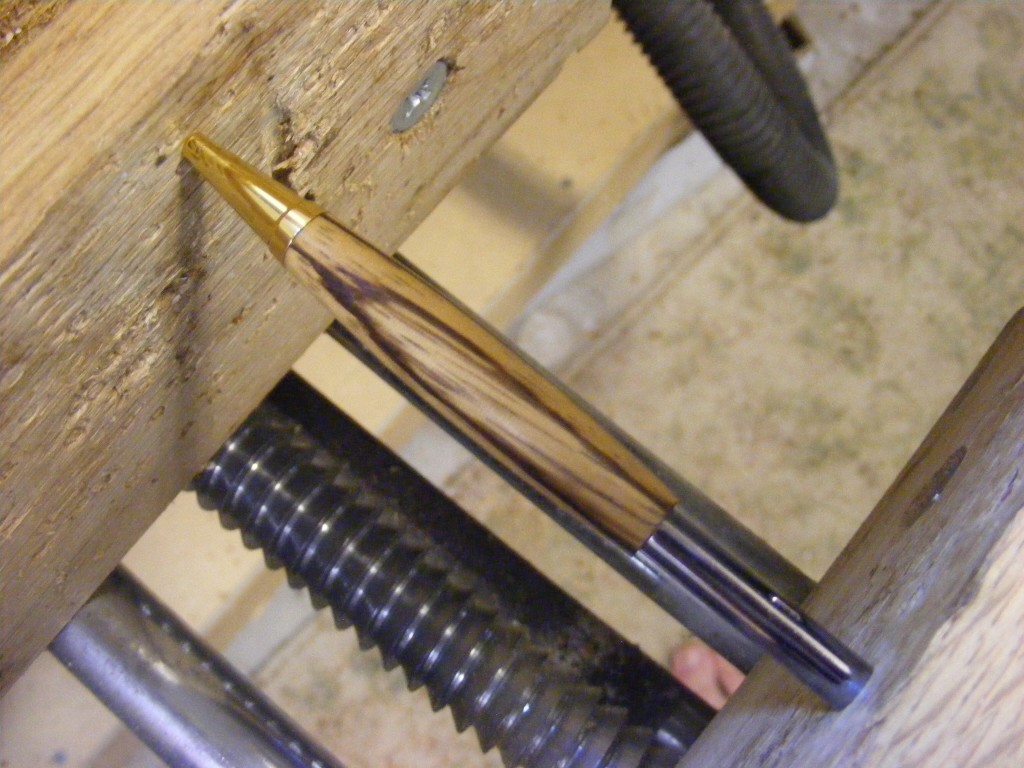
Step 12 – Once you’ve applied the friction polish, allow the polish to dry and cure for a few minutes. Although I have a pen press, I like to use my bench-mounted vise to press the pen parts into place. When taking the blanks off the pen mandrel, make sure to keep them oriented correctly to achieve the matching grain patterns.
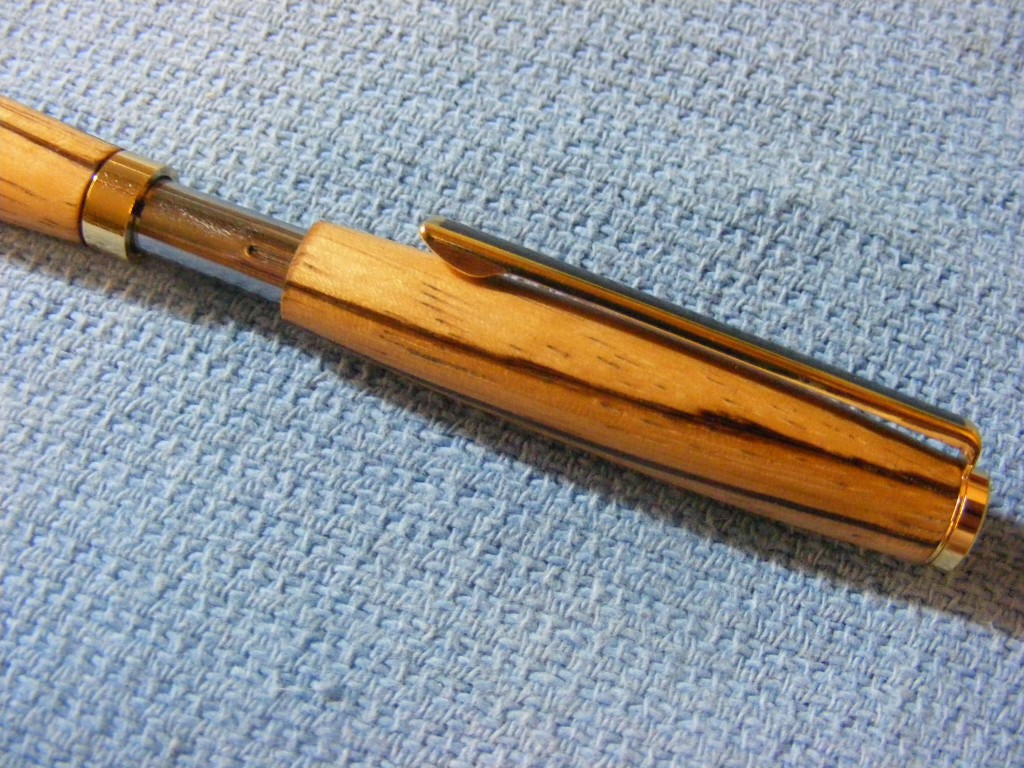
Slowly and carefully press on the tip. Then press in the pen twist mechanism. Don’t press the mechanism in too far. Better to press this part in a little at a time. Test it by screwing in the ink refill, making sure the refill extends in and out the tip properly. When the ink refill is adjusted properly, finish pressing the cap and clip onto the end of the other pen barrel.
Next, slide the center band over the mechanism until it rests against the lower pen barrel section. Now you can slide the upper pen barrel over the pen mechanism. Note that this upper section will slide on firmly, but this will not be a permanent compression connection. You have to have a way to replace the ink refill when it becomes depleted.
As a final measure, test the pen out and make any final tweaks.
I hope this tutorial was helpful and what you needed to make your first pen. Please leave any questions or insights in the comments field. I’m always looking for ways to improve. Also, please consider joining my blog. It’s free, and when I add new posts, you will be notified through email. I promise not to share your email.
SAFETY DISCLAIMER: If you decide to attempt this tutorial, you do so at your own risk. I don’t know your skill level, tools, or work environment. Chances are all those factors are different from mine.
Please take some time to learn about this hobby before you jump into it. Watch some videos, read some books, and get some training. Make sure you read the instruction manuals that come with your tools and that you have a clear knowledge of how to operate them safely.
Don’t forget to wear appropriate protective gear—face shield, dust mask, etc. Remove all jewelry or loose clothing that might get caught in the lathe.
Also, these tutorial are intended for adults only. Properly trained and guided, children can do this craft—but only with adult supervision.

Are you starting up a new shop? Want to work safer in your shop? To help you answer these questions I've put together a 2-part checklist -- Home Shop Safety & Tool Checklist.
I will also send you updates of my latest woodworking and DIY projects. You can get all this by subscribing to my free email newsletter.



4 thoughts on “How to Make a Slimline Pen”
Comments are closed.