In this article, I’m going to show you how to make a survival bracelet. For some of you, this craft is well known, and many stores have
started carrying ready-made paracord bracelets. But some of you may be seeing this for the very first time. And you’ve probably surmised—like I did—that you can easily make them yourself.
What is a survival bracelet? Basically it’s a bracelet made out 550lb Type III Paracord of (the same cord used for parachutes) material and tied together with something called a Cobra Weave—or some other weave.
If you find yourself in a critical situation out in the middle of nowhere, you can unravel the bracelet and use it for multiple purposes:
Tying on a splint
Building a shelter
Making a snare
The inner fibers make great fishing line
(550 means 550 pound breaking strength)
These bracelets make wonderful gifts and conversation pieces. Need a great family, church, or scout project? This will serve that purpose.
I have sold a few of these, and I know others who sell them at $6 to $12 a piece. Although these bracelets aren’t as new to the market anymore, there are tons of other braids and weaves and projects you can make with paracord. So come up with a new weave design or project, and you could possibly make some extra money.
The tutorial below will show you how to make the survival bracelet, using the Cobra Weave. Hope you enjoy!
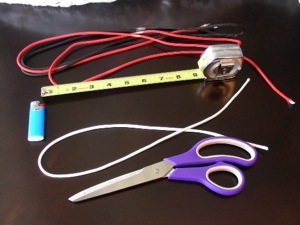
So start by gathering all the tools and materials: 550 paracord (order online or found in Army Navy Stores), Measuring tape, Scissors, Lighter (I recommend adult supervision when using a lighter)
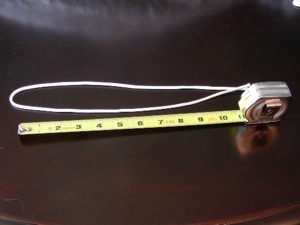
Take a piece of white paracord and measure off about 22 inches. Fold the piece around, forming a loop. If you want, go ahead and tie an overhand knot where the two open ends meet.
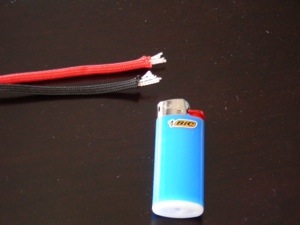
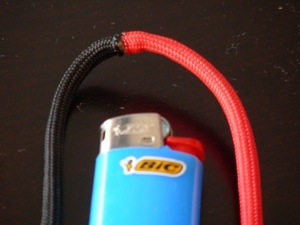
Cut off a 5 foot piece of read paracord and a 5 foot piece of black paracord. Use the lighter to singe both ends. Once the core fibers have melted, carefully push the 2 cords together and allow to cool. The 2 cords will fuse together nicely.
WARNING: Be careful with this step. You can burn your finger easily if not careful. Allow plenty of cooling time.
Above is a picture of the 2 colored cords after they have fused together.
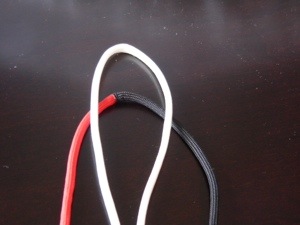
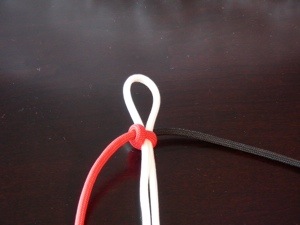
Bring the red/black cord in behind the white loop.
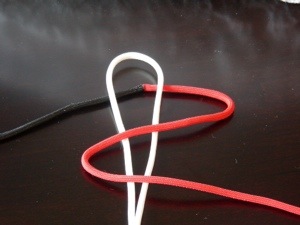
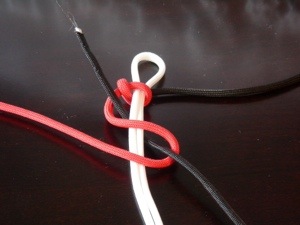
Bring one cord (red side) around to the front of the white cord and form an S shape loop. This begins the Cobra Weave.
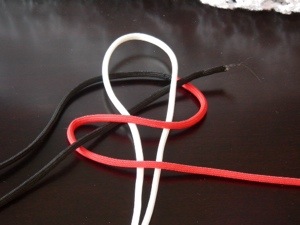
As shown in the above picture, bring the black cord around and enter the red loop (left side), go around back of white cord and then exit out of the red loop (right side)
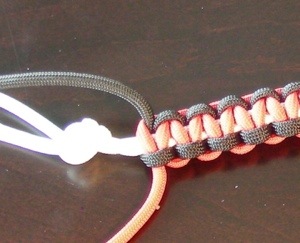
Cinch up the knot from preceding step, and it should look similar to the image above. Be sure to leave about a one inch diameter loop for the white cord.
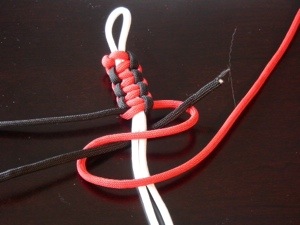
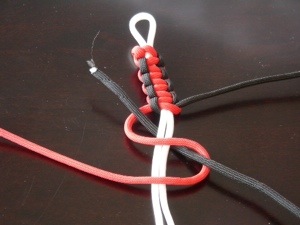
Now, perform the same operation, but this time create the S loop from the opposite side. Pull black cord through and cinch it up tight.
Continue to repeat the Cobra Weave and you should see the pattern in the above picture.
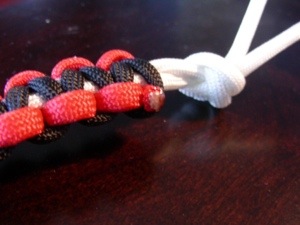
Continue weaving until you reach the overhand knot at the end of the white loop. The overhand knot will insert into the white loop to latch the bracelet around your wrist.
Now we’ve reached the white cord’s overhand knot. At this point, check the bracelet’s fit around your wrist. You may have to move the overhand knot out farther. Or you may need to unweave the red/black cords a couple of times. Adjust it so it fits comfortably around your wrist.
Once you have the bracelet adjusted like you want it, cut the red and black cords close to the bracelet. Then take a lighter and lightly singe the red and black cord’s ends. This process will seal the ends into the Cobra Weave.
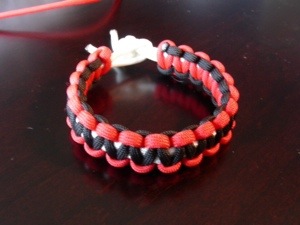
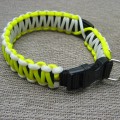
Above is the finished product. You can also order the small snap-together buckles and use instead of the overhand knot latch.
I hope you have enjoyed this tutorial. Feel free to share your experiences with making paracord / survival bracelets.


1 thought on “How to Make A Survival Bracelet”
Comments are closed.