Today I’m going to show you how to make a wooden lantern. I’ve been seeing these all over Pinterest and was just waiting for an opportunity to make one. They’re extremely easy to make and your creativity will get a workout because of all the possible designs. All you need is a basic saw, nails, and wood glue. That’s it!
I would like to thank Rogue Engineer for some of the inspiration for this project. You may want to click over to his project to get some additional ideas or inspiration.
Also, you might want to also check out my newest lantern project which includes a mason jar and LED light. Tutorial link: Make a Mason Jar Lantern
Tools and Supplies I Used (I’ve included affiliate links for your convenience)
Ryobi 18GA Brad Nailer
Titebond-3 Wood Glue
Bar Clamp
Orbit Sander
DEWALT Sliding Miter Saw
Latex Paint
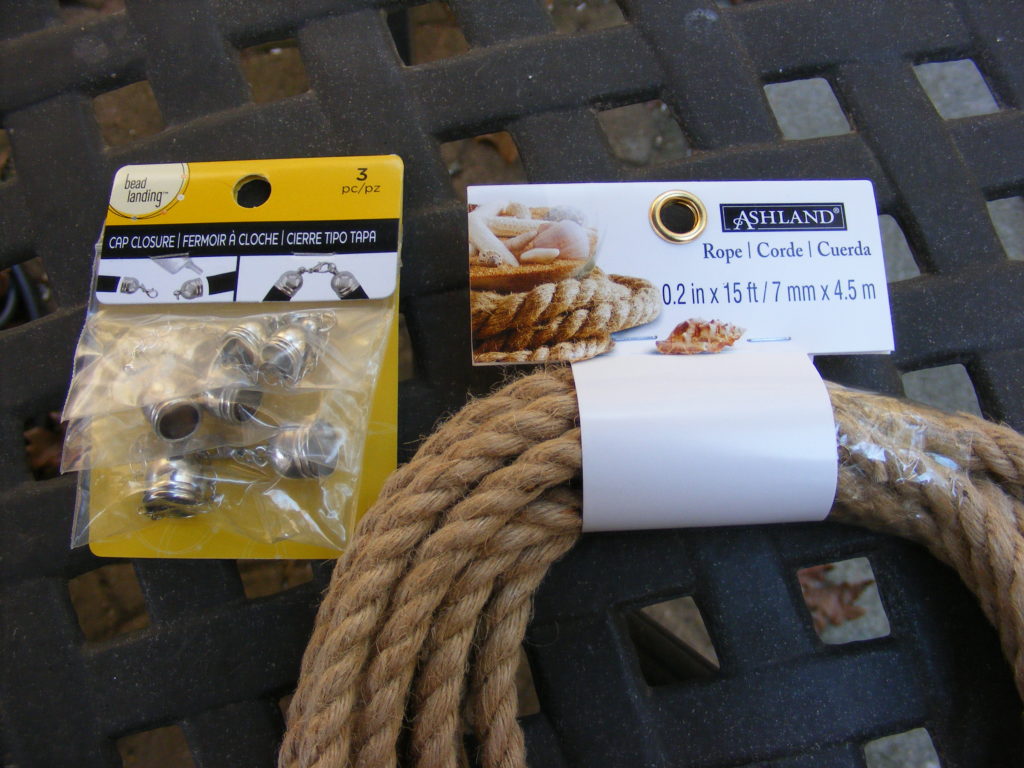
Craft Rope & Clasps (Michaels)
Poplar Boards (Local Home Improvement Store)
And Now — On to the Make a Wooden Lantern Tutorial
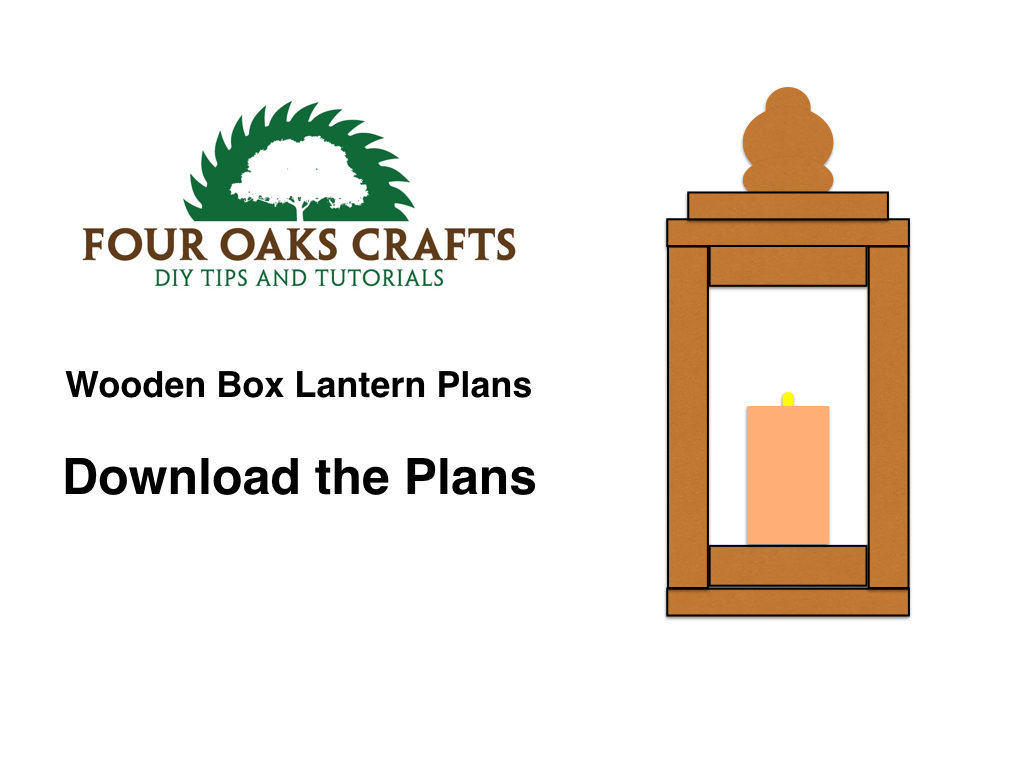
Step 1 – Get the Plans. Use my plans as a guide and make adjustments as needed. Or choose your own dimensions. When I make another one, I believe I’ll make it a little shorter. It depends on your preference. Just make it wide enough to accommodate whatever candle or light you choose to place in it. I opted for an LED candle which looks a lot like the real thing.
Click here to Download the FREE Wooden Box Lantern Plans
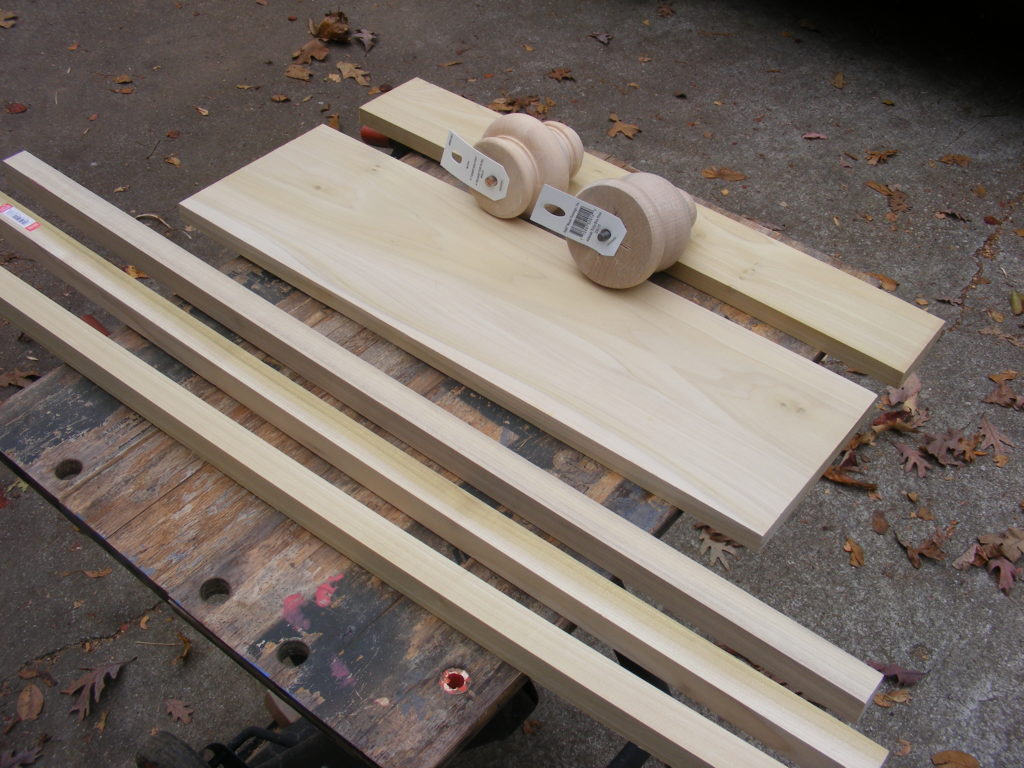
Step 2 – Wood selection. I opted for simple and inexpensive poplar boards from my local home improvement store. With poplar, you can either stain them or paint them. Poplar is very easy to cut and nail. It’s also more on the lightweight side compared to oak or some other woods.
The round knob-looking pieces are pre-turned furniture legs you can just grab out of a bin at your local home improvement store. They already have a threaded stud built into the flat side. Choose any shape you like. Easy peasy!
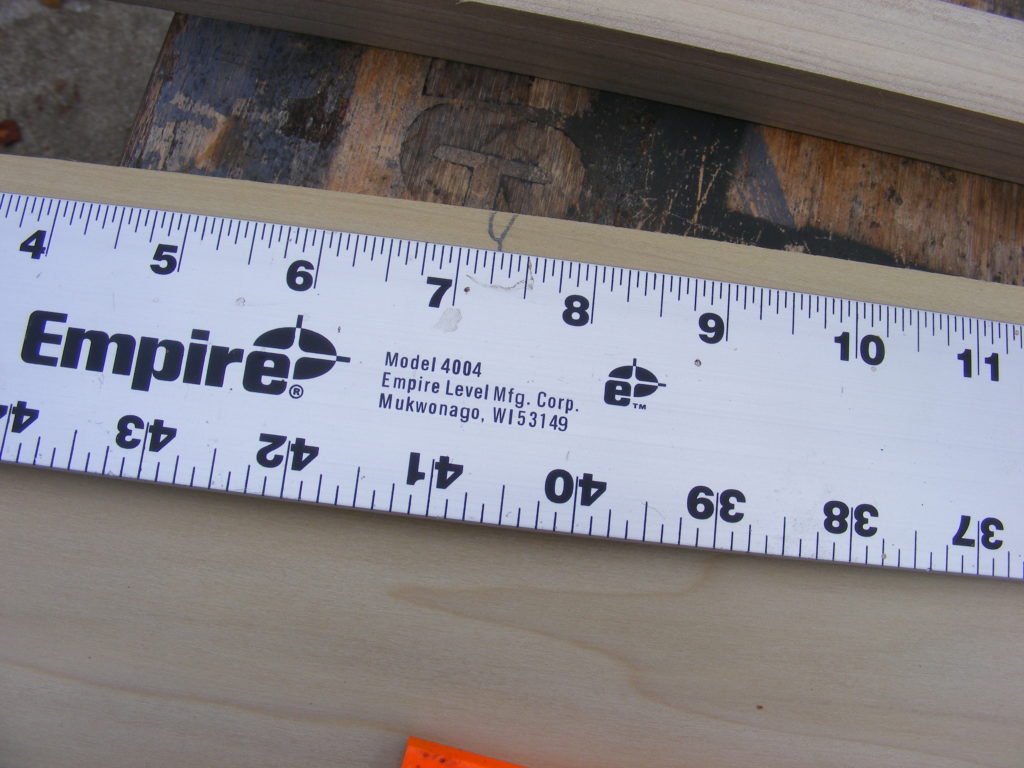
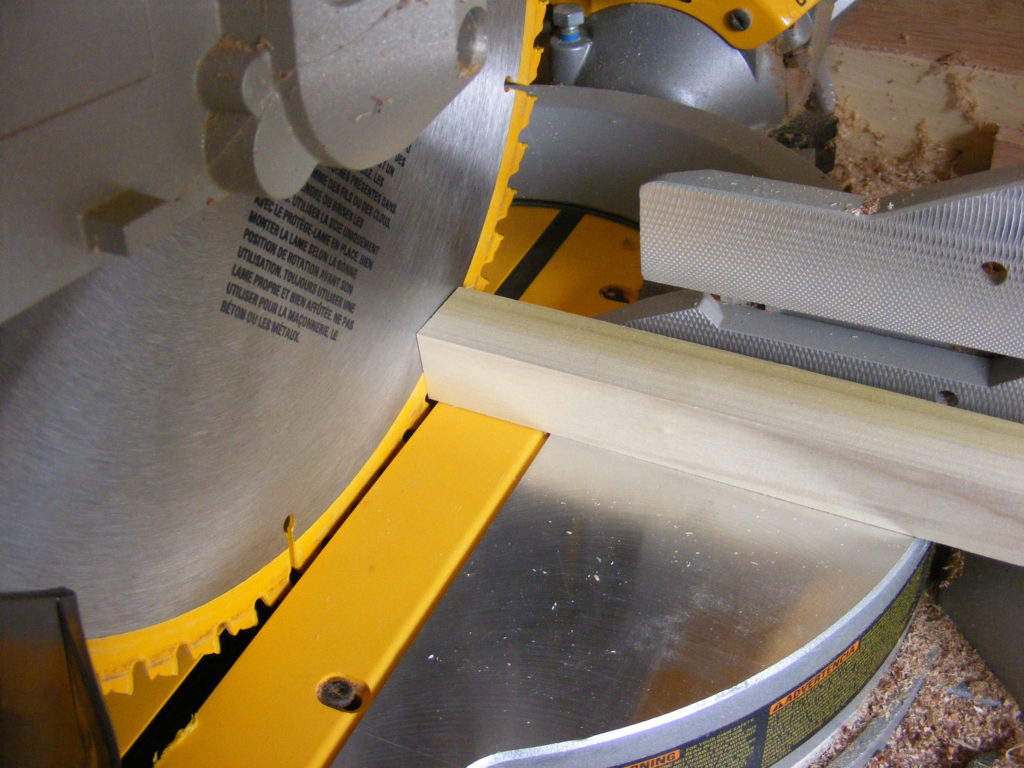
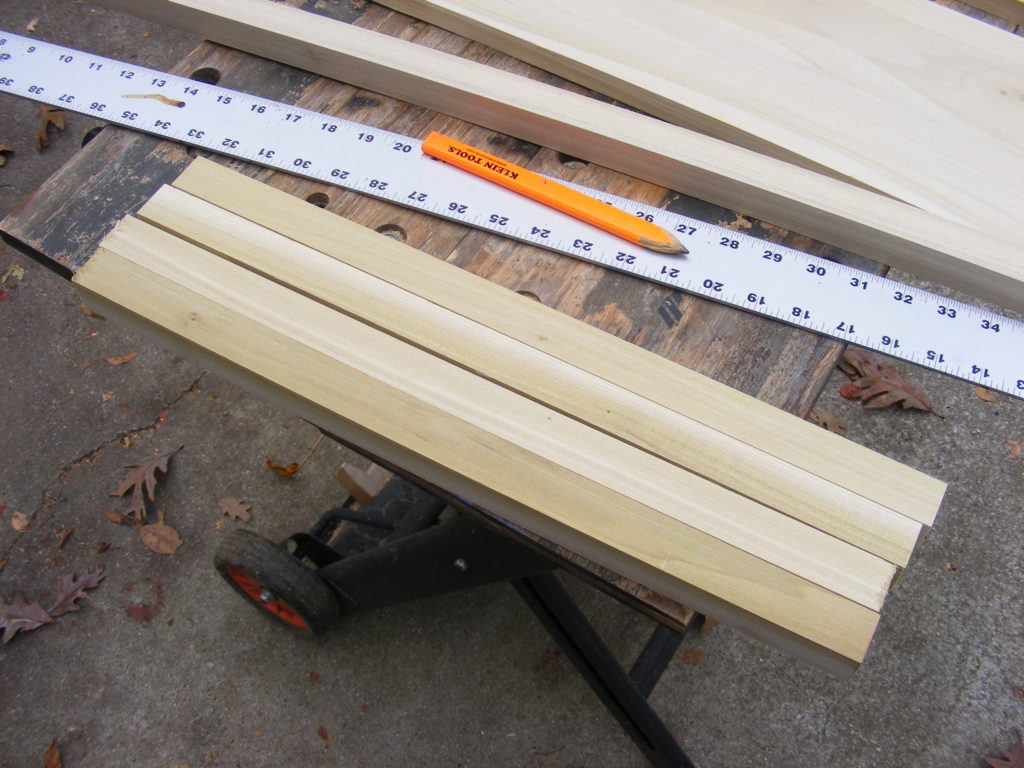
Step 3 – Measure and cut the boards. Use whatever saw you have. You could use a jig saw, hand saw, band saw, or chop saw (read and understand all safety instructions that come with your tools). I used my DEWALT Sliding Miter Saw. One advantage of the chop saw is you can get a clean and square cut every time. It’s also a lot faster and great when you’re only cutting boards with shorter widths.
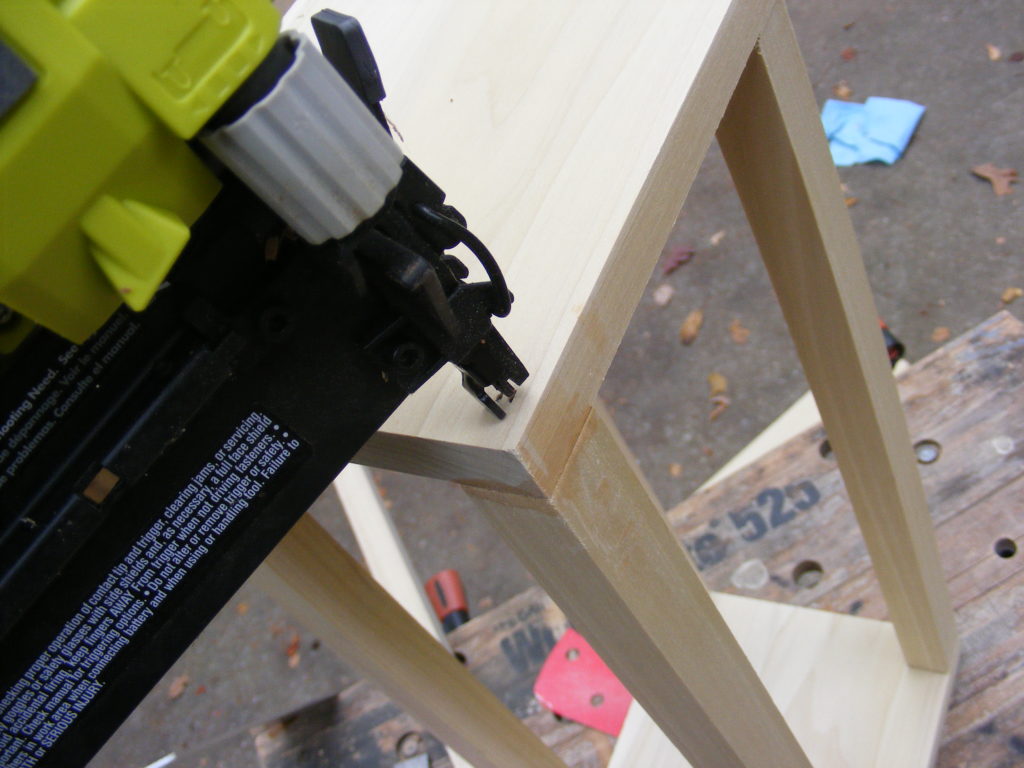
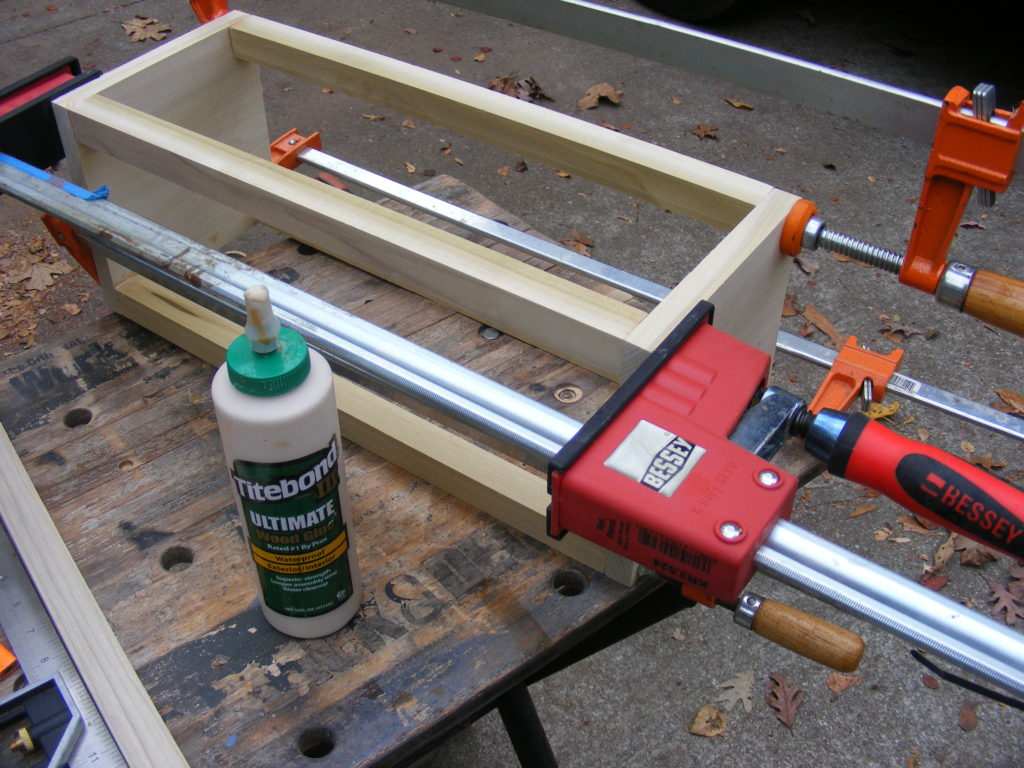
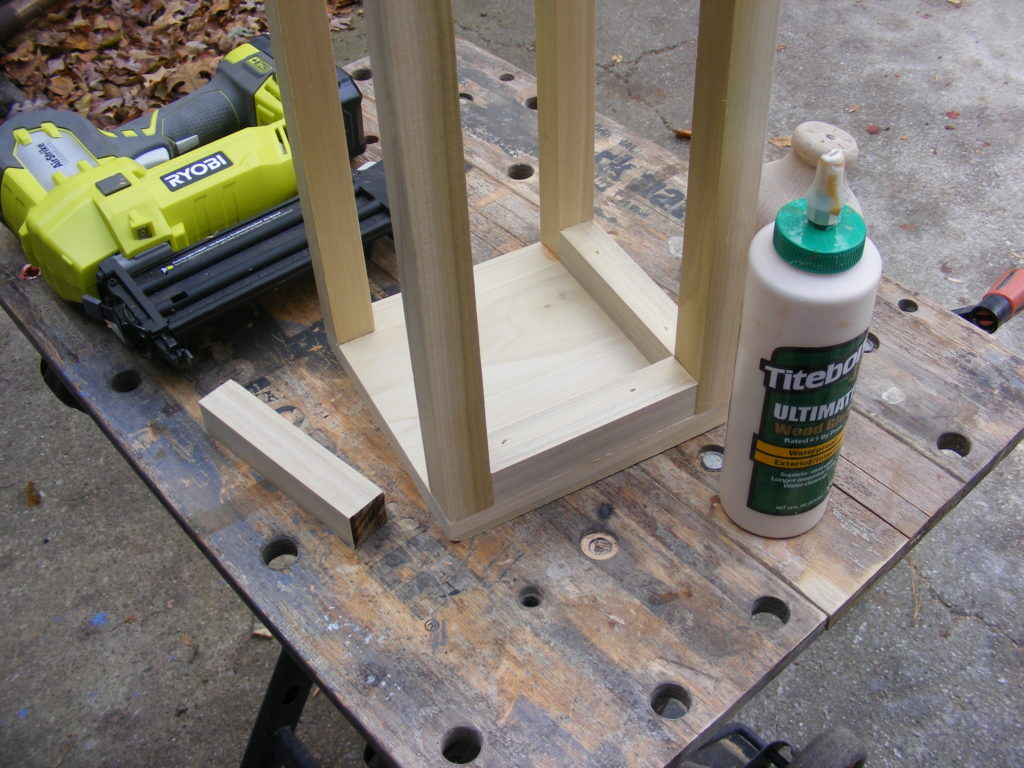
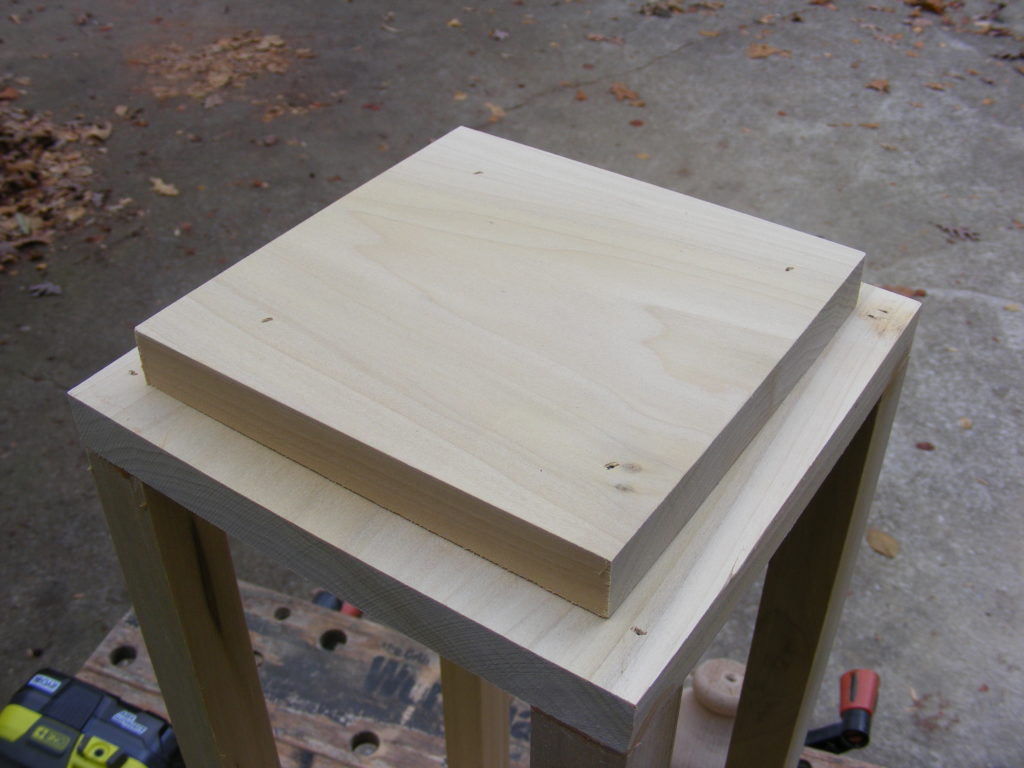
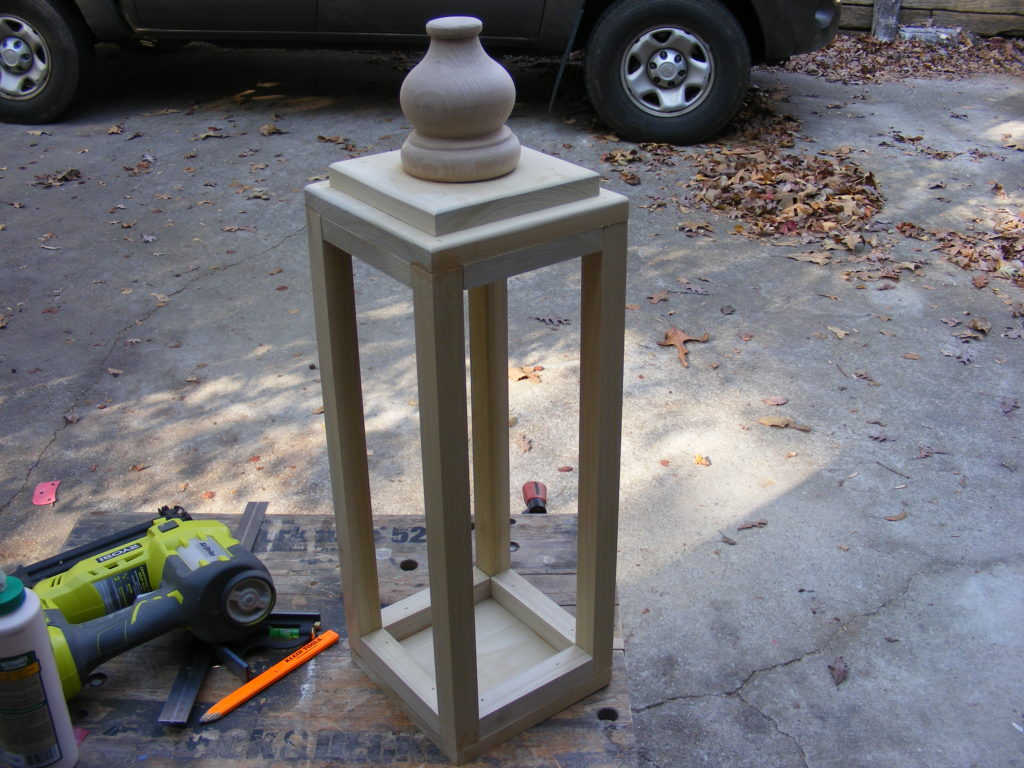
Step 4 – Assemble the lamp. I used Titebond III wood glue and my Ryobi nail gun for this project. Follow the pics above and you can see the order in which I worked. Just a few tips: check for fit before your nail and use clamps to hold the boards in place while you nail. As always — read safety instructions that come with your tools.
Now, you could use hammer and nail for this project. That will be a little more challenging, but definitely doable. If you do, I’d suggest pre drilling some pilot holes for the nails.
You could use wood screws, but that might be a little overkill since this project is more for home decor and won’t be supporting large loads. The screws will also show more, unless you put plugs over them.
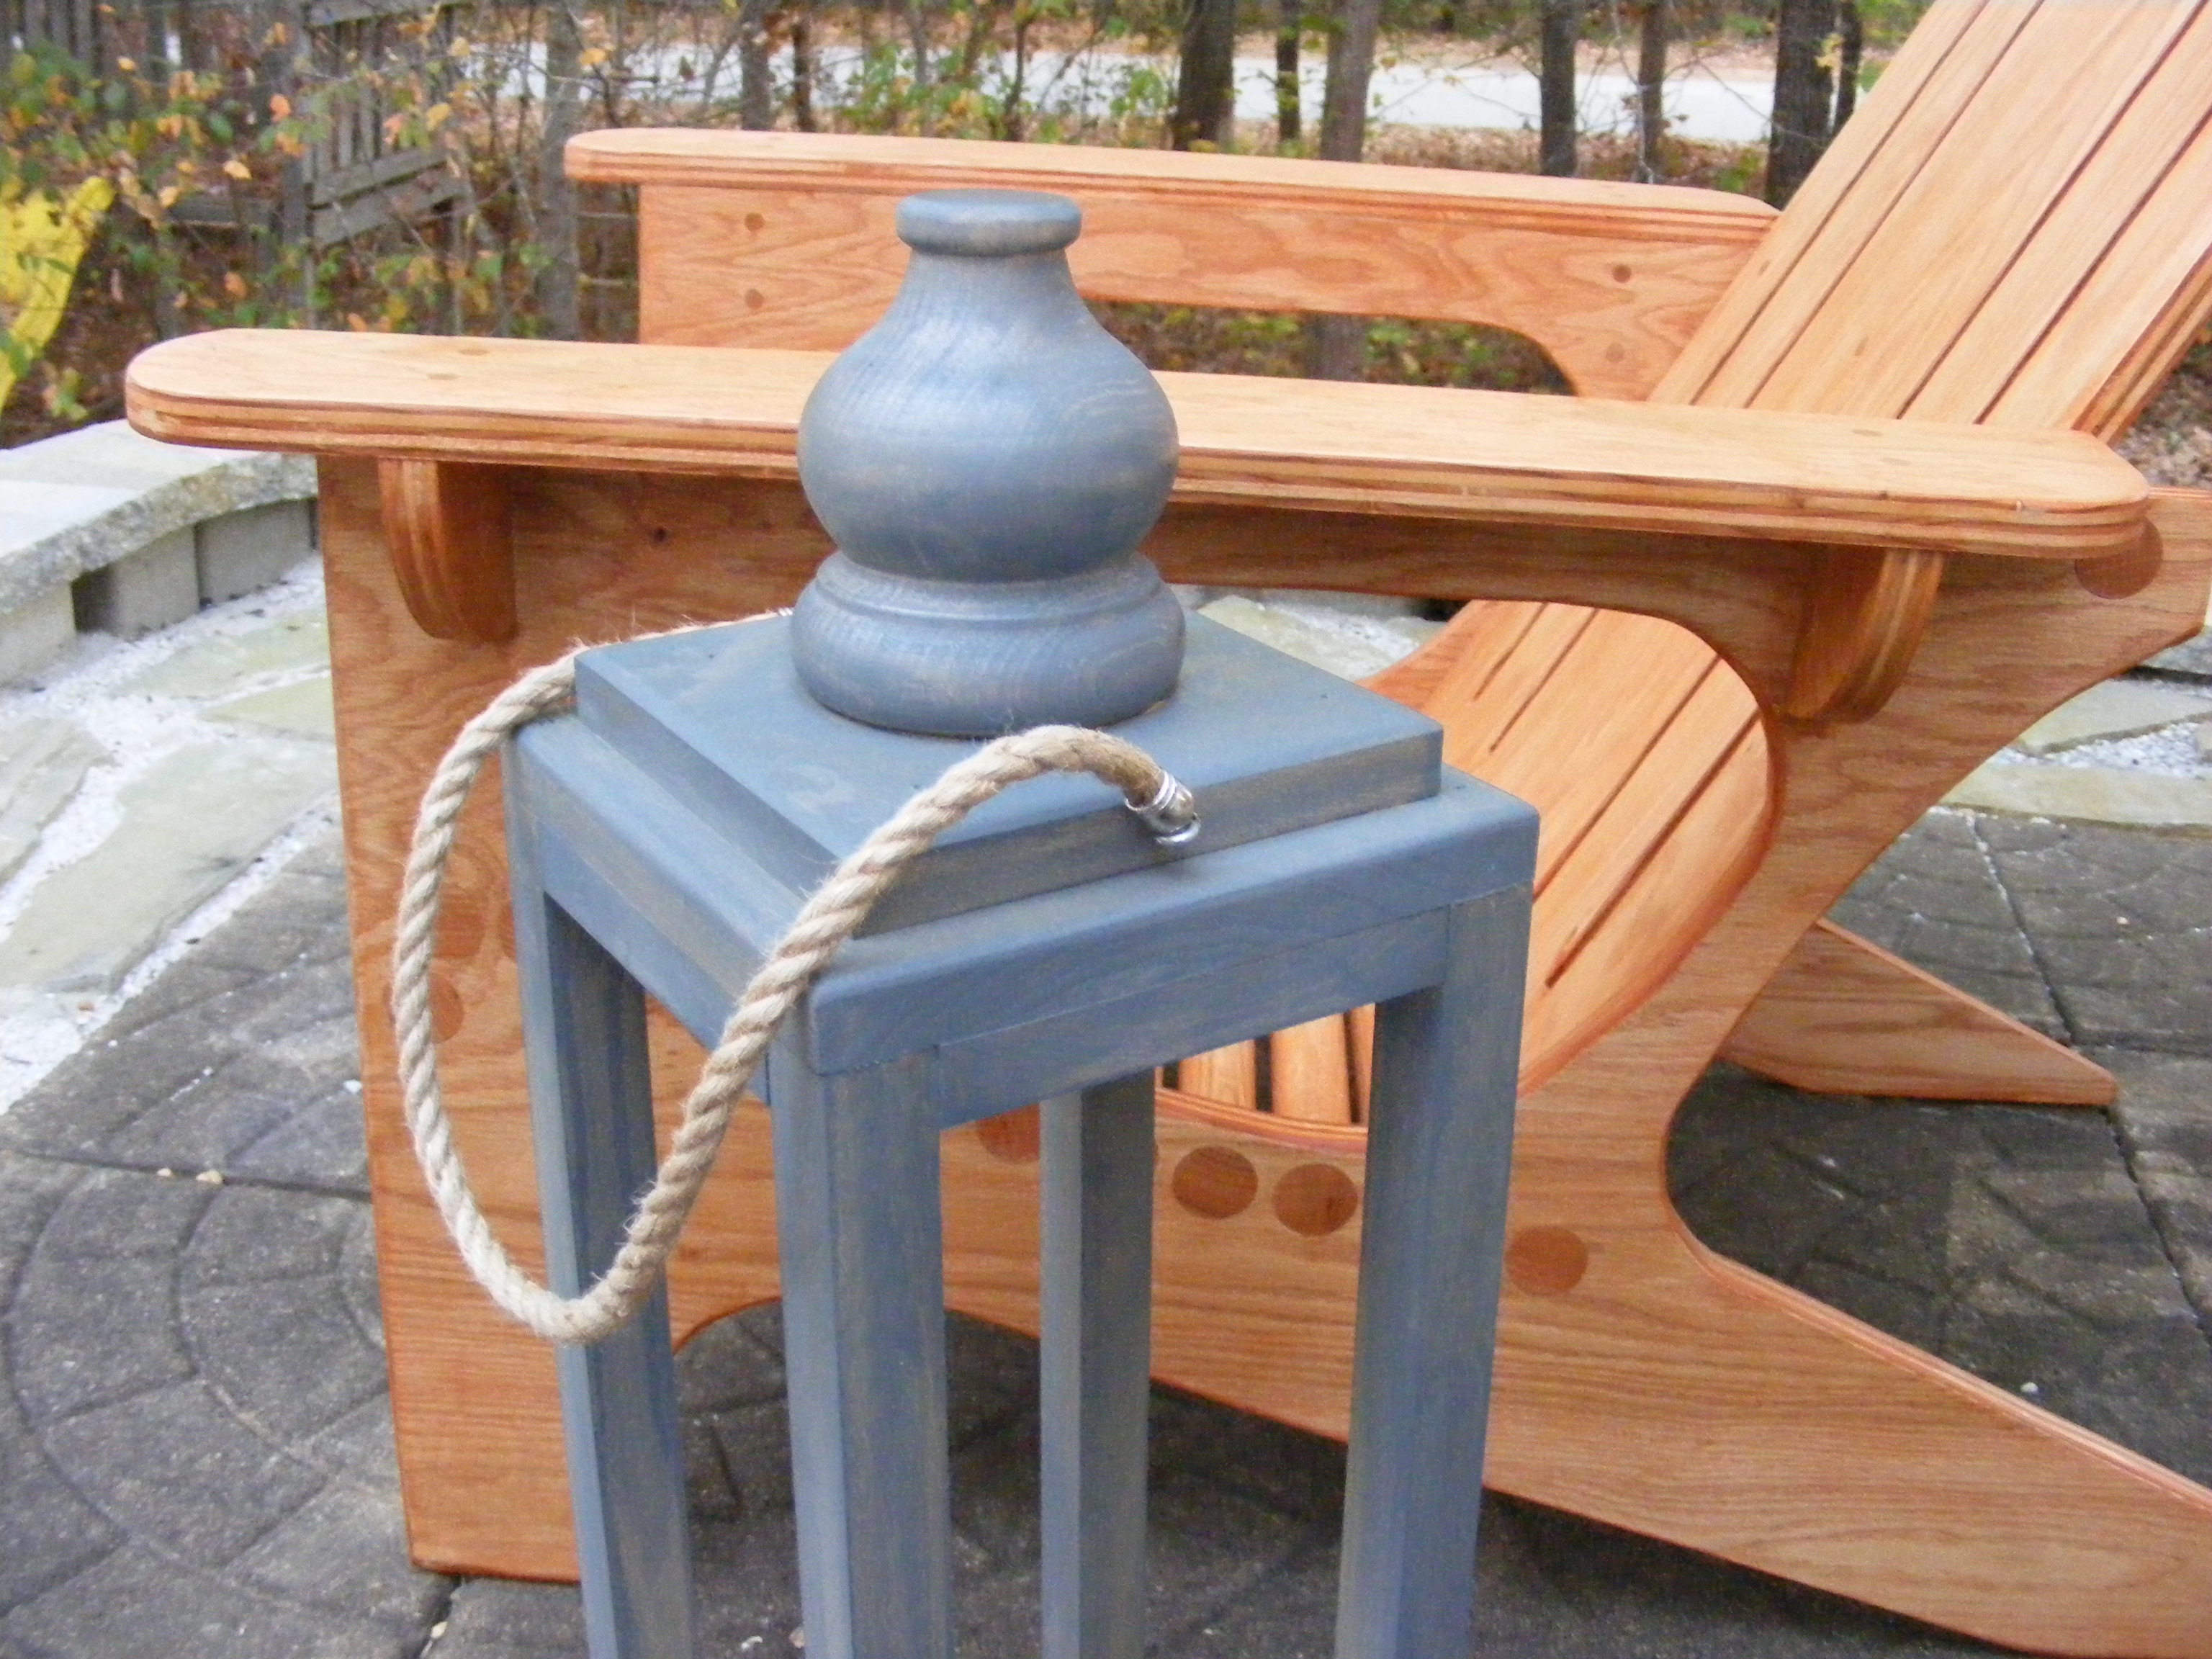
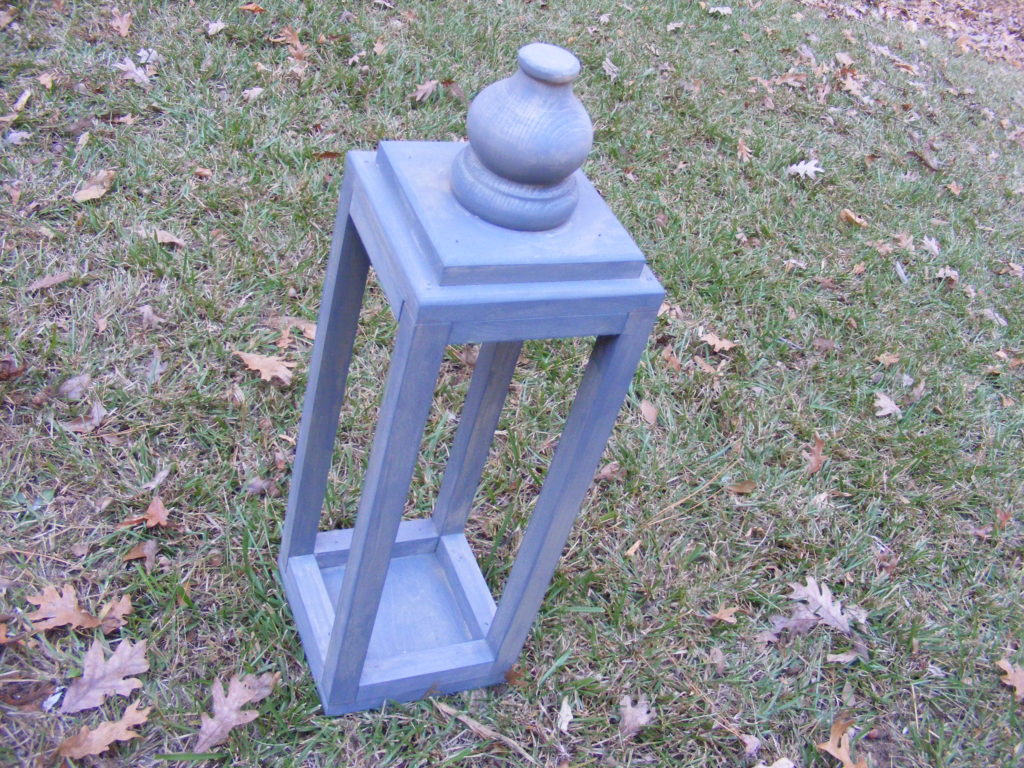
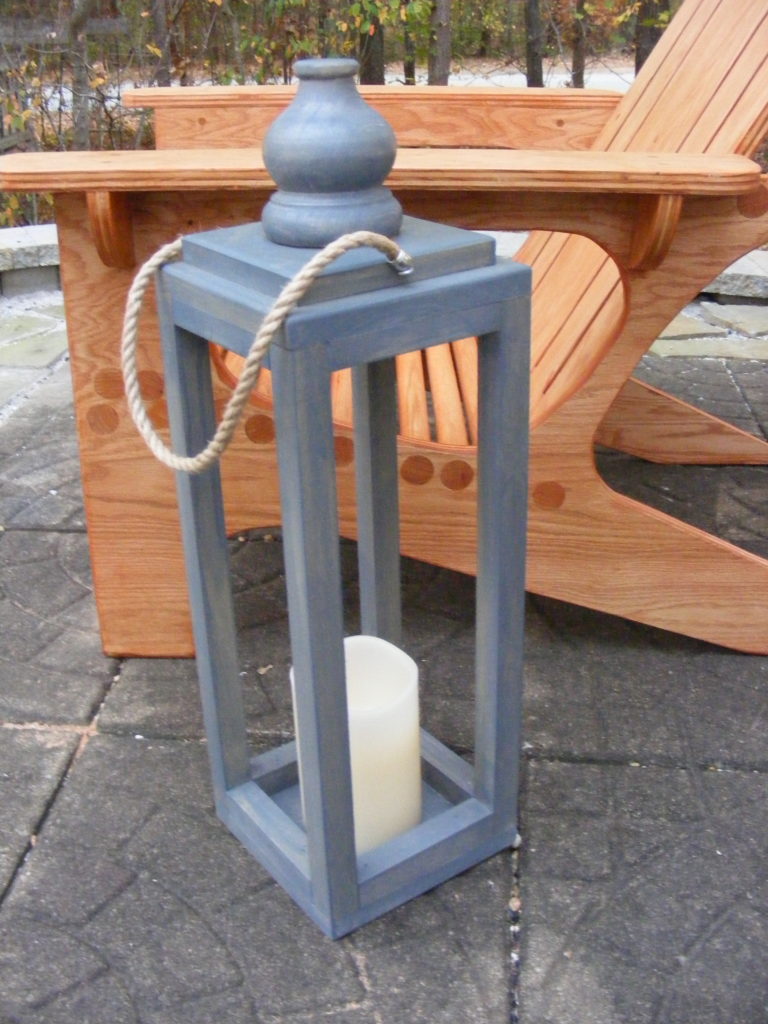
Use your creativity to figure out how to decorate the top of the lantern. The round piece you see in my pictures, is a pre-made table leg that I bought from Home Depot. And I believe it also was poplar wood, so it matches the other boards. It comes with a built-in threaded stud. So I drilled a hole slightly smaller than the stud in my top board. I then threaded the upside-down leg into the hole and glued.
Step 5 – Paint or stain. By using poplar boards it opens up many possibilities on how to finish. If you like more of a wood look, you can choose different shades of stain. Want a solid color? Pick the color paint you want.
(Although, I don’t show it in the photos, I did use my Orbit Sander to go over the wood with 120 and 220 grit. Not a lot of sanding is needed)
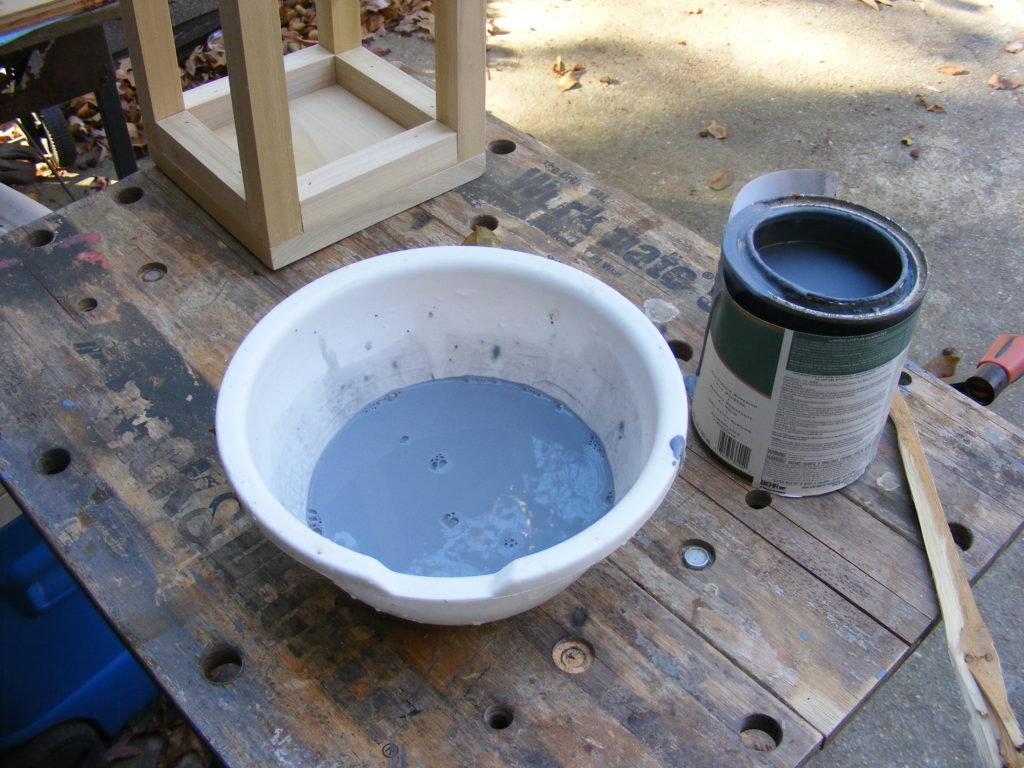
I elected to use some gray latex paint I had on hand. But I mixed in 50% water to create a “paint stain.” I think it turned out nicely and gives the lantern a more rustic look.
After the paint dried, I sprayed on a few coats of spar urethane for additional protection. This may not be necessary, especially if you keep the lantern inside, not exposed to the elements.
Step 6 – Add a handle. If you plan to keep your lamp stationary, this step can be optional. But most lanterns usually have a handle, and I thought I might be moving it back and forth between my house and the fire pit.
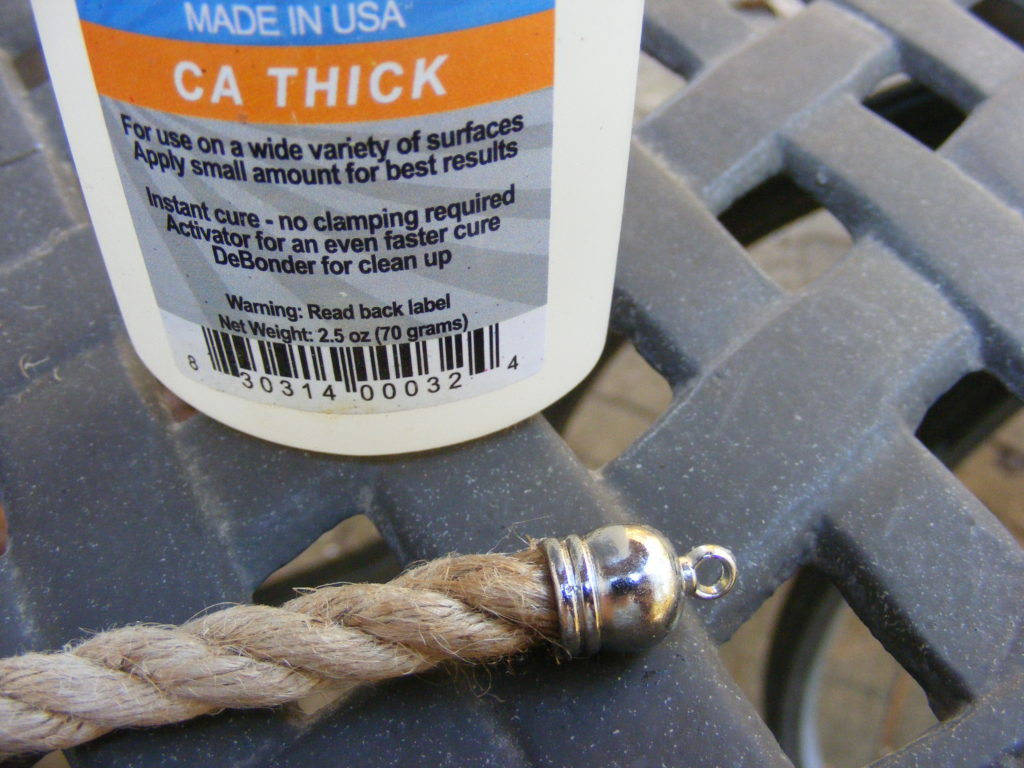
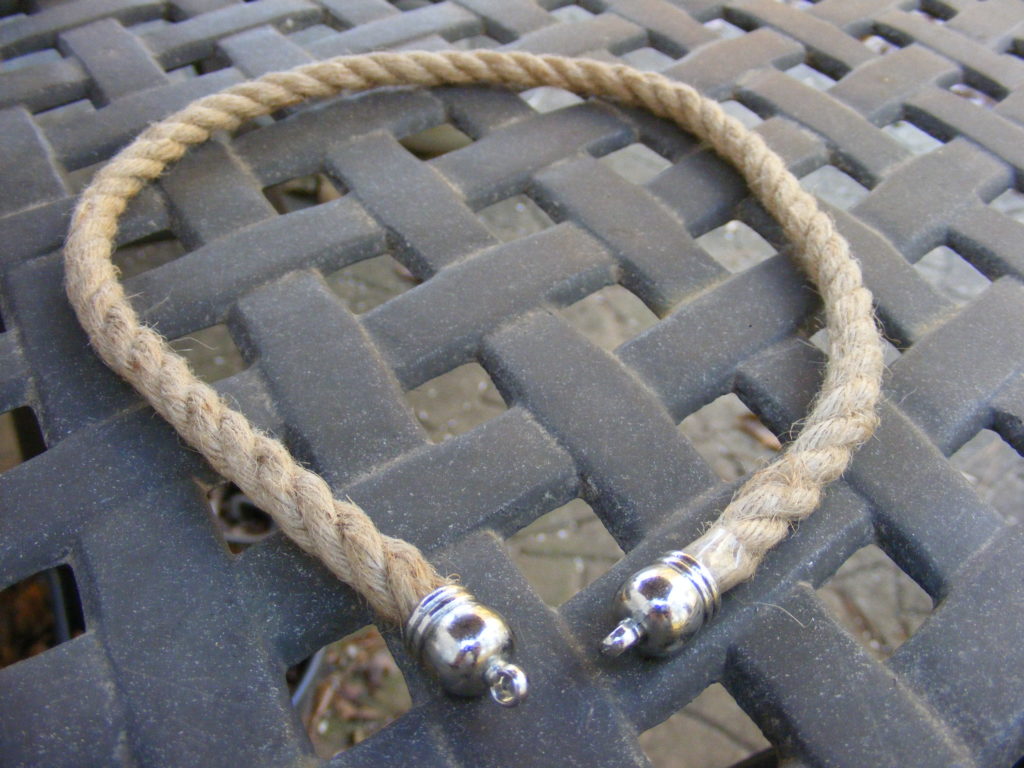
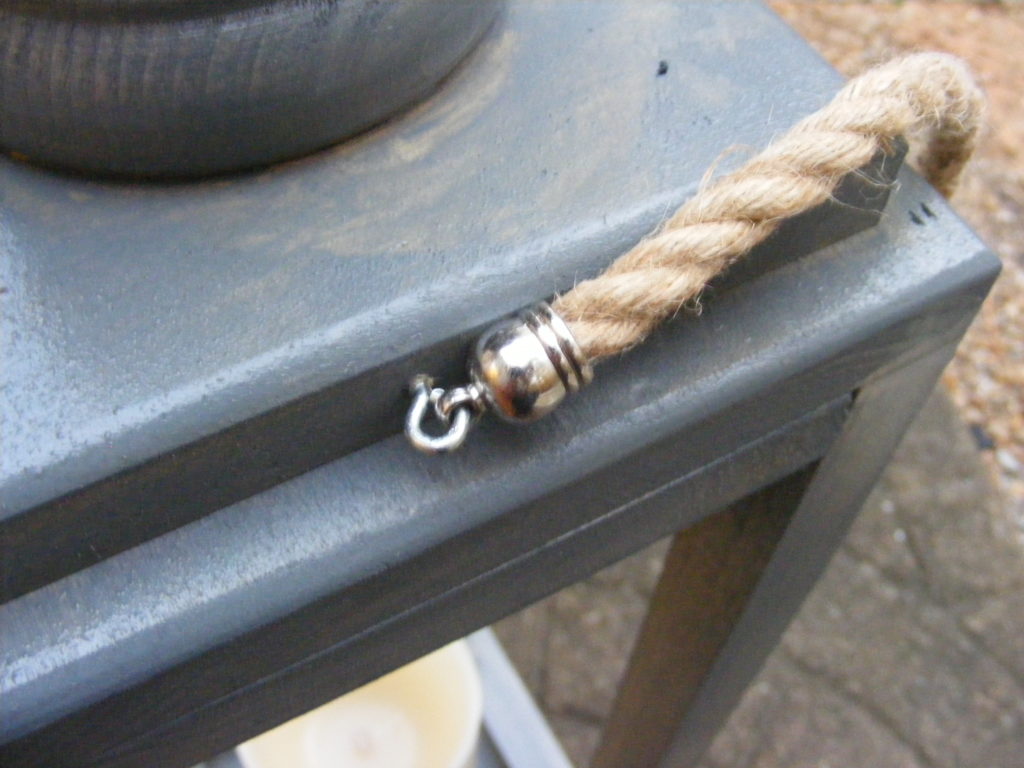
I bought some 3/8 in craft rope and glued them in some metal clasps — got both at Michaels. The clasps then attach to small eye screws that I screwed into my wooden lantern. I used a lot of superglue to glue the rope into the clasps. PLEASE WEAR NITRILE GLOVES so you don’t get the glue on your skin. And allow the glue to thoroughly dry. An epoxy glue would probably work just as well.
Another tip on the handle: make sure you cut off a piece long enough so that it clears the top of your lantern. Test it before you cut the rope. Mine was approximately 20 inches long.
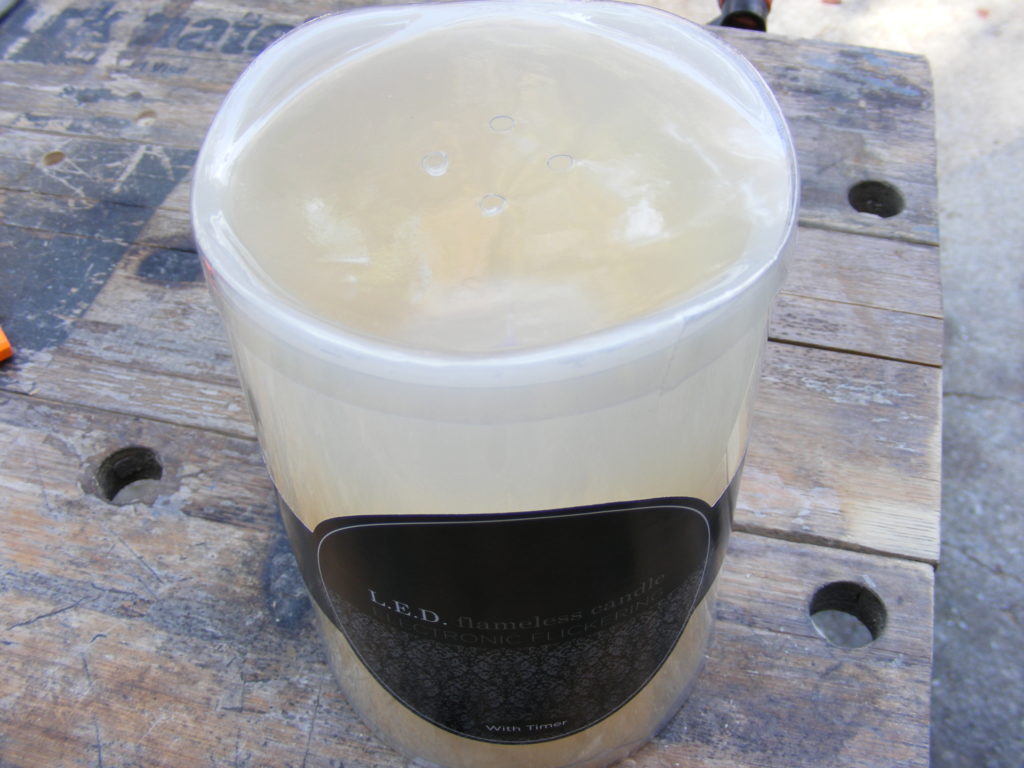
Step 7 – Add the light source. I decided to use an LED candle. But you could use any decorative light source you decide that will easily rest on the floor of the lantern. You could even use a real candle, but just make sure it’s secure and doesn’t pose a fire hazard.
Finished Wooden Lantern
Click here to Download the FREE Wooden Box Lantern Plans
I hope you enjoyed this tutorial on how to make a wooden lantern. Thanks for checking this out. If you’d like to see more DIY tutorials in your inbox, please consider subscribing to my Four Oaks Crafts Newsletter. And when you join, I’ll send you my Home Shop Safety and Tool Checklist. See the sign-up form below.
Blessings!
Stephen

Are you starting up a new shop? Want to work safer in your shop? To help you answer these questions I've put together a 2-part checklist -- Home Shop Safety & Tool Checklist.
I will also send you updates of my latest woodworking and DIY projects. You can get all this by subscribing to my free email newsletter.
