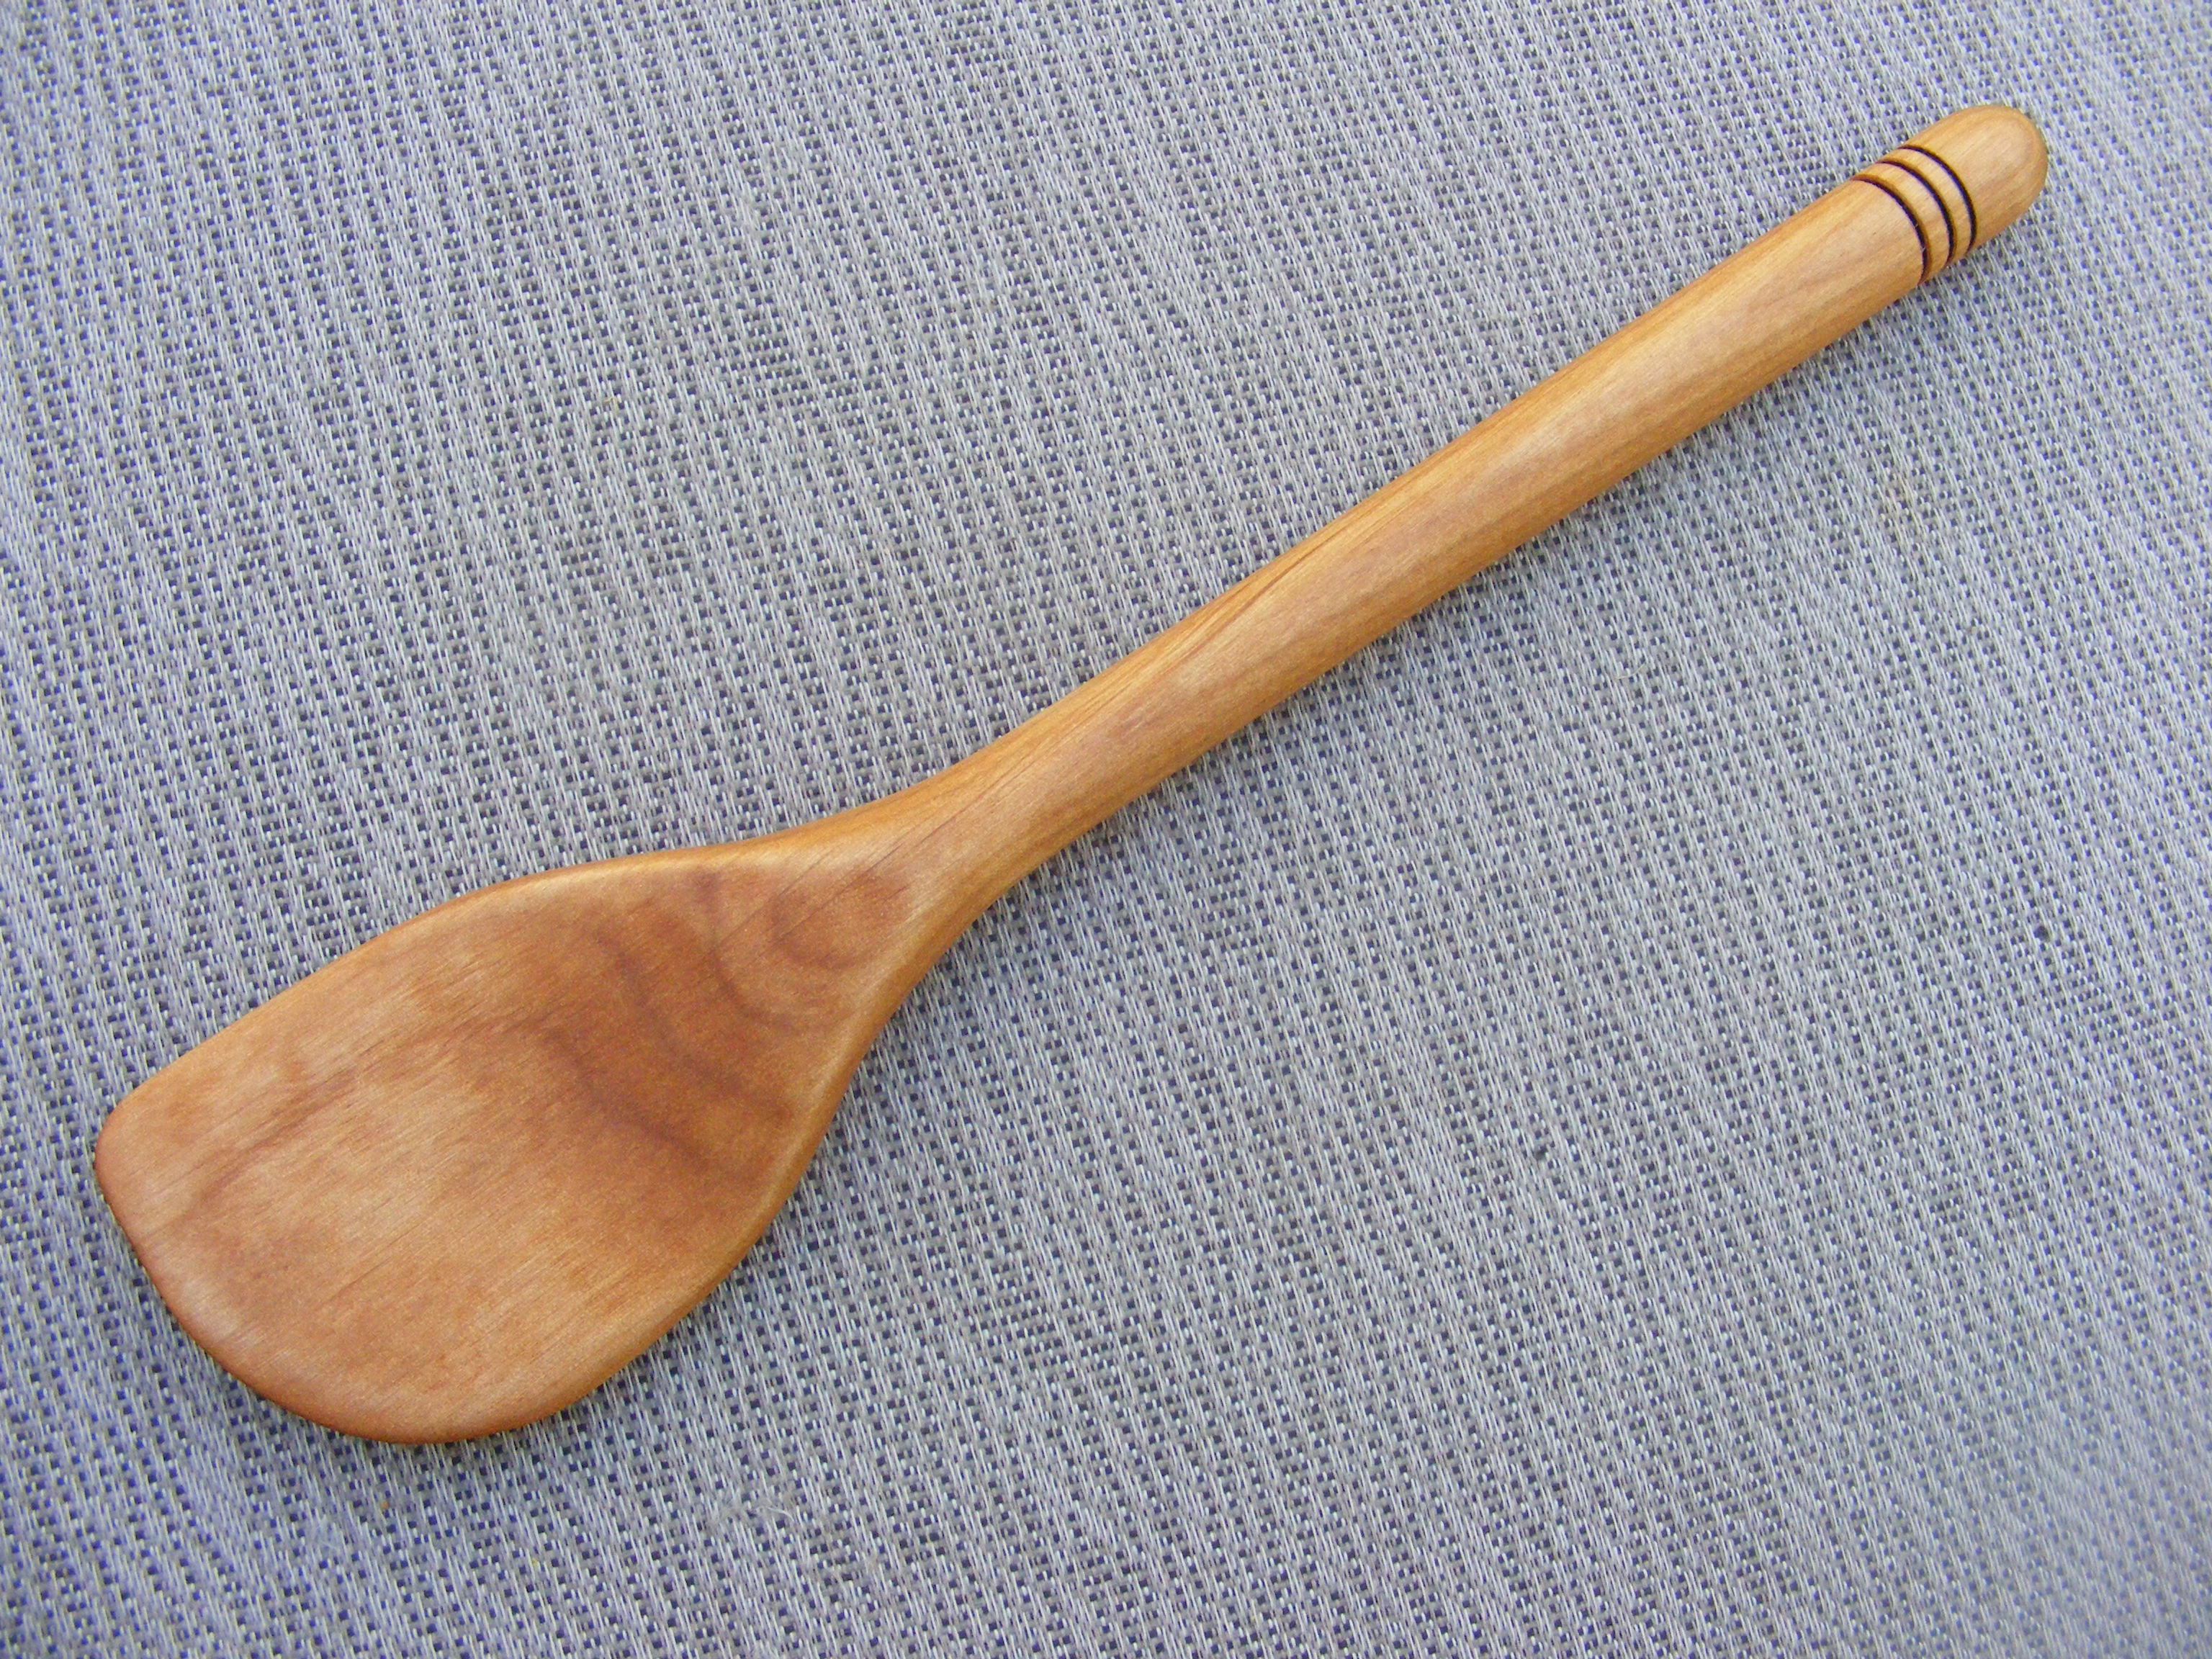
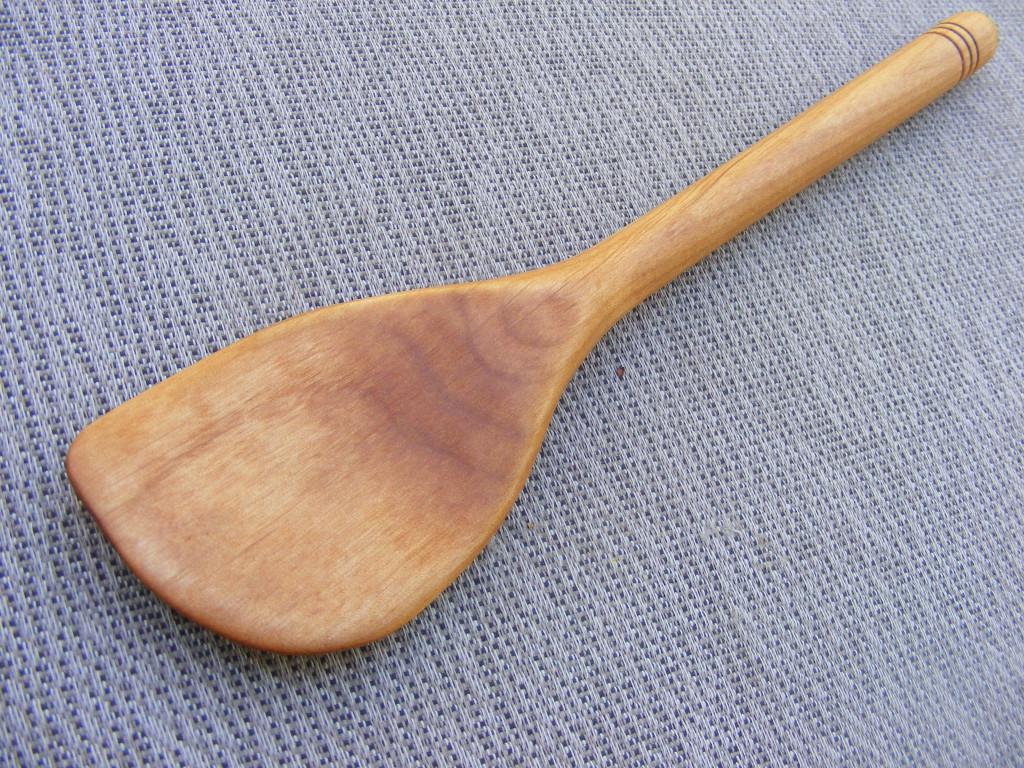
In this post, I’ll be showing you how to make a wooden spatula. One of those classic wooden crafts for the kitchen. I’ll be using Alder which is a hardwood, but it’s relatively soft and easy to cut, shape, and sand. It also looks great, especially after you add a finish. In this case, since I’m making a utensil that will contact food, I’ll use a food-safe mineral oil.
The main tool I will use to make the the spatula is a Jet Mini Lathe. A mini lathe is a versatile tool and doesn’t take up much space in your work area. You could easily fit it into a garage space or small basement. As you’ve seen in my other tutorials, I use my Jet Mini Lathe to make a lot of other turned projects — writing pens, bottle stoppers, handles, letter openers, coffee scoops, and small bowls.
Here are the things I used to make this wooden spatula project:
Jet Mini Lathe (You’ll need a spur drive and 60 degree live center. Check to make sure if your lathe has MT#1 or 2)
HSS Wood Lathe Chisel Set, 8-Piece
Sand paper and Micro Mesh Sanding Sheets
Drum sander or Belt Sander 1” x 30”
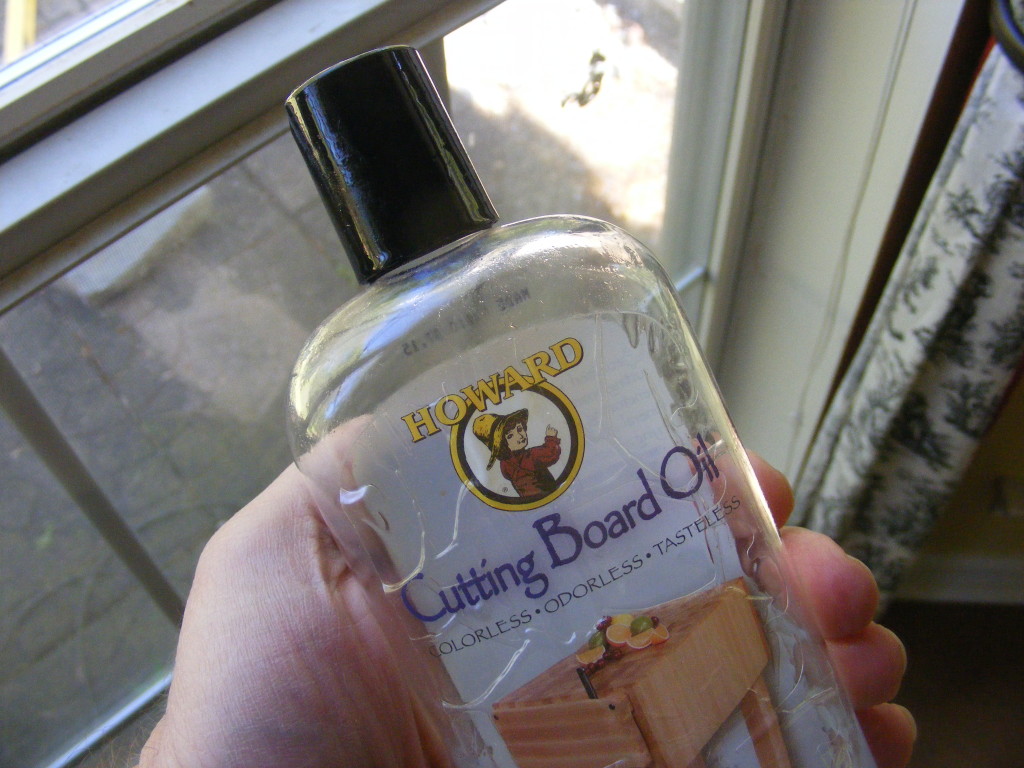
Food-safe mineral oil
Be Safe: Take a minute and read over my safety disclaimer. Wear your face shield and other applicable safety gear. Read the safety instructions that come with you tools. If you’re not absolutely sure about something, by all means ask someone or get some training. Feel free to use the comments fields below if you need clarification on something.
And here are the steps on how to make a wooden spatula:
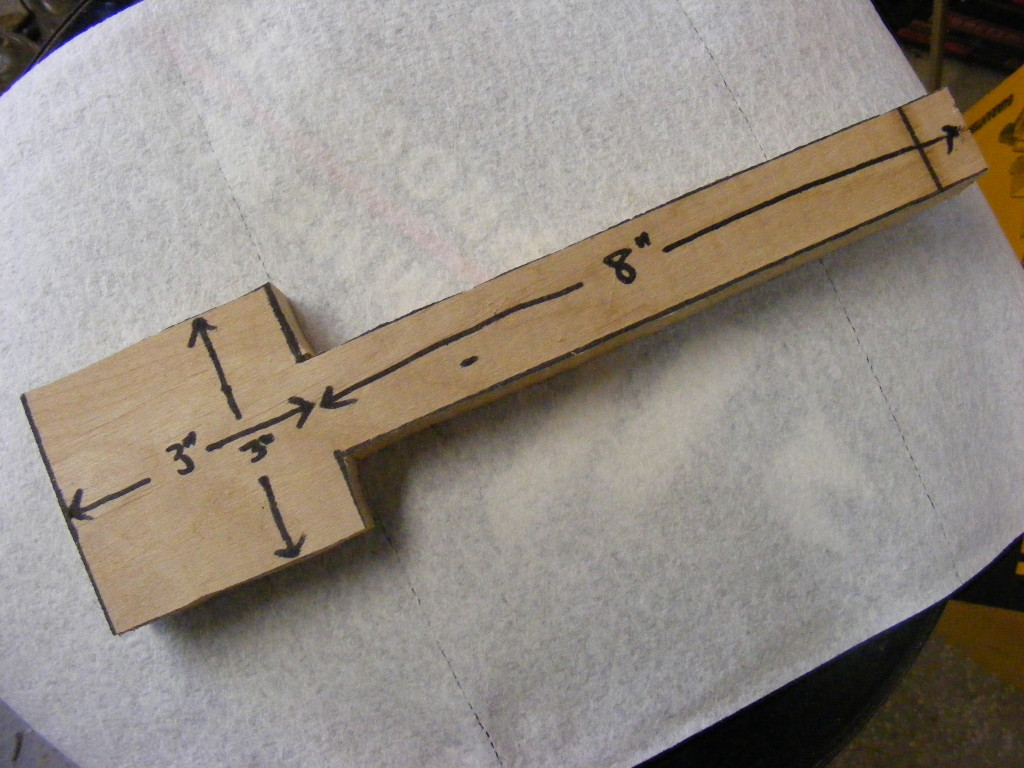
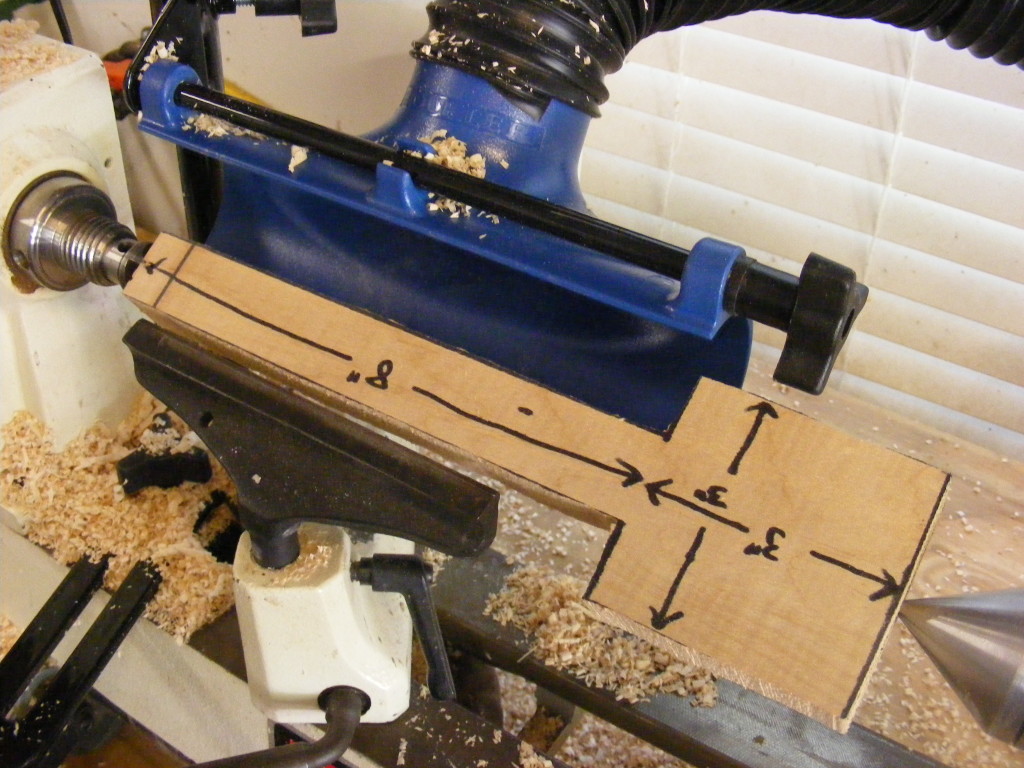
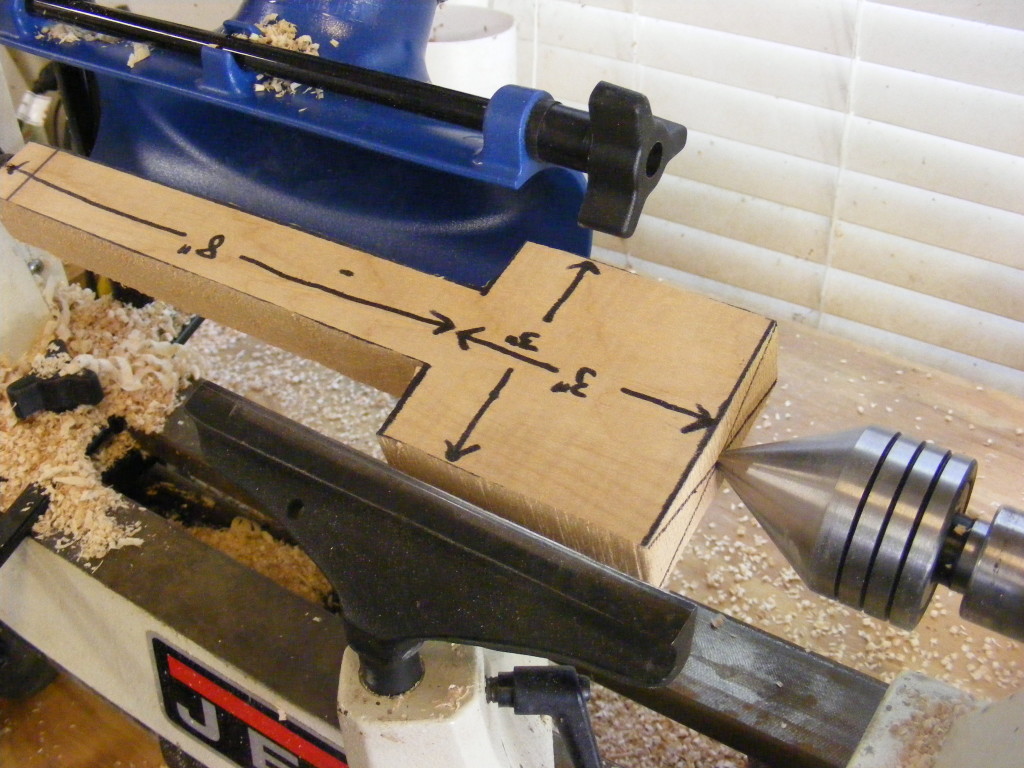
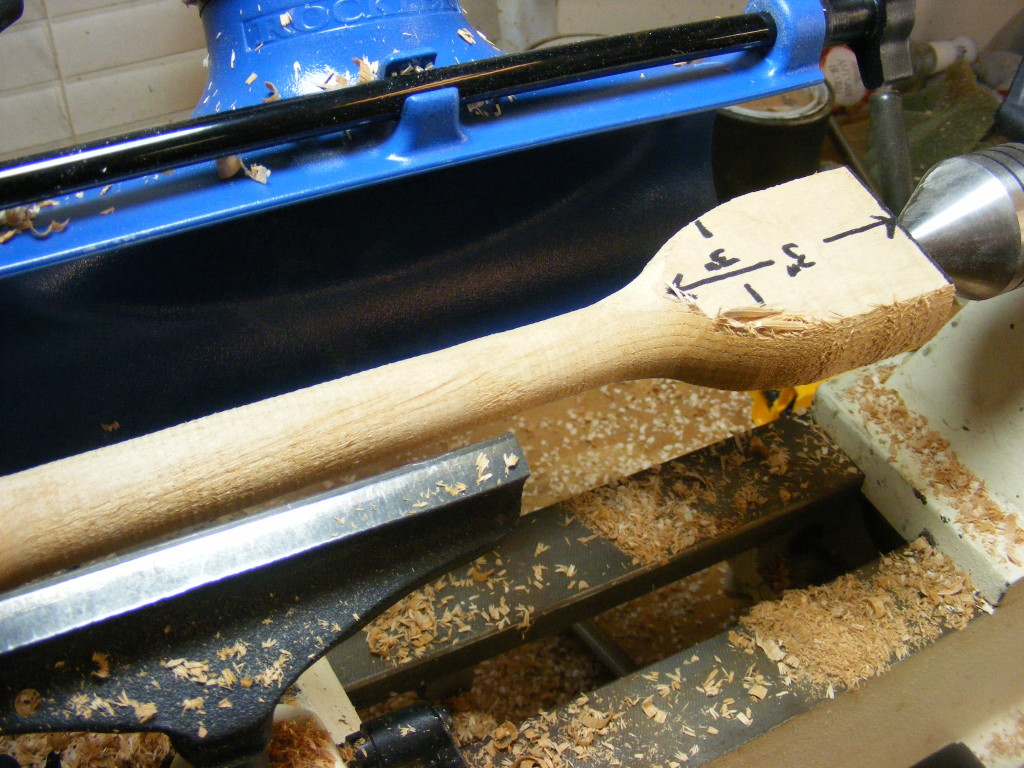
Step 1 — Prepare the blank. As mentioned before, I used Alder which was easy to cut and turn. Because it is more on the soft side, I did experience a little grain tear out. I traced out the dimensions I wanted and you can see them written on the board. The handle section is 1 inch by 1 inch. Keep in mind that the overall length of the spatula will be less than 11 inches since we’ll have waste material on the ends. You can adjust these dimensions if you would like a longer or wider spatula. You should probably start on the smaller side first, like me, so you get the hang of it.
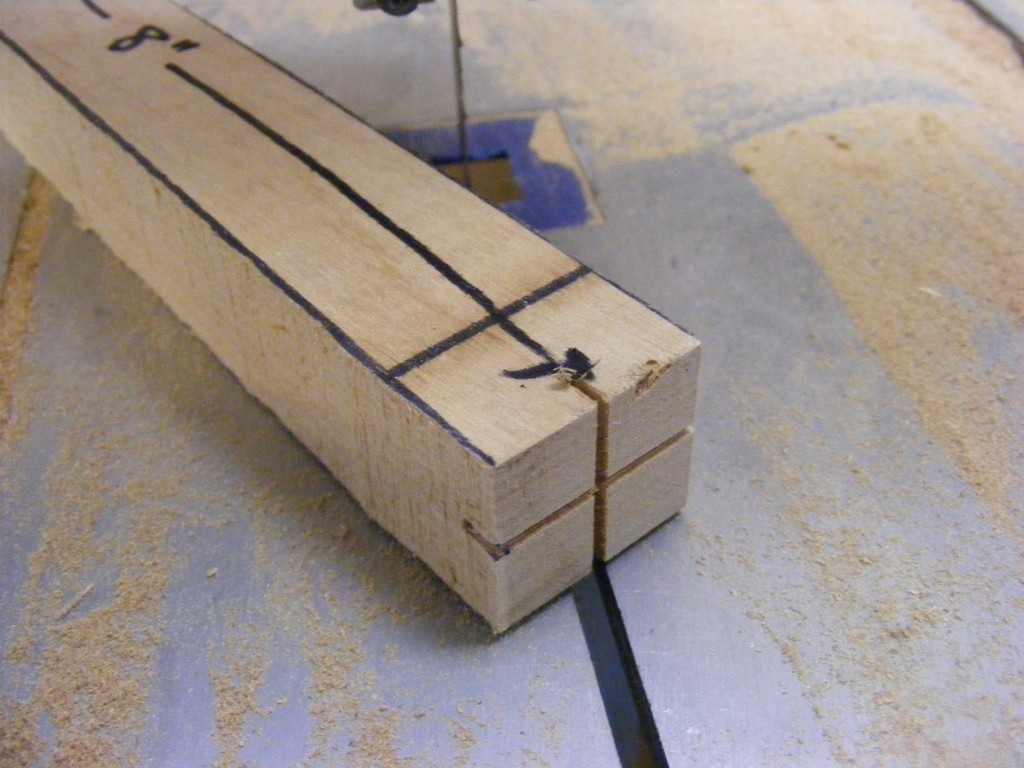
I used the bandsaw to cut out the rough dimensions of the spatula, and I cut a couple of grooves (90 degrees with respect to each other) for my spur drive to rest in. Cutting the grooves gives something my spur drive can grab and it helps prevent splitting the wood.
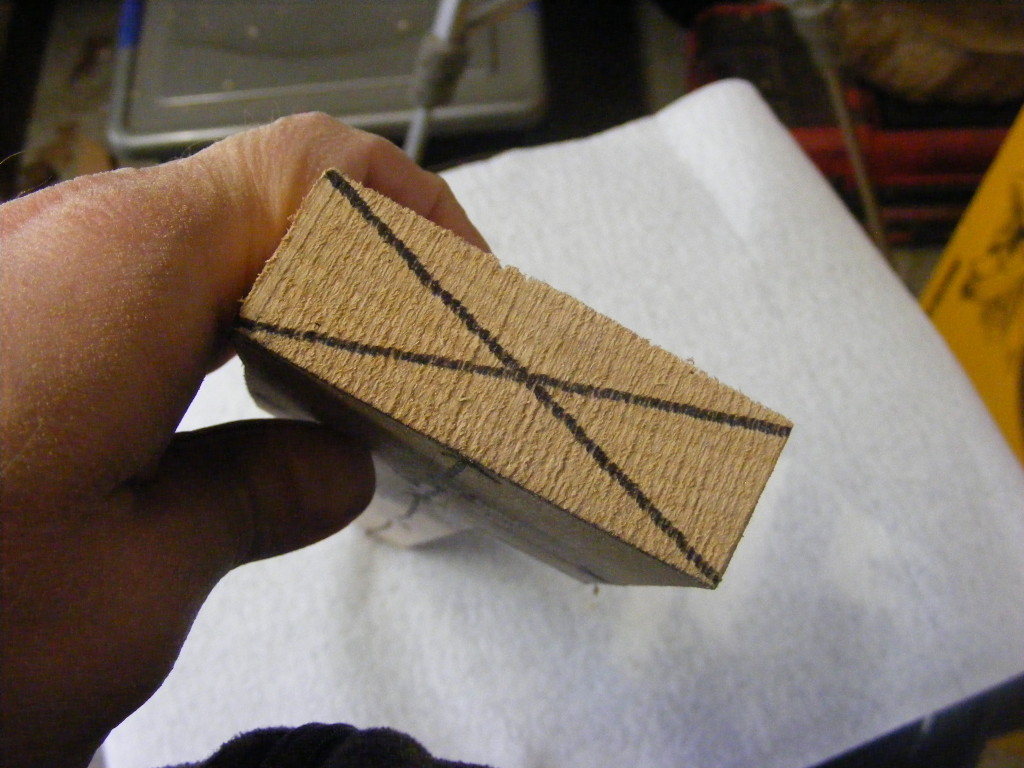
On the opposite end, I drew a line between the diagonals to mark the blank’s center. This is where the tip of the live center will rest and press into the wood.
Place the spur drive in your headstock and fit one end of the blank (the one with the cut grooves) into the spur drive. Then bring up the tail stock with the 60 degree live center and line the tip up with the diagonal we just drew. Tighten the 60 degree live center firmly into the blank (don’t over do it) and lock things down on your lathe.
Put on your face shield and turn the lathe on to make sure everything is balanced. The blank should spin smoothly and symmetrically between the two centers of the lathe.
(Note that I used a spur drive and 60 degree live center that were Morse Taper #2. Some lathes are designed to accept Morse Taper #1 or MT#2. It’s just a way of describing what fits properly with you lathe. Be sure to read the specs or manuals that come with your lathe so you choose the proper fitting accessories.)
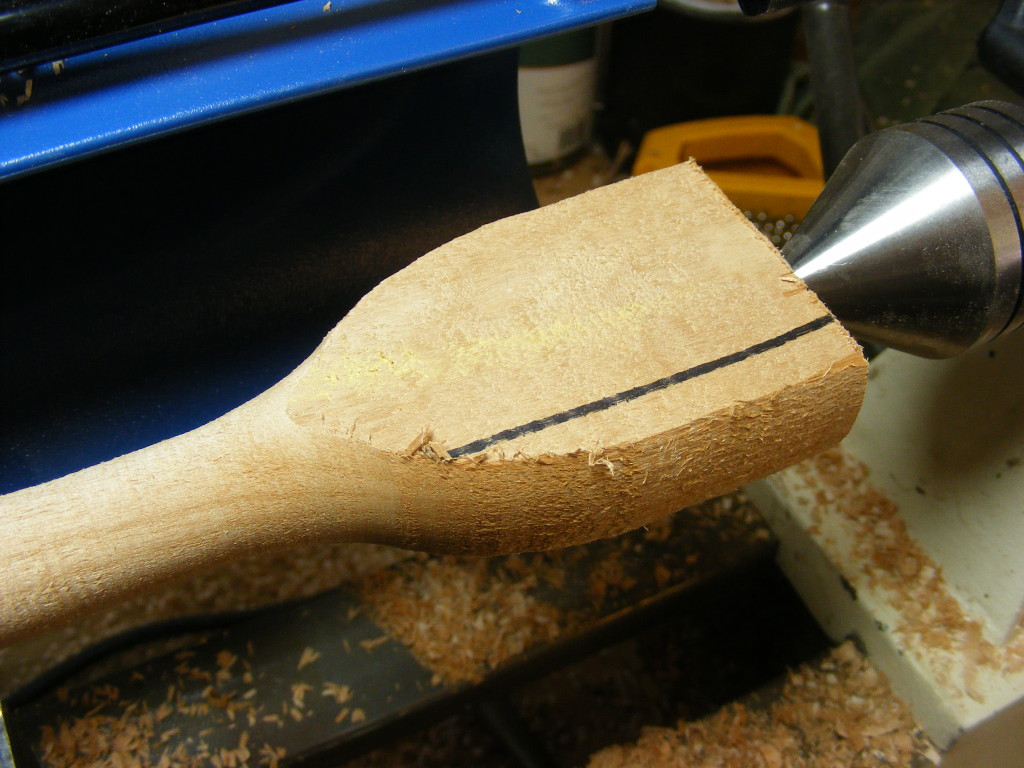
Step 2 — I decided to begin by shaping the spatula end. Go very light for this step. Use a roughing gouge or spindle gouge along the sides of the spatula end. You just want to get a round profile on the spatula’s sides. Don’t take too much wood off. And make sure your gouges are sharp. (Remember — while turning, always wear your face shield and get rid of any jewelry or loose, dangling clothing)
Reposition your tool rest at an angle to turn down the area where the handle transitions into the spatula end. It was very similar to turning a cove if you’re familiar with that. Take your time and go slow. Keep positive control of your gouge and experiment with positions until you get a smooth, clean shearing cut with the gouge.
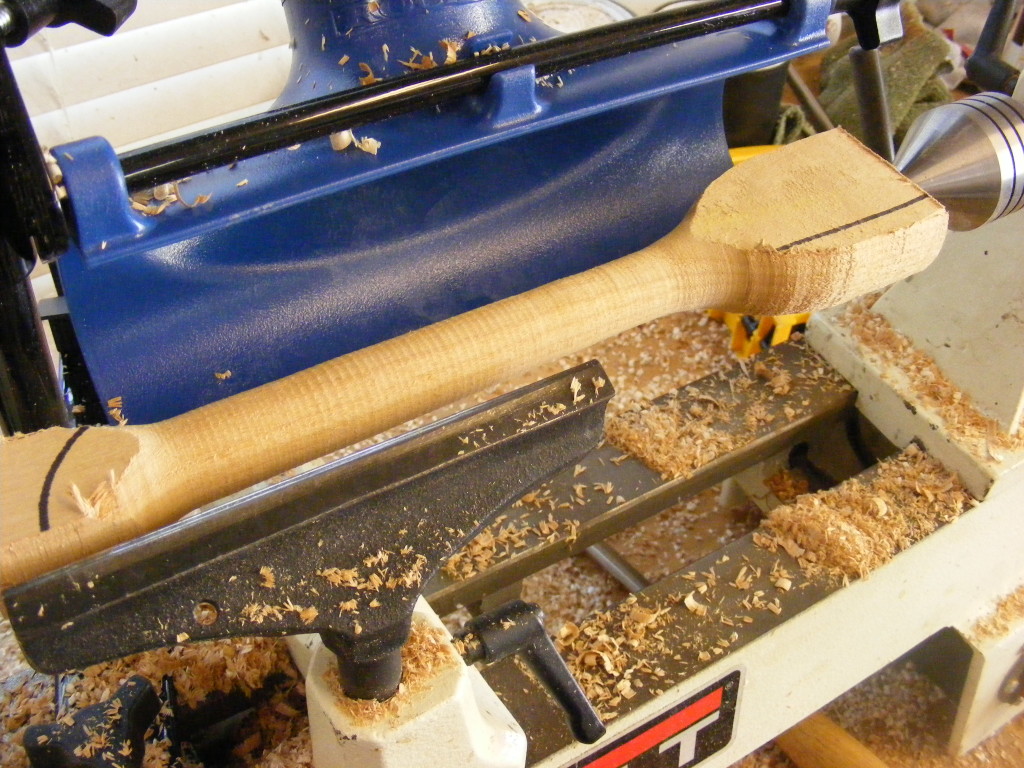
Step 3 — Turn and shape the handle. As you can see, I made the end of the handle a little wider and tapered in toward the spatula end.
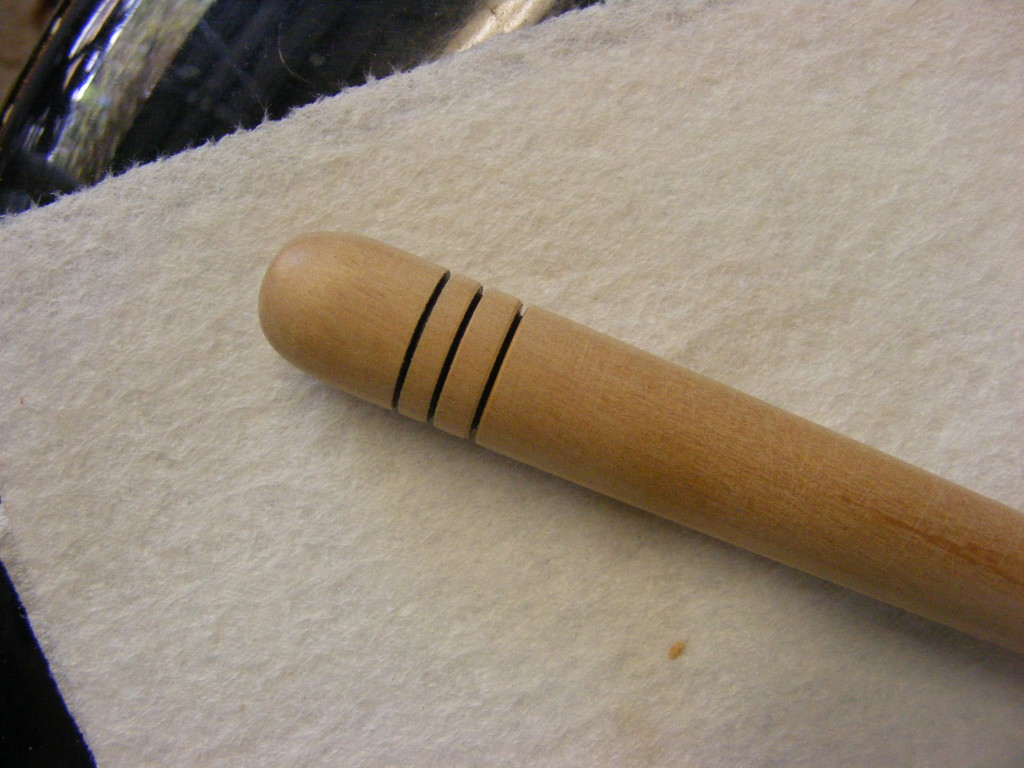
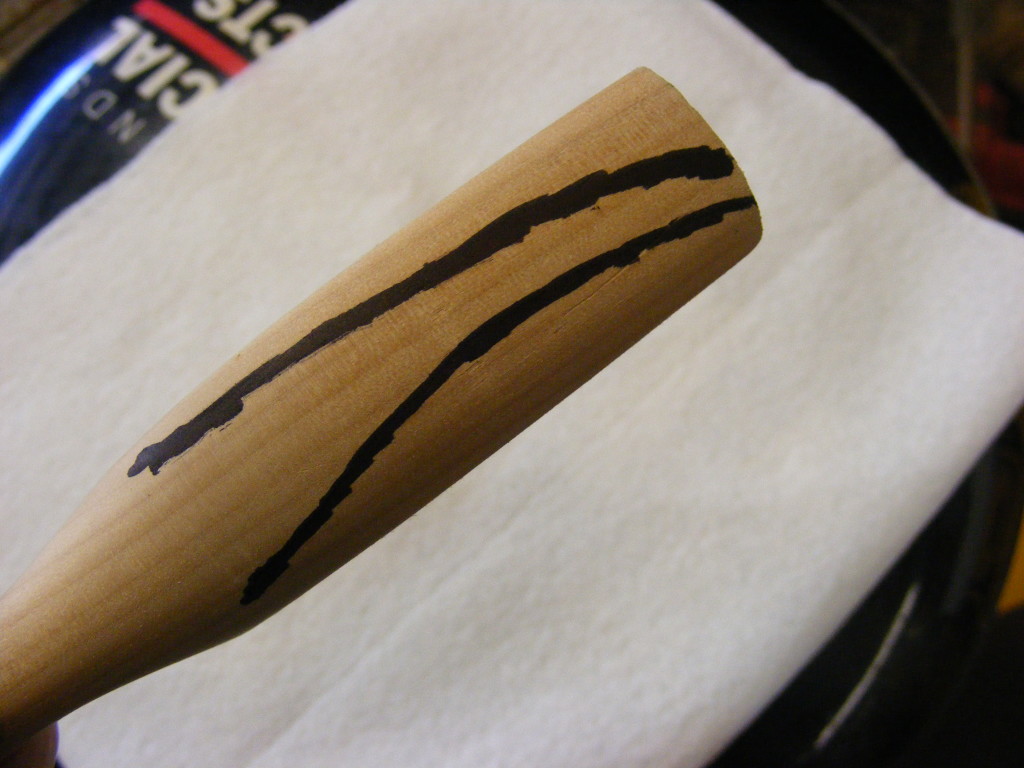
Step 4 — Sand the handle while it’s still on the lathe. I went ahead and added 3 accent lines using wire burners (make sure you read the directions on how to properly use wires for burning lines). Then I used 150 grit to 400 grit sand paper. I also used 1500 to 2400 grit micro mesh. Once I had the handle shaped and sanded like I wanted, I used a small kerfed handsaw to cut the spatula off the lathe (with lathe turned off). All I had was a hacksaw, but if you have a razor saw, that’s perfect.
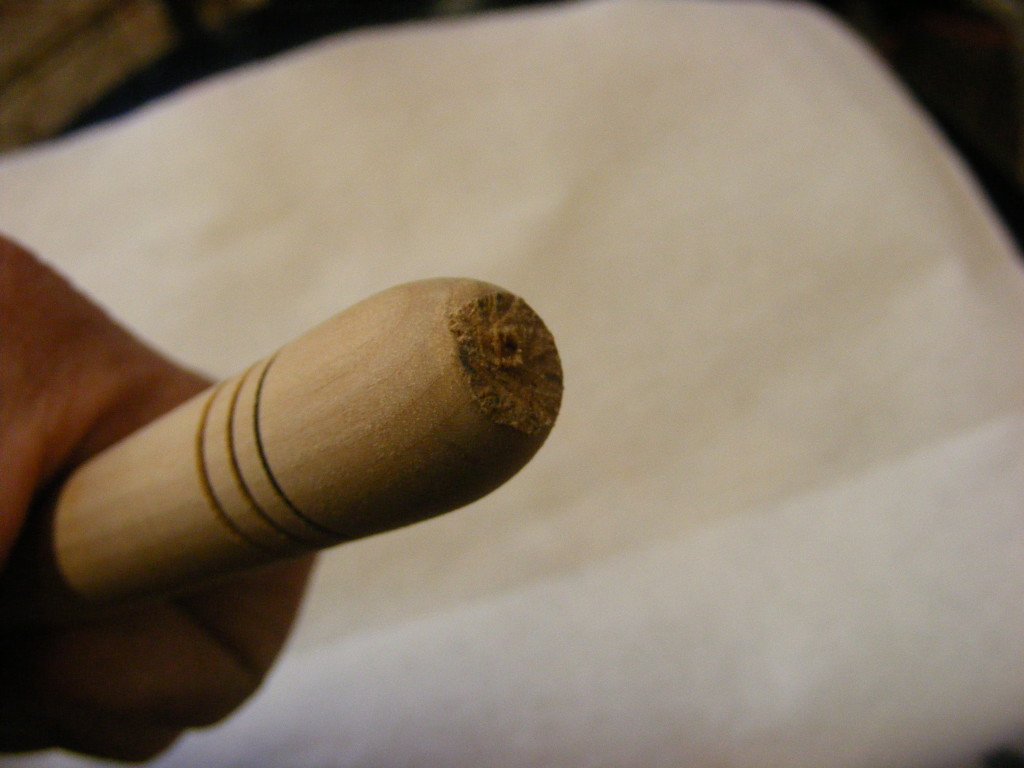
Then I used the same progression of grits of sand paper and micro mesh to sand the very end of the spatula handle.
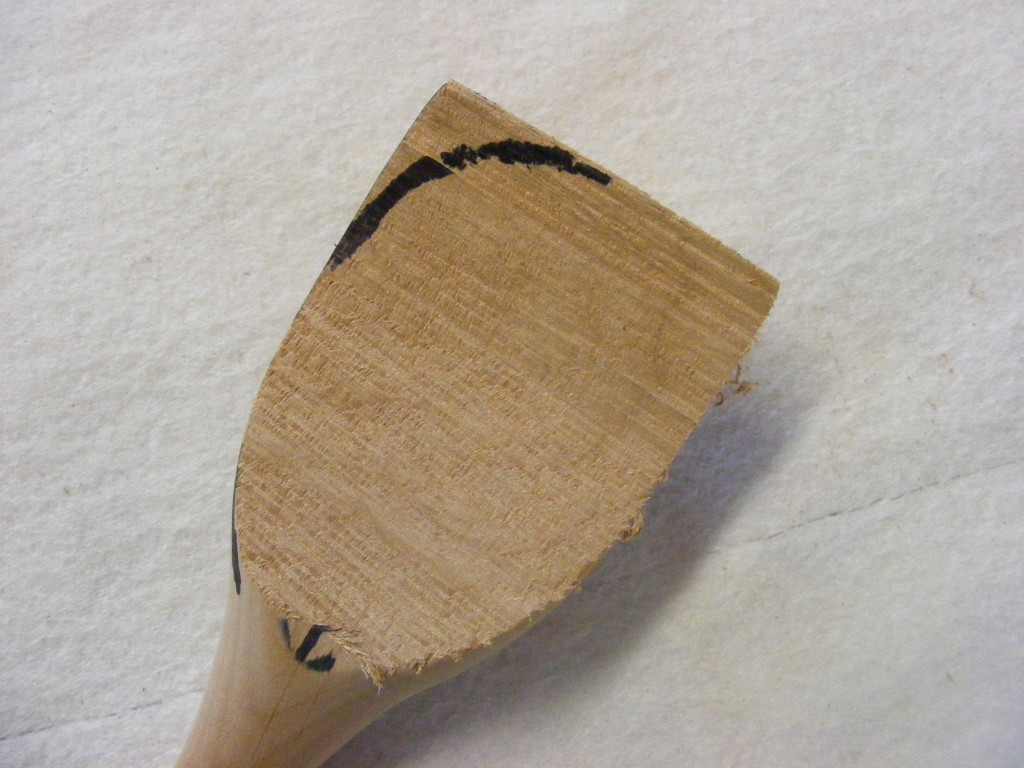
Step 5 — Draw and cut your final spatula profile. Using a Sharpie, I freehanded the final shape to the sides of the spatula. Then I took the spatula to the bandsaw and carefully cut to the outside of the lines. You could use a coping saw if you don’t have a bandsaw. I also cut a round profile around one corner of the spatula end. Note — you could skip this cutting step and just use a belt sander. But watch what you’re doing and take it slow.
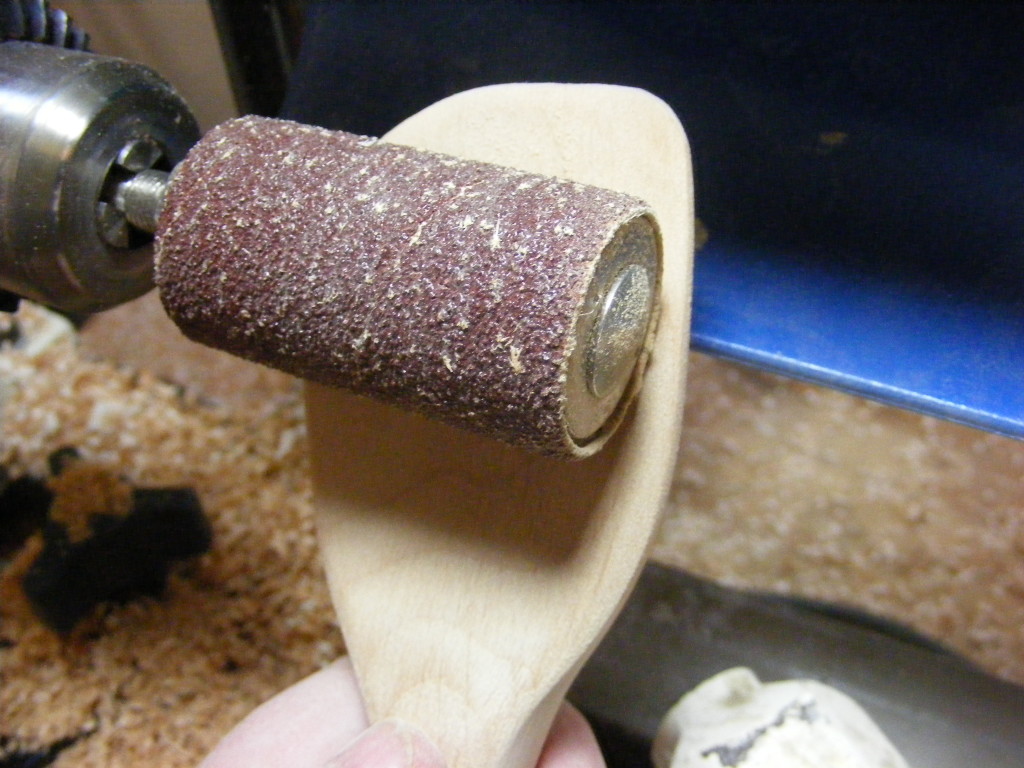
Step 6 – Sand the spatula end. I mounted a sanding drum to my lathe and used it to sand and shape the spatula to its final profile. A belt sander could also be used. Be careful not to sand the spatula too thin.
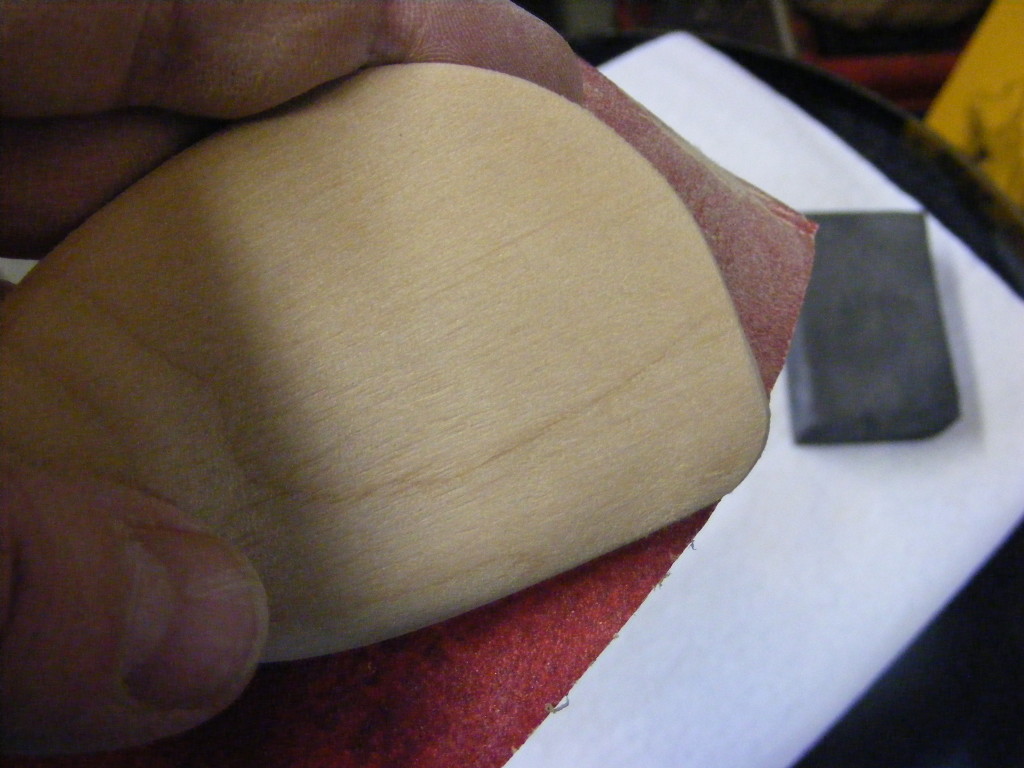
Once I had the spatula to its final shape, I hand sanded the rest. Used 220 grit to 400 grit sand paper and then 1500 to 2400 micro mesh. Alder is a very easy wood to sand.
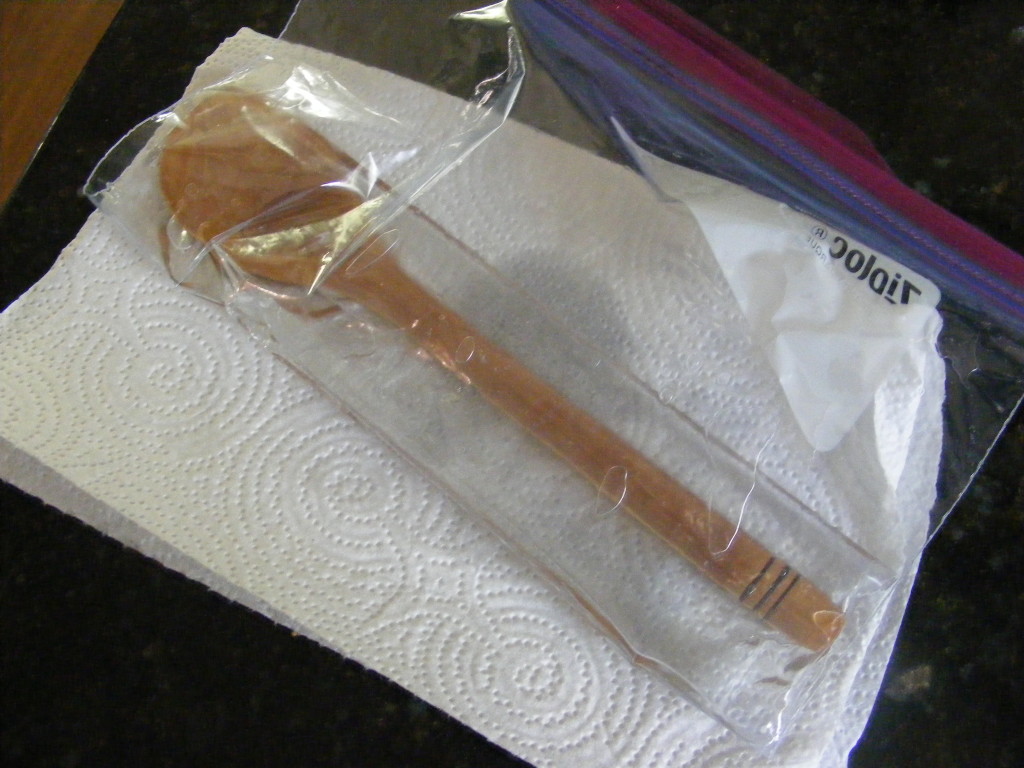
Step 7 — Finished with food-safe mineral oil. I tried something different this time. I poured the mineral oil into a ziploc bag and placed the finished spatula inside. I left it sitting in the ziploc for about an hour so the oil would soak in. I’m glad I checked on it because the oil was leaching out of the bag. Probably should use a different container next time.
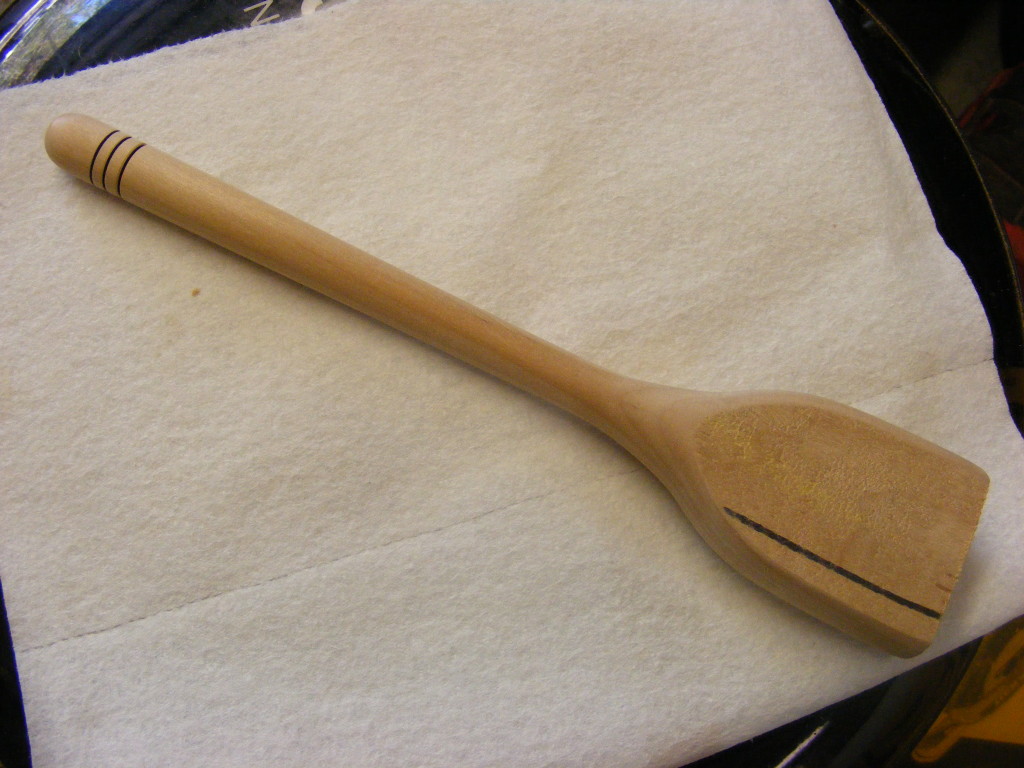
I took the spatula out of the ziploc and and wiped it down with a clean paper towel. Isn’t it beautiful! The color and grain really looks stunning I think. I’m bragging on Mother Nature here — not my beginner skills. LOL.
Now I have a nice new kitchen utensil I can start cooking with. Wow — isn’t it amazing the things you can make with just a few tools and a little know-how? I hope you take a few minutes and check out my blog and other tutorials like this one. I hope you will decide to subscribe and join our community of do-it-yourselfers and woodworkers.
Until I see you next time – Happy woodworking!
