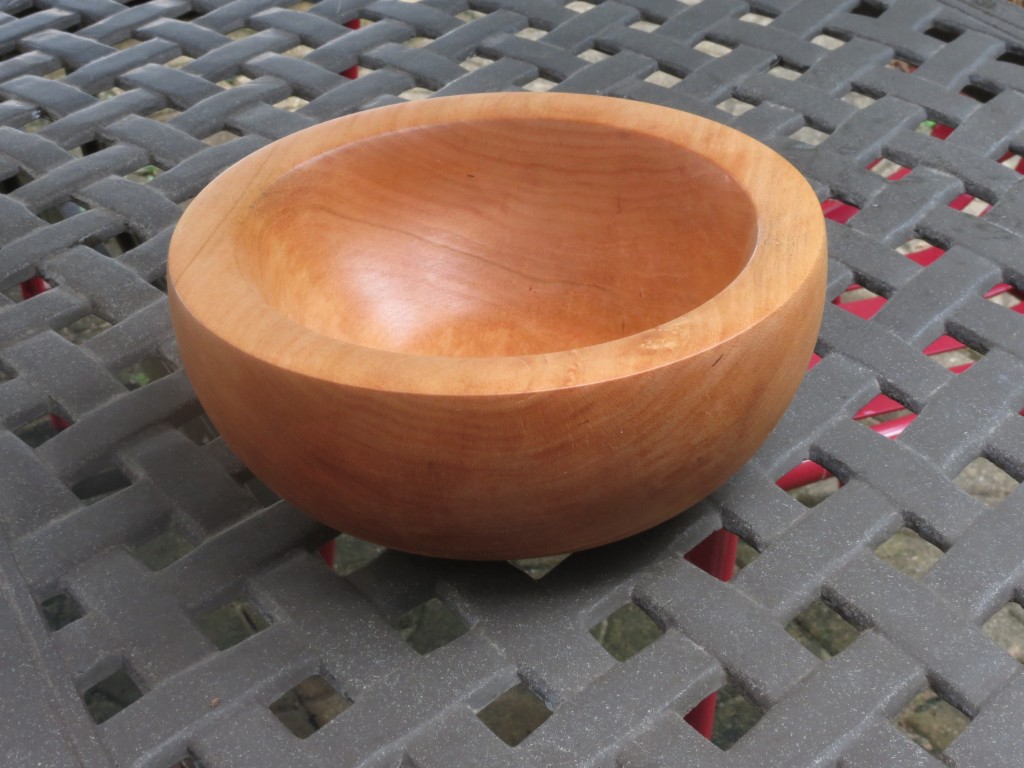
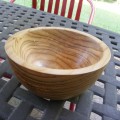
To me there’s nothing more satisfying than taking a raw piece of wood and turning it into a useful craft. In this post, I will step you through how I made the cherry bowl pictured above.
This will not be a full-fledged tutorial because I’m still in the learning stages (this is the second bowl I have made). Let me state up front that bowl turning is more challenging for me than pen turning. And there are a few more safety considerations you need to know. So if you attempt to make a bowl, make sure you’re experienced or have received some basic training. Hopefully this article will wet your appetite for expanding your woodworking skills and discovering other things you can make on your lathe.
I purchased this piece of cherry from Highland Woodworking, which is a local store here in Atlanta. The blank had already been bandsaw-cut into a round shape. The blank was 8 inches in diameter and cost $20.
Let me also add that I’m using a JET mini lathe which limits me to make small diameter bowls. Eight inches is getting close to the limit for my lathe.
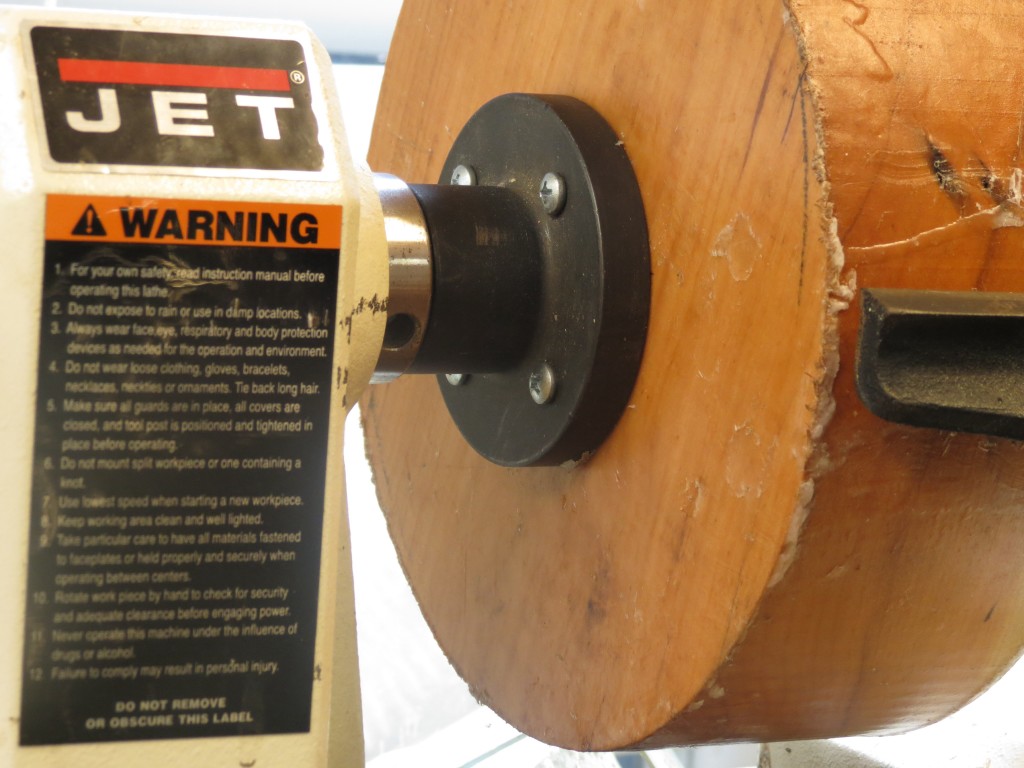
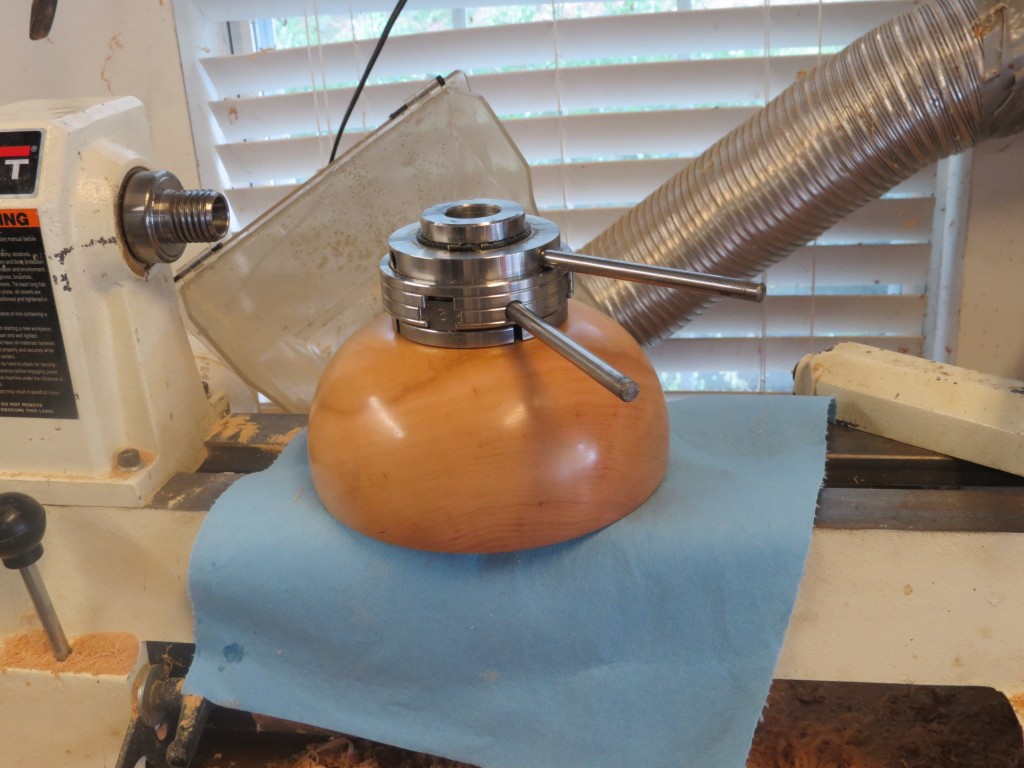
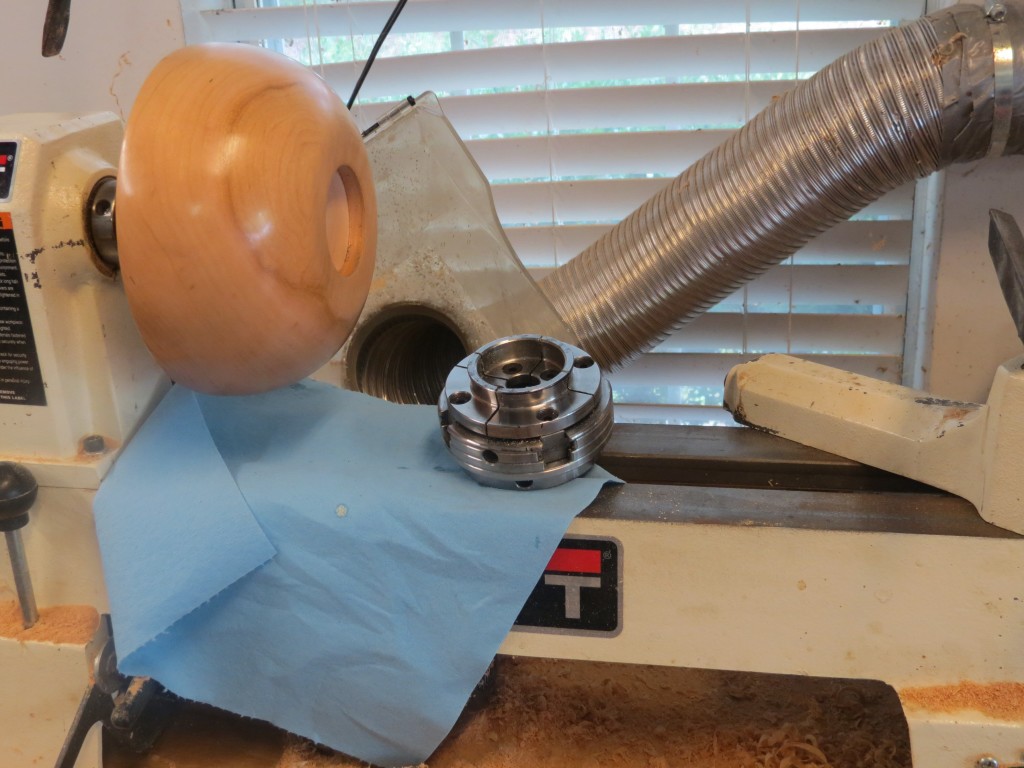
In the first picture below, I’m showing you how I mounted a faceplate to the center of the cherry. You need to use some substantial wood screws. Don’t use sheet rock screws because they lack the strength. With the faceplate mounted to the wood, I then screw it onto the lathe’s headstock.
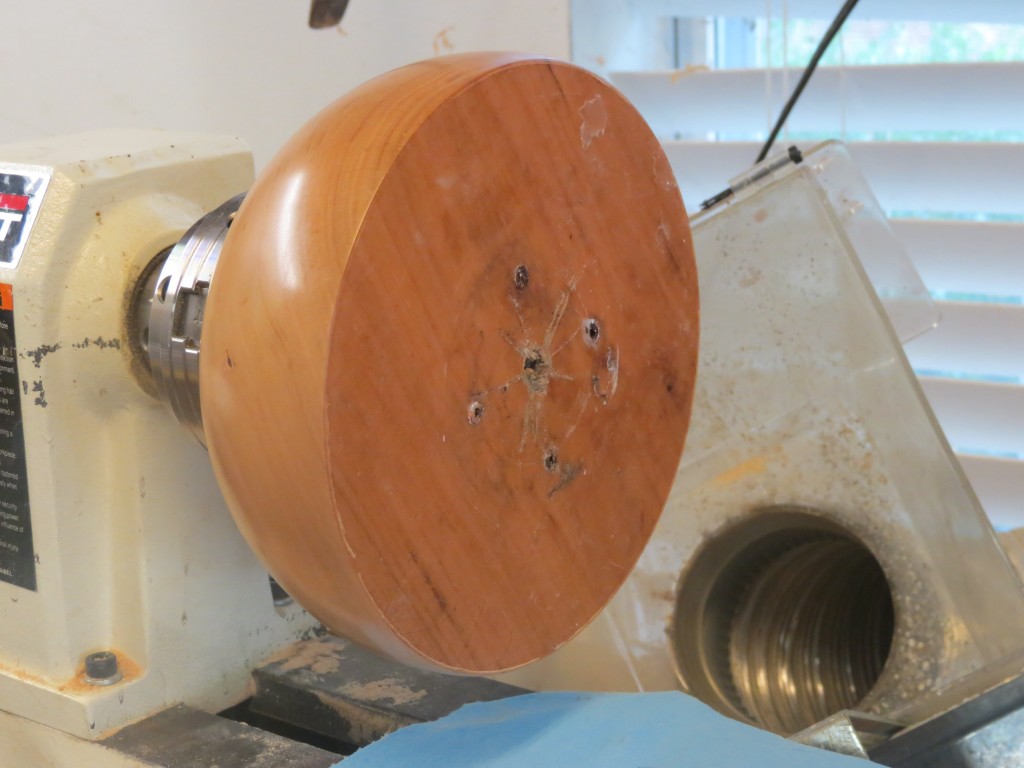
The next picture shows how I’ve brought up the tailstock and locked it snuggly against the bowl blank. So now I have the blank pinned between the faceplate (mounted on the headstock) and the tailstock which makes for a safer turning experience. Though I’m not showing it, I wore a faceshield and ran my dust collector the whole time. I also set my lathe speed according to this formula: Diameter of the turning X rpm should equal between 6000 to 9000. So for example, if you have a 10 inch diameter piece and the lathe spins at 1000 rpm, then you’re at 10,000 which is over the safety limit for that size piece.
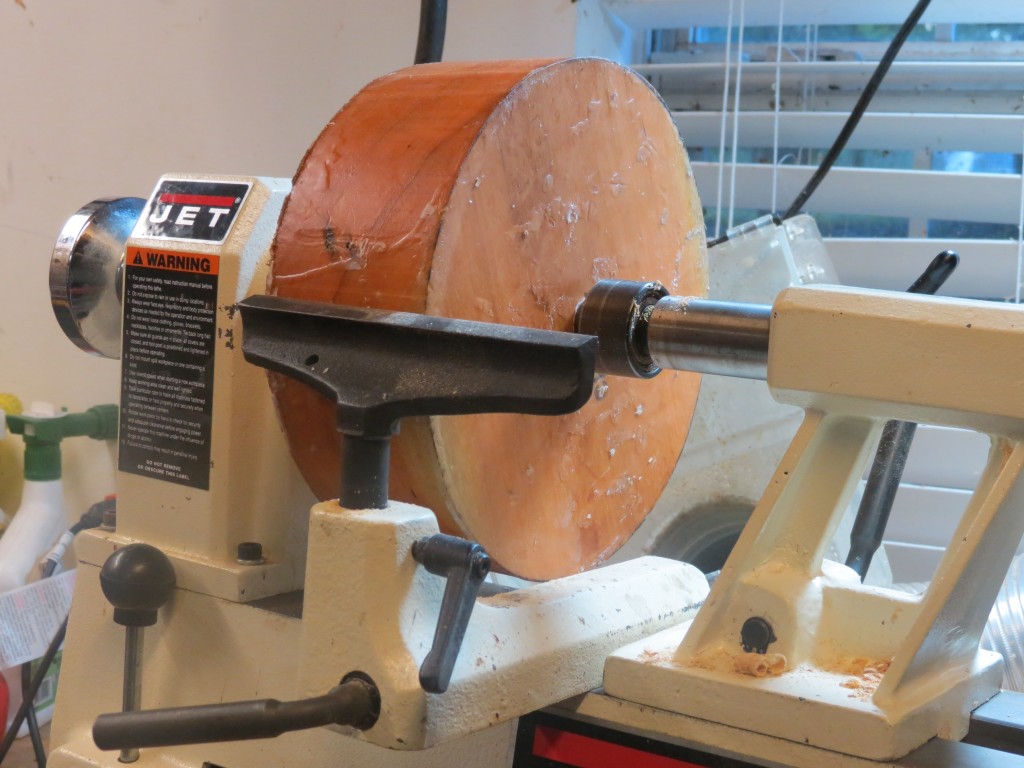
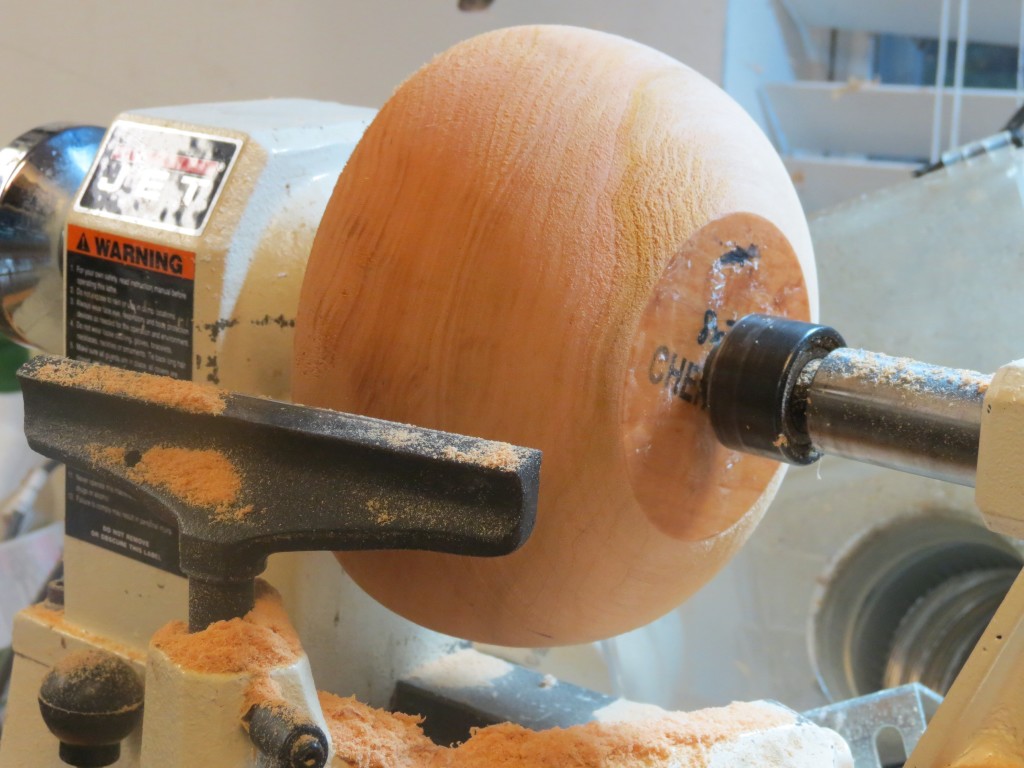
Now I’m starting to shape the outside of the bowl. I used a sharp 3/8 inch bowl gouge to do the shaping.
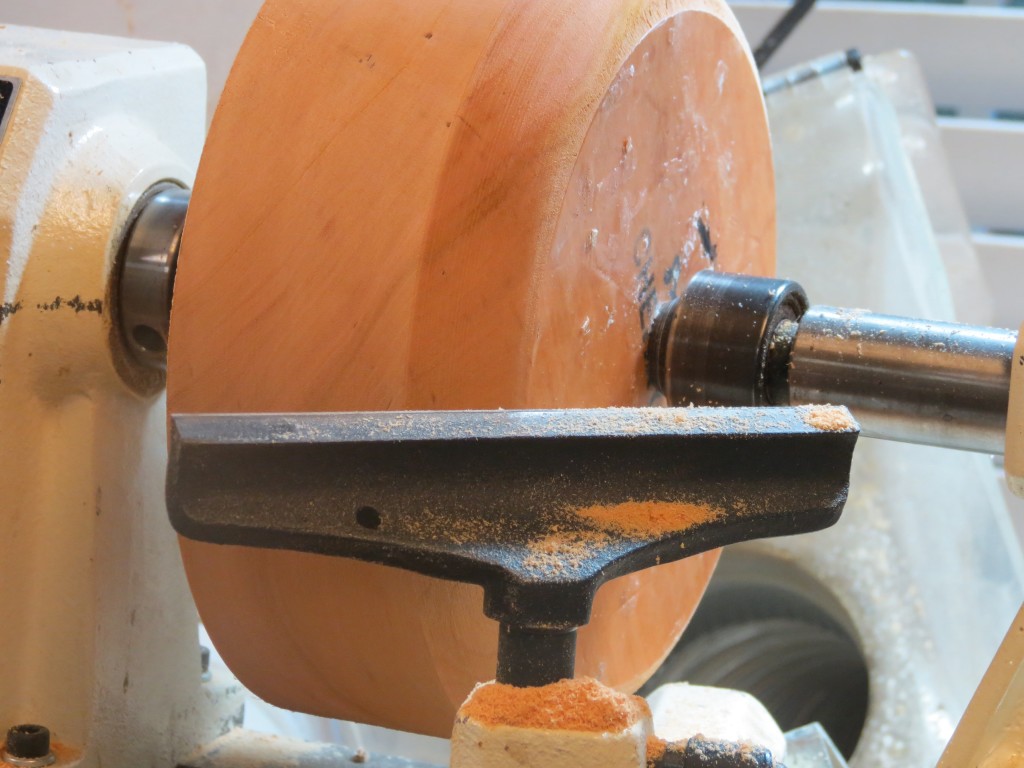
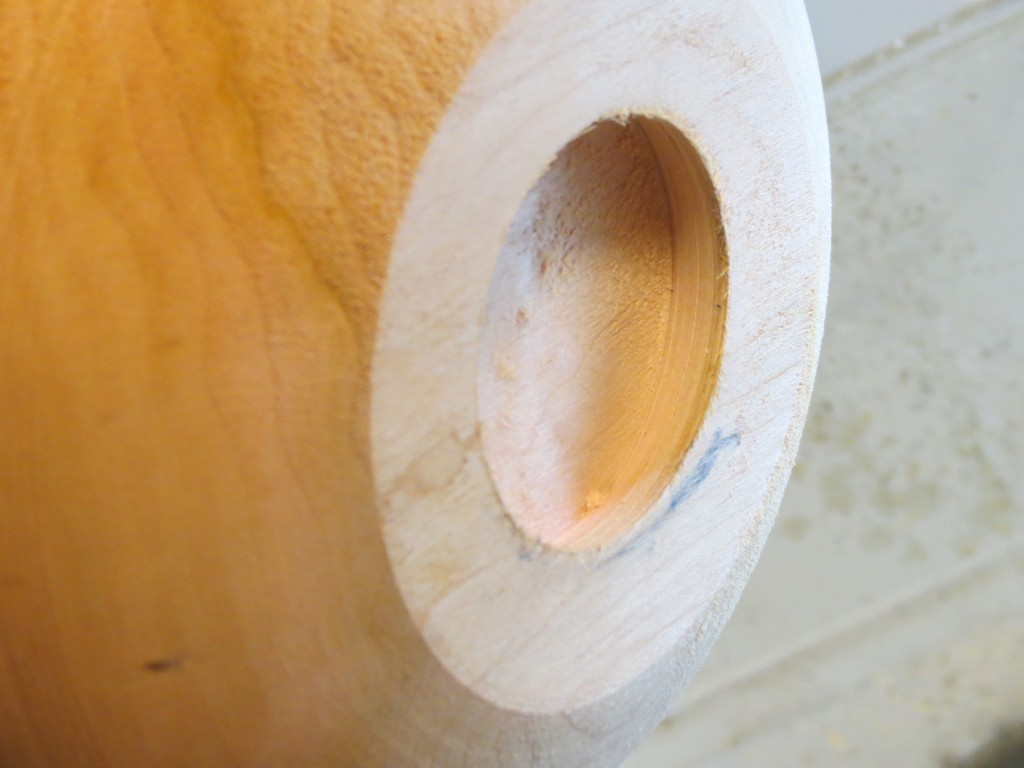
Next step is to cut out a recess for my 4-jaw dovetail chuck. So I marked the diameter of the 4-jaw chuck onto the cherry and used a skew to trim out the recessed area. I also tested the chuck to make sure it fit properly in the recessed area.
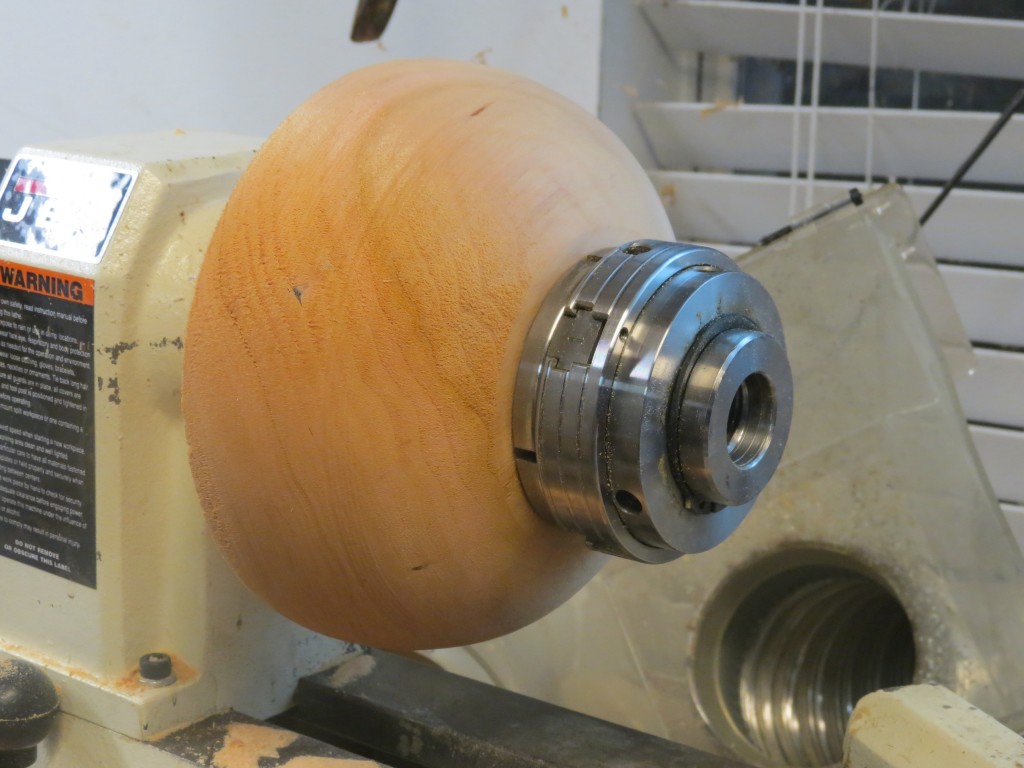
So I removed the faceplate, and now I’m mounting the 4-jaw chuck to the cherry, and screwing the half-way-done bowl back onto the lathe headstock. (Note that I did go ahead and try to finish the outside of the bowl before I moved to this next step. I sanded it and used friction polish, but learned that was a big mistake. More on that later. ) I expanded the dovetail jaws to grip the recessed area. I didn’t use extreme pressure, because I didn’t want to risk cracking the wood. Now, I can begin turning the inside of the bowl.
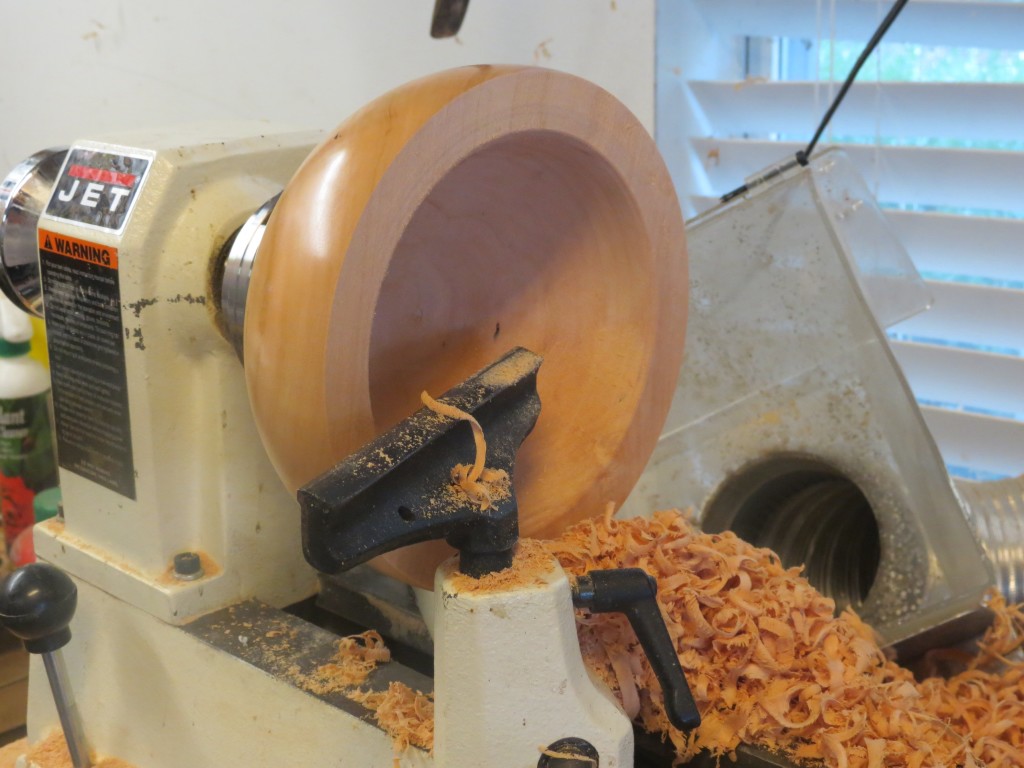
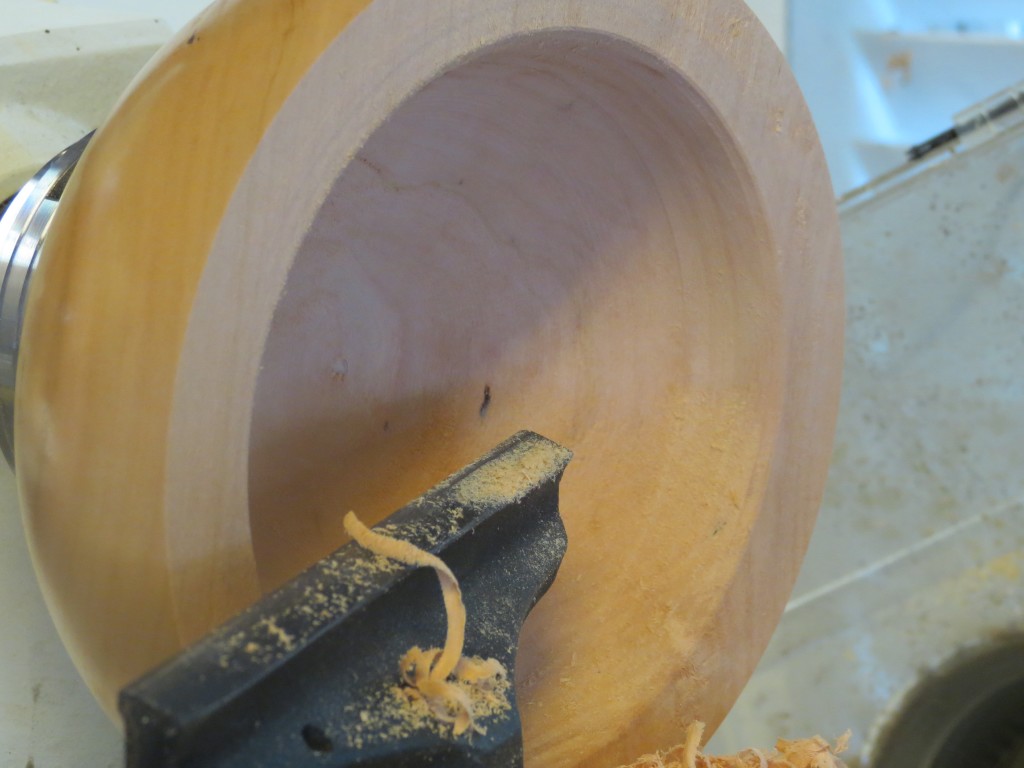
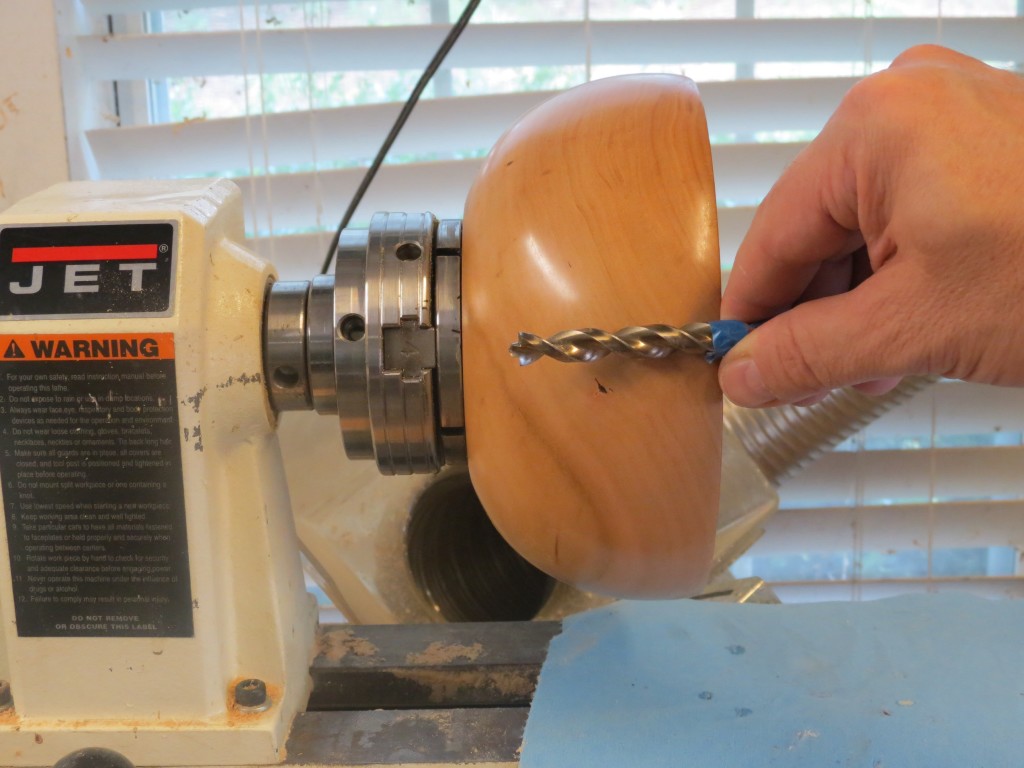
Before I start to turn the inside, I drilled a hole down the middle with a hand drill (if you have a chuck that fits your tailstock you could use that instead). I marked the bit with blue tape so I wouldn’t drill too deep. The hole gives me a way to gauge when I’ve reached the bottom of the bowl. You don’t want to go too deep. I used the bowl gouge to hollow out the inside of the bowl.
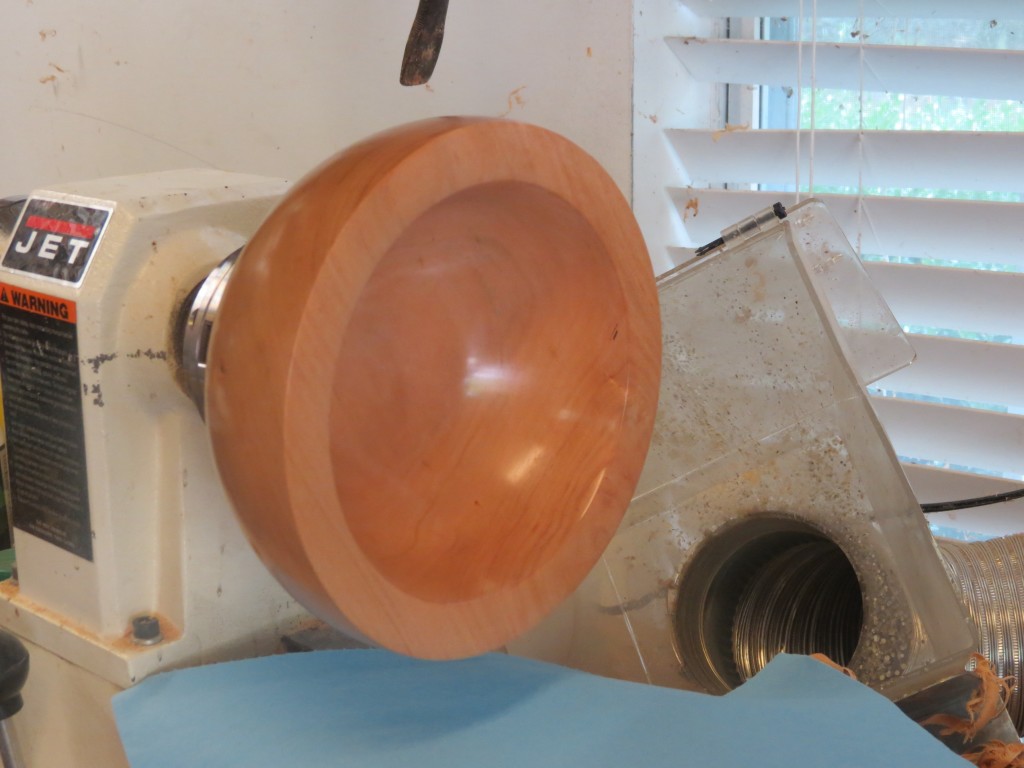
So back to my finishing story. I tried finishing the bowl (inside and outside) while it was mounted to the lathe. This is what makes finishing a bowl normally very easy. I applied a sanding sealer to my bowl and let it dry for about an hour. Then I attempted to apply a HUT friction polish. This didn’t go so well. For whatever reason, the polish wasn’t hardening that well and began to gum up on me. (this stuff works fine on my pens, but must not work that well on bigger projects)
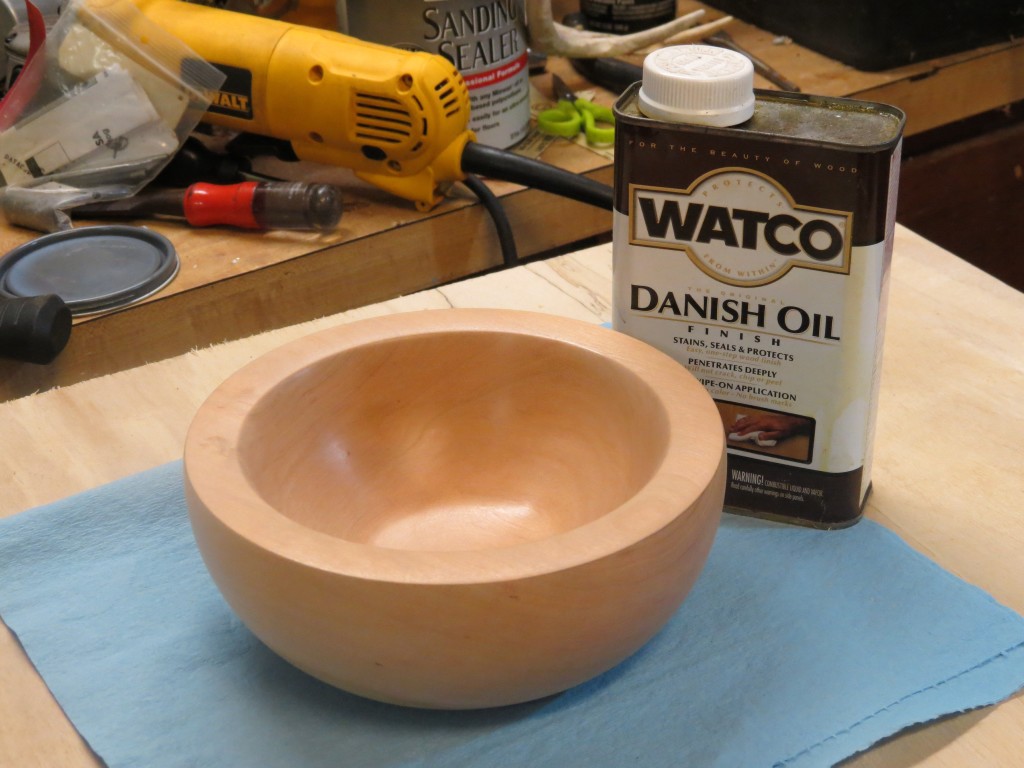
So I decided to go back and sand my failed finish off. I used 120, 220, 320 grit sandpaper and then Micro mesh 1500 up to 12,000. The second time around, I decided to use a Danish Oil. I wiped the oil liberally all over the bowl. I repeated 2 to 3 times, allowing for 30 minutes of absorption time in between. It’s recommended to set the bowl aside and allow it to cure for 3 to 4 days. I was very pleased with the finished product. The Danish Oil really helped to bring out the beautiful color of the cherry.
Well thanks for following along. I hope this gets you excited about doing some bowl turning. For those who are experienced with bowl turning, please leave us your wisdom in the comments field. It’s amazing what we can learn from each other.
Please consider subscribing to my blog. Subscribing is free, and each month I’ll send you informative articles, tutorials, and the projects I’m working on. Anytime I do a giveaway, you will also be informed. I also pledge to you that I will not share your email with others.

