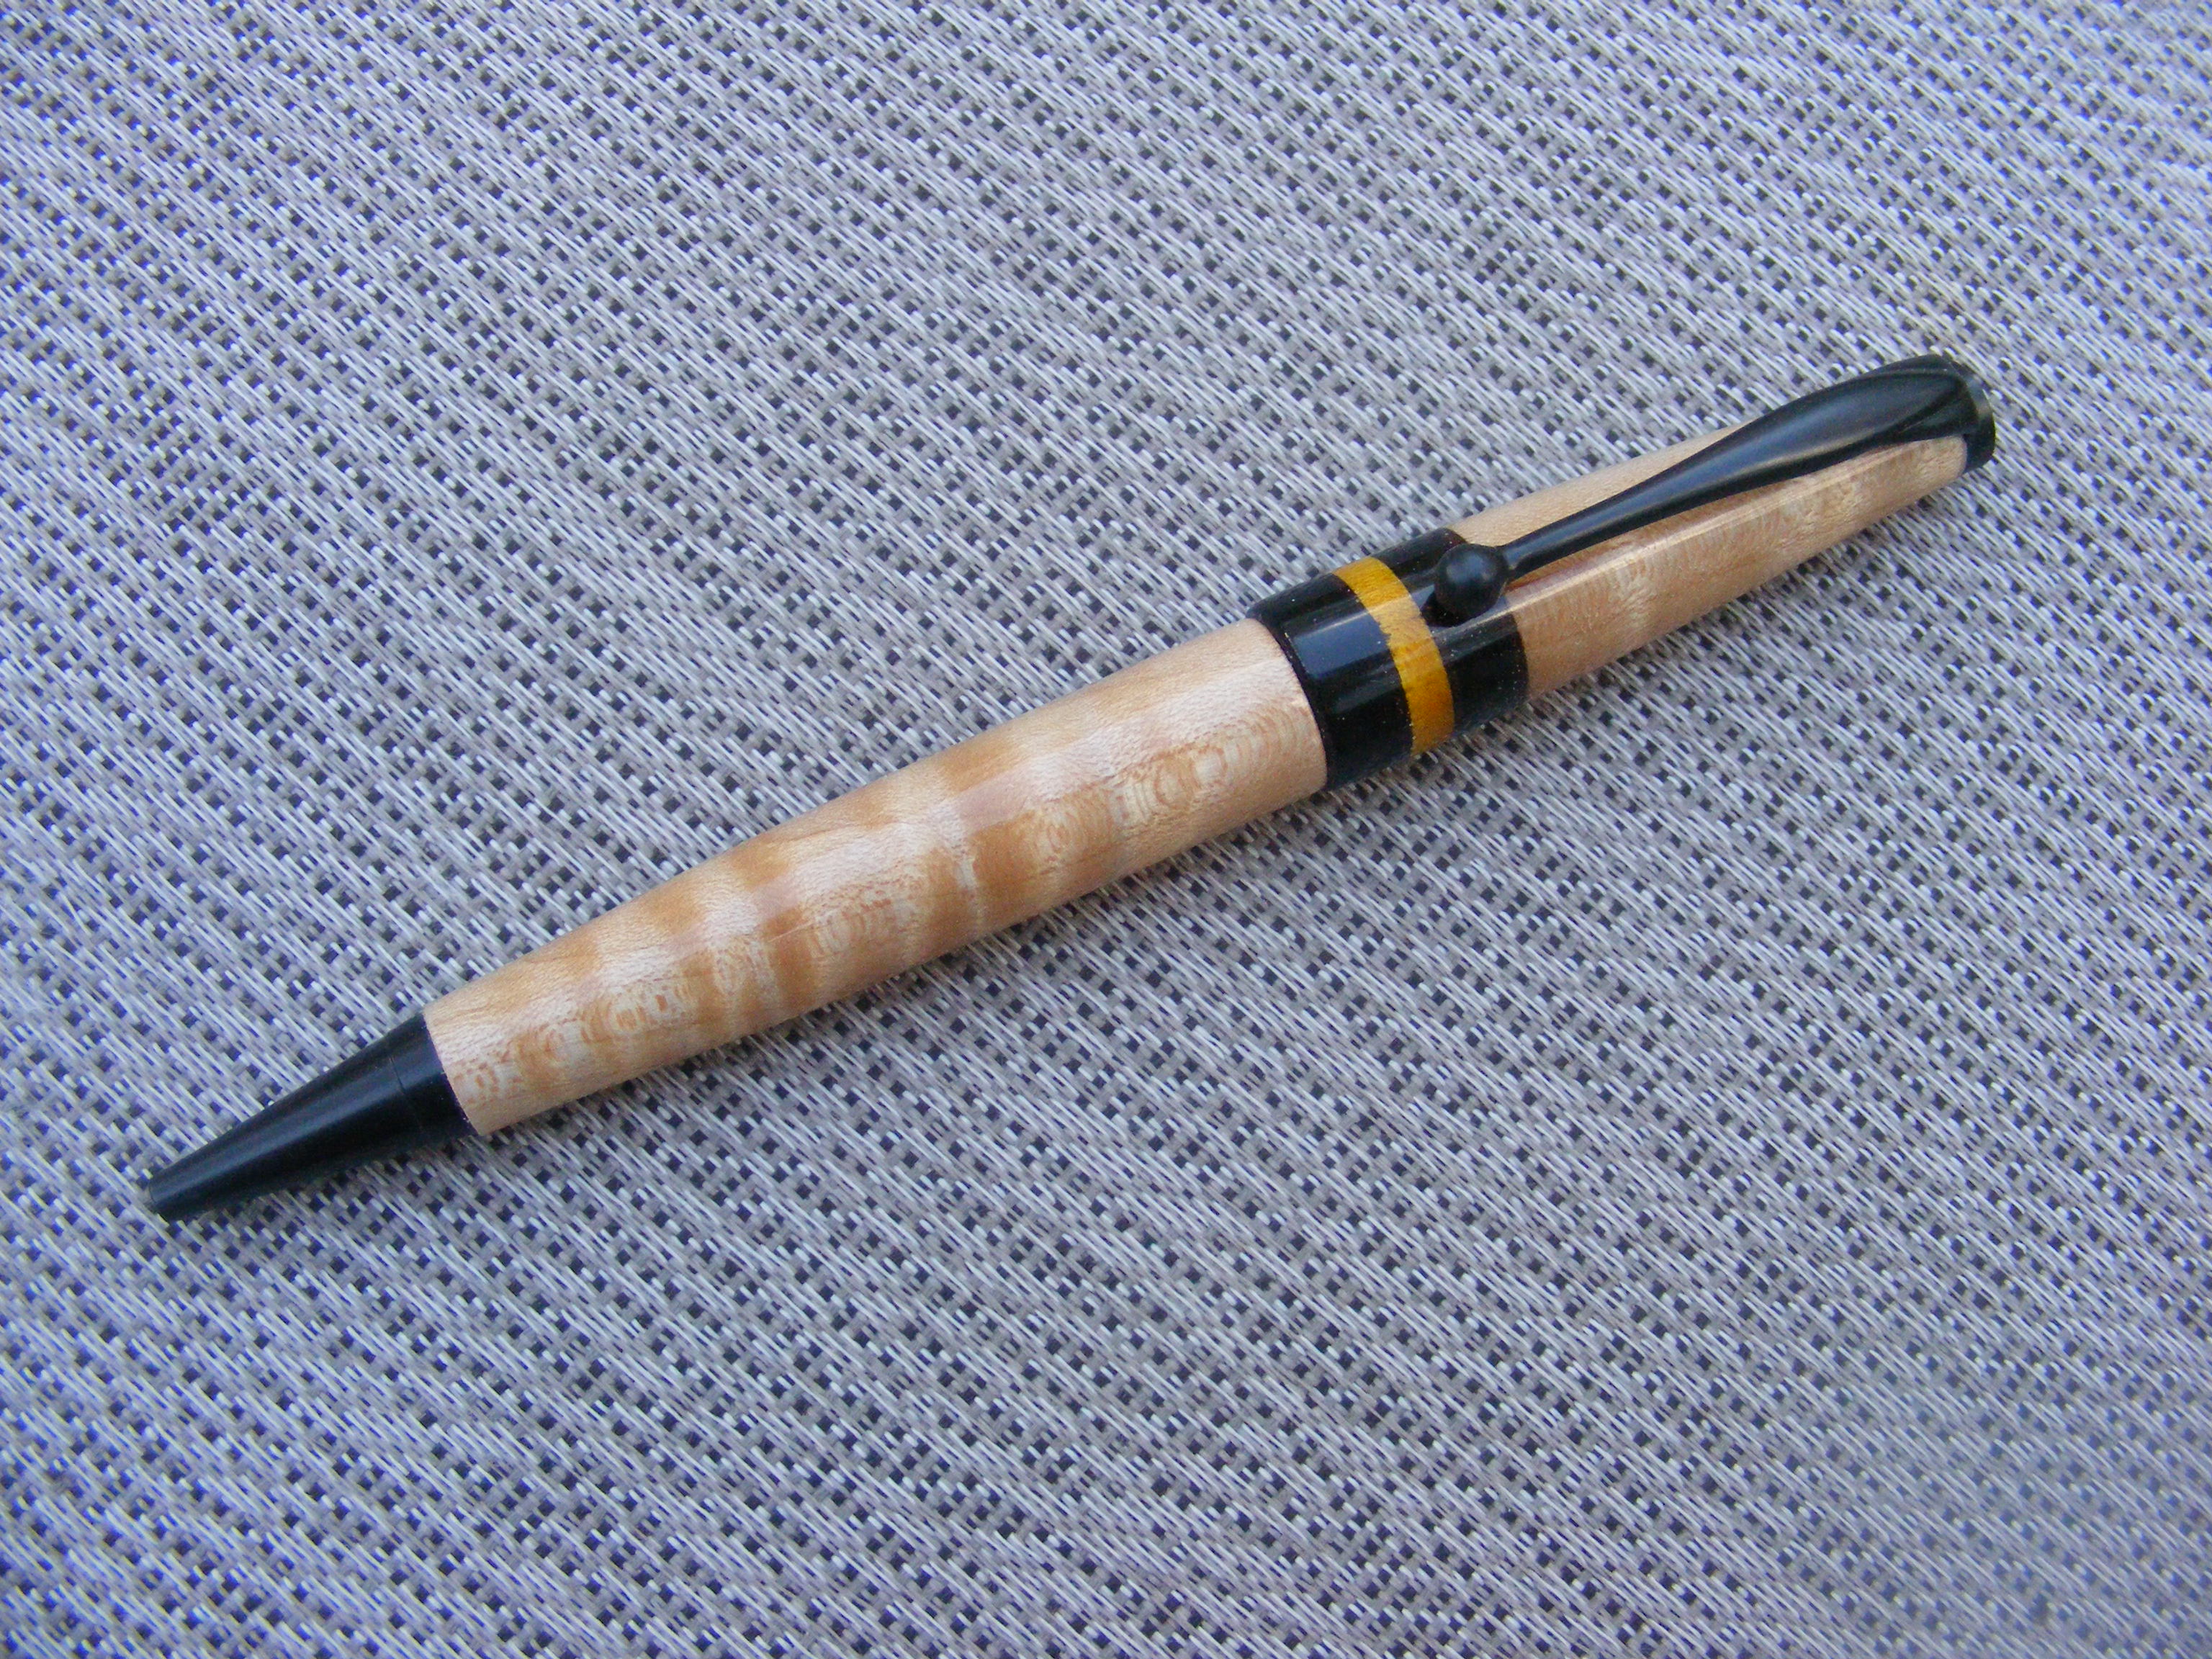
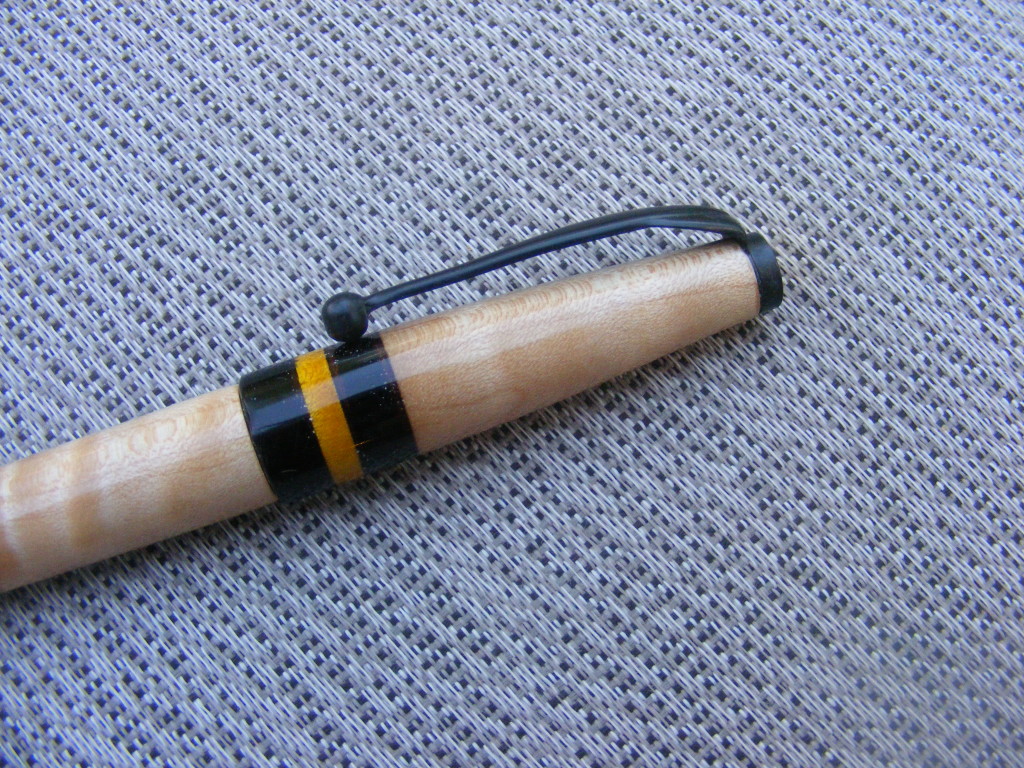
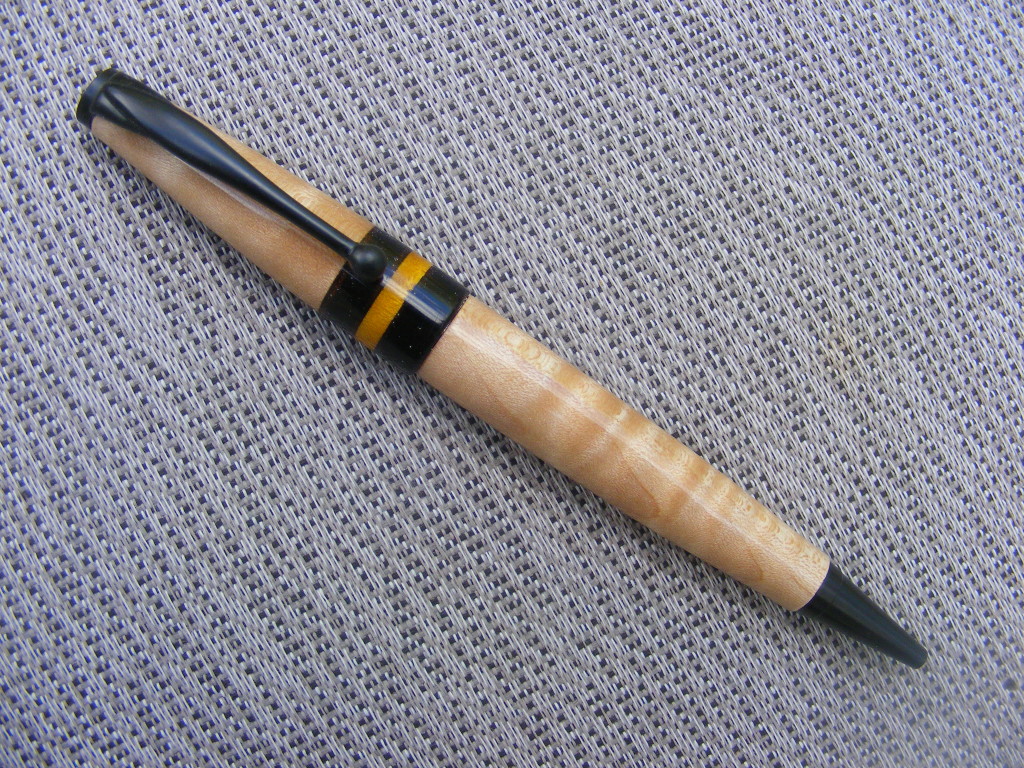
This week I decided to make a handmade wooden pen for my dad. He is a beekeeper and he’s heavily involved with the Chattahoochee Valley Beekeepers Association. I volunteered to make some door prizes, so I made him this modified slimline pen. This explains why I went with the lighter colored curly maple wood, and I incorporated the black and yellow colors. BTW – I used a black enamel slimline pen kit made by PSI. You can also get a pack of 10 black chrome pen kits from Legacy Woodturning through Amazon.
If you want to know how to make a wooden pen from start to finish, I welcome you to check out my post How to Make a Slimline Pen. However, in this current post, I’m going to show you how you can create a modified slimline pen. I love the versatility of the slimline pen kit because you can make a couple of simple tweaks and it looks like a totally different style pen.
To modify the slimline, you can simply make the pen section that mates with the pen tip, slightly longer and completely eliminate the center band. Eliminating the center band allows you to make the pen thicker, and you can add your own accents or decoration around the middle of the pen.
The pictures below will show you some highlights of me making this pen.
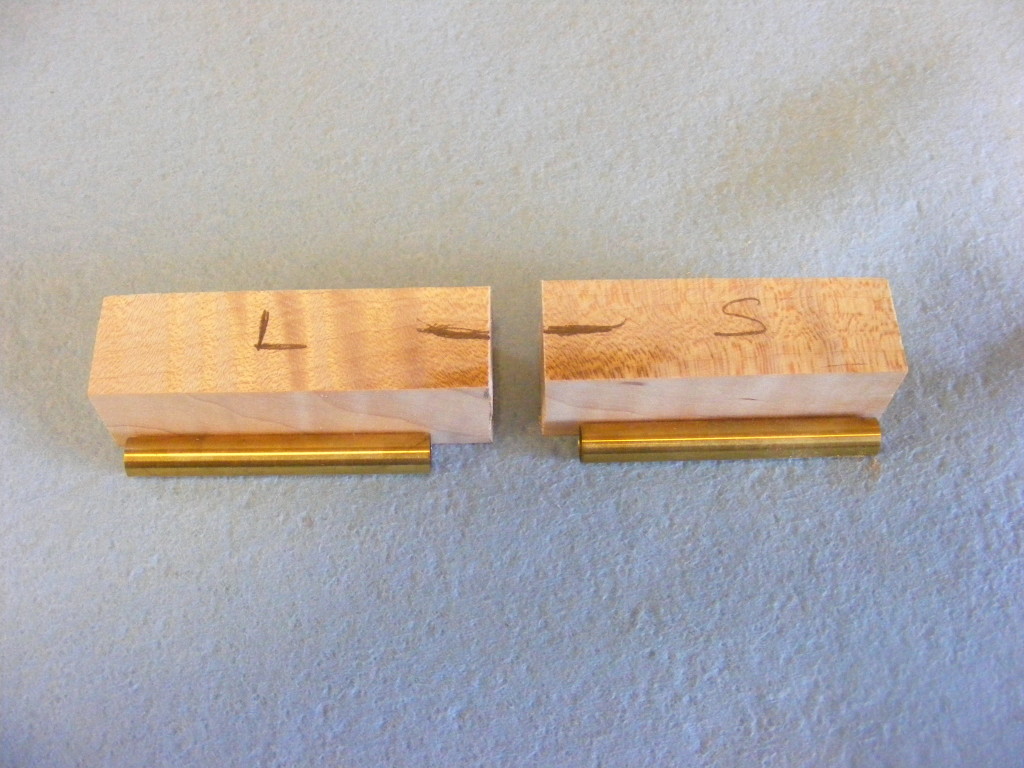
As you can see in the above picture, I am going to make one of the blanks longer (the one labeled “L”) so that the pen tube will be recessed 1/4 inch into the blank. Why am I going to make it longer? Because I’m eliminating the metal center band. So think of the additional wood as replacing where the metal center band would normally go. In this modified end is where I will later press my pen-twist mechanism.
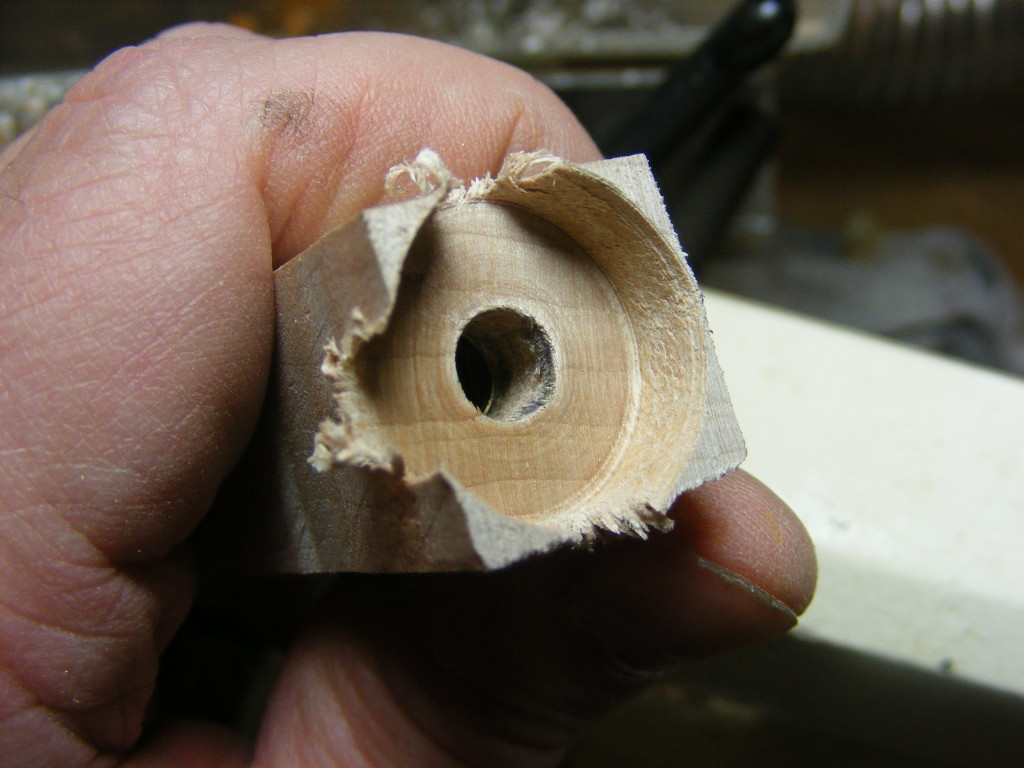
I took my barrel trimmer and trued up the wood on both the pen blanks. On this one end ONLY, I didn’t go all the way down to the brass tube (see above picture). I left 1/4 inch of wood extending beyond the brass tube. This is the end opposite from the barrel tip. It’s the end where the twist mechanism will be installed. On all the other barrel ends, I barrel trimmed down to the brass tube as normal.
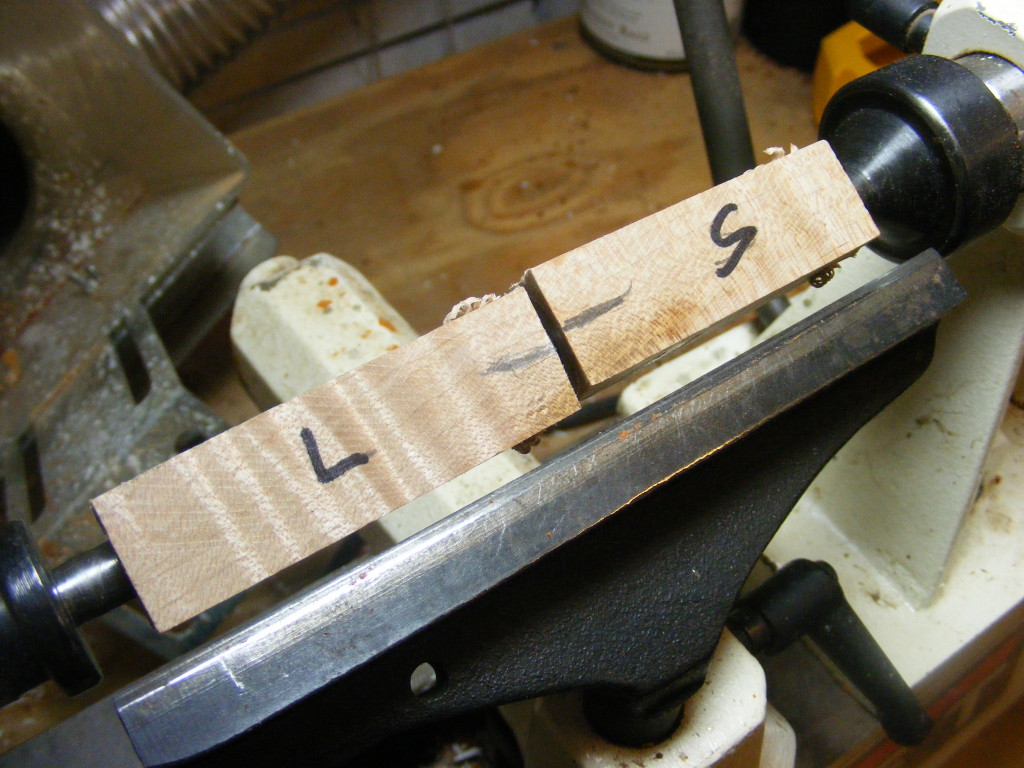
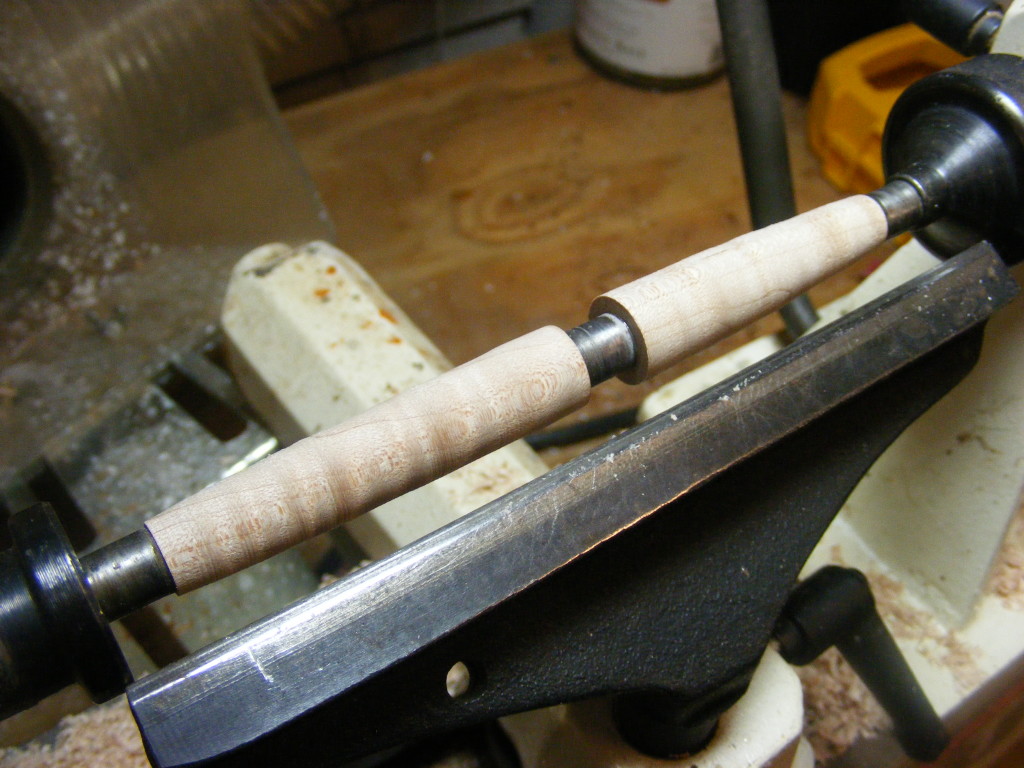
Above two pics – I mounted blanks to my mandrel saver like I normally do. I used the slimline metal bushings like I normally do. But here’s the big thing to remember with this modified slimline — even though I have a slimline bushing in the middle separating the blanks, I’m NOT going to turn and sand the wood down to that middle bushing’s dimension. For this center section of the pen, I can make the dimensions anything I want. But I like to make the longer barrel a slightly smaller diameter than the upper, shorter barrel. This gives the pen some more contrast.
However, for the other two ends — the pen tip and pen cap — I DO turn and sand the wood down to the bushing’s dimension. For these two ends, I’m not really doing anything different than if I was making the regular slimline pen.
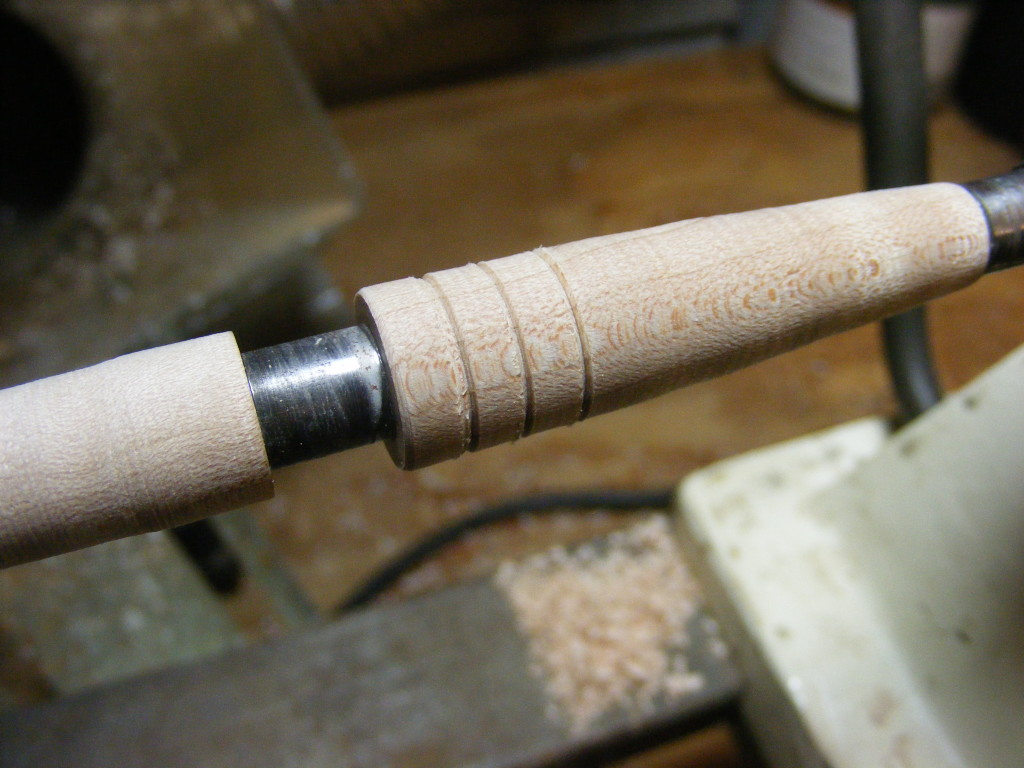
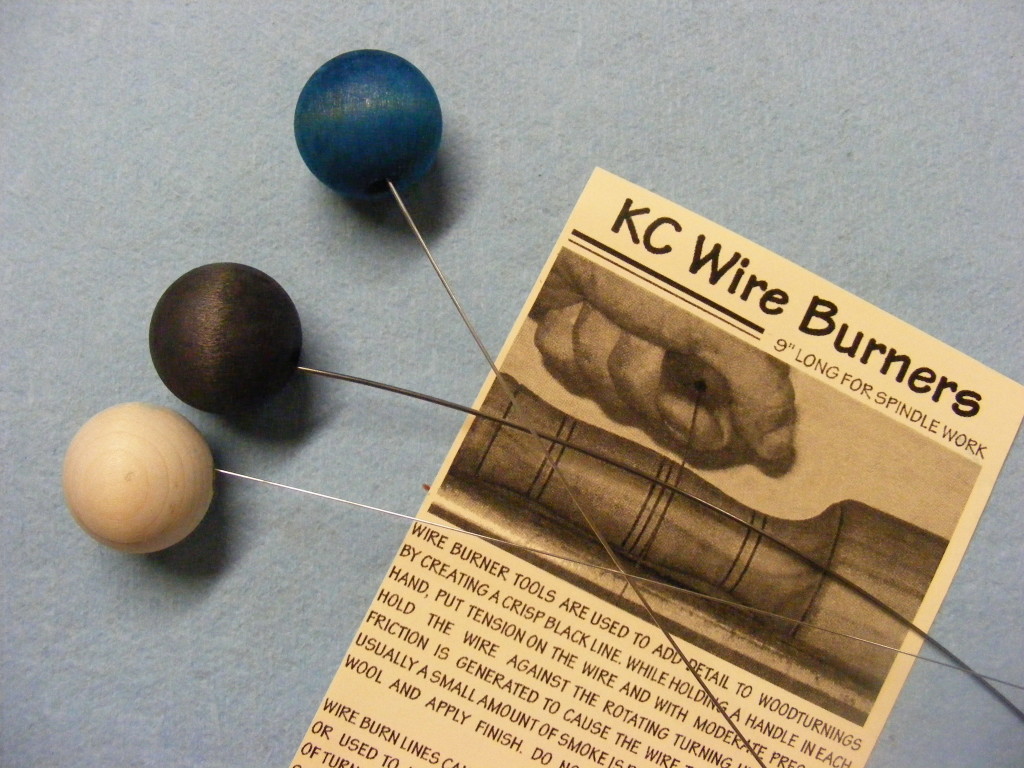
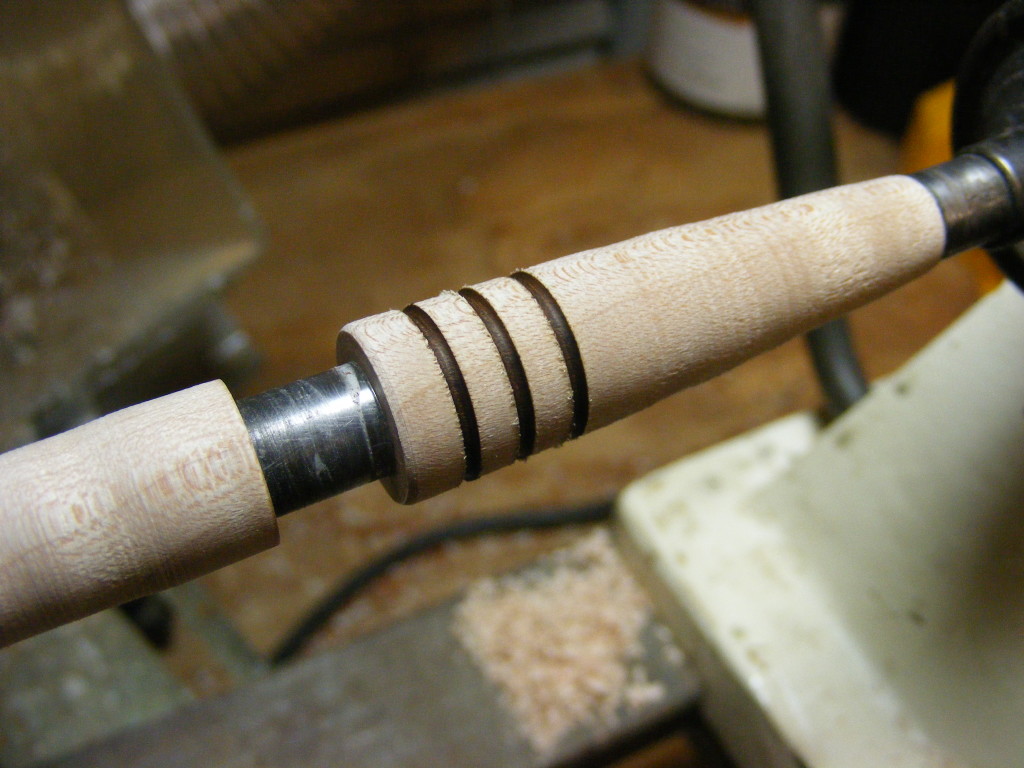
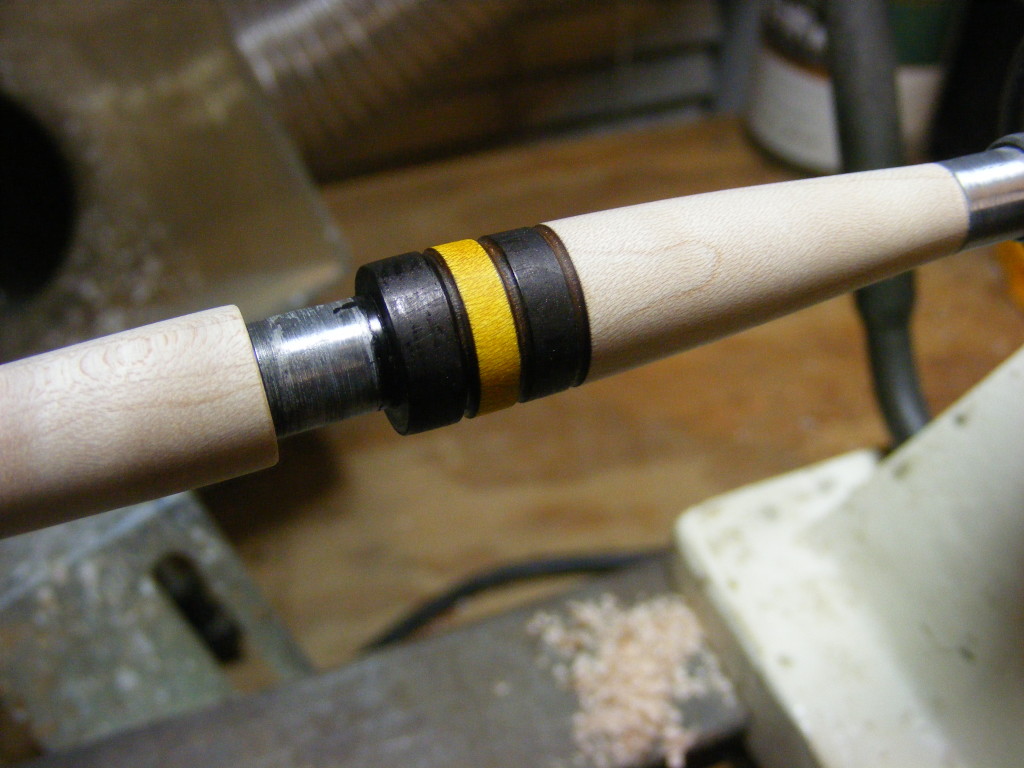
Since I’m eliminating the metal center band, I decided to make my own design on the upper barrel of the pen. Pictures above show me making 3 grooves with the tip of my skew, and then I used wire to burn in 3 lines. These lines will create a boundary for my colors. Some people like to put a couple of burned lines closer together and that’s all they do. I’m going to take things a few steps further and add some color to my themed beekeeper’s pen.
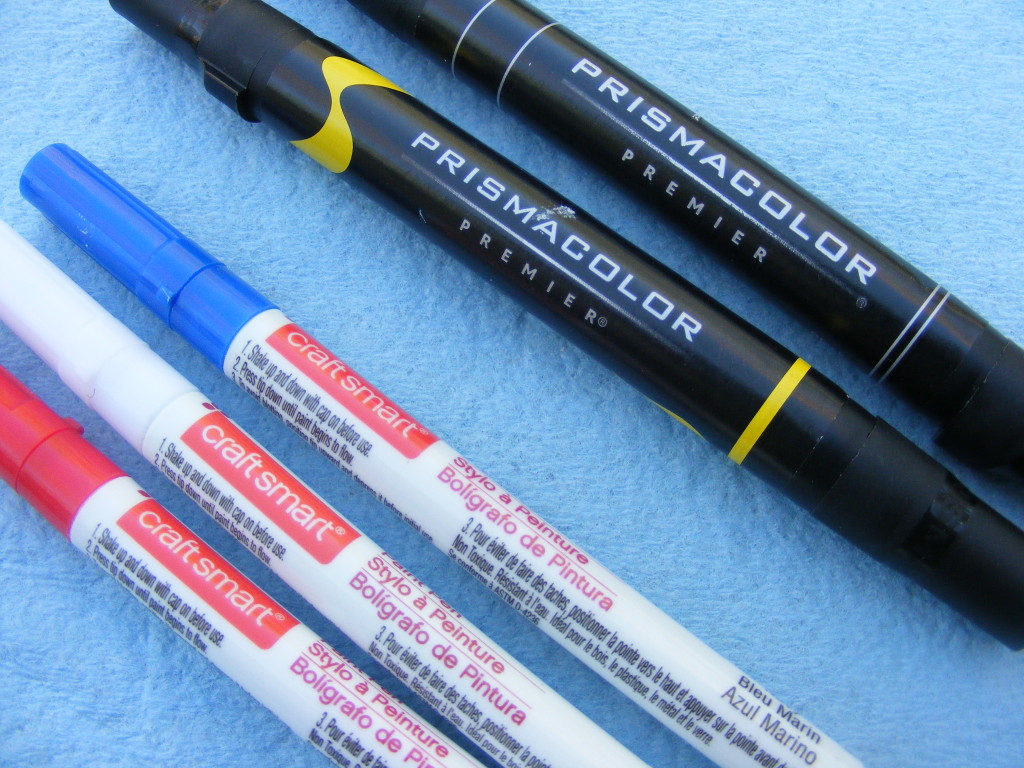
I used Prismacolor pens to add the yellow and black colors. The Prismacolor pens use ink. I also bought a few of the Craftsmart pens which are acrylic paint pens, and I plan to experiment with them on a future pen.
I turned the lathe off to apply the colors. The burned lines really helped keep the colors from bleeding over into each other.
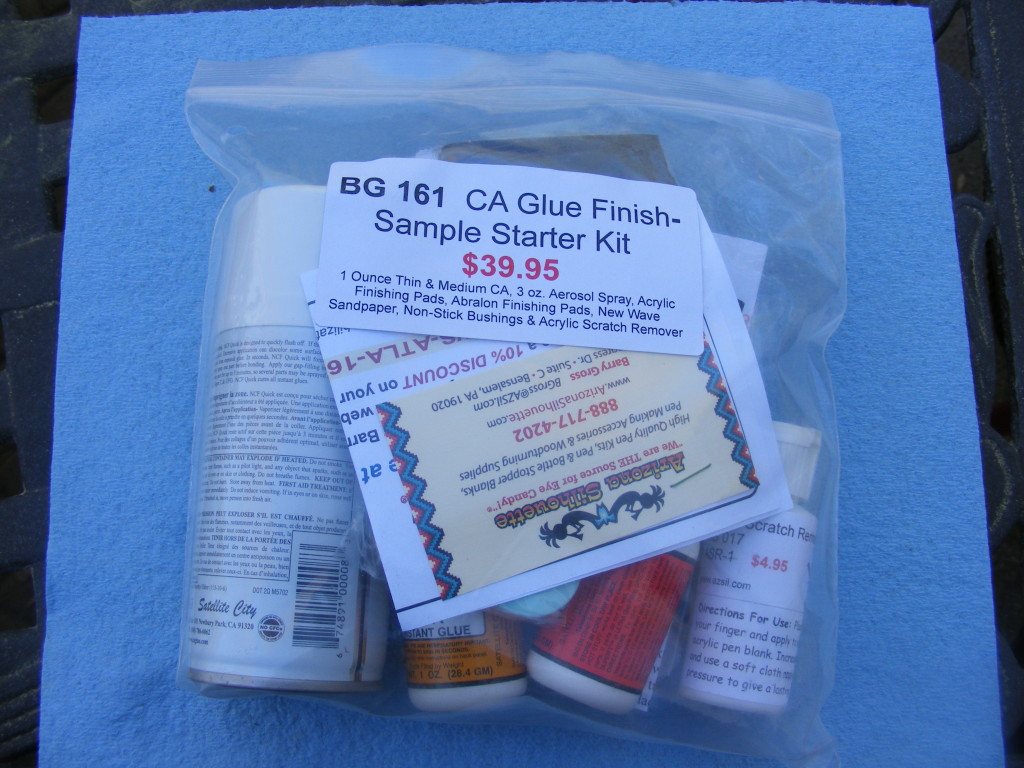
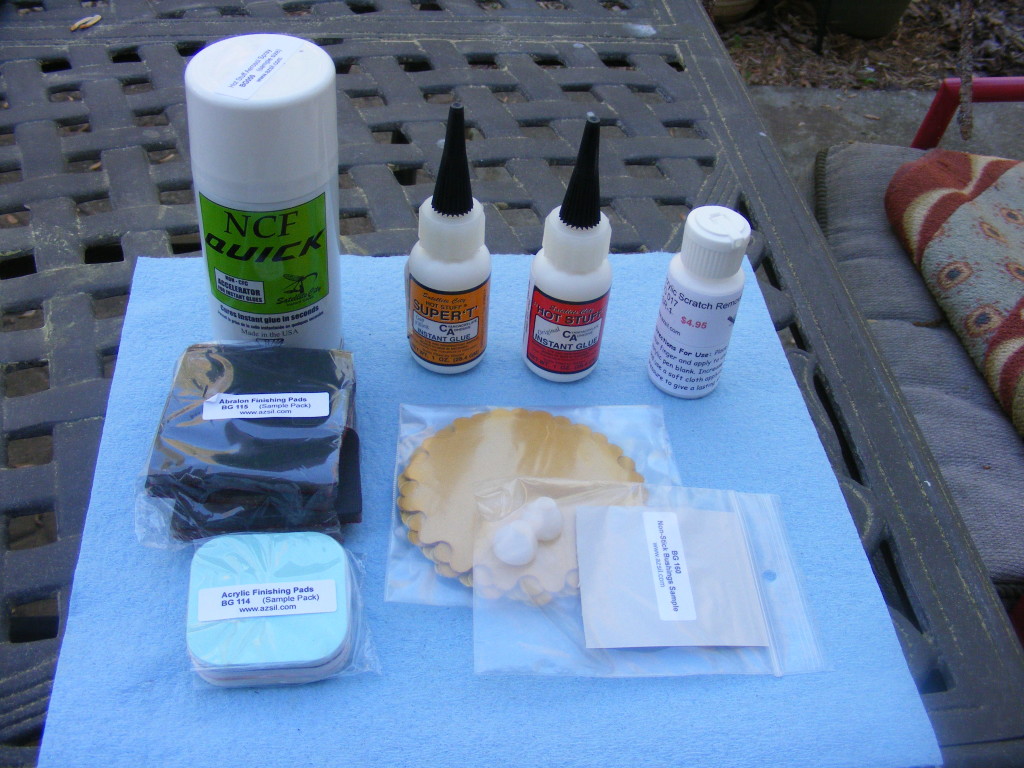
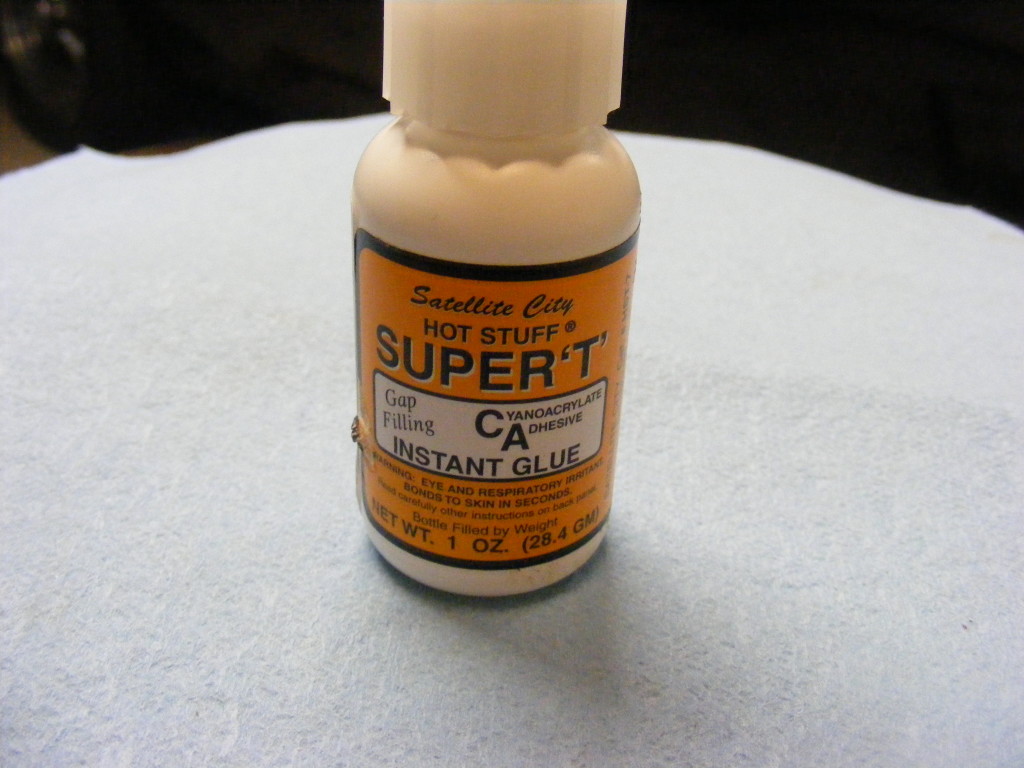
To preserve the colors, I went with a CA finish on this pen. If you don’t know already, CA is the glue we normally use to glue the pen tubes in place. What’s cool is you can apply layers of this CA glue to your pen body and create a glossy, clear finish that makes your pen look stunning. I bought this CA finishing kit from a recent woodworking show I attended in Atlanta. I couldn’t wait to try it out.
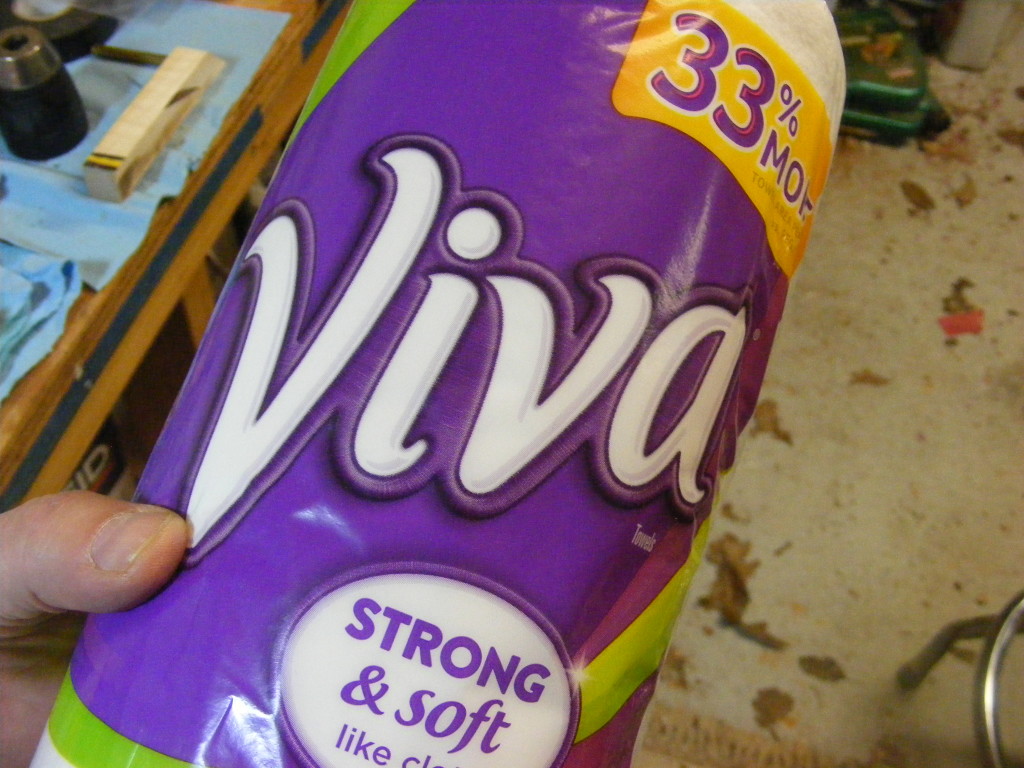
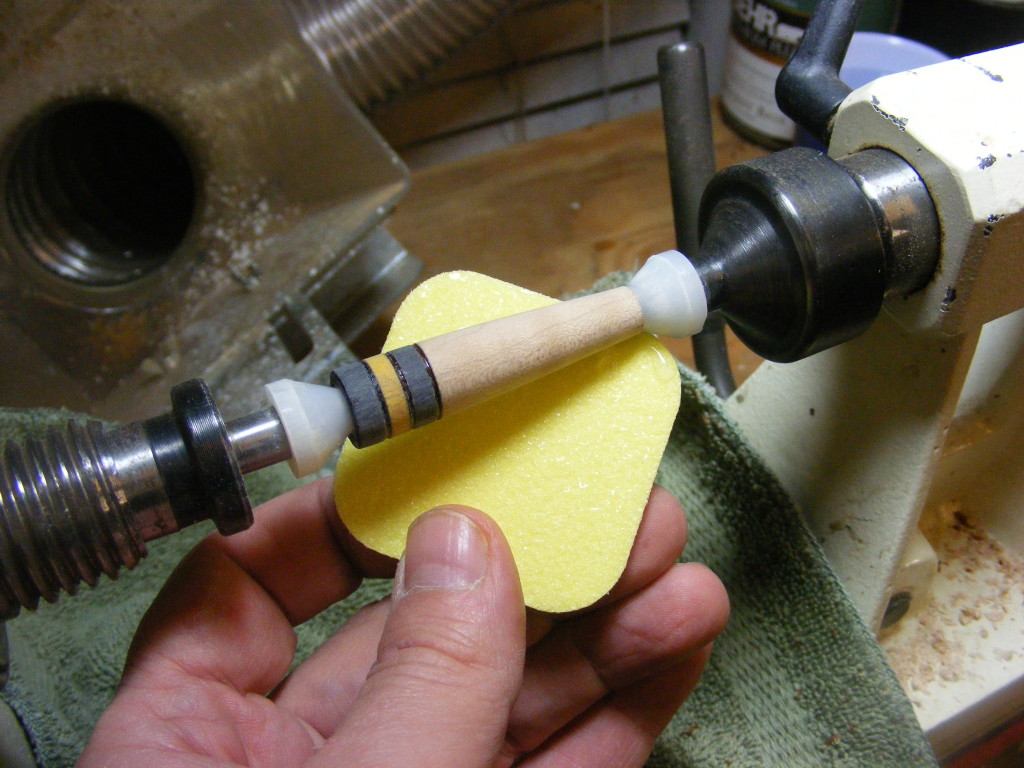
The pics above show a few steps of me finishing the pen. I will try to create a separate post on the CA finishing process. But essentially, I used layers of medium CA glue (6 to 8 layers) and then wet sanded with sandpaper and micro mesh pads — 220 grit up to 2000 grit. I used a drop of scratch remover for polishing and a clean Viva paper towel for buffing.
And here are some pics of the finished modified slimline pen. I may be a little rusty on my CA finishing technique, but I think this pen turned out decent. It should make a nice door prize for my dad’s next meeting.
Feel free to share any comments in the fields below. Have you made any modified slimline pens and how did they turn out?
And just for kicks, I’m including a few pics from my dad’s bee farm below.
Happy turning!
Stephen




1 thought on “Modified Slimline Pen – The Beekeeper’s Pen”
Comments are closed.