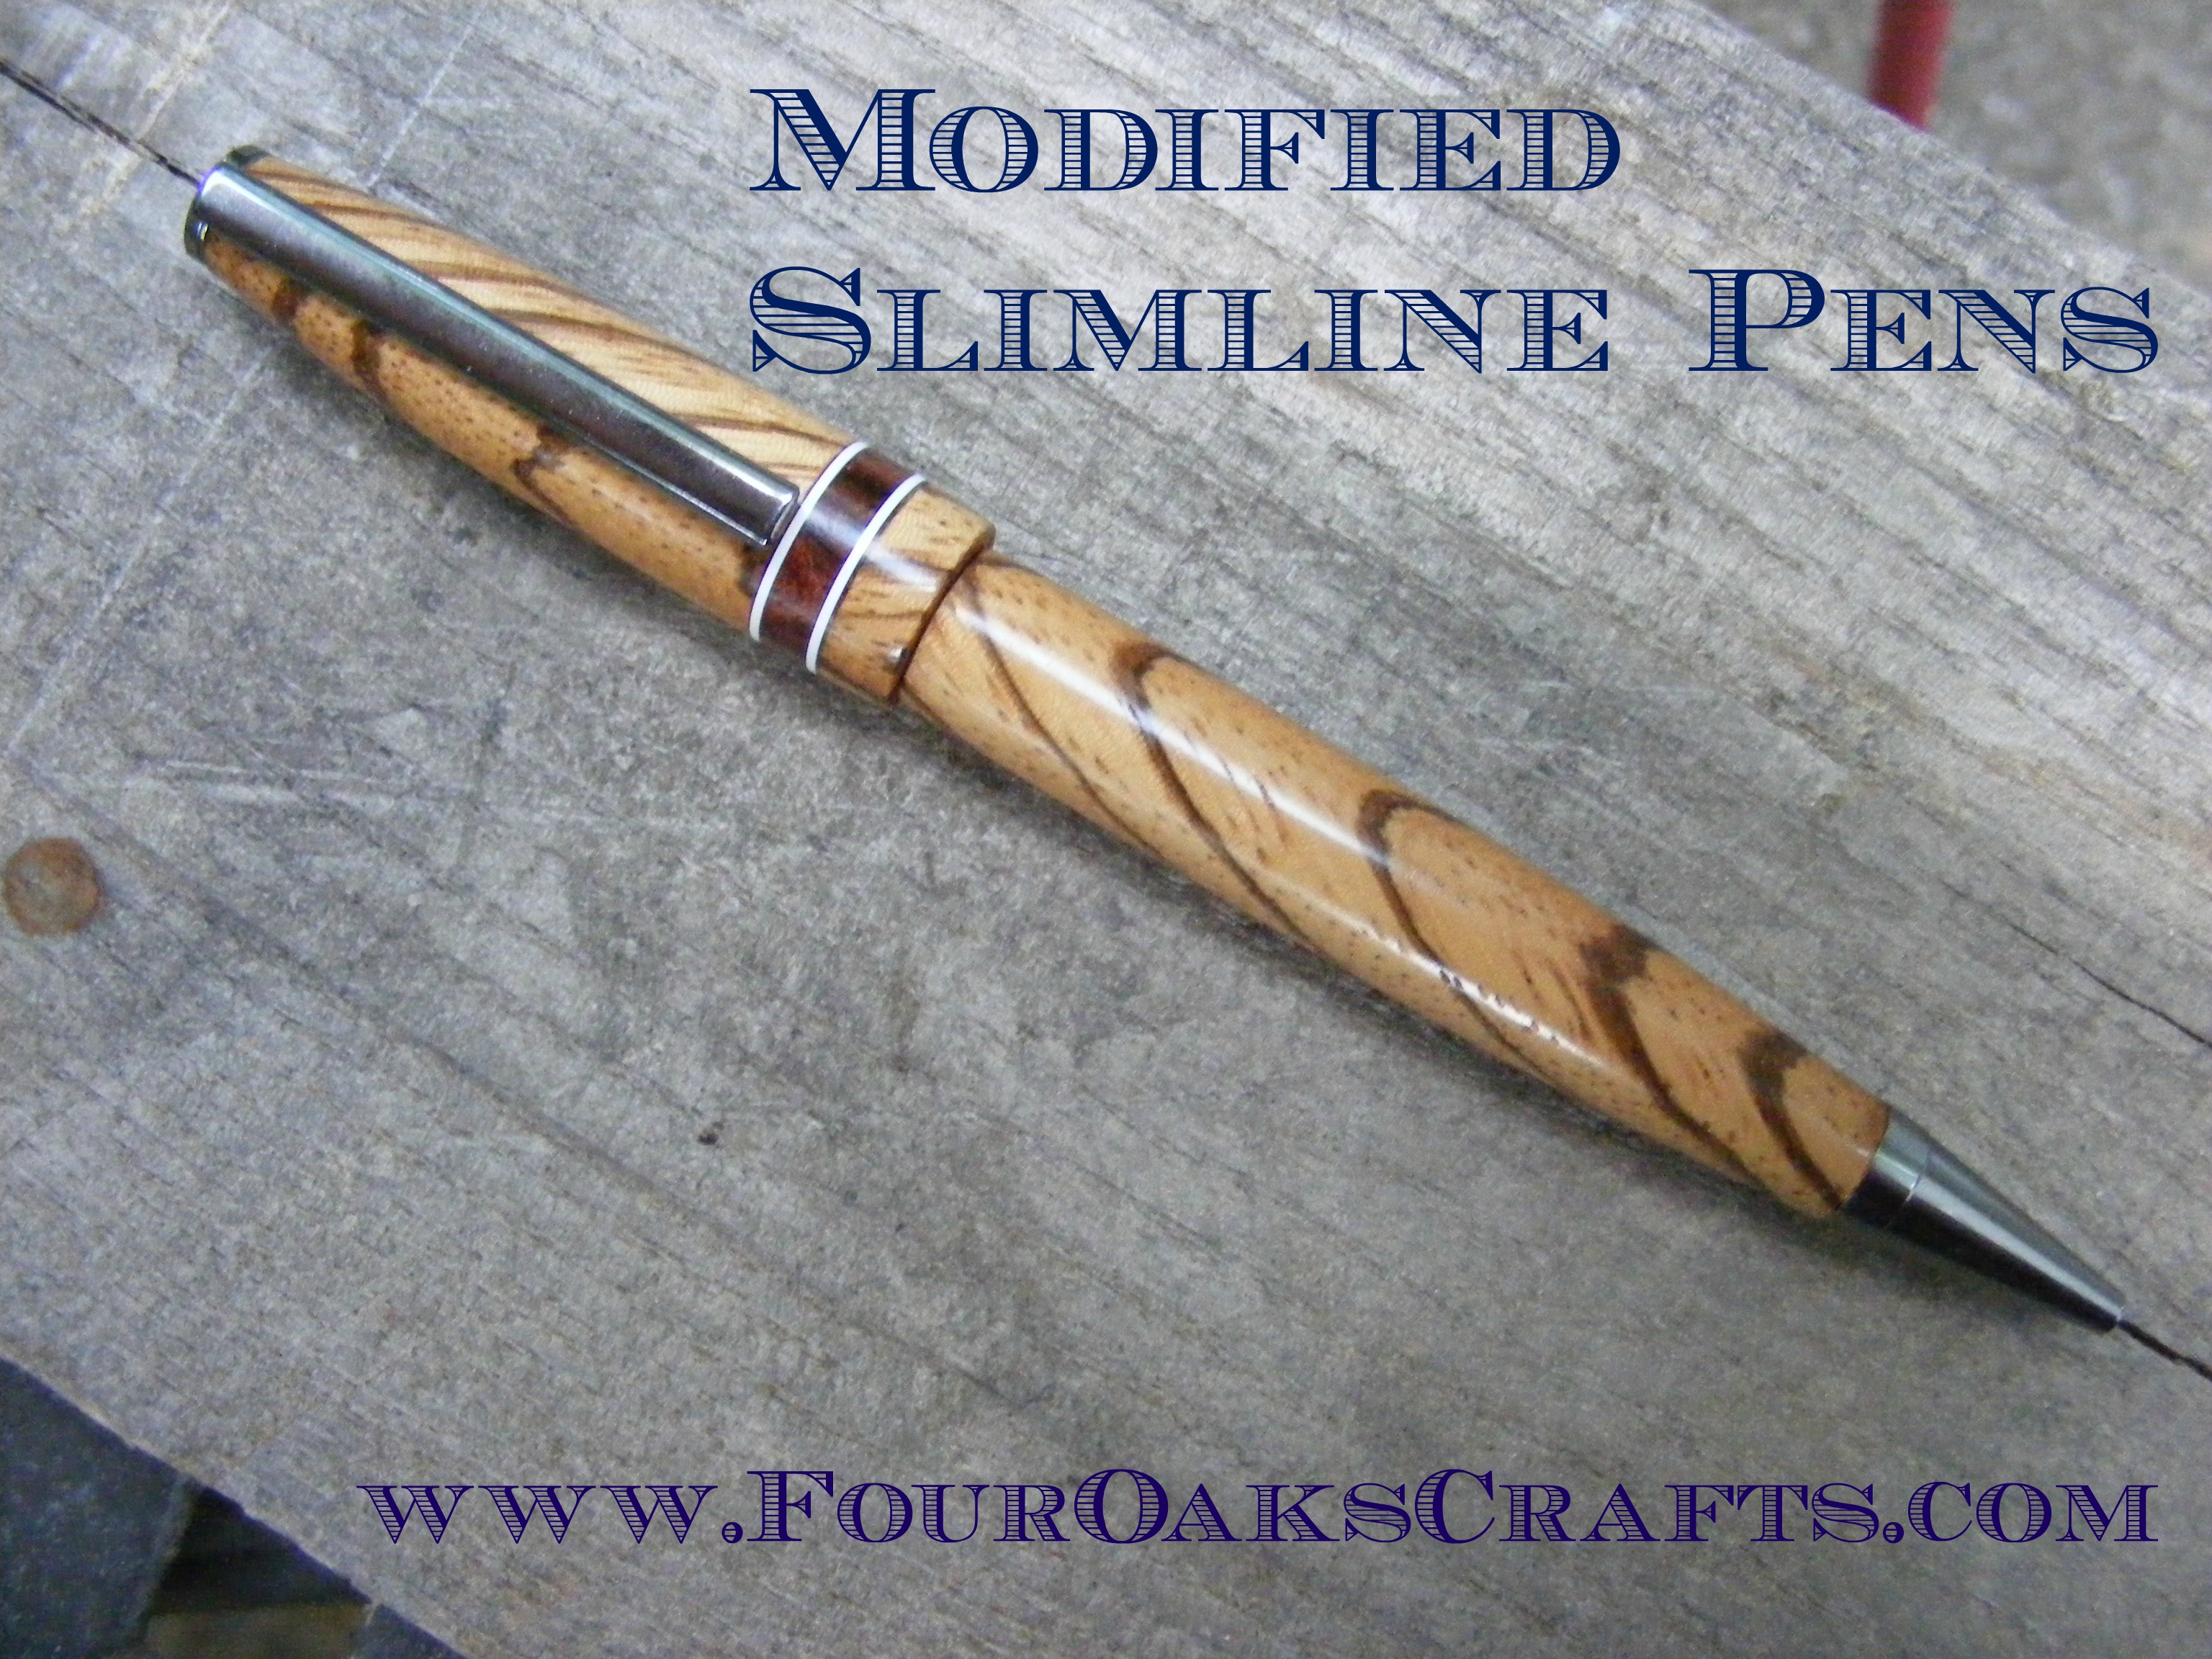
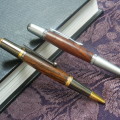
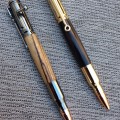
If you’ve been doing pen turning for a while, you’re probably familiar with the Slimline Pen Kit. This is the kit I started out making when a beginner, and I’m sure that’s the case for most other beginners. Several years ago, I excitedly discovered that I can customize these pen kits by throwing out the center band. They’re commonly called modified slimline pens.
BTW — if you’re a brand new pen turner go and check out my tutorial on How to Make a Slimline Pen. If you’re a novice, you probably want to start learning by following the explicit instructions for this pen kit. Once you’ve mastered pen turning, then you can look at modified slimline pens.
In this post, I am going to introduce you to the concept of modified slimline pens and show you some examples of what I’ve created over the years. I even have my own tutorial for making a modified slimline, and I called it the beekeeper’s pen since I made it for my father who is a beekeeper.
Why do we use the term “modified?”
As previously mentioned, you can modify these pen kits primarily by throwing out the metal center band that comes in the kit. By doing this you can modify the pen in two ways. You can change the dimensions of the pen and make it thicker in the middle. And — you can use other materials to create your own center band accents.
Now get ready because this opens up a world of possibilities.
By modifying the slimline, you’ve opened up all kinds of creative design options for your pen. A slimline pen kit only costs a few bucks. So if you’re selling pens, then you’ve just lowered one cost. And the modifications can potentially increase the value of your pen. That could translate to higher profit margins.
Granted, there may be a little more labor involved, but you’ve just distinguish yourself and your pens from other pen turners. And who doesn’t want a little more challenge when making pens? By making modified slimline pens you give yourself an opportunity to be artistic, and you’re not solely at the mercy of what pen kit suppliers provide.
I first learned about modified slimline pens through a guy named Don Ward. He wrote an excellent book called Turning Modified Slimline Pens: Beyond the Basics. I highly recommend getting this book, and it will give you a ton of ideas. Lots of great pictures and illustrations.
Let me take a minute and share what I like to do for my slimlines, and then I’ll show you some examples.
First, I like for the upper part of the pen to be shorter and thicker than the lower part. To me these dimensions just look more like a pen. And for that upper section, I don’t make mine thicker than 1/2 inch. However, you may have to experiment since some pen kits have slightly different clip designs. You want the clip to look nice on the pen and you don’t want to impede its function.
As for designing the center band accents — the possibilities are endless!!
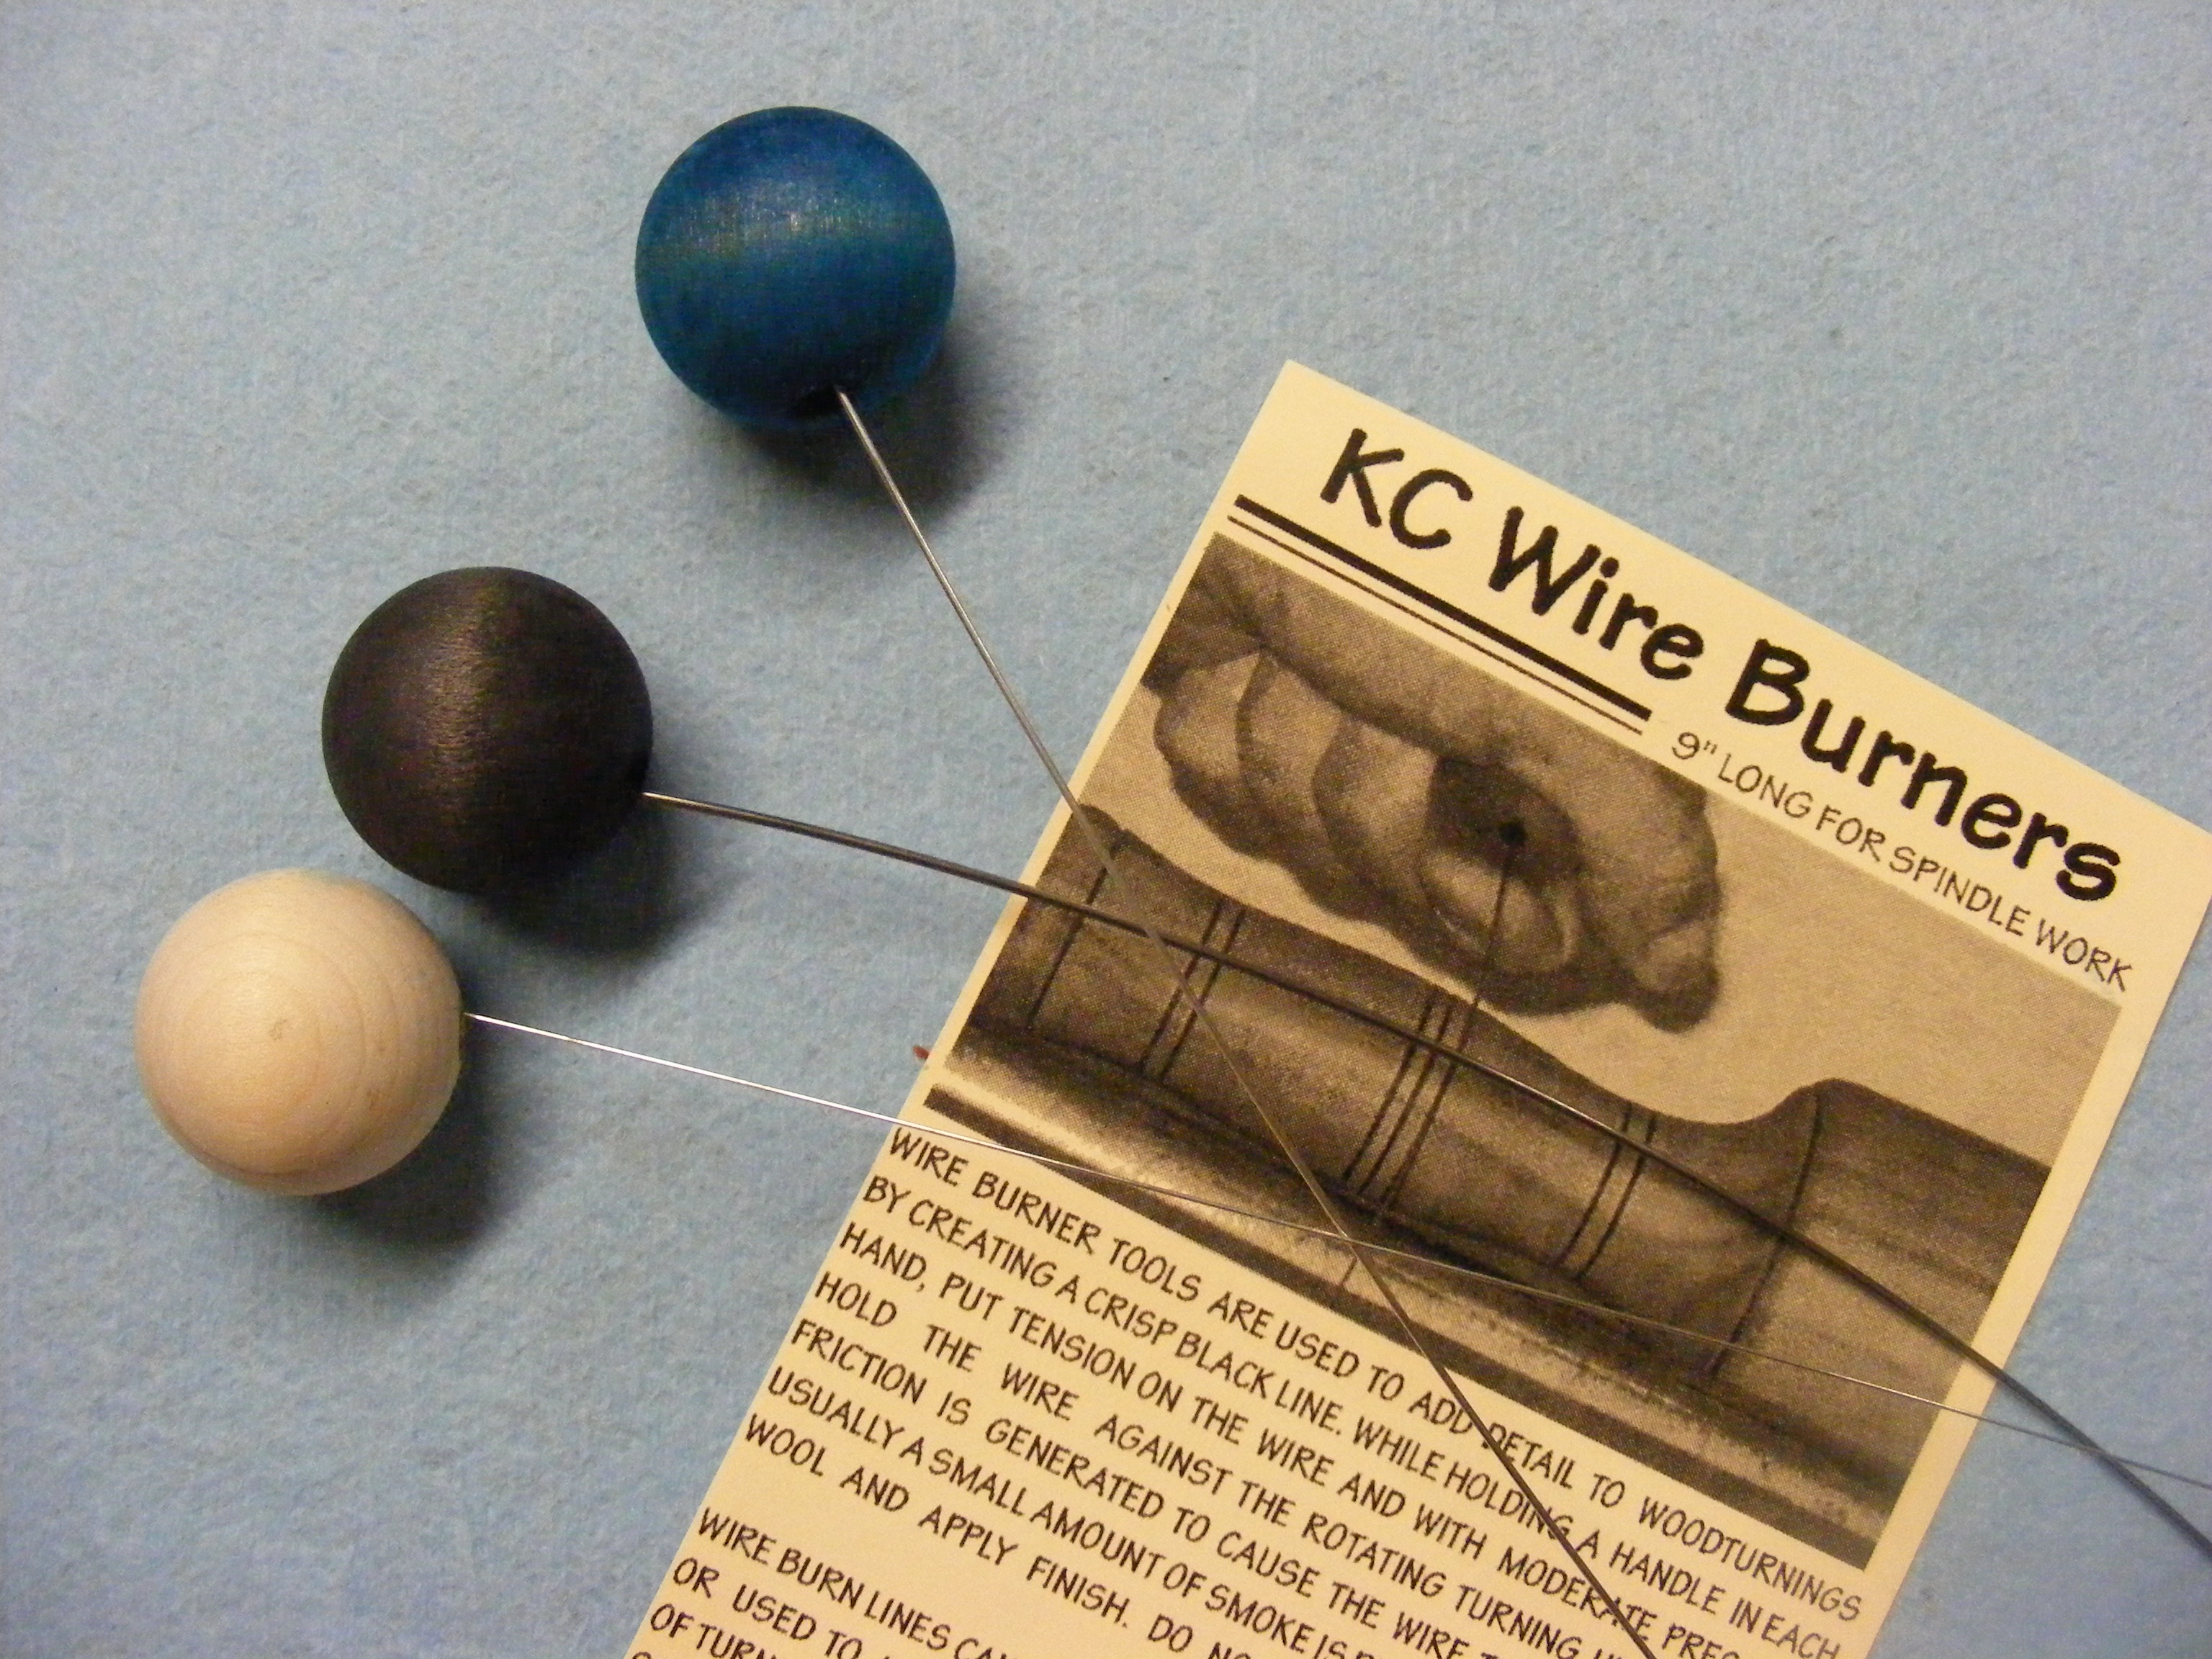
I have used wire burning which is a quick and simple way to decorate a pen. I’ve used some paints and dyes which can be a little more tricky. I generally will use a different material that contrasts nicely with the main pen body. So I might use a lighter colored wood to contrast with a dark wood. Or I might use deer antler, for example, to contrast with a darker wood.
In Don Ward’s book, he recommends several materials you can use that give a layered effect and create quite stunning contrasts:
- Wood cutouts
- Acrylic cutouts
- Guitar pic guard
- Credit cards and hotel keys
- Drink bottle caps
- Aluminum drink can slices
- Door name sign material
Two very important pointers I learned for making modified slimline pens
If you plan to laminate different pieces together:
- Make sure all the pieces are square with each other before you glue.
- Use a THICK CA glue or an epoxy. Do this to give yourself time to work and hold pieces together.
Let me show you some examples of my modified slimline pens:
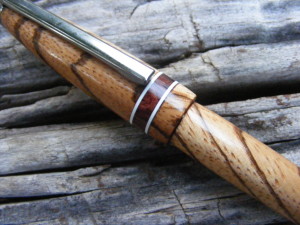
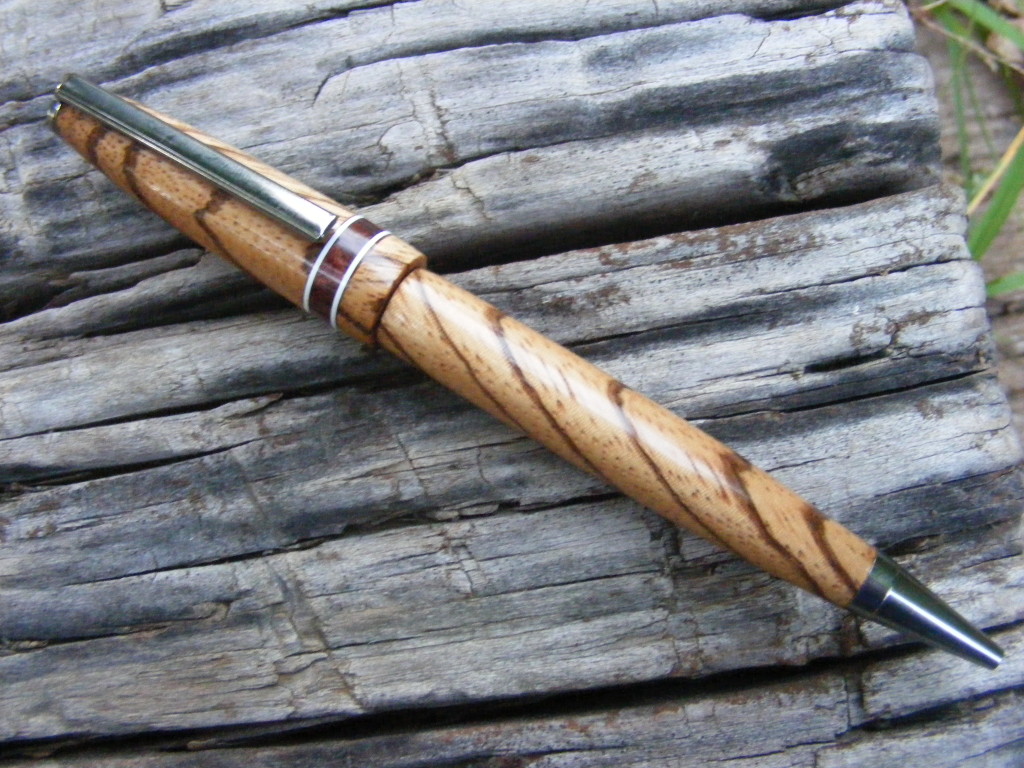
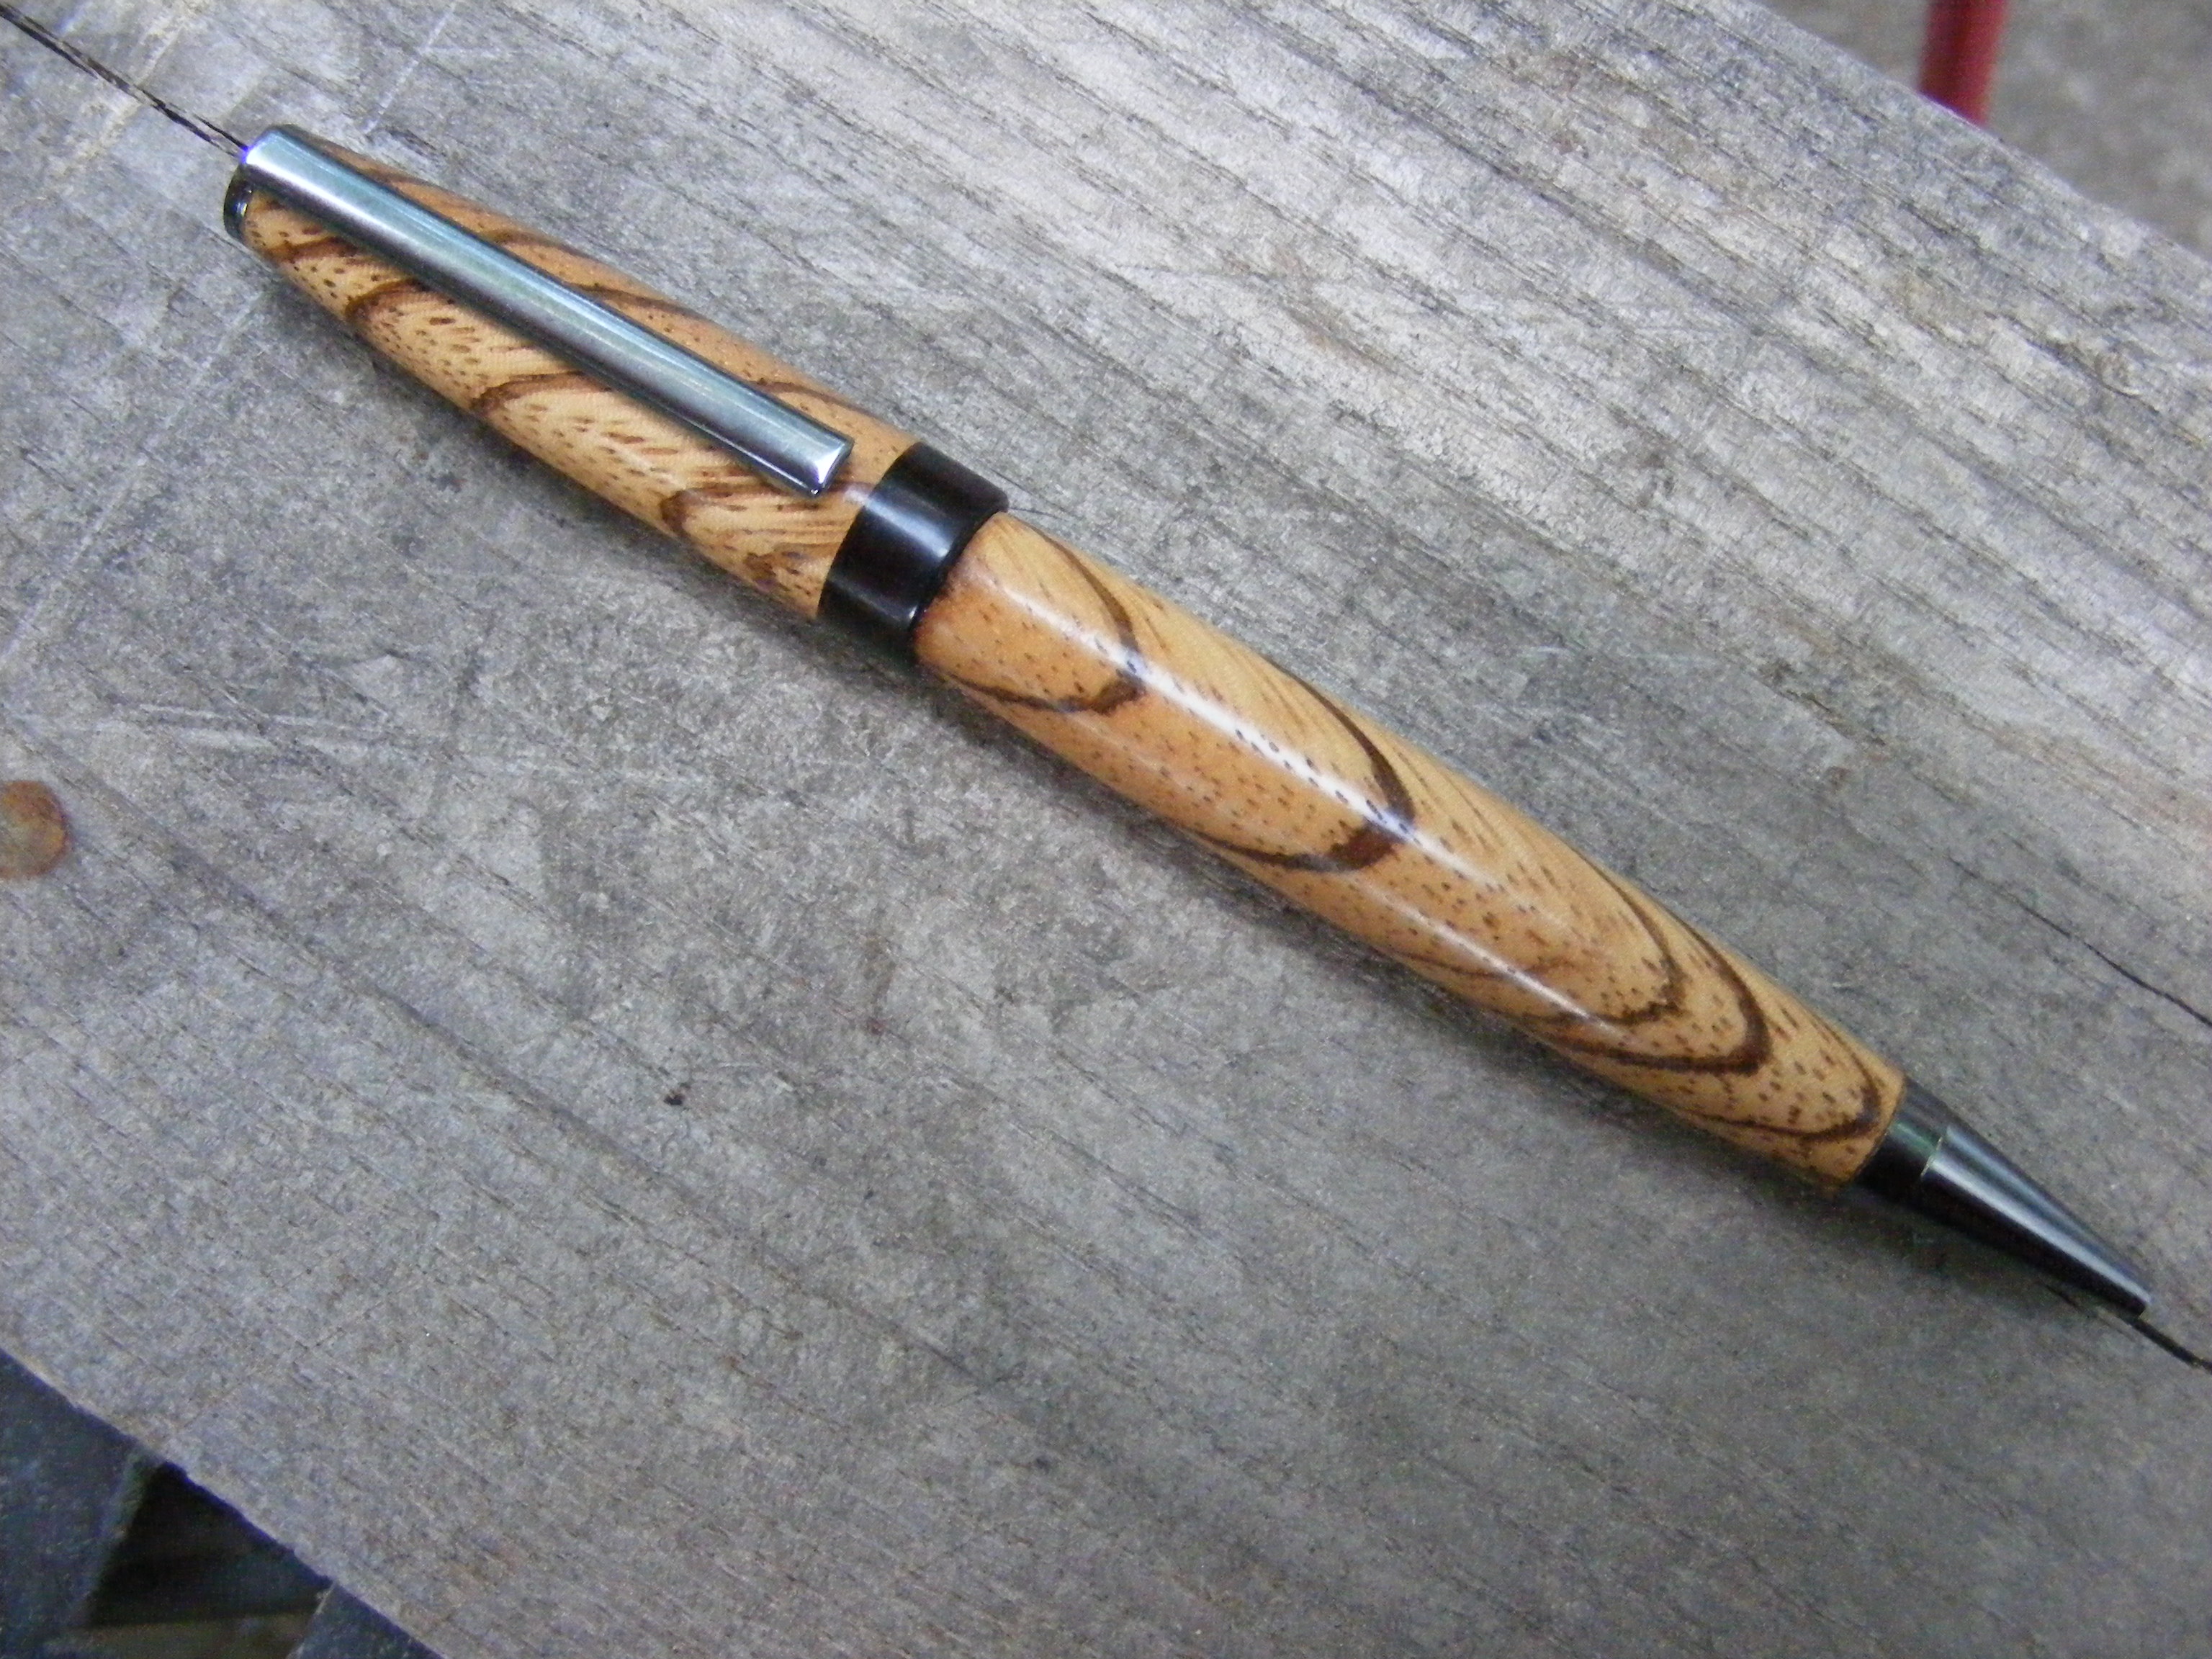
Above, I’m showing you how I created a center band accent. I used a slice of Cocobolo and sandwiched it between plastic from an old hotel key I had stashed away in my wallet. The main wood is Zebrawood.
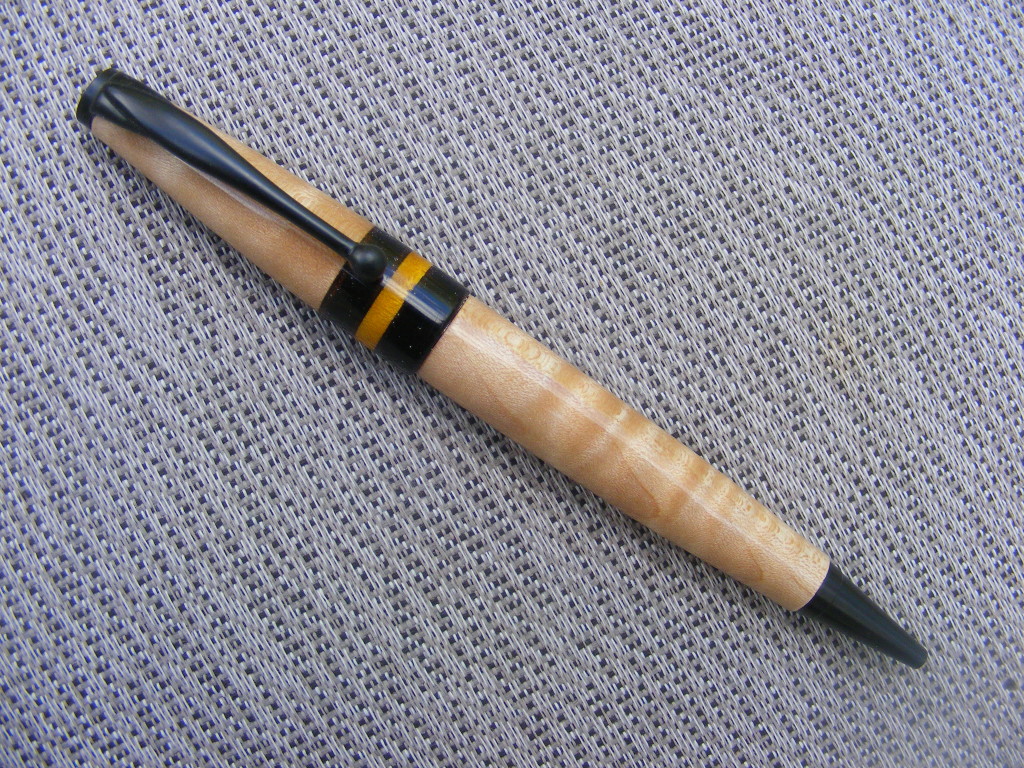
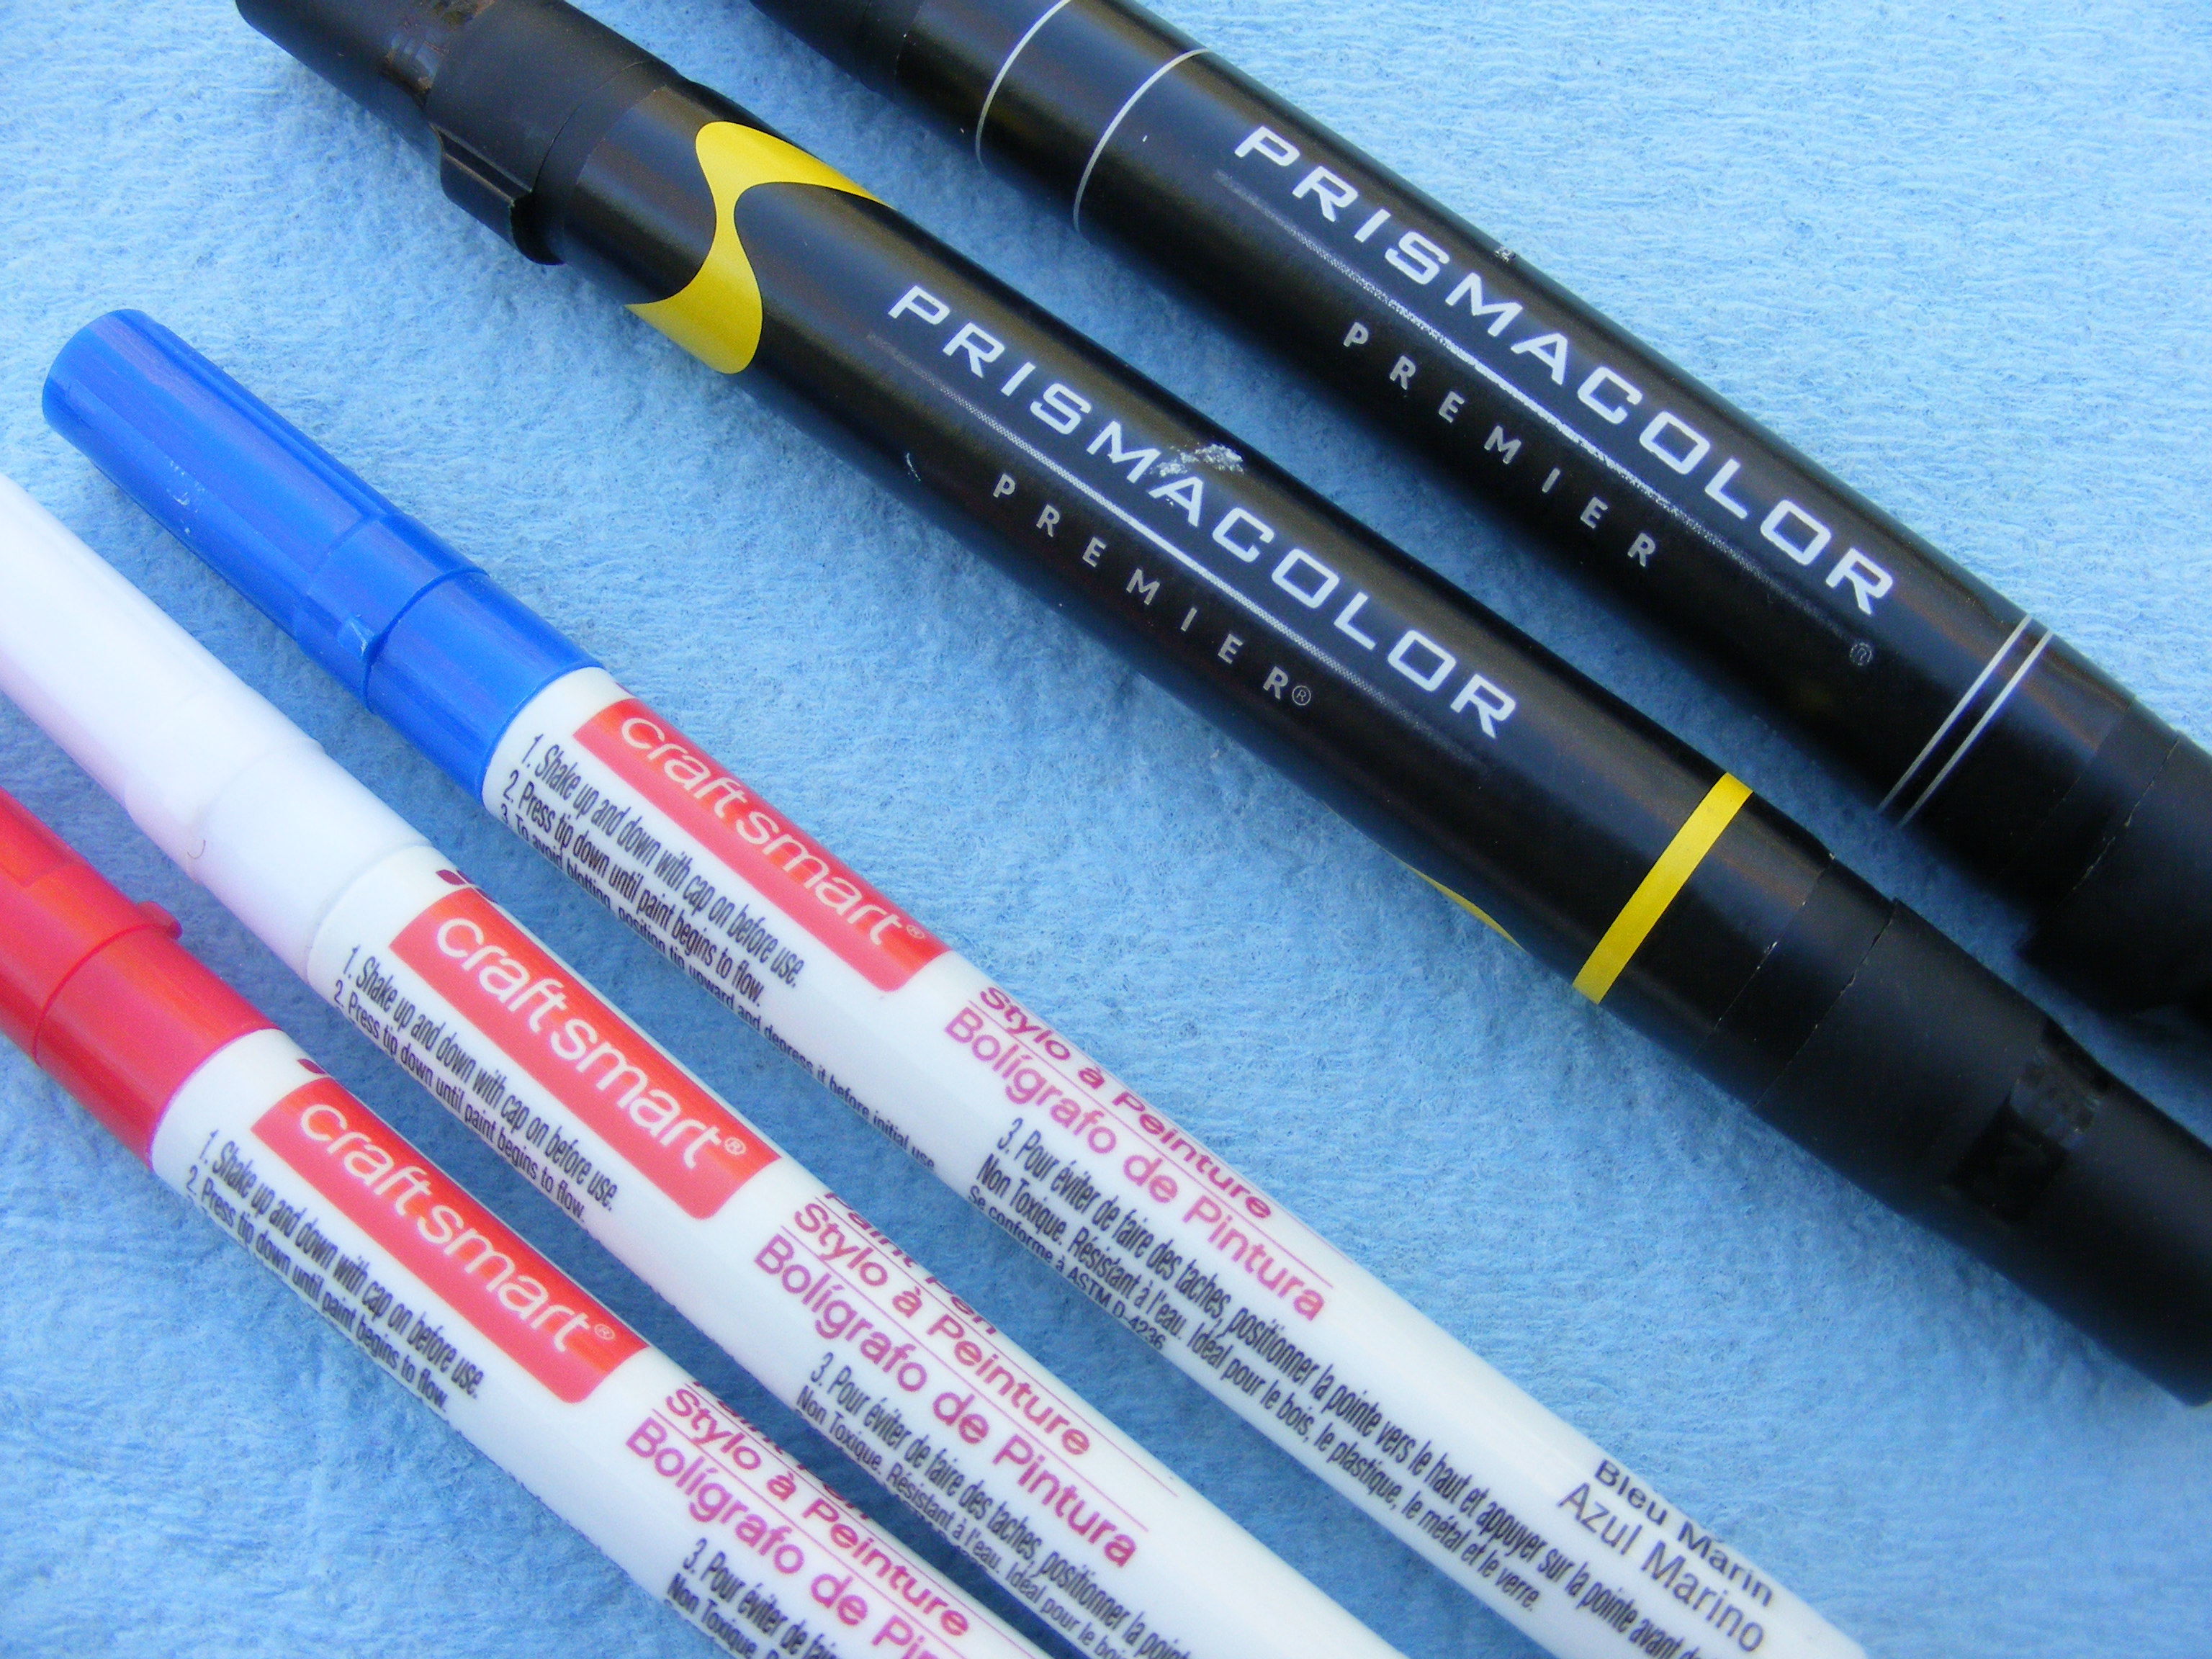
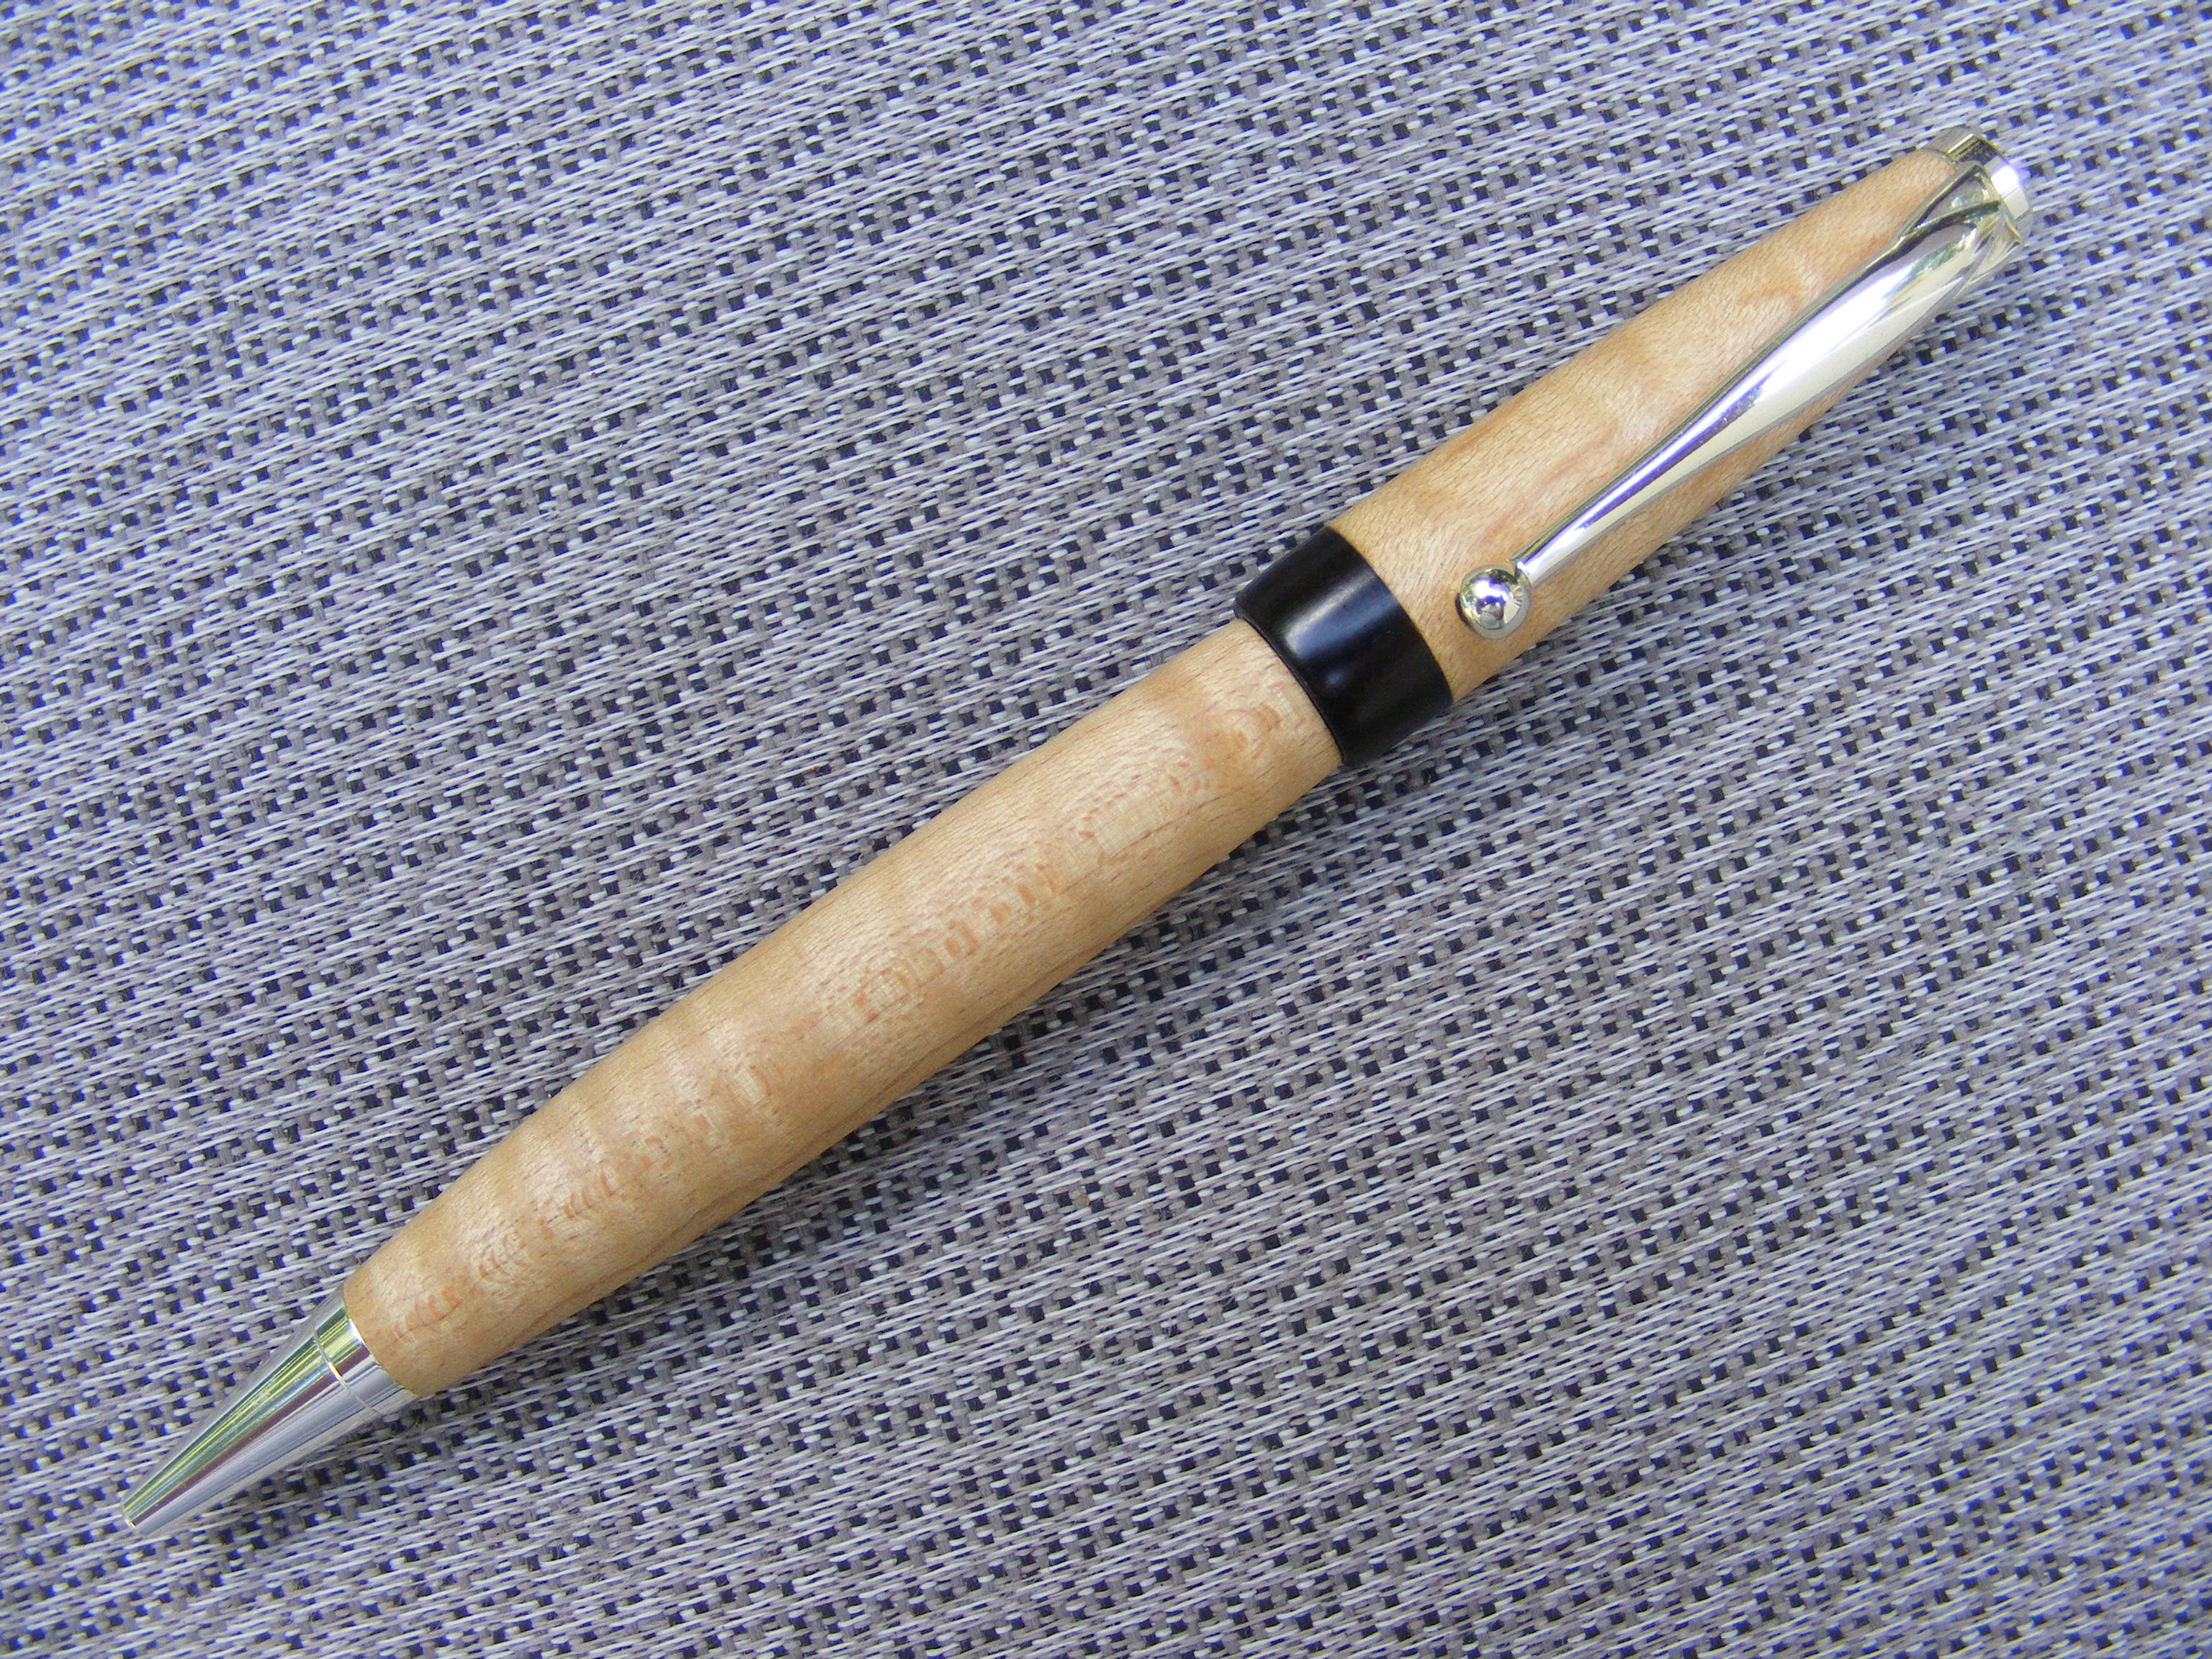
With the pen above, I used some paint markers. First I wire burned to create some separation and then I applied the paint. You could also use a dye. The wood is Curly Maple, and I used a black metal plating.
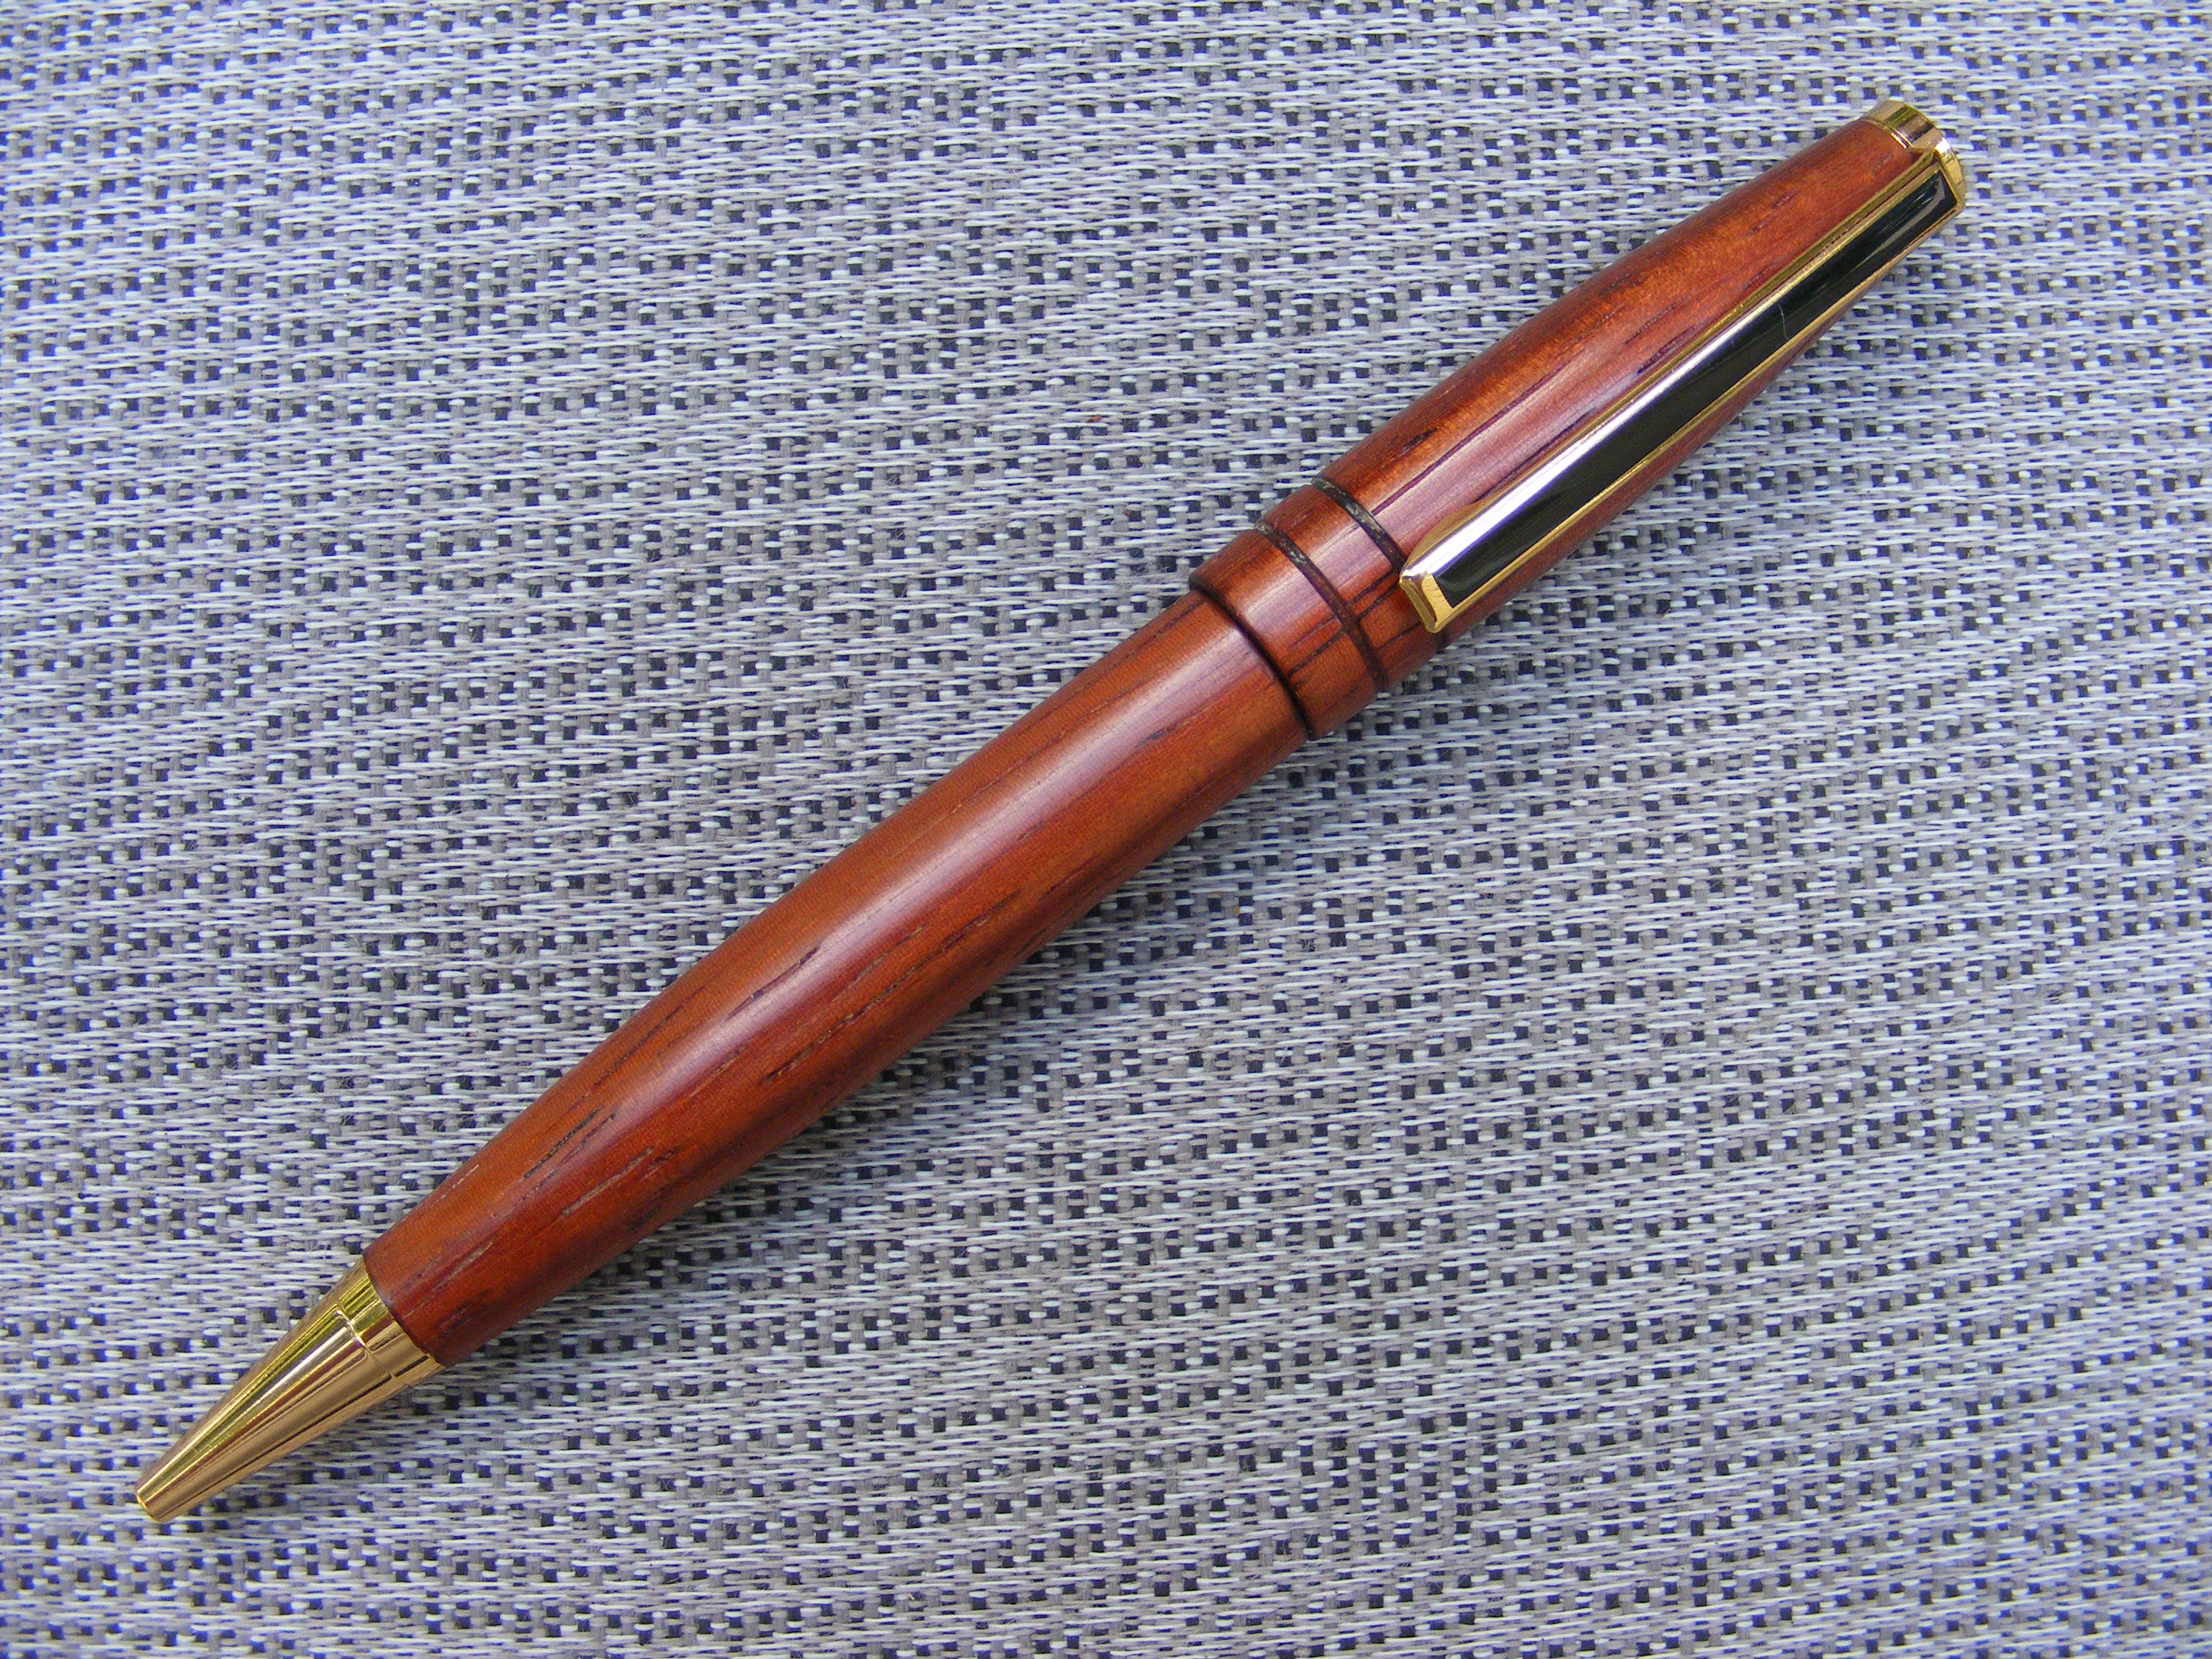
On the pen above, I simply did some wire burning to create some dark colored accent rings. I believe this wood is Padauk.
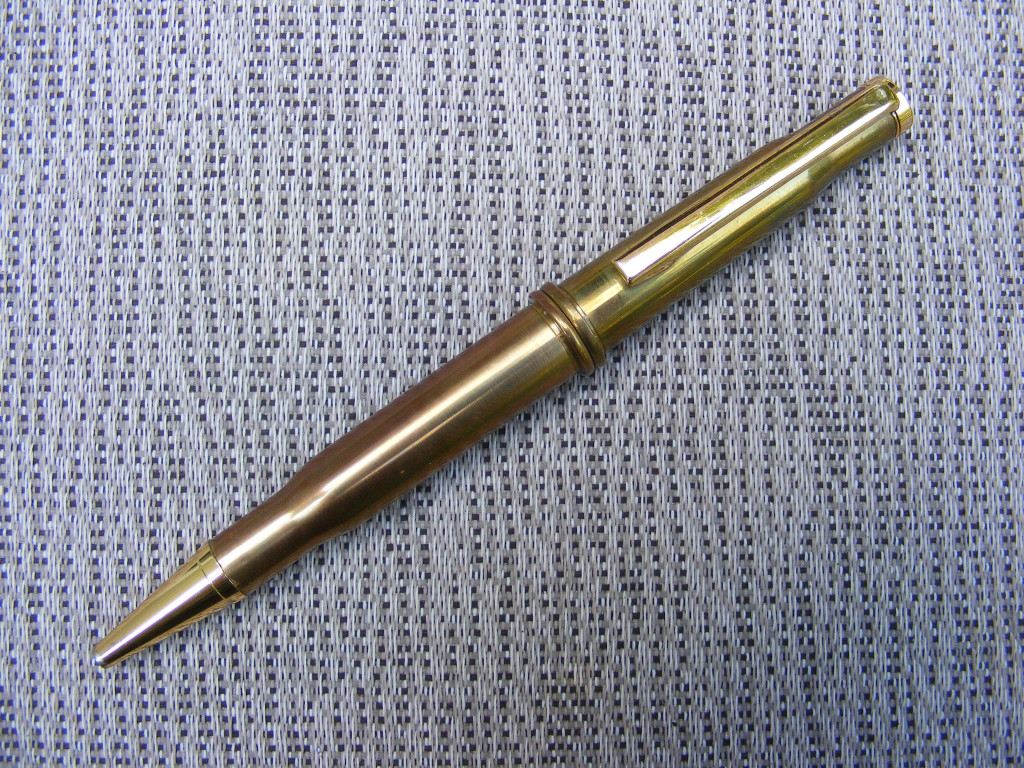
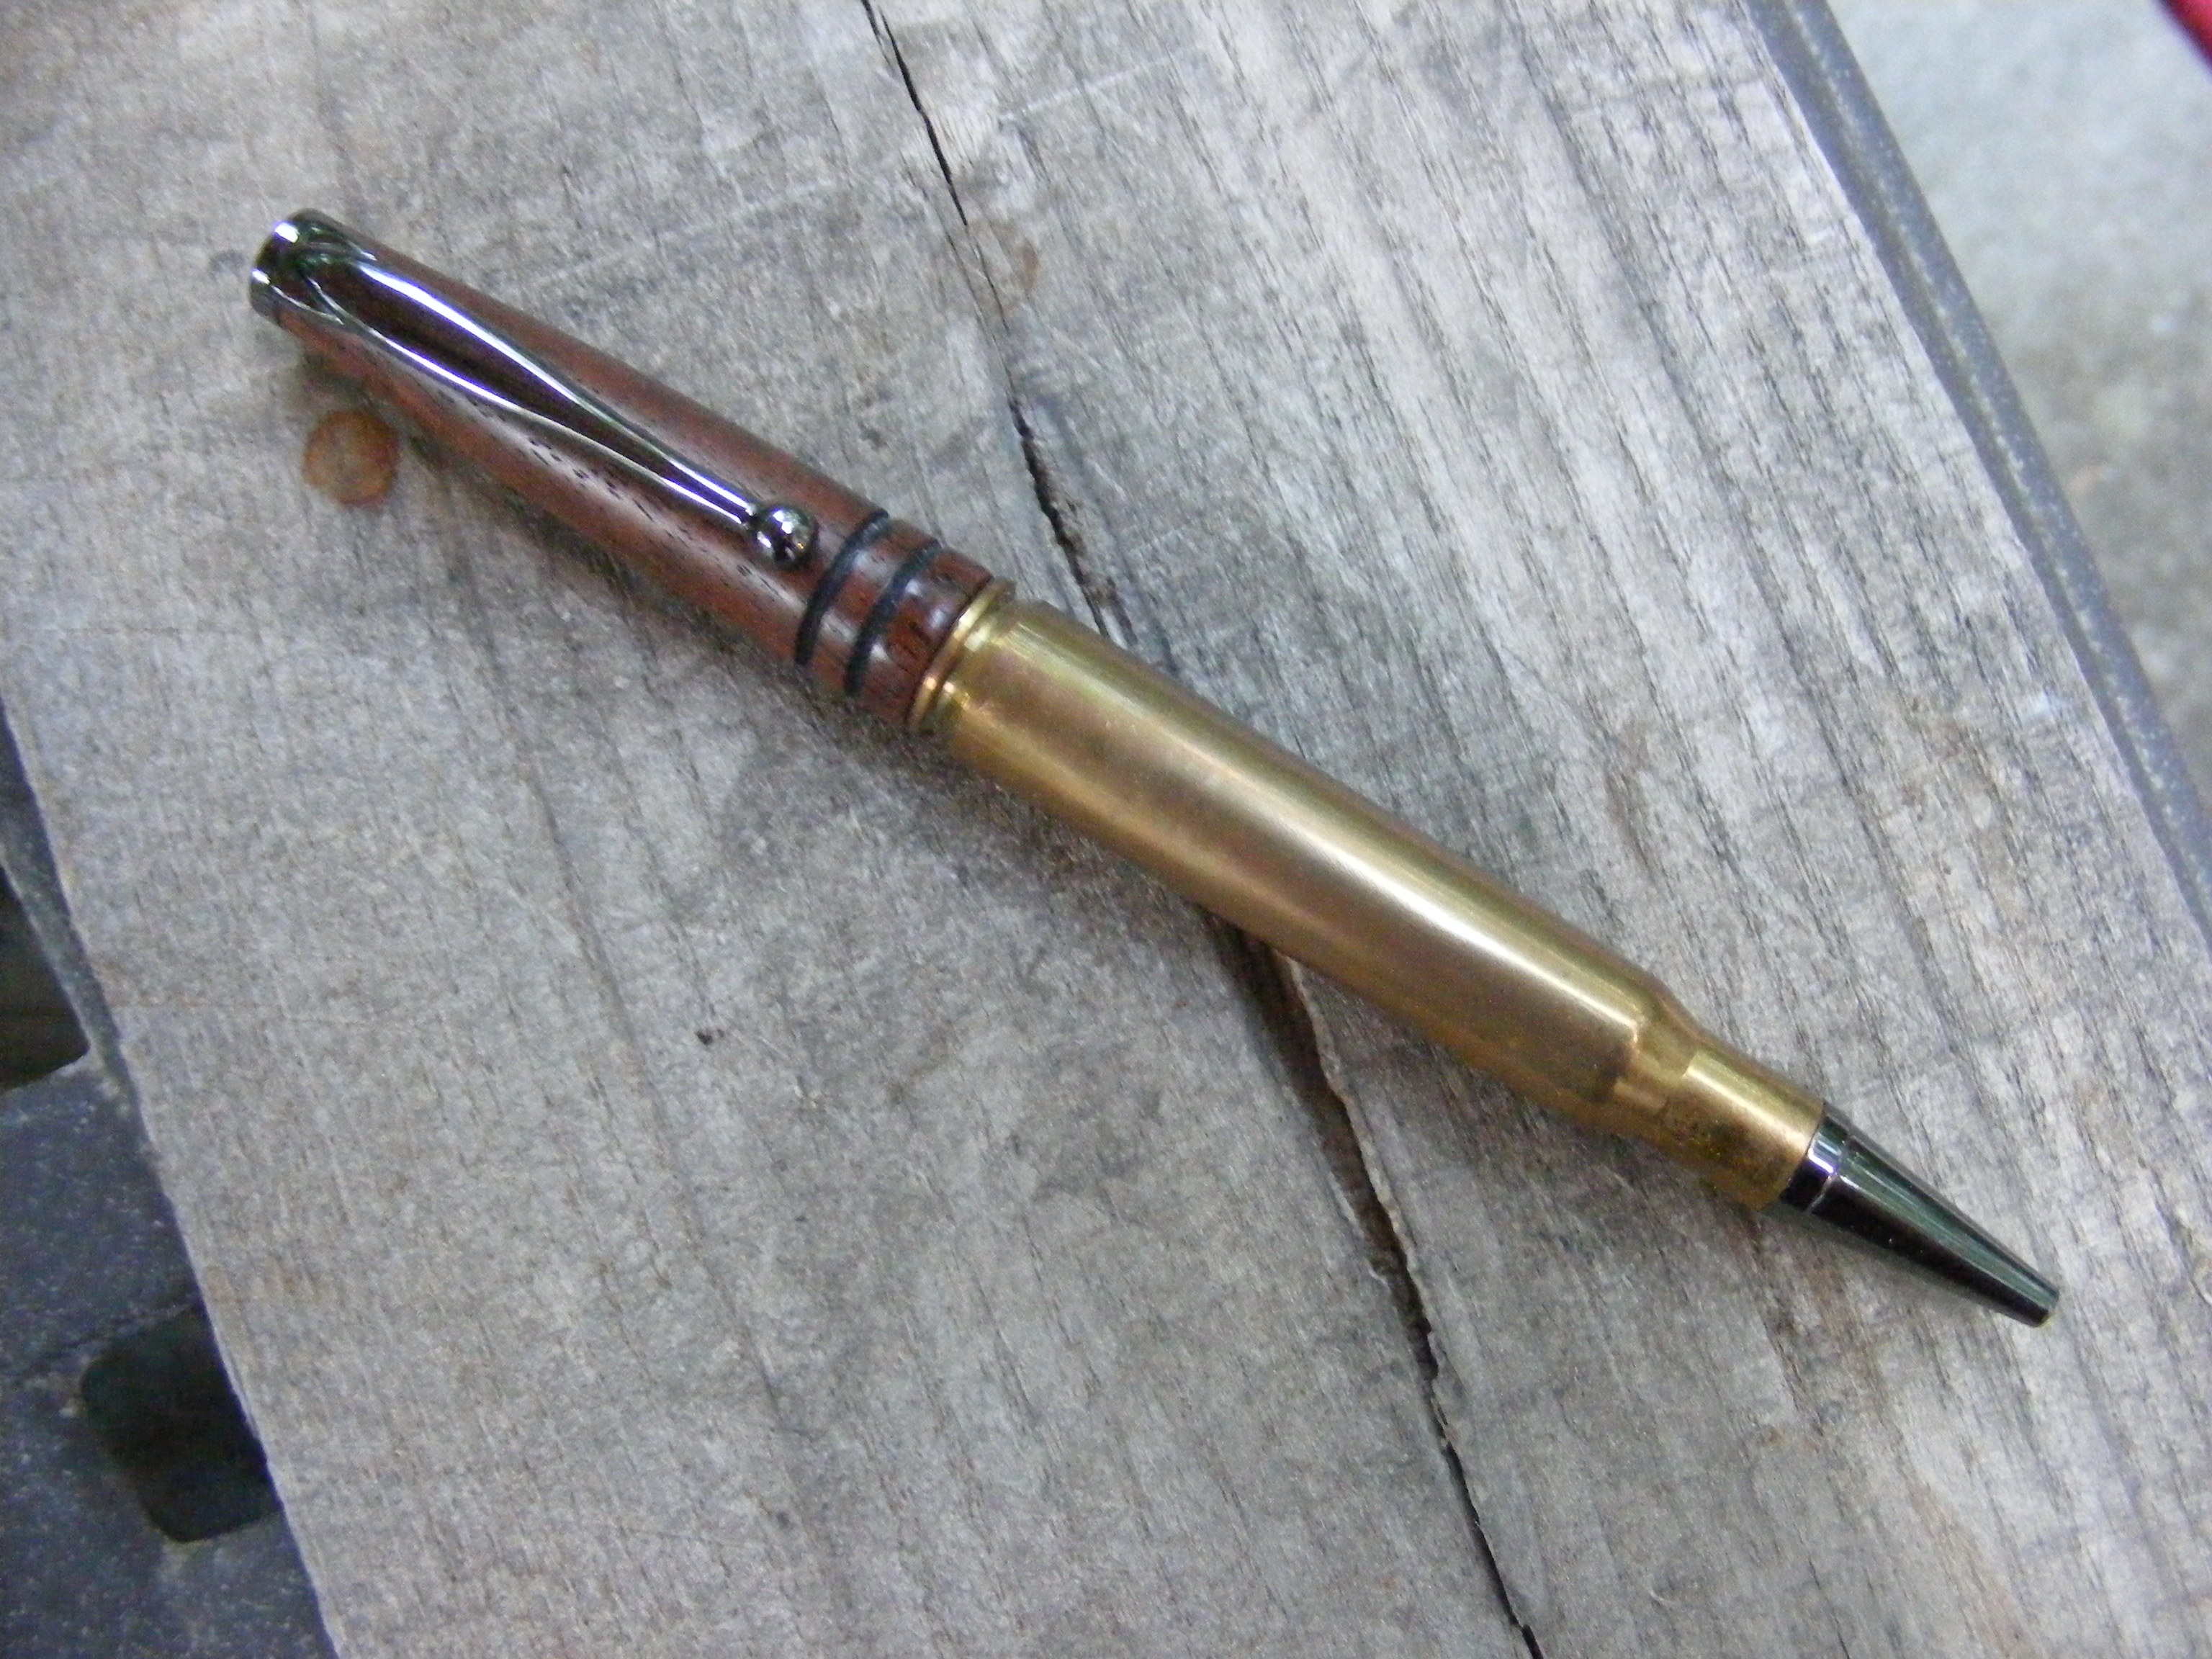
Here are two modified slimline where I used spent bullet casings. This was a little of a challenge, but I liked the finished product.
For this pen I followed one of Don Ward’s plans. The lower section is a piece of Osage Orange wood and the upper section is from an aluminum arrow shaft. Very fun project to make and somewhat challenging.
Here are a couple of modified slimline where I’ve taken a slice of African Blackwood and used for the center band accent. African Blackwood is a very durable wood and it polishes well. Another option might be dark buffalo horn.
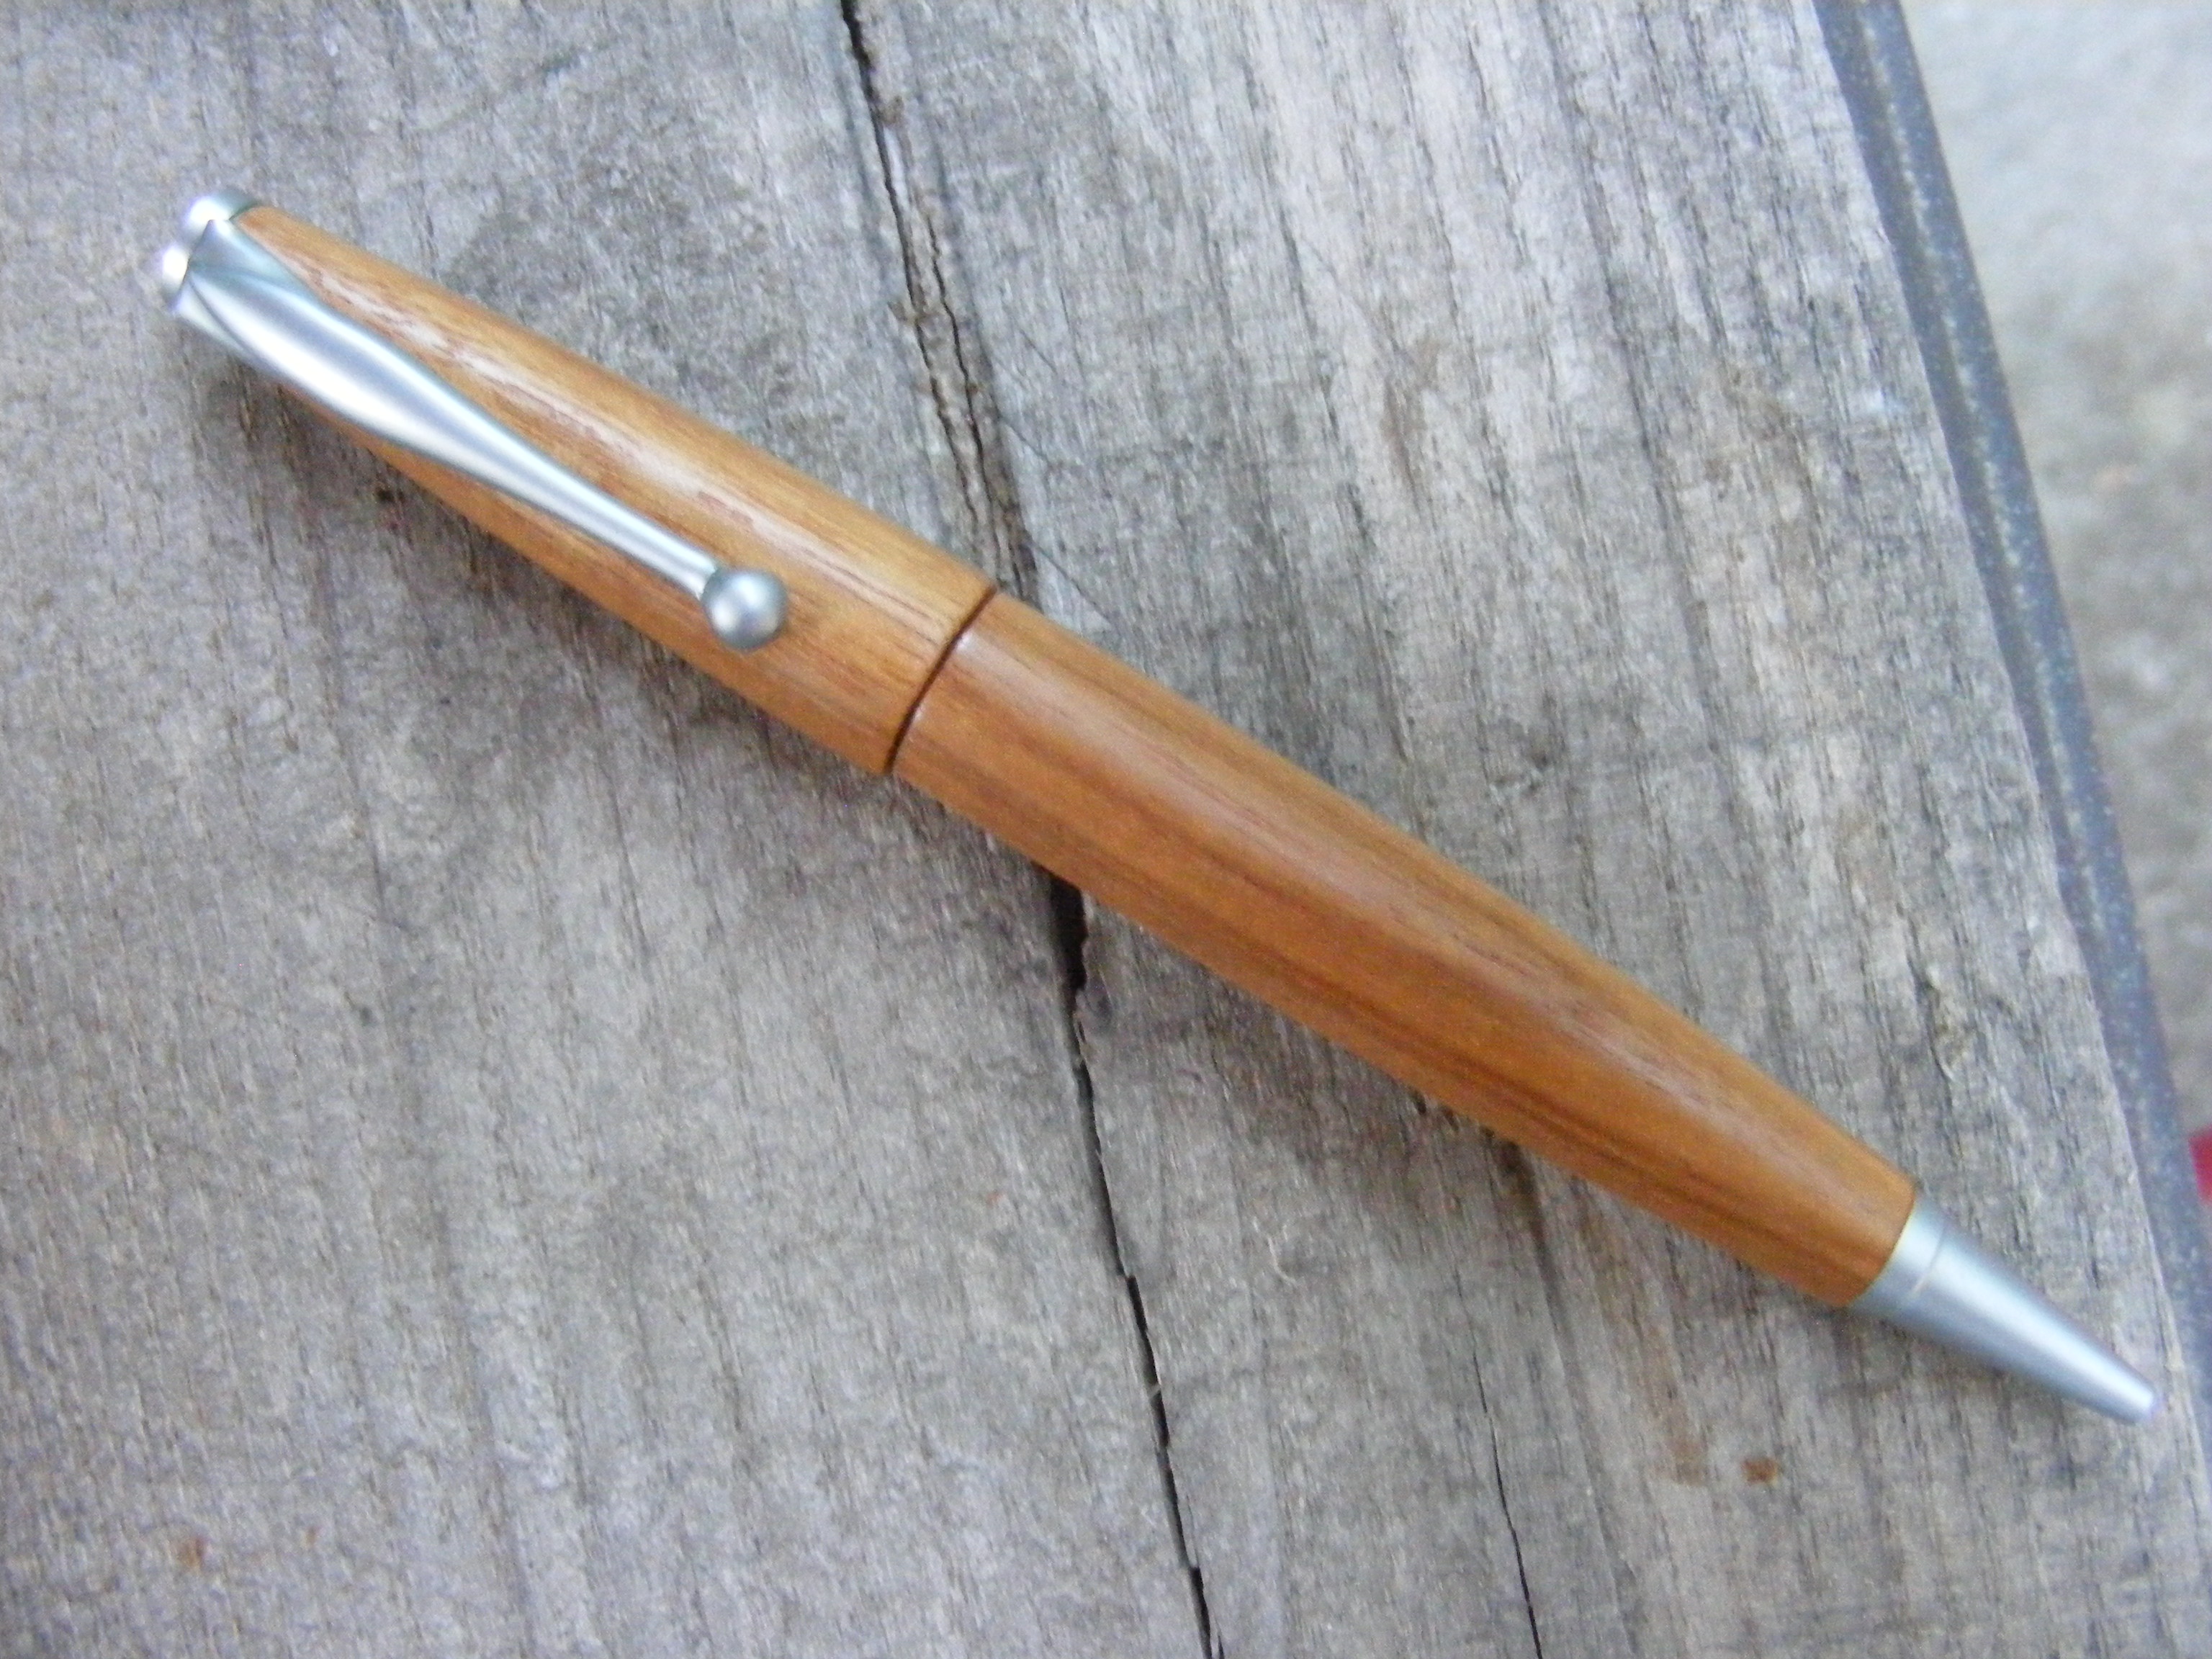
And then finally, I have this one pen where I didn’t add any accents, and it looks very plain. This one’s not my favorite, but it still looks pretty cool.
I hope you have enjoyed this introduction to modified slimline pens. They are very fun and exciting to make. Feel free to share your ideas here. Please suggest other pen modifications that would look good, or maybe you’ve created some different designs yourself.
Make sure you subscribe to our site so you don’t miss out on any new tutorials, projects, or woodworking tips.
Happy woodworking!
