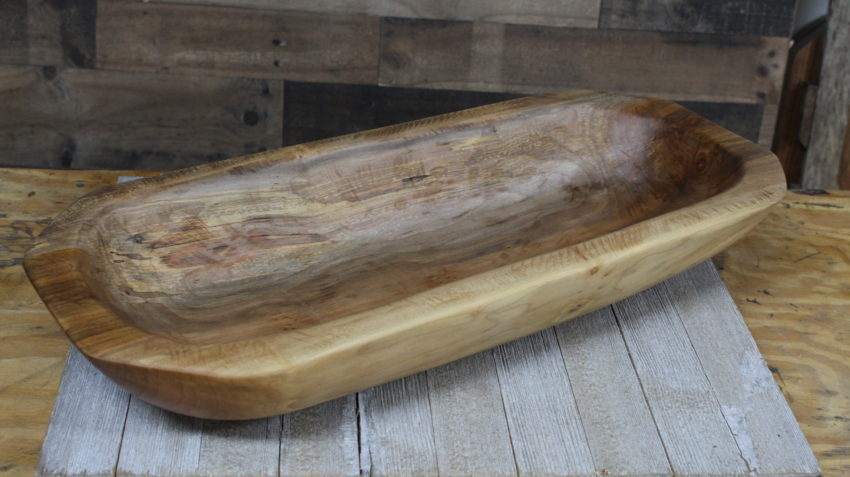
I’m excited to share my power carved dough bowl tutorial. About a year or two ago, my dad was forced to cut down a 20 to 30 year-old maple tree in his back yard. A tree he stuck in the ground during my teens. I asked him to give me a couple of logs, thinking I might use them for a future craft or project. I split the log and it sat in my garage for about a year. Fortunately, it dried slow and didn’t develop any cracks.
So the end of last year I bought the Arbortech Turboplane attachment for my angle grinder and tried it out on the log. I was so pleased with the tool’s performance, I decided to proceed with making a dough bowl.
Historically, dough bowls were used to — you guest it — mix and knead dough. In fact, my mom still has an old dough bowl my grandmother used to use.
So this project is dedicated to that tradition. I plan to give the bowl to Mom and Dad. I’m sure she’ll probably use it for decoration or to hold fruit.
I hope you enjoy the tutorial / demonstration of me making the bowl. You can either click over and watch this on YouTube or follow the photos below. Either way, I hope this will inspire you to try a little power carving and make something you’ll be proud of.
Some of the links below are affiliate links. If you purchase something through a link, I get a small commission. This definitely helps me keep the website going and producing new free content. Thanks for your support!
The Power Carved Dough Bowl Project
Just a quick word about safety if you decide to take up any power-carving projects in the future. Wear your protective gear like safety glasses, dust mask and work gloves. Read and understand the safe operation of all tools and attachments. Get specific training if you think you need it.
The main tools I used:
Angle grinder and carving attachments, reciprocating saw, portable belt sander, level, orbital sander, quick grip clamps and sandpaper (80, 120, 220, & 320 grits). For finishing I used mineral oil and wood butter.
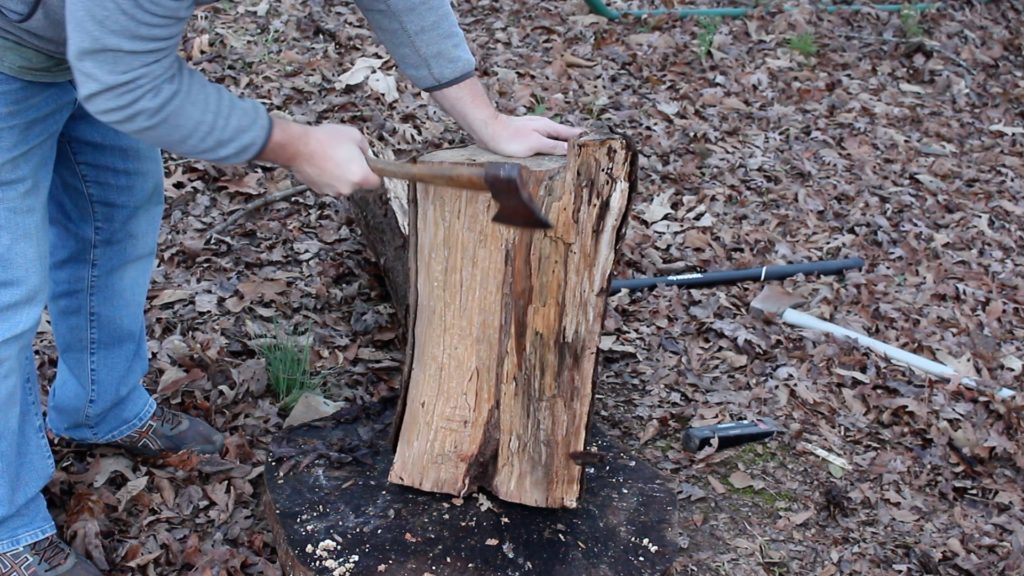
I started the bowl by splitting a 24 inch log in half (Photo 1). I then hued it on top to get the wood below the pith. And on the bottom to establish the base of the bowl. I was very careful with freshly sharpened hatchet so it didn’t hit my foot or leg.
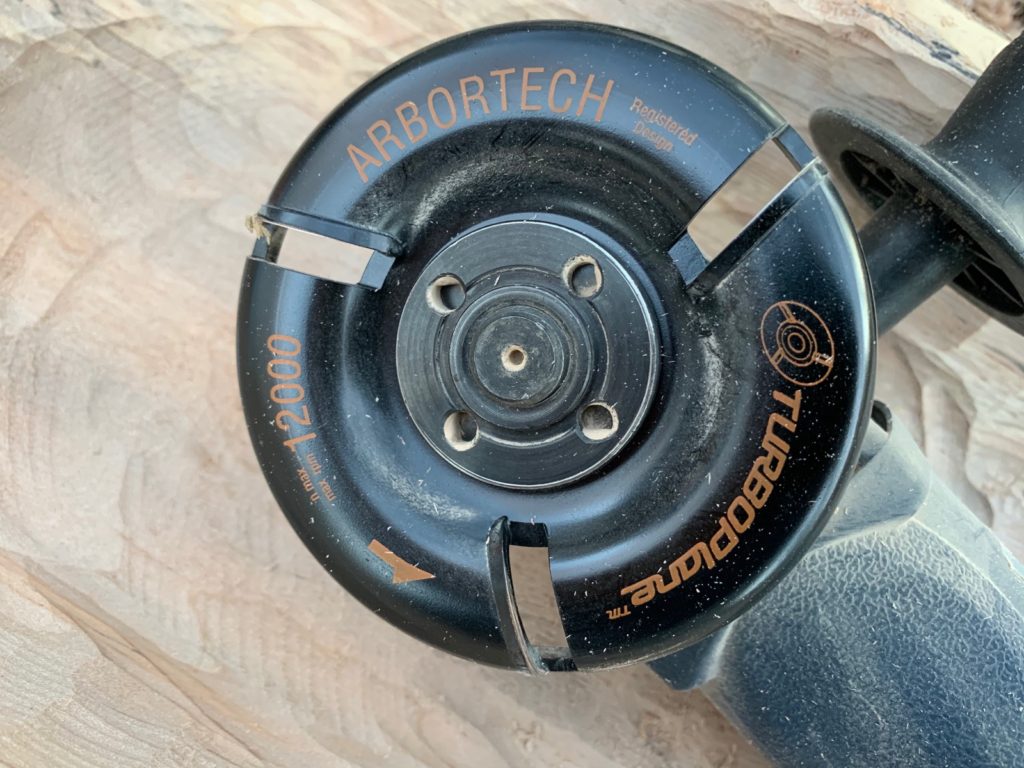
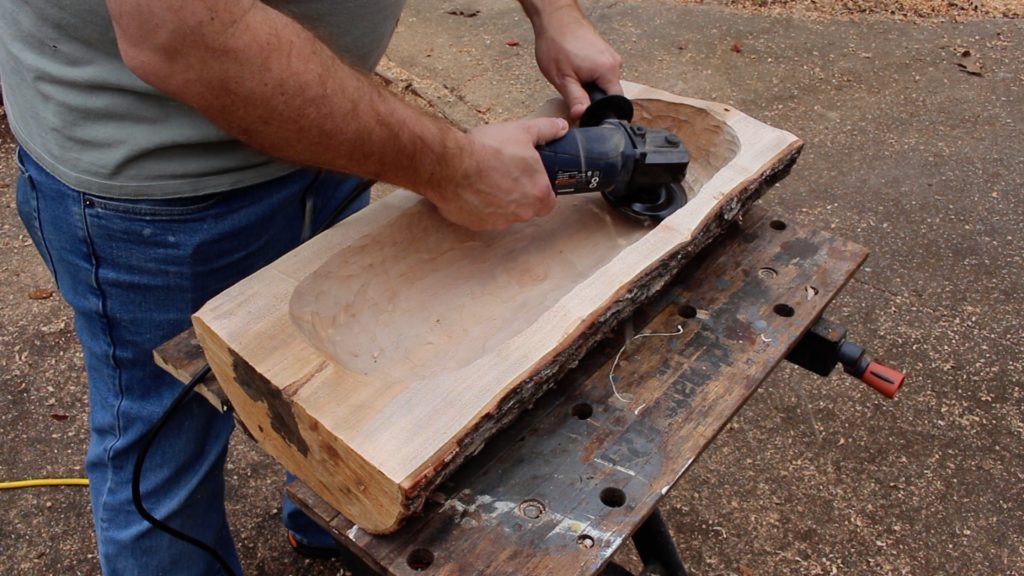
Next, I used the Arbortech TurboPlane (photo 2) on my angle grinder and began hollowing out the bowl area (photo 3). I used a marker to outline the inside edge of the bowl. My goal was to leave about a 1 inch margin all away around for the lip of the bowl. The hollowing took me about a couple of hours to do, but the Turboplane made this easy work.
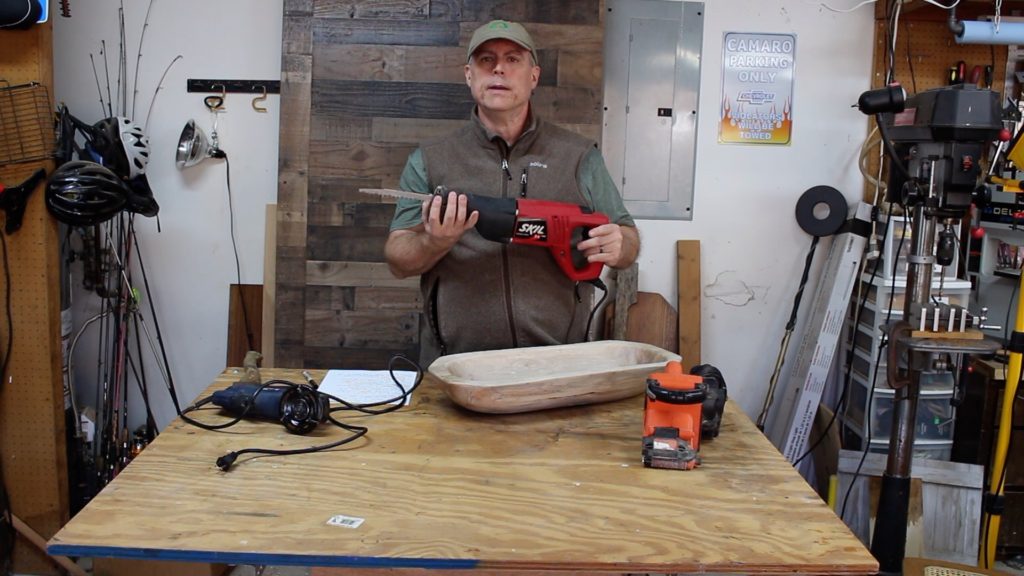
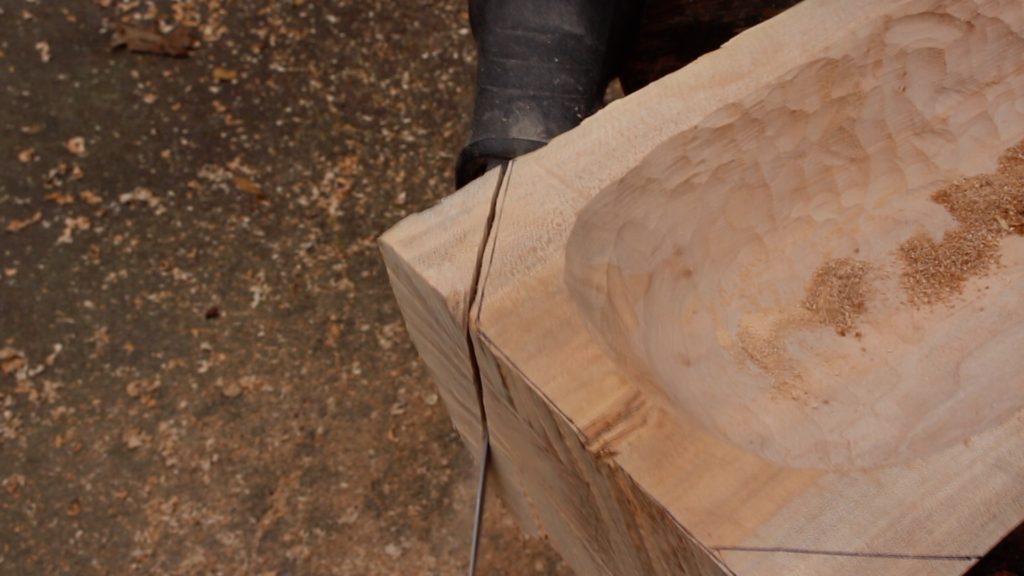
Once I finished hollowing out the bowl, I used my reciprocating saw to trim off the corners and some of the bottom ends (Photo 4 & 5).
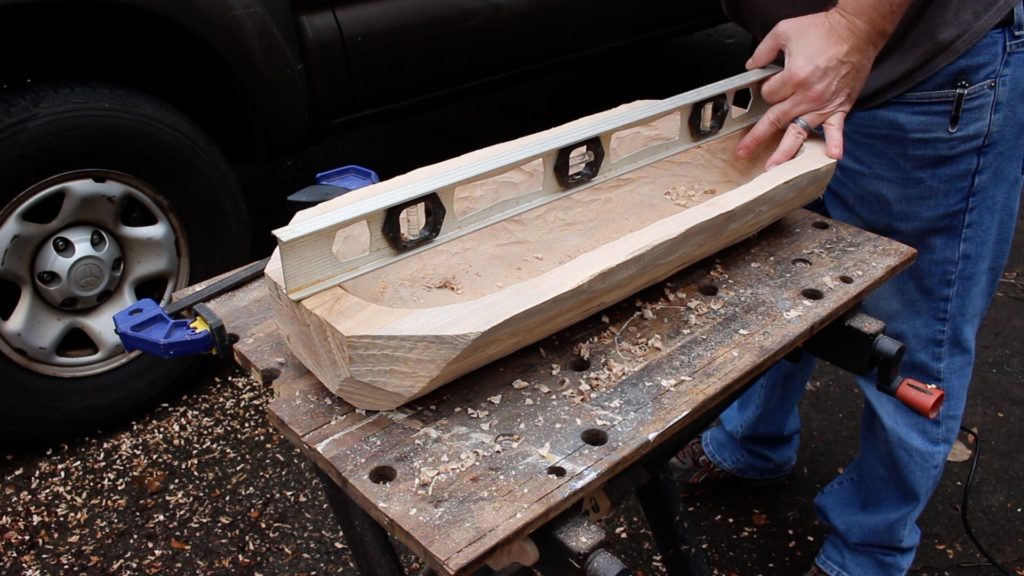
As I worked on the bowl, I was constantly checking it with my level–both top and bottom– to make sure the bowl would sit flat and not teeter totter (Photo 6). I also wanted to make sure the bottom and top were running parallel. The Portable Belt Sander came in handy for leveling and smoothing out these areas. A good hand plane would also work.
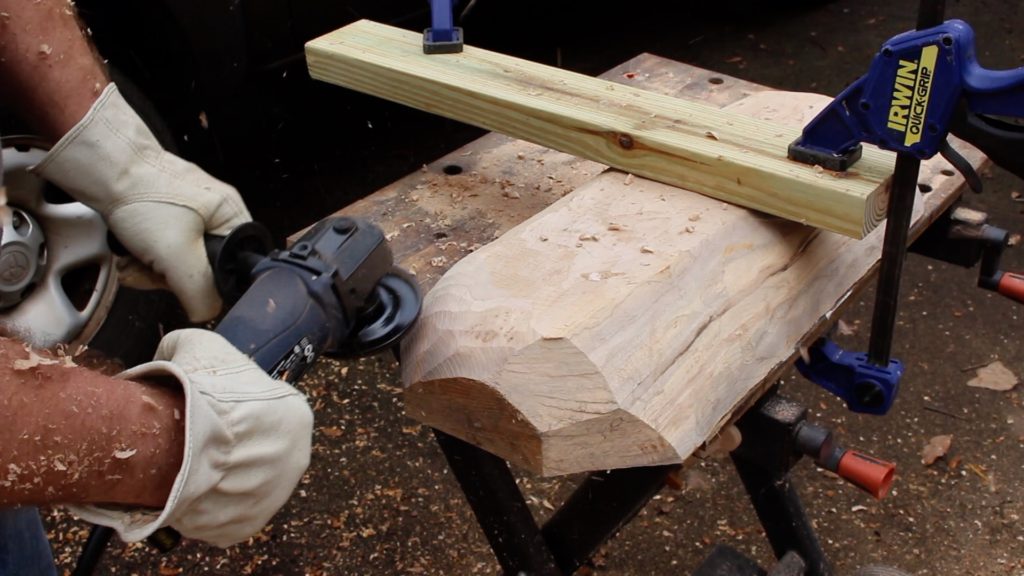
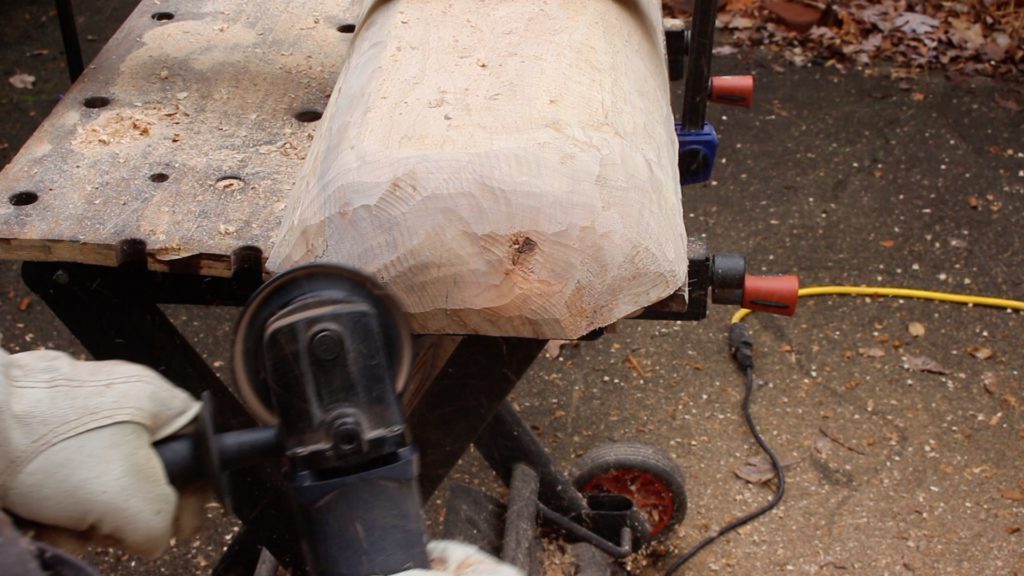
Next, I used the angle grinder (and Arbortech TurboPlane) to roughly shape the bottom of the bowl (Photo 7 & 8). You can also see in photo 7 how I’m using a 2 X 4 and 2 Quick Grip Clamps to hold the bowl while I work.
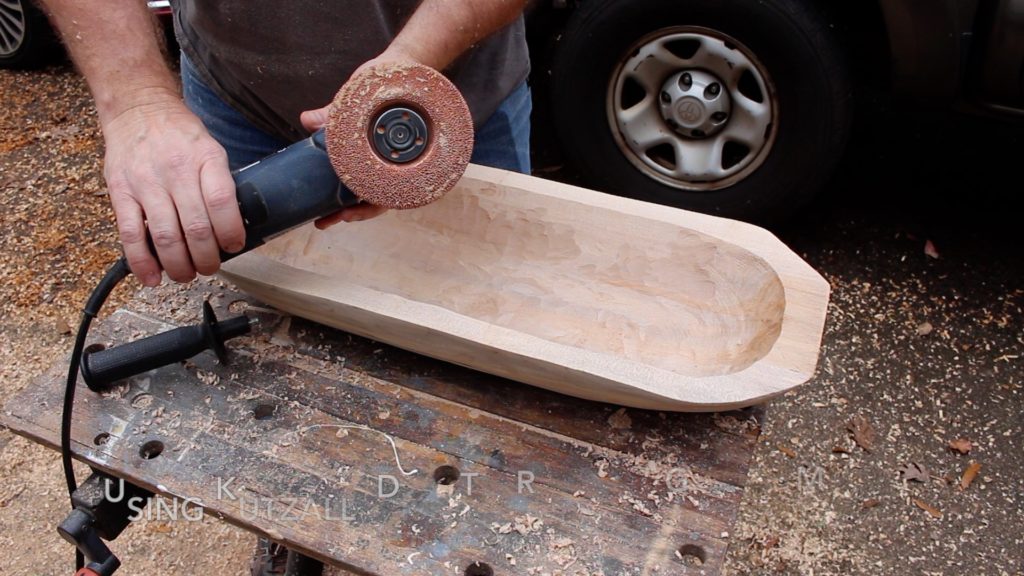
Then I began to do some rough sanding, using another attachment on my angle grinder made by Kutzall (Photo 9). This attachment is very coarse. With this sanding attachment I got rid of the gouge marks left behind by the Turboplane. Another option would be to just leave the gouge marks if a rustic look is the goal.
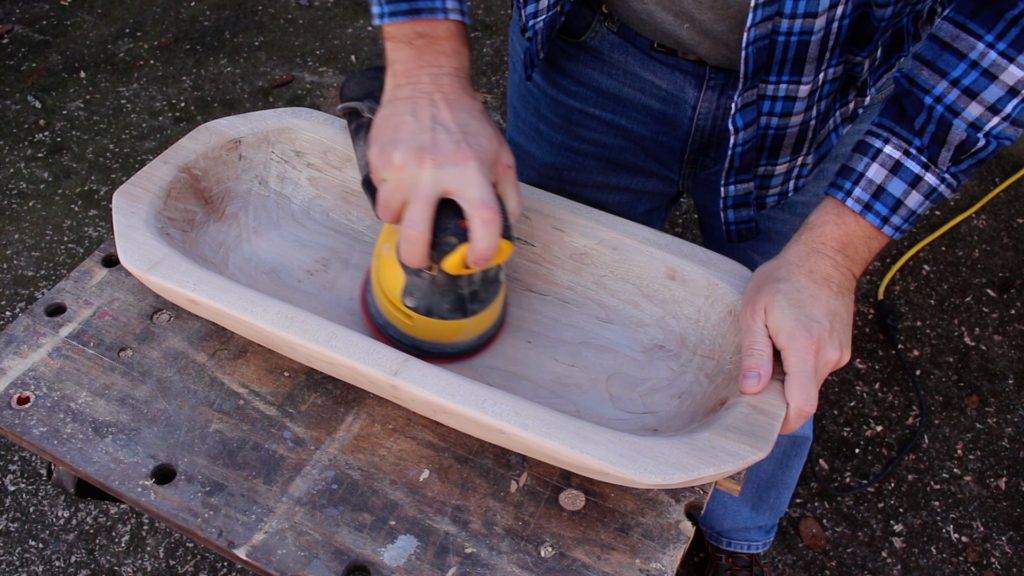
I did the final sanding by hand and with my Orbital Sander (Photo 10). I started with 80 grit and then moved to 120, 220, and 320 grits. I also used a ball-shaped sanding attachment that fits on my electric hand drill. Great for getting in those inside curves. The ball attachment I got at Harbor Freight.
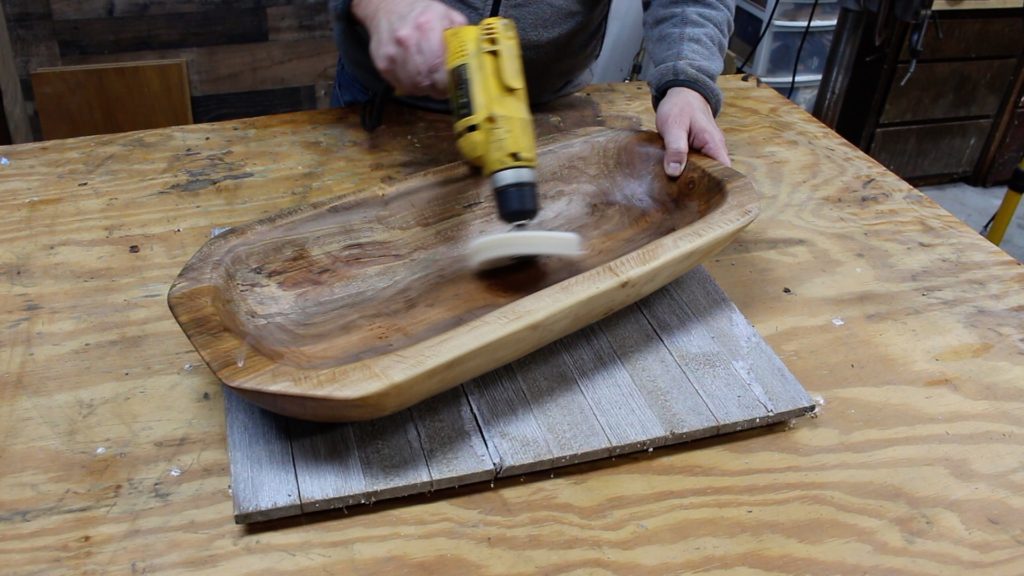
I used my air compressor to blow away all the dust and wiped the bowl down with mineral spirits. The mineral spirits will help you see any scratch marks you might want to take care of before the final finishing.
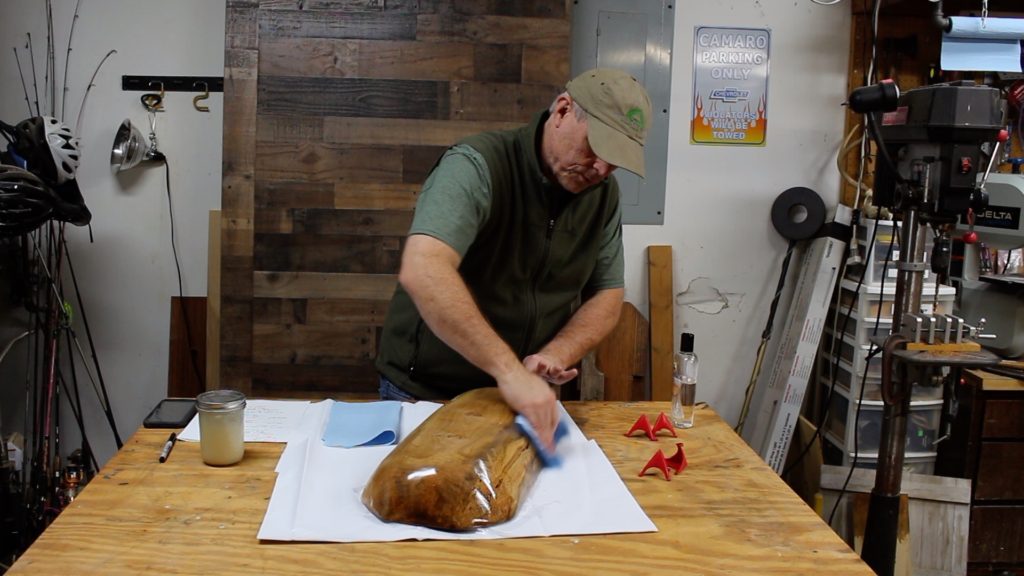
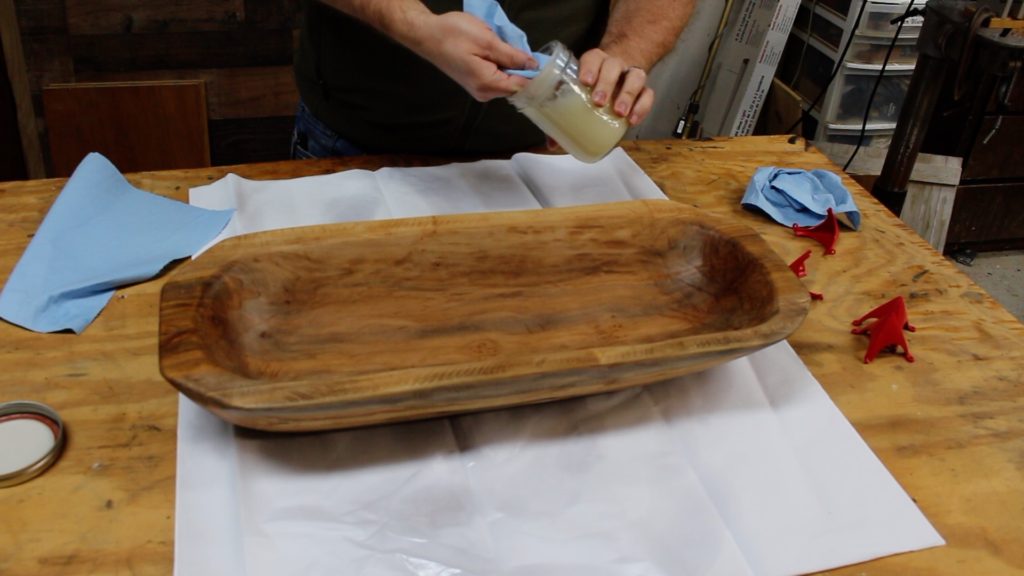
I finished my bowl with mineral oil and my wood butter (both food safe). I applied about 3 coats of mineral oil (Photo 11) allowing for absorption between coats. Then I applied the wood butter, wiped off the excess and buffed (Photo 12 & 13).
If you want to use the wood butter, check out my recipe for making it yourself.
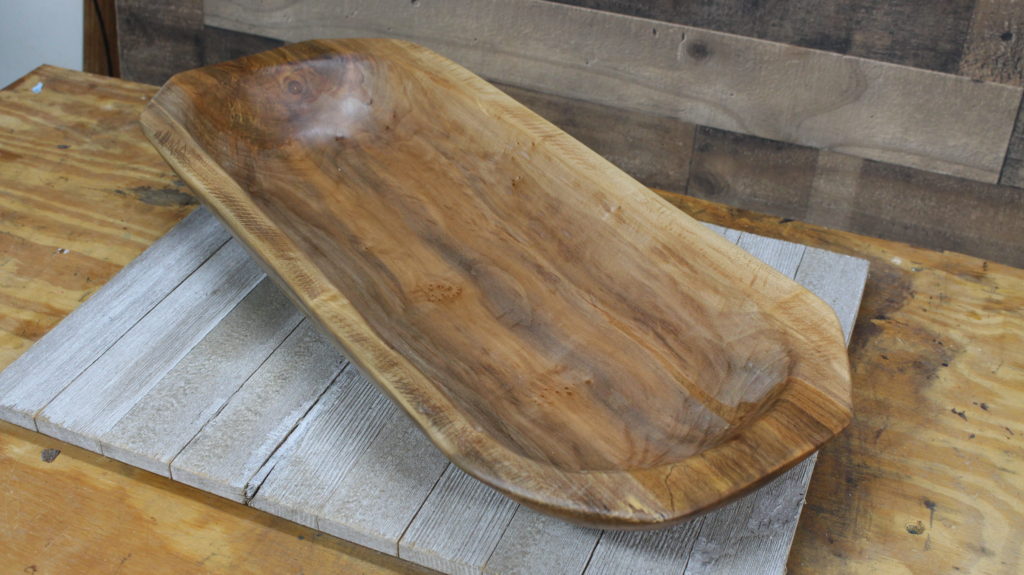
This bowl turned out to be quite stunning (Photo 14). God and Mother Nature had done their work. I just helped to reveal it. I think Mom and Dad will really enjoy their bowl. Now they will have a little memento of a tree they planted years ago.
I hope you enjoyed my power carved dough bowl tutorial (and video). And I hope this project might inspire you to get out and do some power carving. I chose the Arbortech TurboPlane attachment, but there are other brands like King Arthur tools that are also good and reasonably priced.
If you enjoyed this tutorial, please consider subscribing to my newsletter, You can sign up at the form below. I will also send you a free home shop safety checklist when you sign up. Also, check me out on YouTube and the many videos I have there.

Are you starting up a new shop? Want to work safer in your shop? To help you answer these questions I've put together a 2-part checklist -- Home Shop Safety & Tool Checklist.
I will also send you updates of my latest woodworking and DIY projects. You can get all this by subscribing to my free email newsletter.
