Earlier this year I purchased a Ryobi nail gun, and I’m so glad that I did. In this blog post I’m going to review the Ryobi nail gun and share with you what I like, along with a few dislikes. I’ll also cover where the nail gun should be used and where it shouldn’t. I’ll also share with you a few projects where I have used the Ryobi nail gun.
First let me give you some facts:
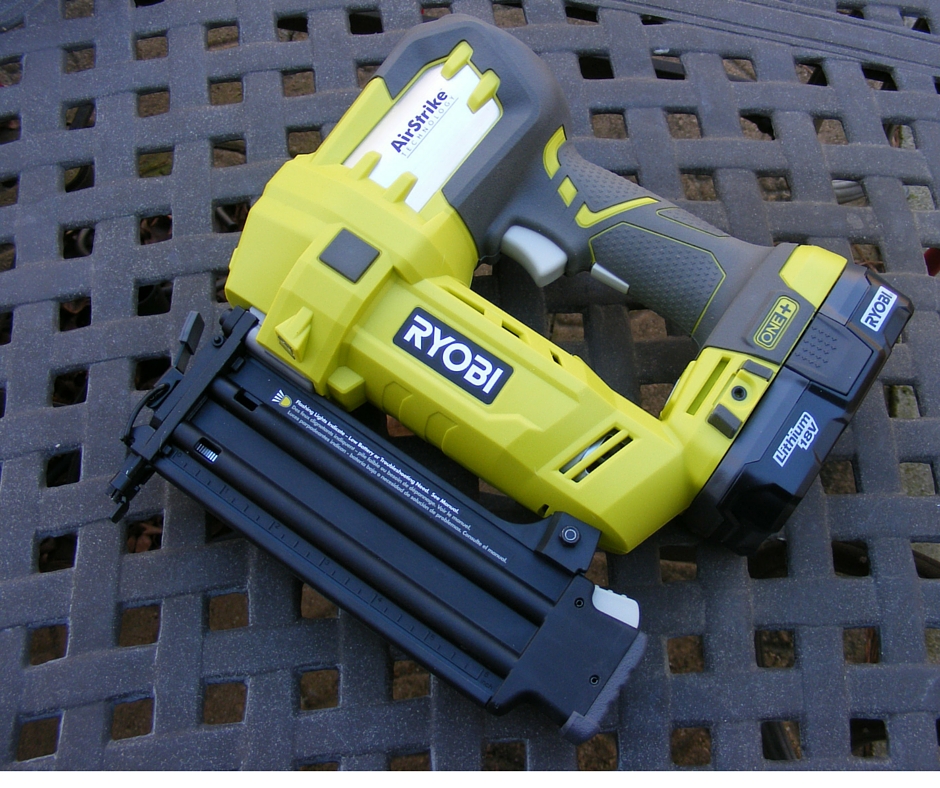
The model I bought was the Ryobi nail gun — P320 18 gauge. I got it for just over $100. That is the standalone nail gun and it did come with a few 18 gauge nails. I separately purchased the battery charger and battery
. You can buy these from Home Depot or online through Amazon
. And on Amazon you might be able to find used ones or reconditioned ones at a good price. Amazon also has several customer reviews
that are helpful. You should also check out Amazon’s current best seller list for power nailers.
Features and specifications:
- Air strike technology – eliminates compressor and hose.
- Pressure/nail depth adjustment – uses a dial.
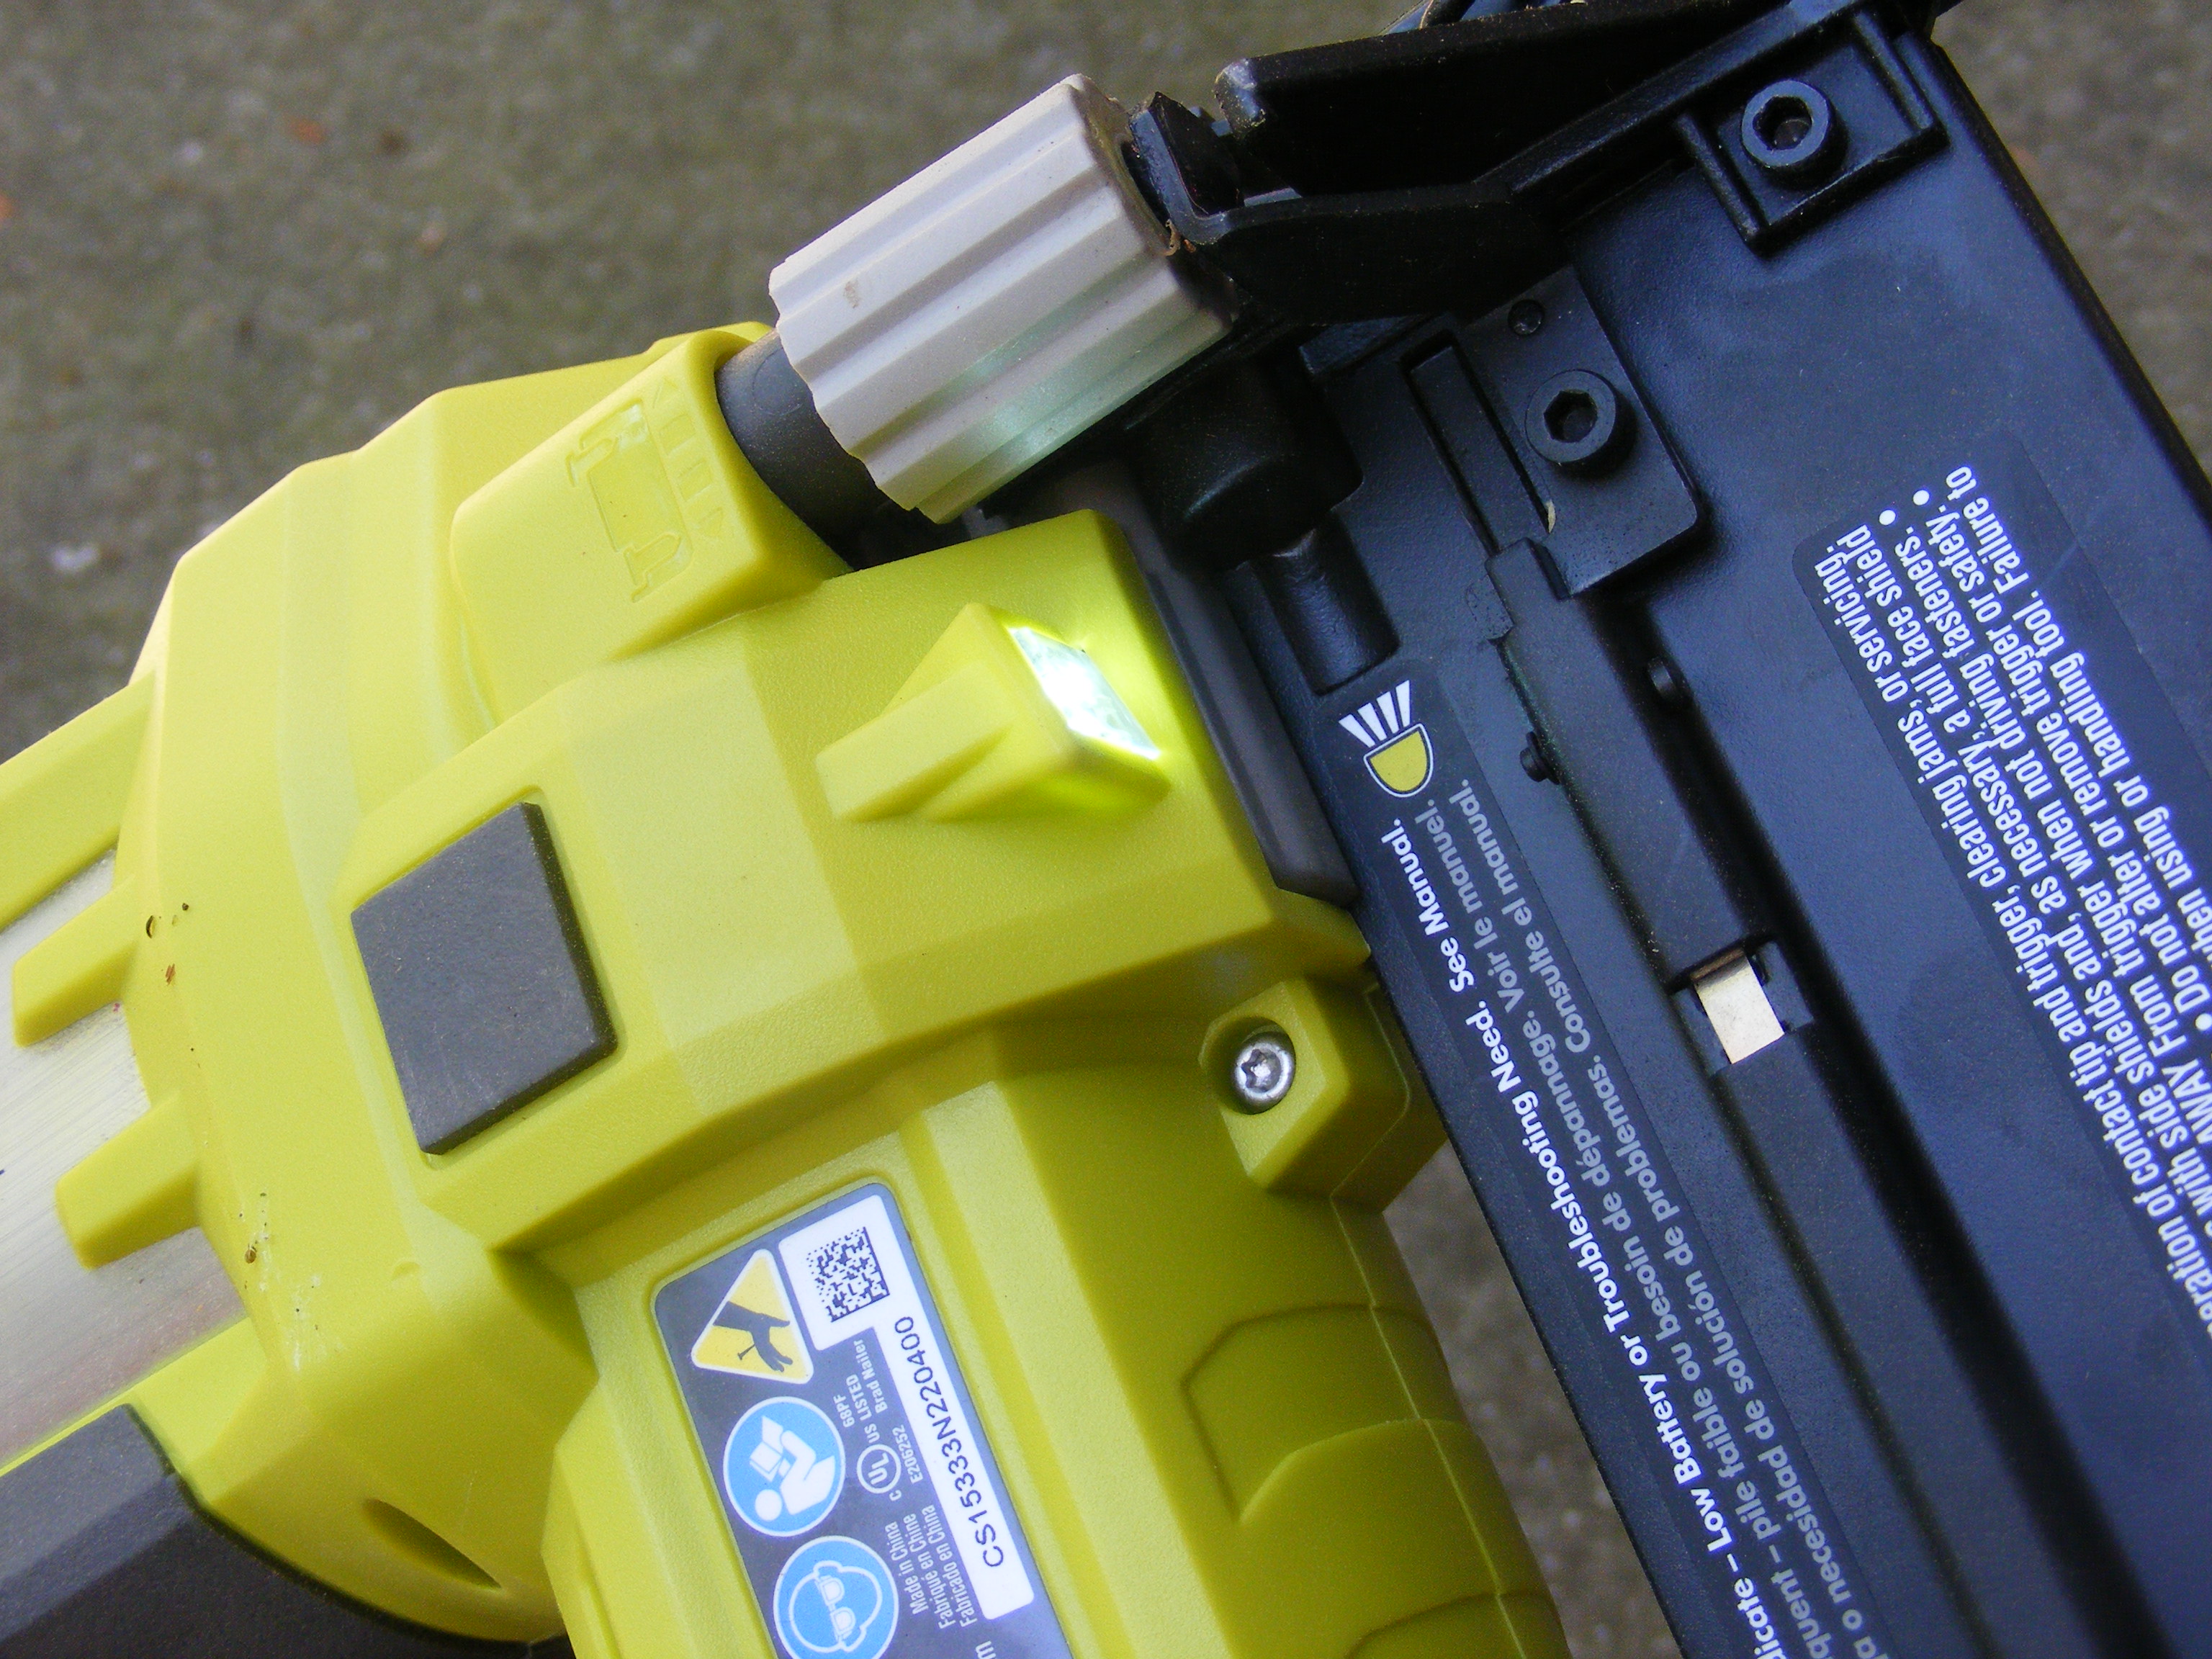
- LED light
- Weight – 6 pounds
- Dimensions – 10 by 3 by 7 inches
- Voltage – 18 volts
- Nail type — 18 gauge nails
- Brad nail length — 5/8 to 2 inch.
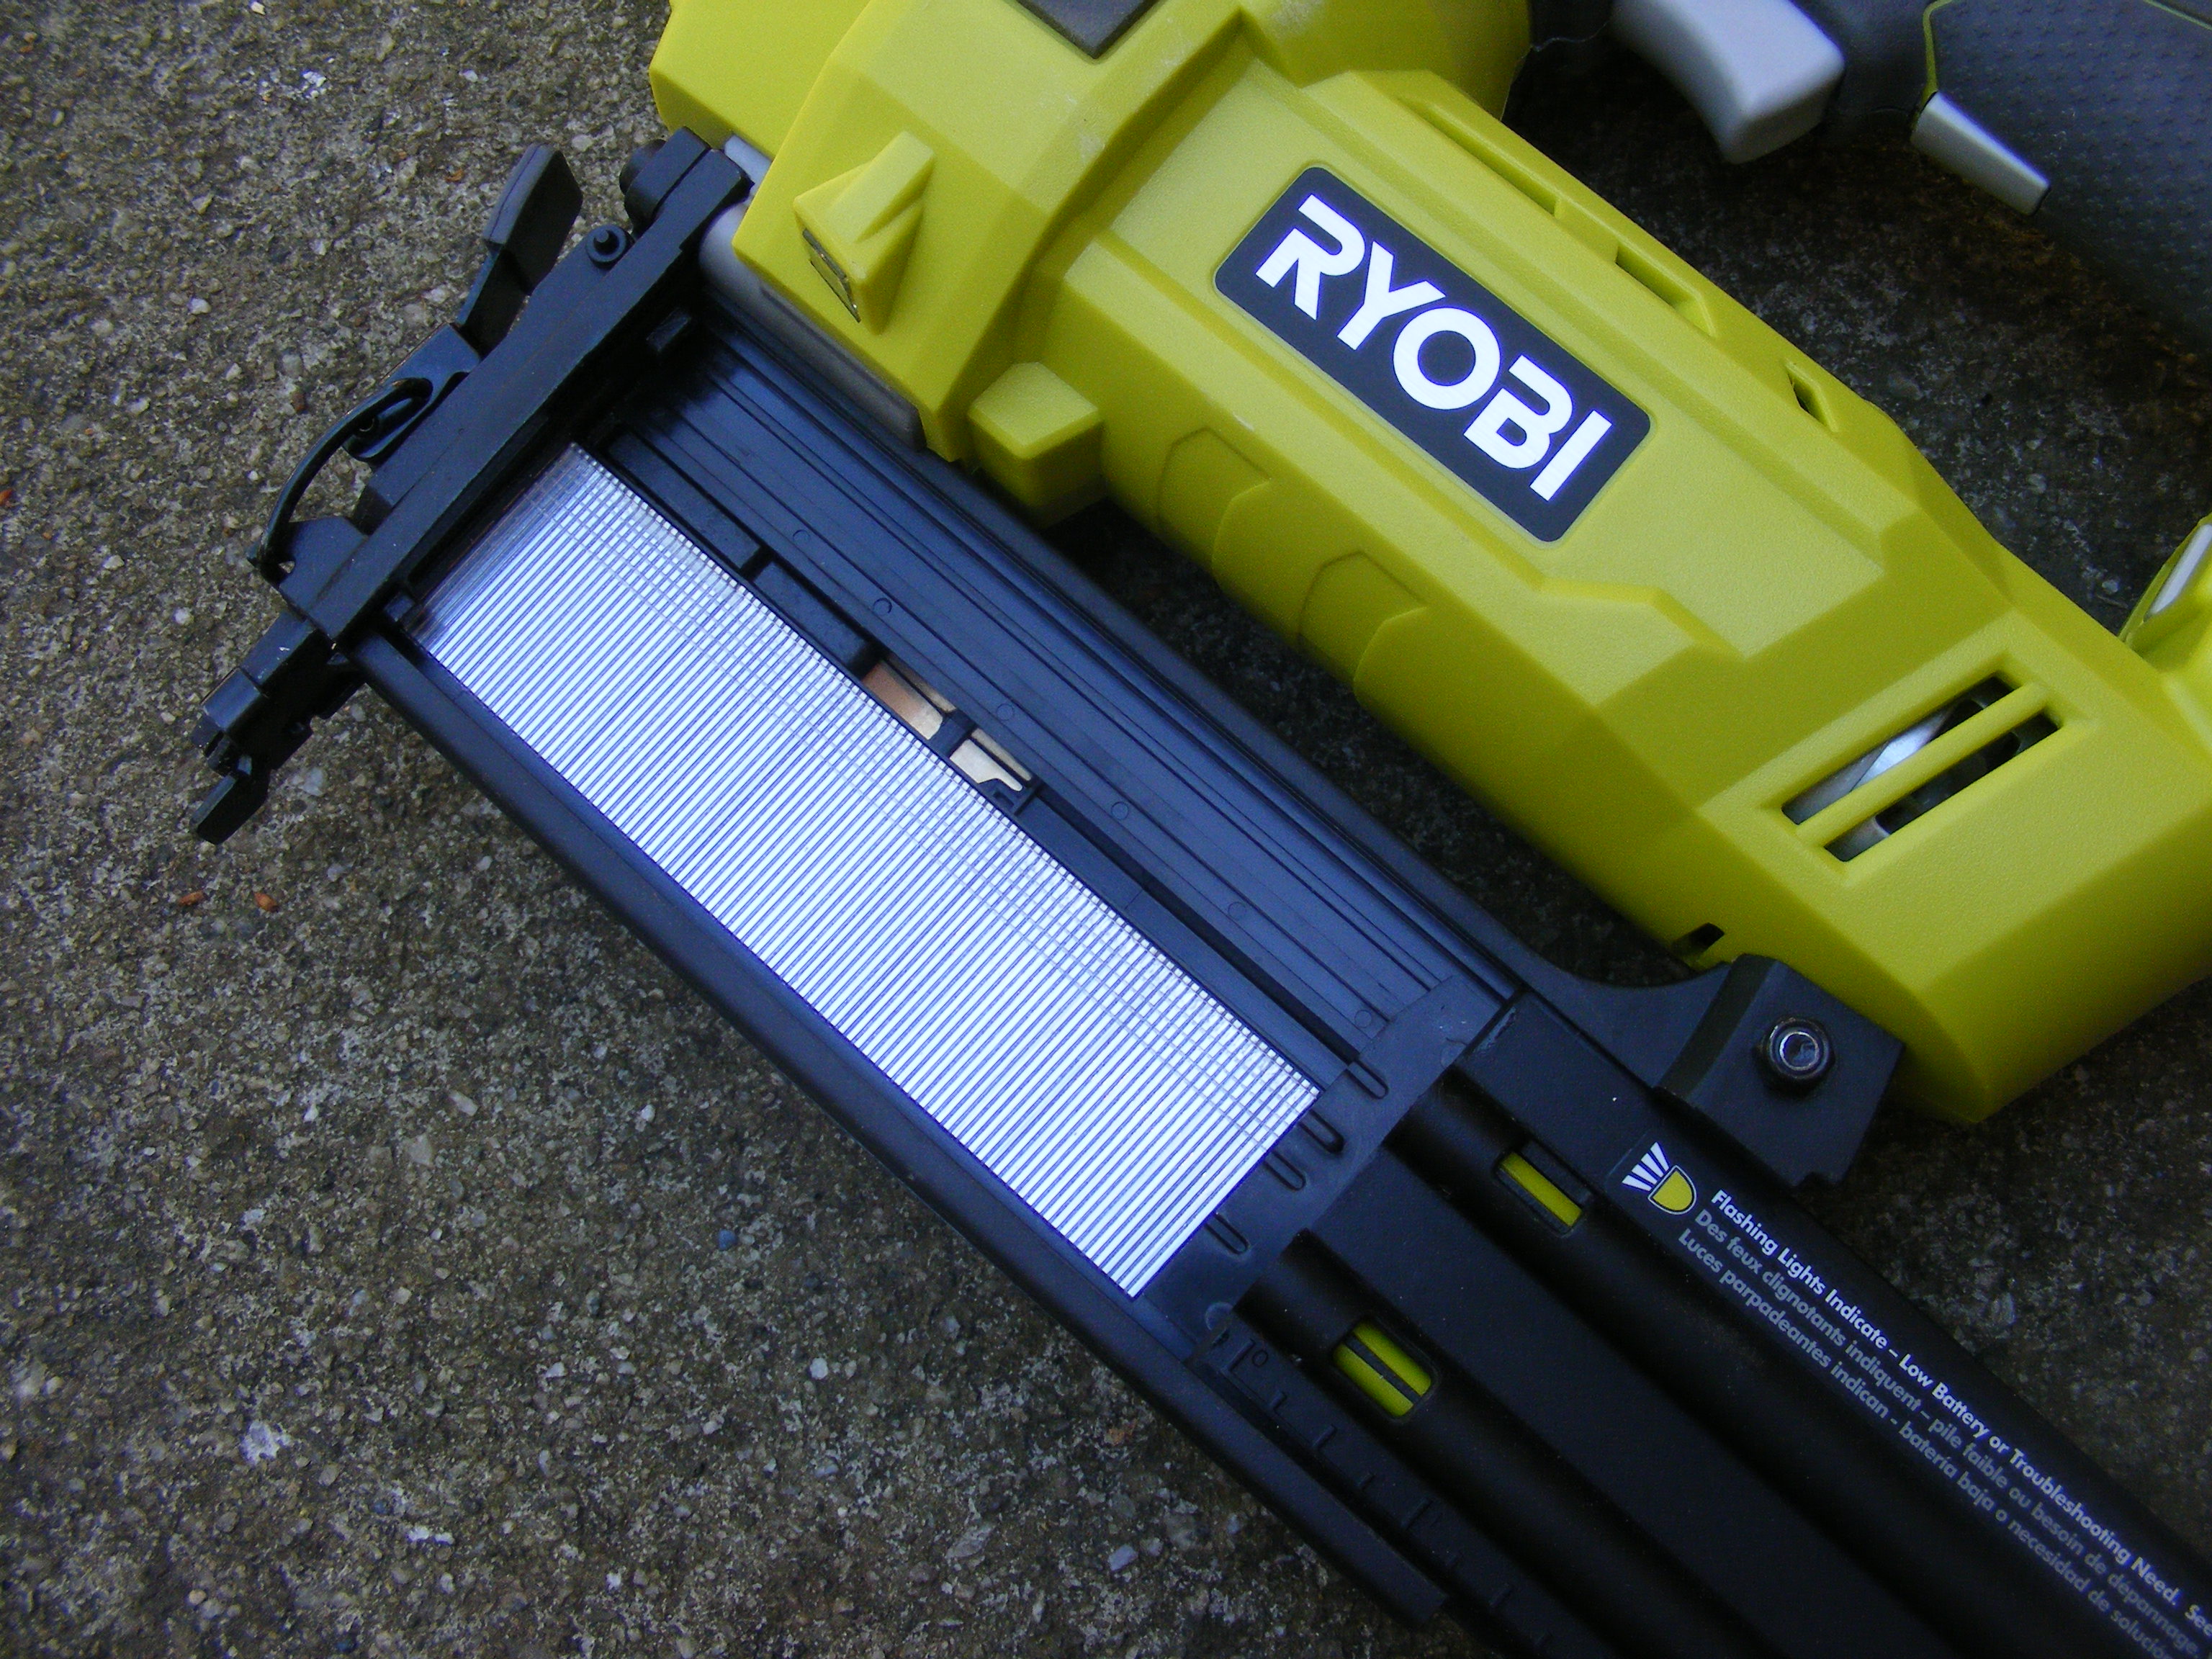
- Magazine capacity — 105 nails
What I like and don’t like about this nail gun? The pros and cons:
You could, of course, continue to use a hammer and nail. That would certainly be cheaper. However, using a hammer and nail for some projects can be clunky and inefficient. With hammer and nail, you have to somehow hold the work, get the nail started and then nail consistently and accurately. A skill many of us need to acquire. It just takes time.
The nail gun takes some of that guess work and inefficiency out of the picture. You still have to hold your work piece in place when using the nail gun, but with much less effort. The nail gun is a whopping 6 pounds which is much heavier than a typical hammer, so you could make the argument that the nail gun is a bit clunky. But I think you will like it once you try it and get used to it. You’ll see your projects go a lot quicker.

Speaking of projects, I have used my nail gun to build projects like bird houses, serving trays, a bottle opener, window sills and molding. It’s especially handy for installing molding. And I love the fact that I don’t have to carry around an air compressor and hose which is how some nail guns are powered. This particular nail gun uses an electric battery which makes it even more portable.
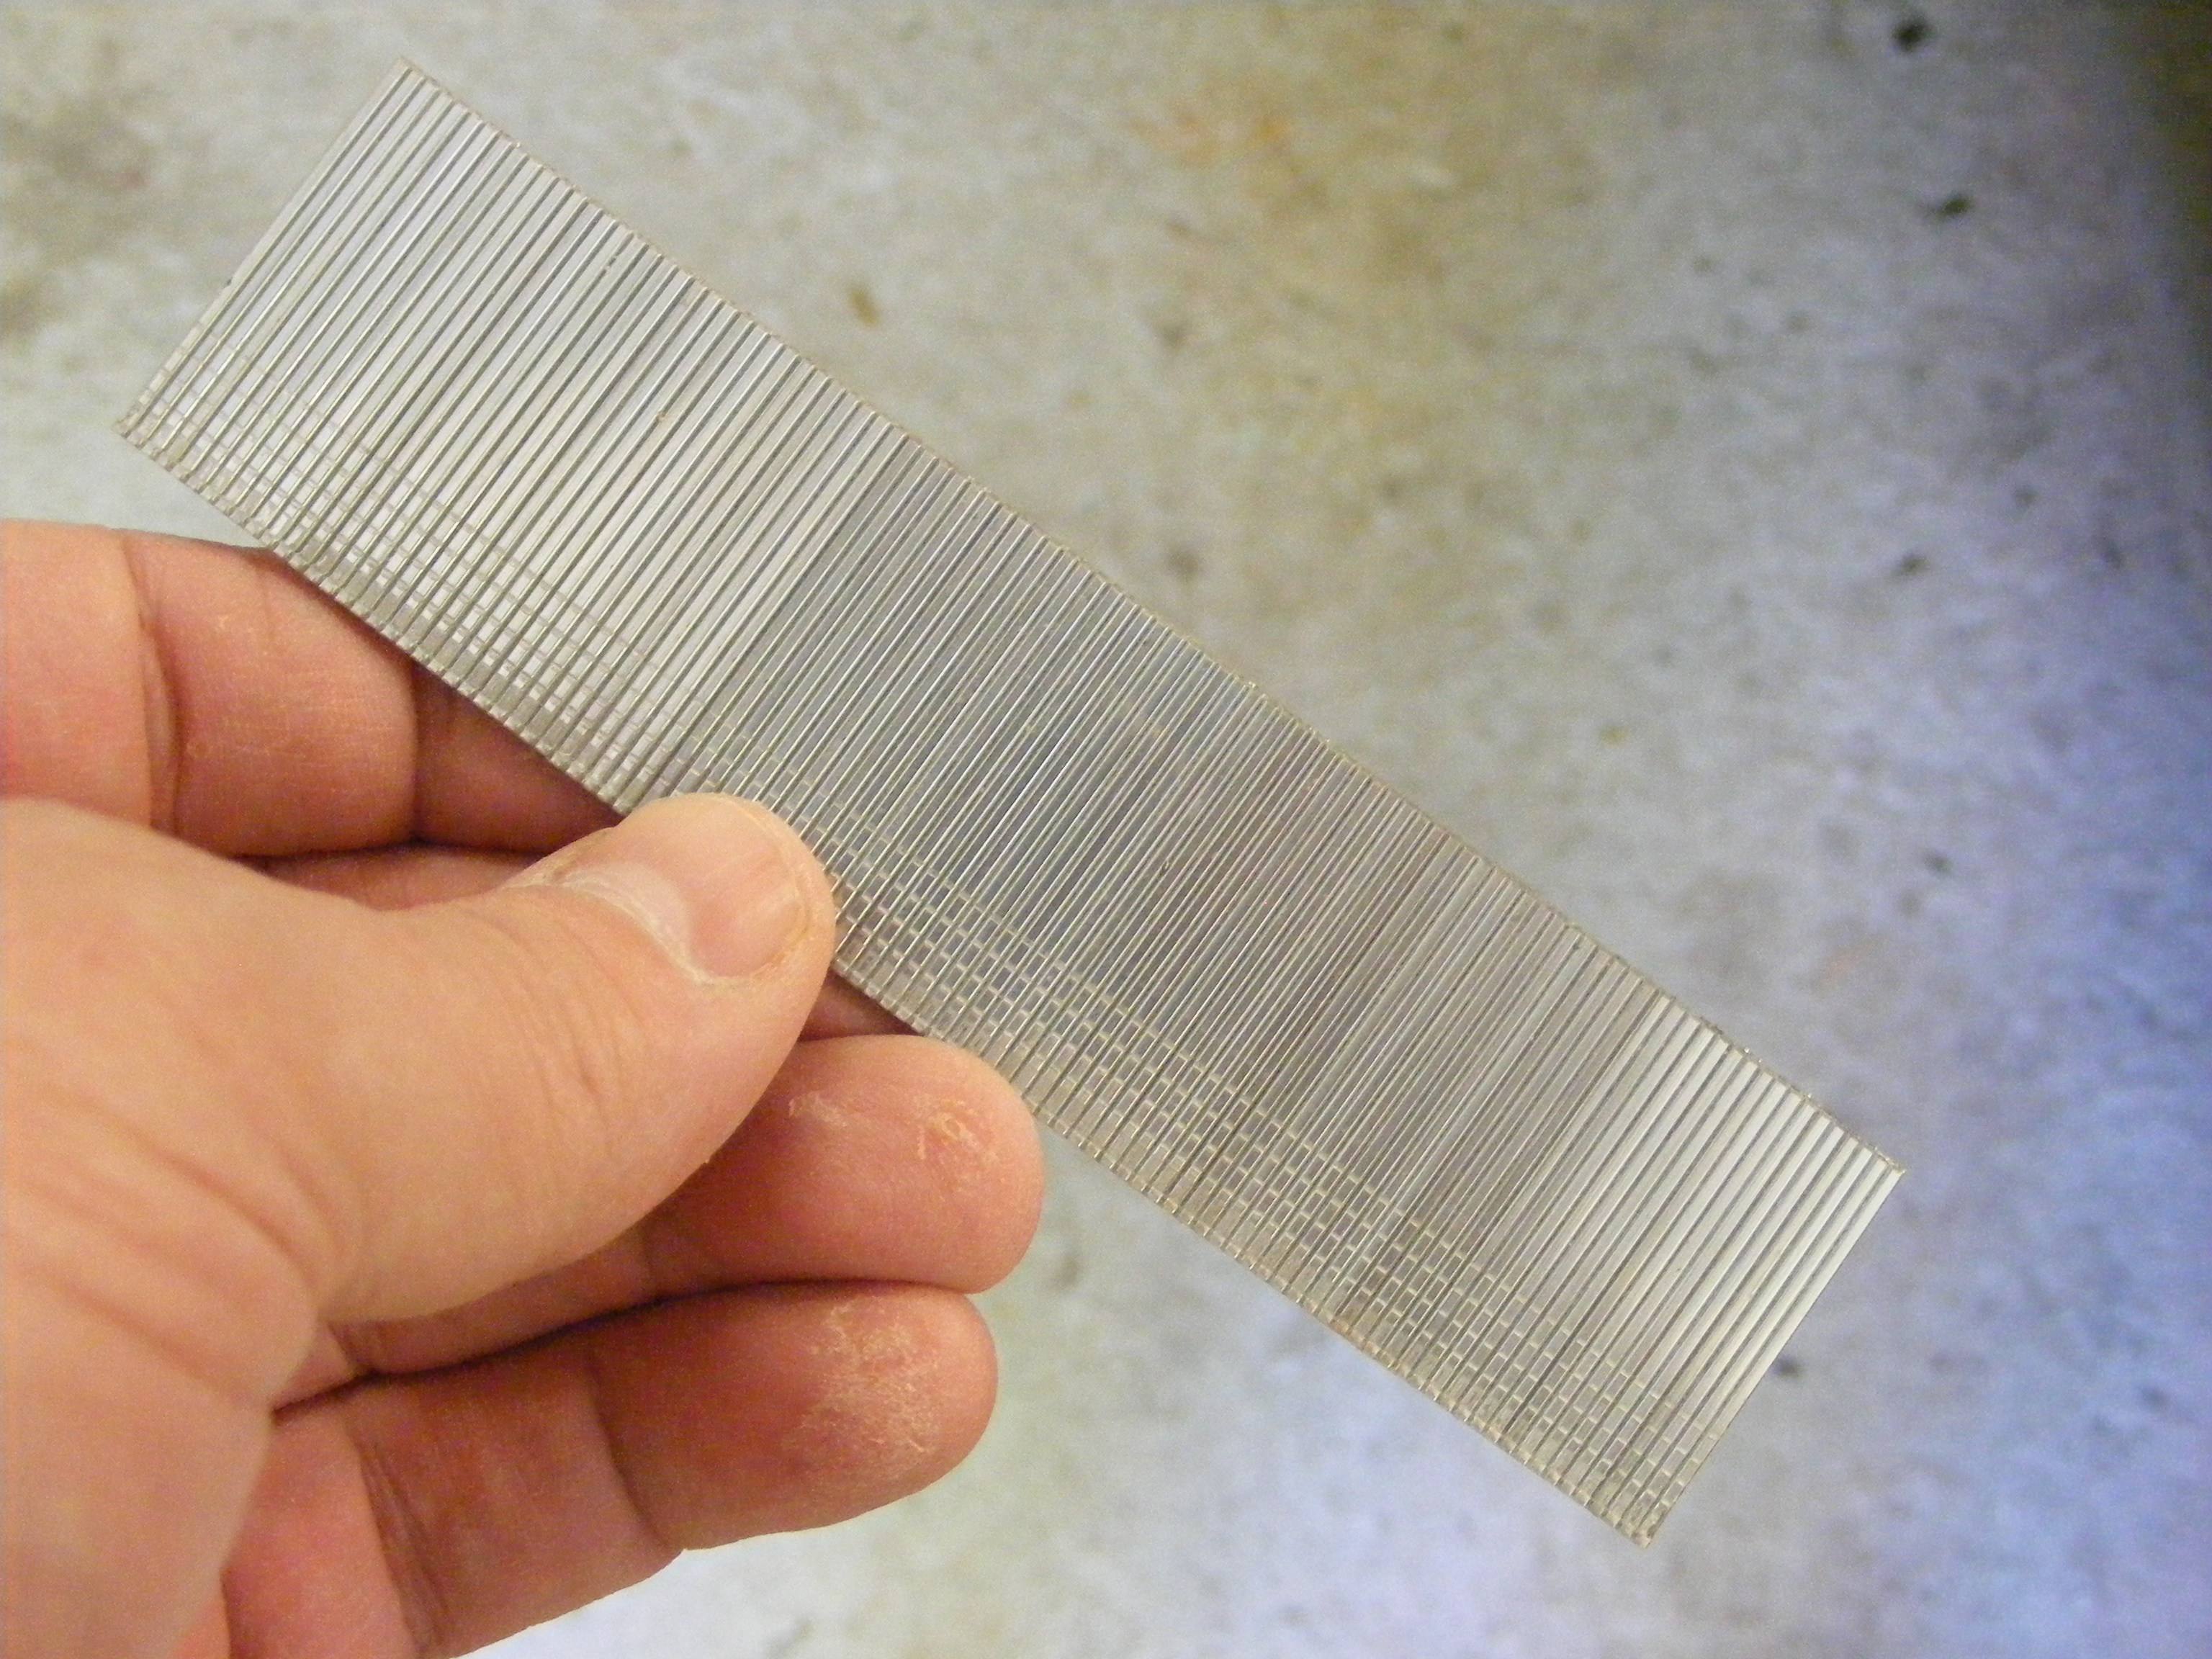
The 18 gauge nails are small (look like finishing nails) and you buy them in special packs designed to load into nail guns. The nails are lightly fused together and load into the nail gun much like bullets in a magazine or staples in an office stapler. I normally use my nail gun in combination with wood glue, and I use it for projects that don’t require a huge amount of structural integrity. So for example, it would NOT be a good idea to use it for putting together furniture or any large load-bearing project. But you could do – like some people do – and use it to “tack” pieces together so that you can come back later and add screws or larger nails for more strength.
Here are some other examples of where you could successfully use the nail gun: picture frames, bird feeders, small planter boxes, baseboard, panel board — just about any non-load bearing project. I usually always use my nail gun in combination with wood glue. The glue helps bind the wood together and minimize/eliminate warping. And with something like a birdhouse, it helps seal the joints to keep moisture out.
The Ryobi nail gun comes with an adjustment feature which helps control how deeply the nail is driven. This comes into play since you can use a range of nail lengths — 5/8 to 2 inch. Normally, the nail will be driven slightly below the wood’s outer surface, so you might need to add some kind of wood filler over the recessed nail. You can test the nail gun on scrap wood to adjust it like you want it.
One drawback I noticed is that sometimes the nail may follow the grain a certain way or deflect around a knot and get driven the wrong direction. This can happen around butt joints and the nail might get driven outward and exposed. So then you have to figure out how to drive the nail out without messing up the wood. But that has happened infrequently.
In the Amazon reviews, some complained about miss-firing or jamming. I’m happy to report that has not happened with my Ryobi nail gun. It has worked smoothly and consistently so far.
See the pictures below to get a close-up look of some of the Ryobi nail gun’s features.
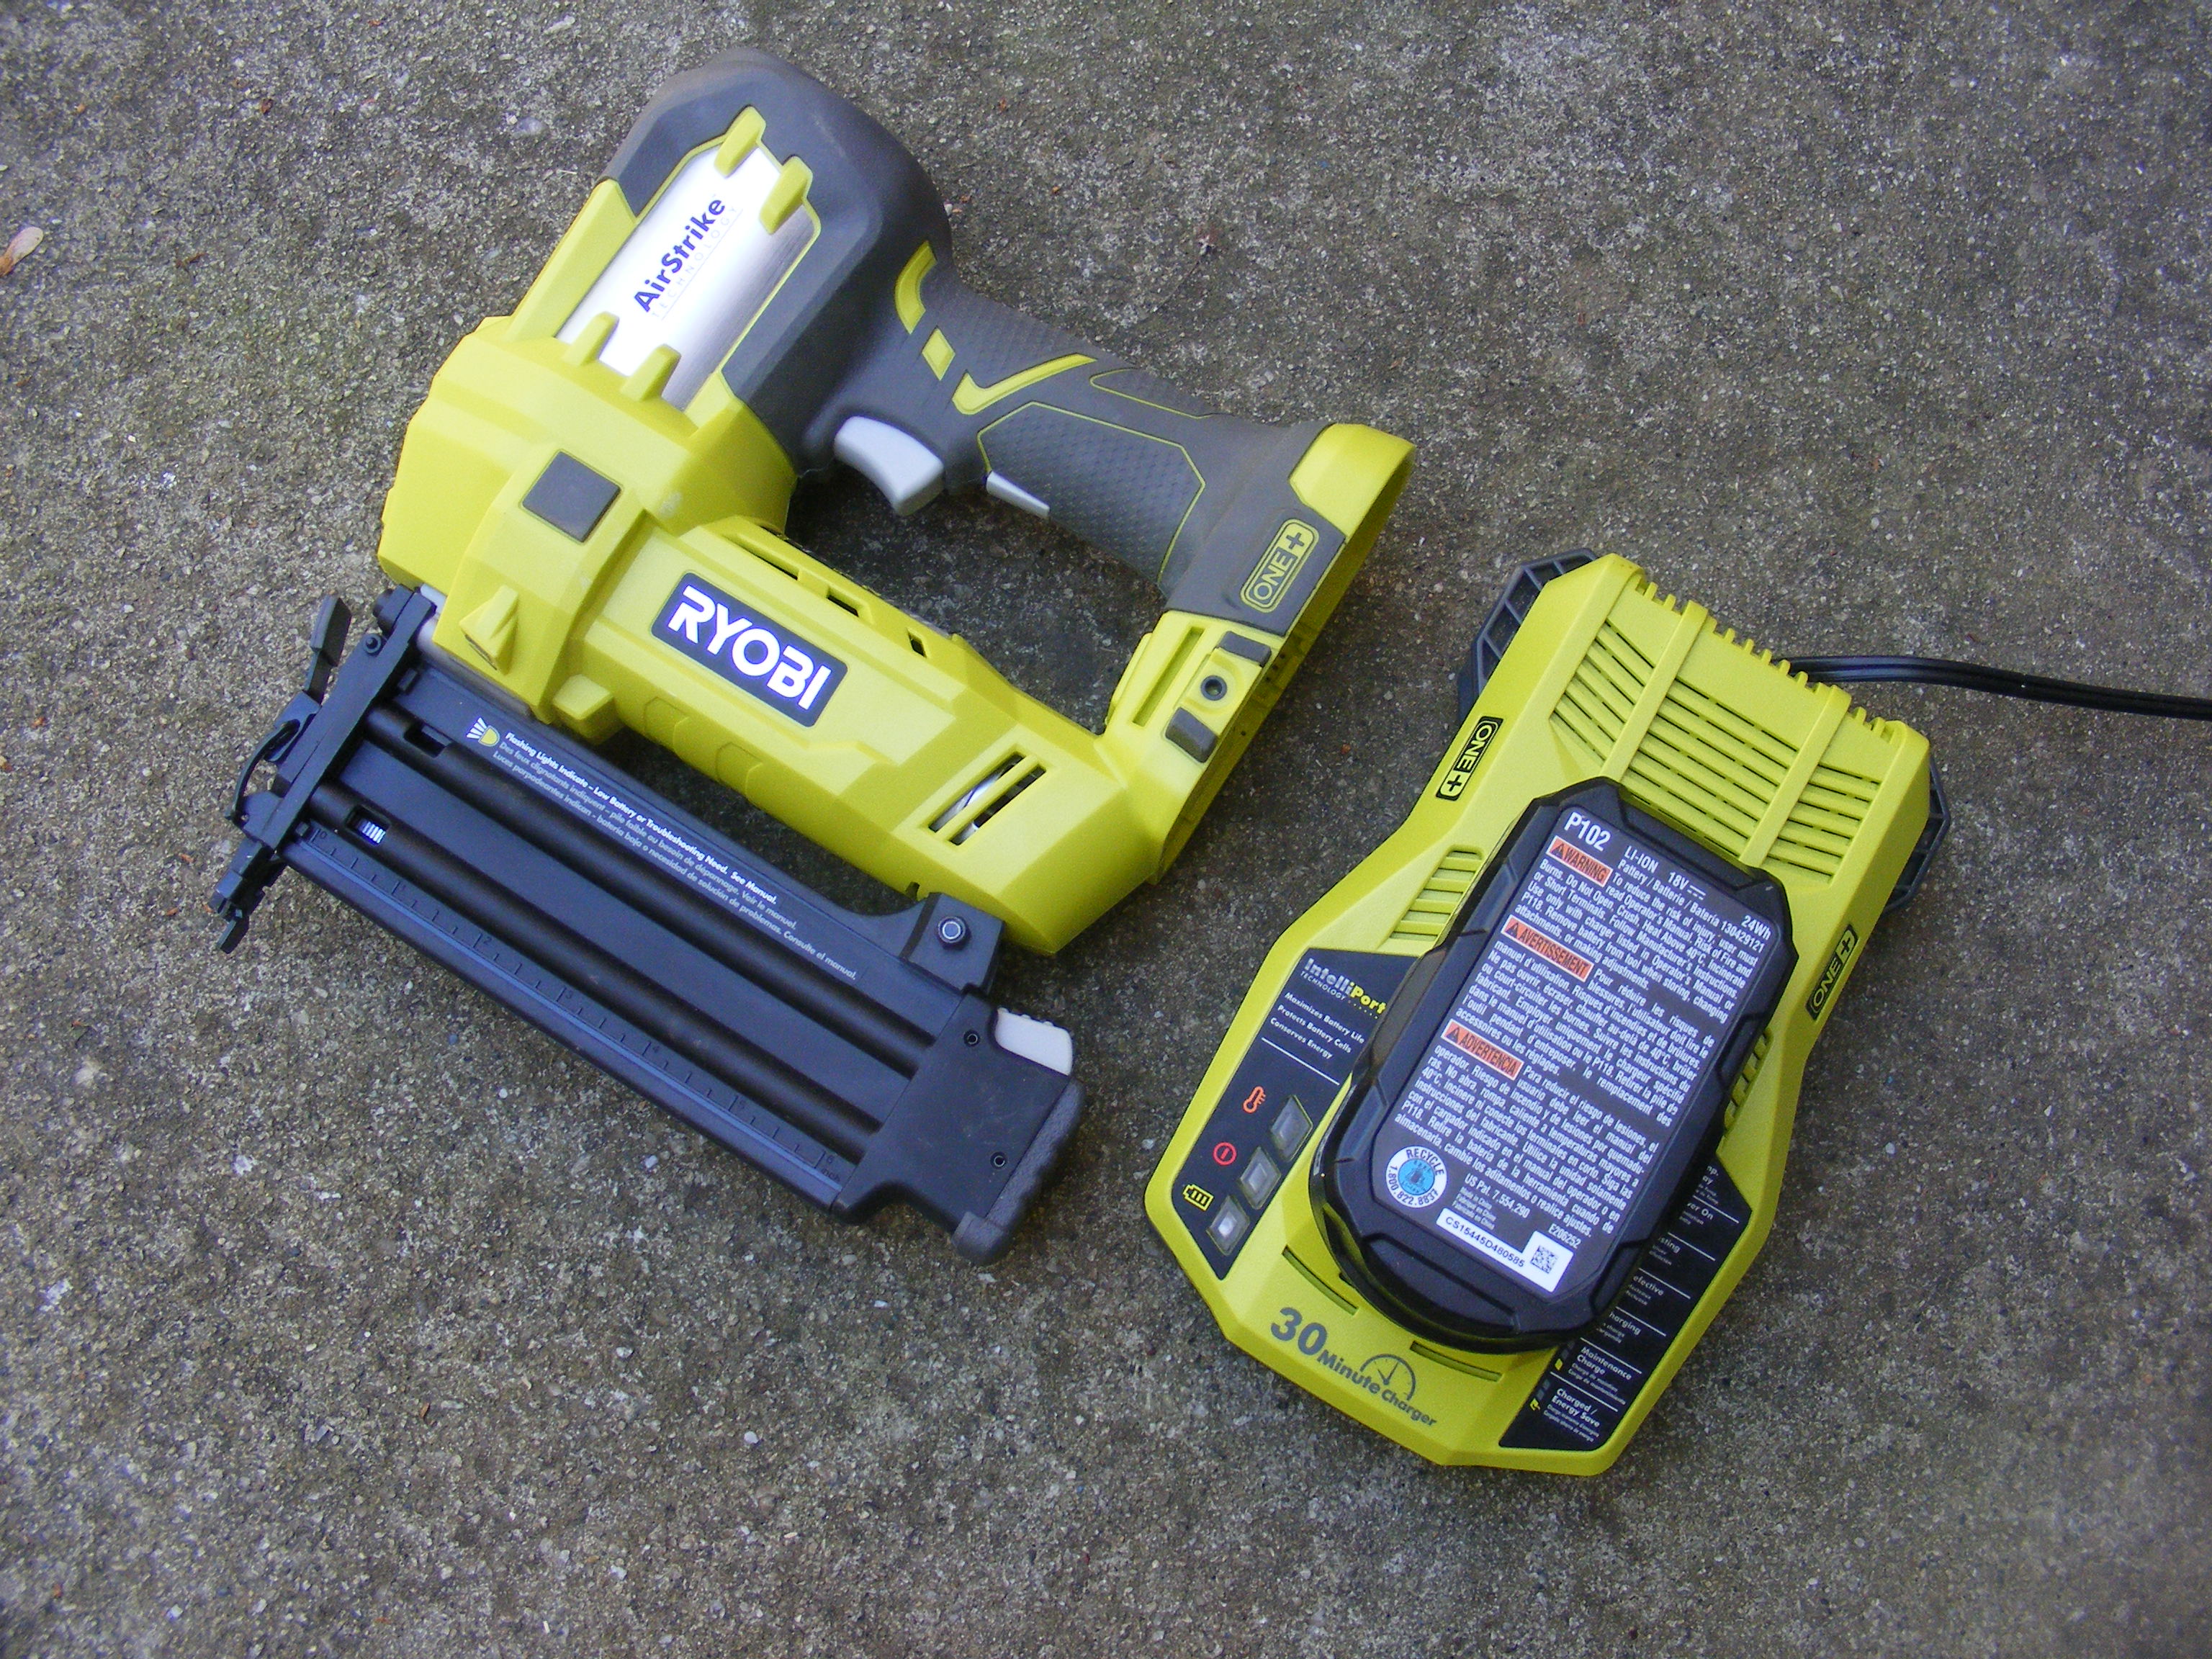
There you have it. I hope you got something out of this Ryobi nail gun tool review. I’m sure there are many great nail guns out on the market. I was trying for something affordable and portable and something that had great reviews. So far, this tool is living up to my expectations. Be sure to check out Amazon’s current best seller list on power nailers and read the reviews.
Feel free to comment and share your experiences or tips on nail guns. Also share any recommendations you might have. Please consider subscribing to my blog. See the form below to sign up. When you do, I’ll send you my free Home Safety & Tool Checklist.

Are you starting up a new shop? Want to work safer in your shop? To help you answer these questions I've put together a 2-part checklist -- Home Shop Safety & Tool Checklist.
I will also send you updates of my latest woodworking and DIY projects. You can get all this by subscribing to my free email newsletter.
