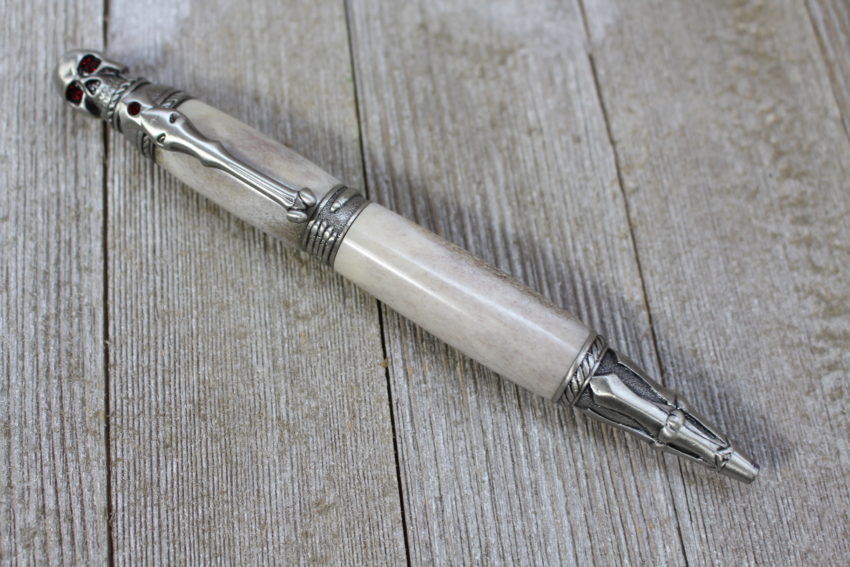
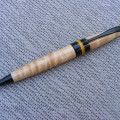
Thanks for checking out my Skull Twist Pen Tutorial. As of this writing, we have tiptoed across the still hot pavement into October which means Halloween will be here soon. Don’t you just love a good skeleton? This project fits the Halloween theme perfectly.
In my opinion, this is one of those novelty-type pens. Great as a conversation piece, but I don’t think this would be a normal carry-pen for me. However, it is a really cool looking pen, and I think you’ll enjoy it.
I wonder if Stephen King would buy one of these from me. I can just picture him using it to outline his next novel.
Since this is a skull pen, I naturally decided to use deer antler for the barrel materials. Deer antler is bone material, and it looks great with this pen kit.
Safety First
Turning deer antler is a lot like turning wood. As always, wear a face shield, safety glasses, and a dust mask (preferably a respirator). The dust mask is ultra important since deer antler creates very fine dust that you don’t want to be breathing into your lungs. I also have a dust collector which helps tons.
Have fun and be safe!
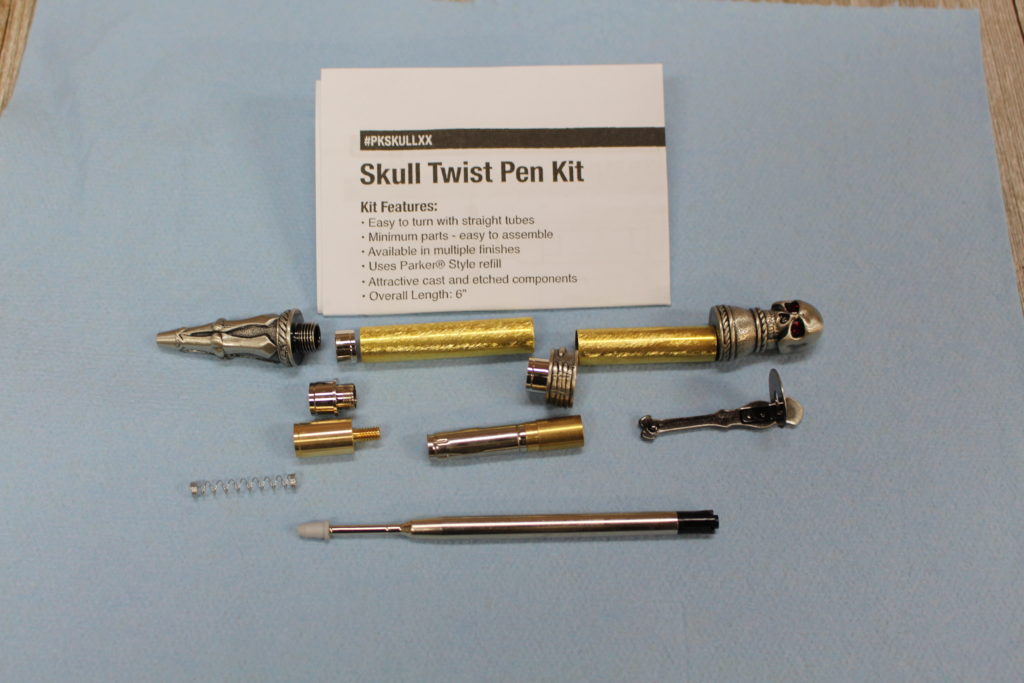
Step 1 – Acquire the Skull Twist Pen kit and bushings
You can find the Skull Twist Pen at many pen kit supply companies. I got mine and the bushings from Penn State Industries. Don’t forget to order the Skull Pen bushings. You’ll also need a 3/8 inch drill bit for the blank holes.
I like to inventory my kit when I first get it. I make sure I’m not missing anything. Definitely hold onto the kit instructions.
The Skull Pen Kit comes in different platings: Antique Brass, Antique Pewter, and Antique Copper. My kit is Antique Pewter which I think matches well with the deer antler.
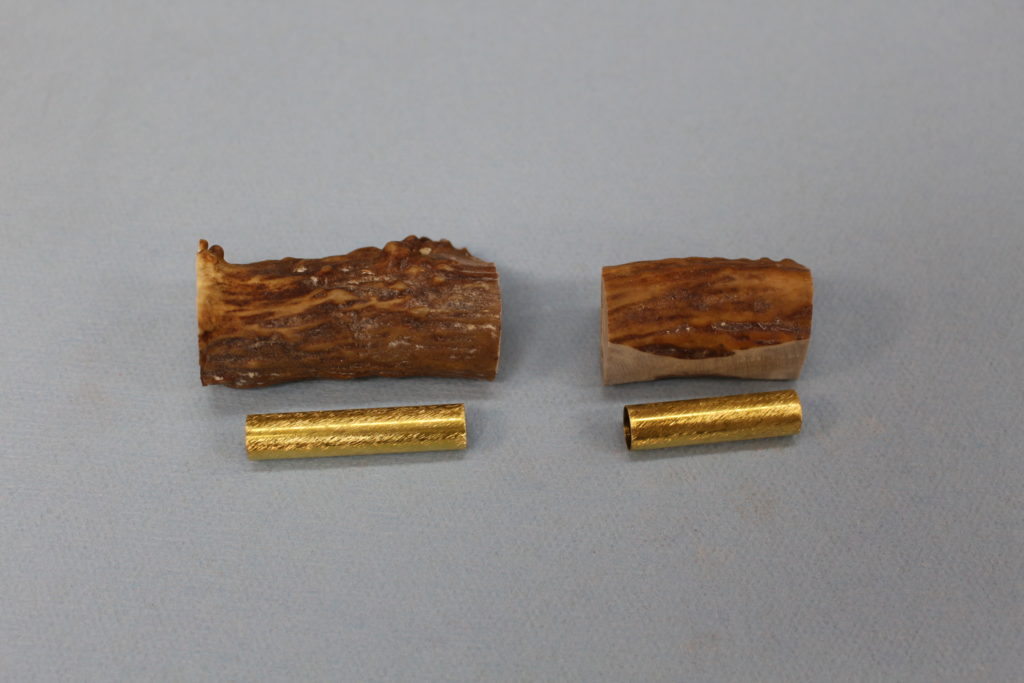
Step 2 – Pick out the material for pen barrels
I chose to use Whitetail Deer Antler for this kit. You could use wood if you choose. If you go with antler, make sure you use material from the same set of antlers. That way the coloration looks consistent between the upper barrel and lower barrel.
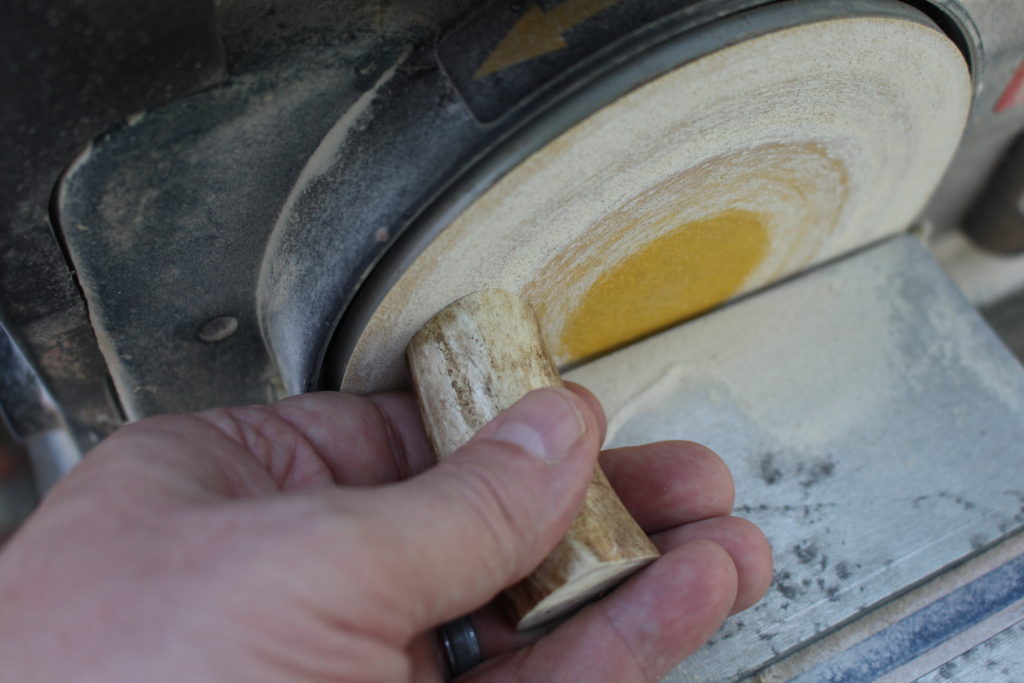
I used my band saw to cut these out. However, I’d recommend a good old hacksaw to be safe. I also used my disk sander to true up the ends and make them more square.
Don’t know where to get deer antlers? Check out my related post here, that will help you find some.
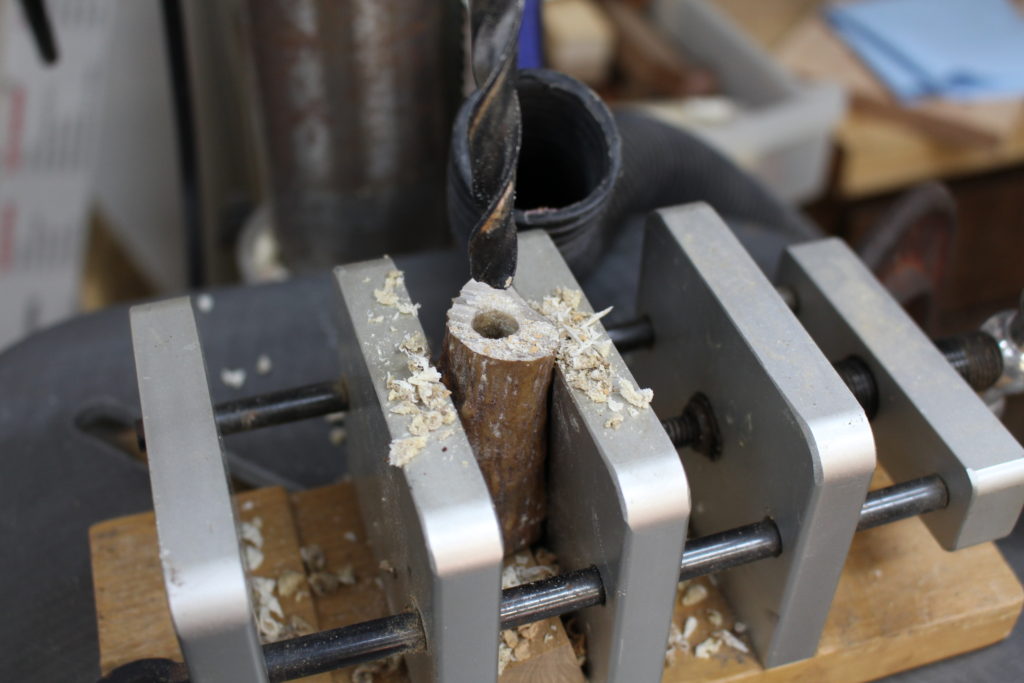
Step 3 – Drill holes for pen tubes
This can be kinda tricky since deer antler has an irregular shape. I used the centering vise and eyeballed alignment the best I could. Ease the drill bit in and out to clean out the hole as you drill. Make sure the antler blank is secure in the vise.
This step is definitely easier if you have a drill press, however, you can also use a hand drill.
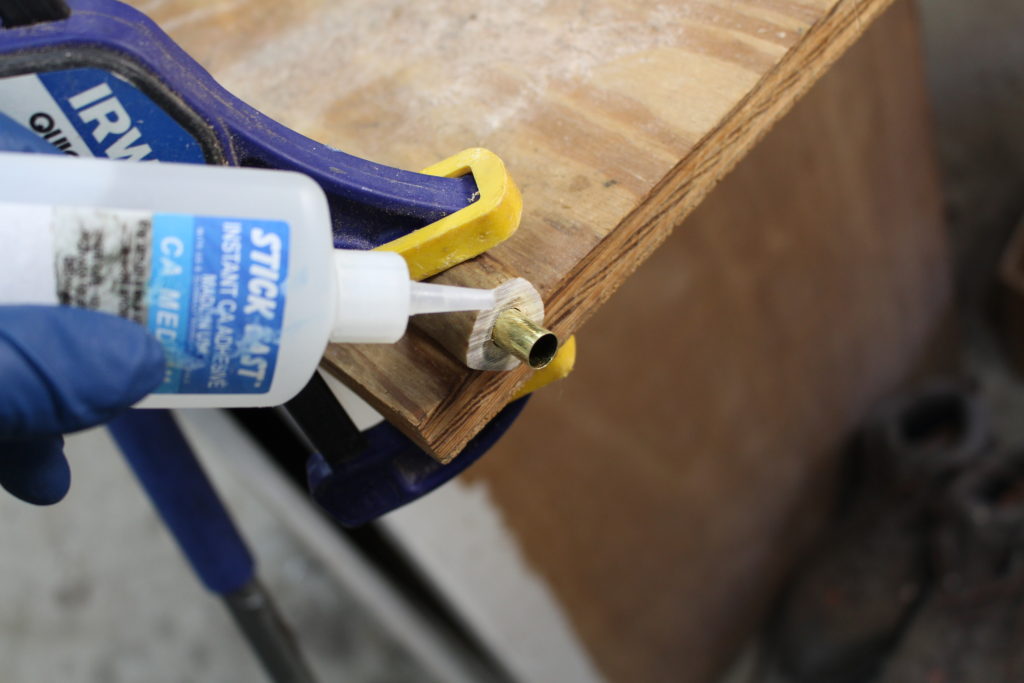
Step 4 – Glue in the pen tubes
I used CA (medium) glue to glue in the pen tubes. I like to always wear nitrile gloves when doing this. Beware — CA will cure fast in deer antler. Before you glue, make sure the pen tubes move freely in and out of the hole. Blow through the hole and clean out the antler dust. If you have a pen tube insertion tool, it would come in handy for this step.
Allow the CA to dry. I like to wait for about 30 minutes.
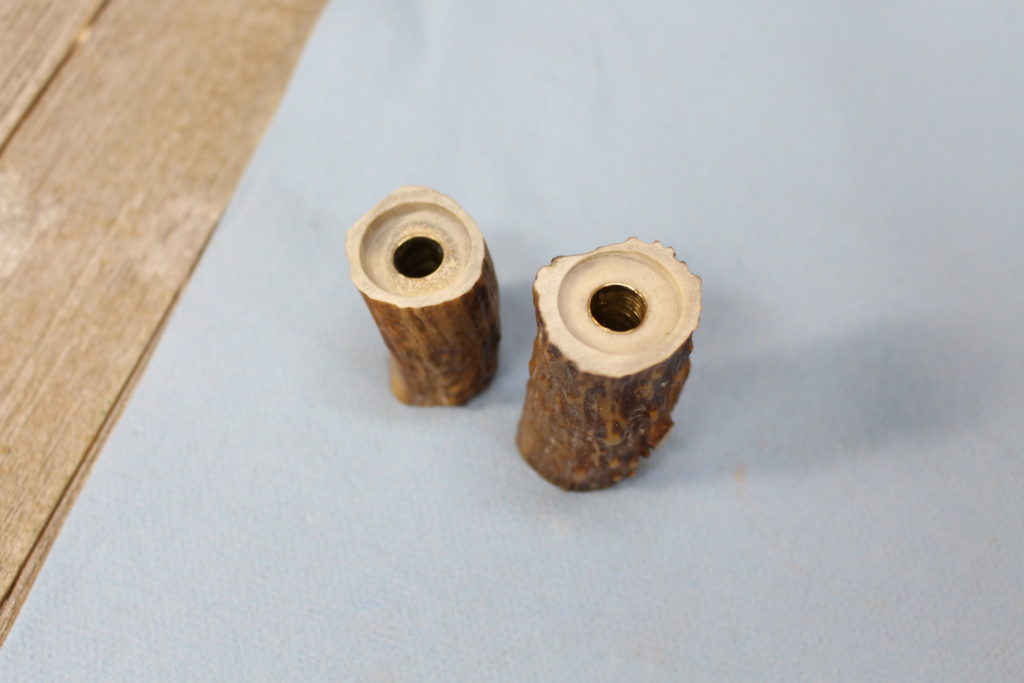
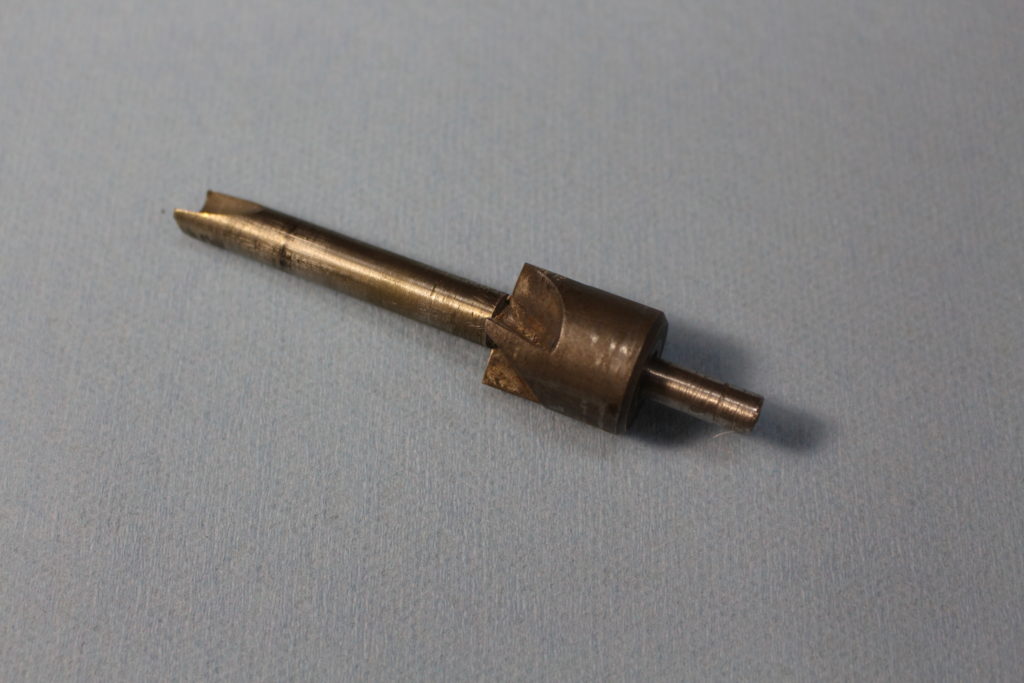
Step 5 – Trim up the ends of the blanks
As you know, this step makes sure the pen tube is perfectly perpendicular with the end surface of the blank. That way everything fits together flush during the assembly step.
I use the traditional barrel trimmer for this step. Just make sure the part that inserts into the tube matches the inside diameter of the pen tube.
Step 6 – Turn the antler blanks
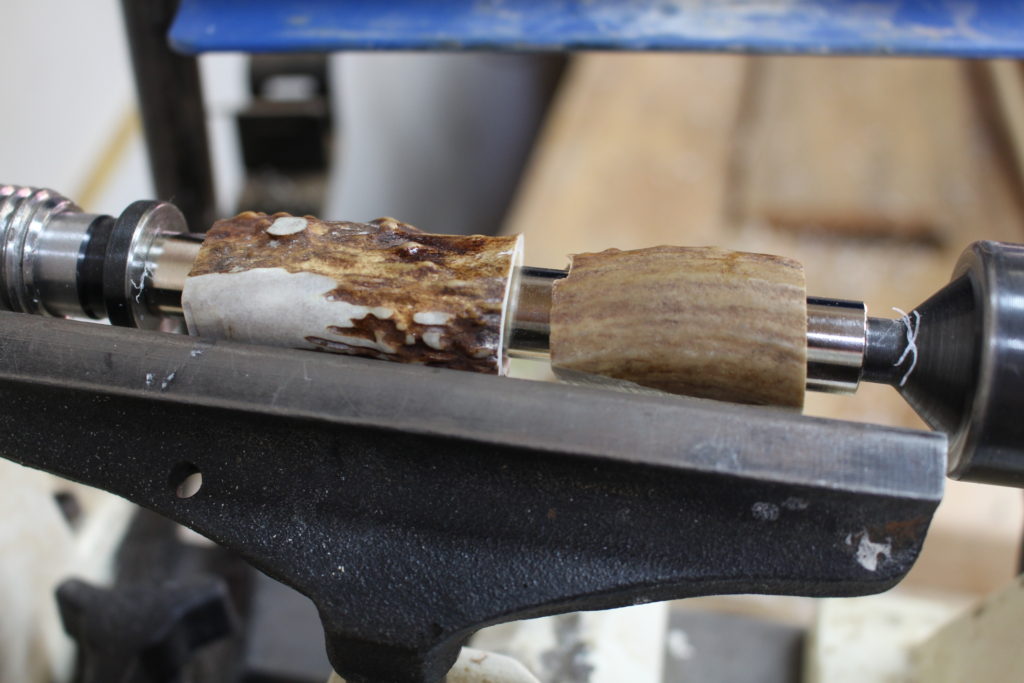
Make sure you read the pen instructions and get the blanks and bushings in correct alignment. Fortunately, for this kit, the bushings are all the same diameter. The inside bushing is different from the two outside bushings.
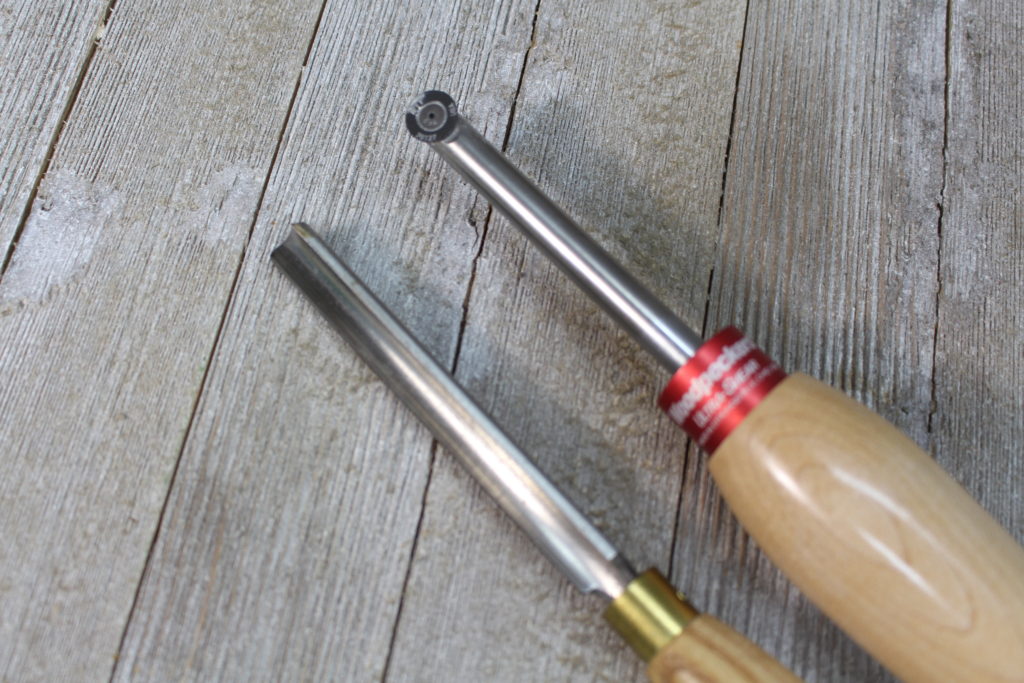
My tool of choice was the roughing gouge. I have a small one that is better suited for turning pens and small projects. And recently, I bought some Woodpecker Carbide tools. I used the round tip and boy it really left a smooth surface on the antler.
I like to turn my antler down until I’m just 1/16 inch shy of the bushing. Sanding will help me get it flush with the bushing. I was surprised how the Round Tip Carbide tool can get very close to the bushing. This tool may help me reduce my sanding time.
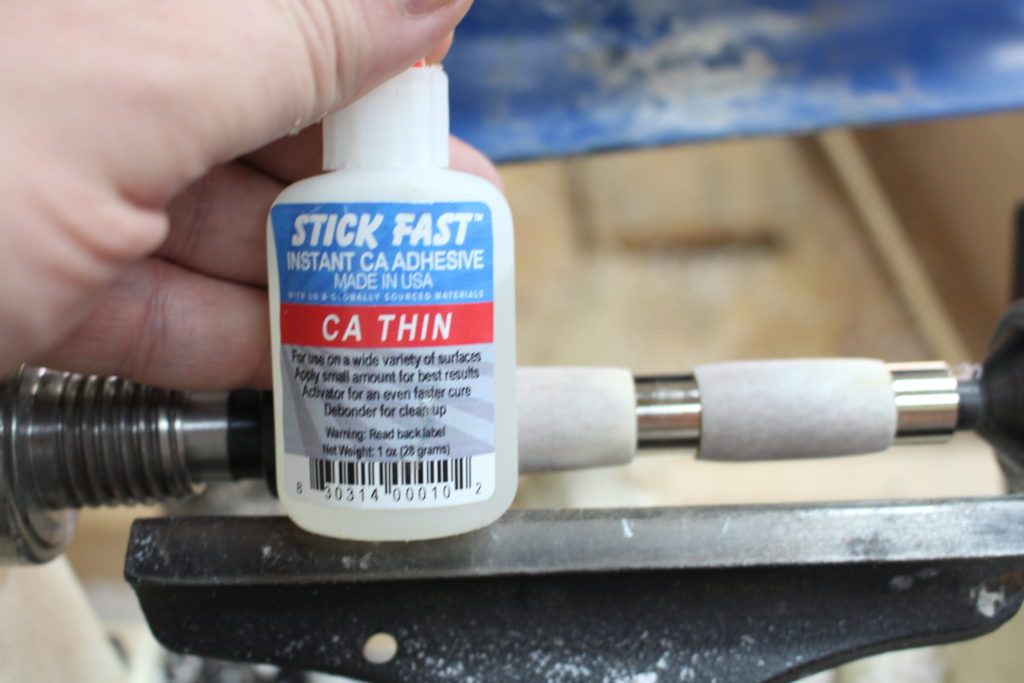
As you’re turning, look for patches of porous spots in the deer antler. I deal with these porous areas by using some THIN CA glue (bottom photo above). It seems to wick up into the pores and dries fairly quickly. You can use an accelerant to speed up the drying time.
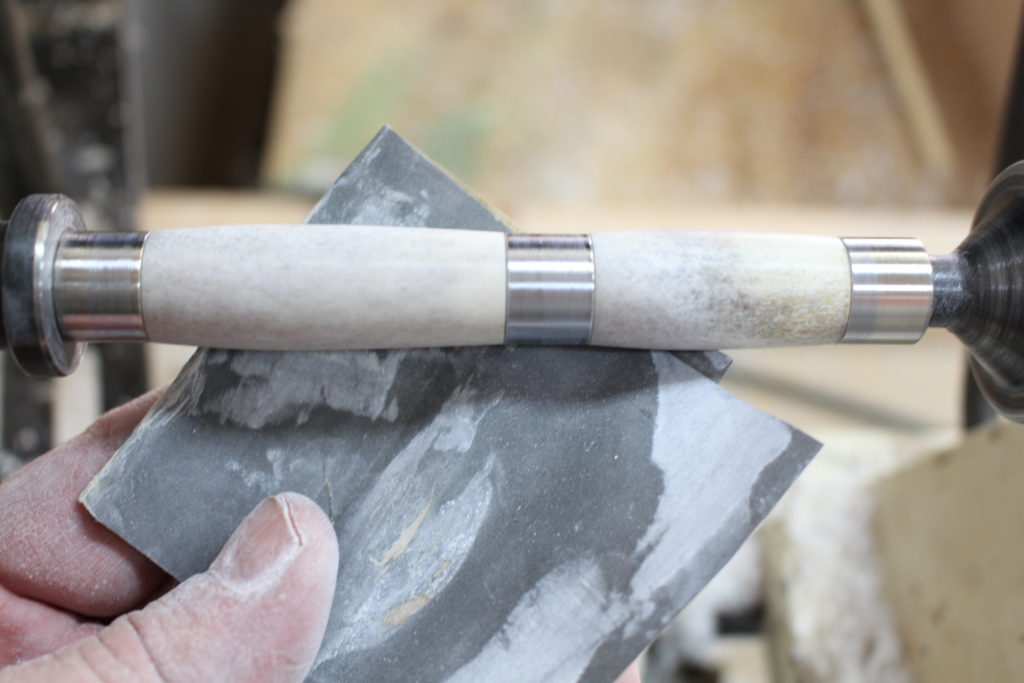
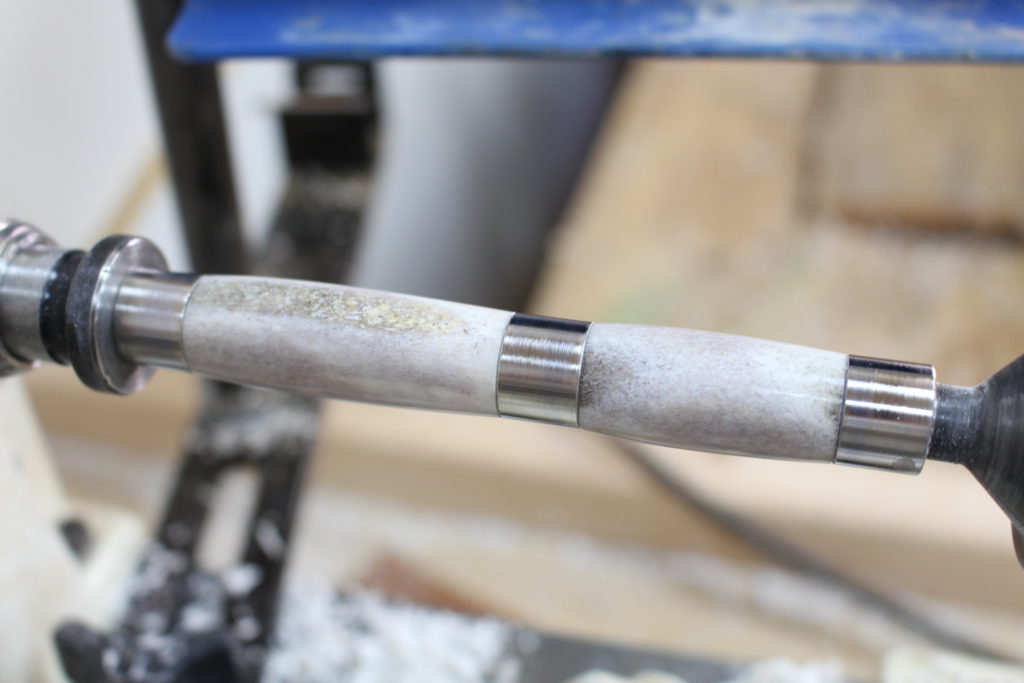
Step 7 – Sand the barrels
I started with 220 grit sandpaper. From there, I went to 320, 500, and 1000. Around the 1000 grit mark, you’ll start to see the antler getting shiny. Next, I used 1800 and 2400 grit Micro Mesh cloths. These cloths really bring out the shine.
If you’re worried about moisture entering the pen, you could finish with CA glue and then polish. Generally pens aren’t exposed to lots of moisture (unless you take it outside often), so I don’t normally apply a CA finish. The antler will have its own shine as you move up through the finer sandpaper.
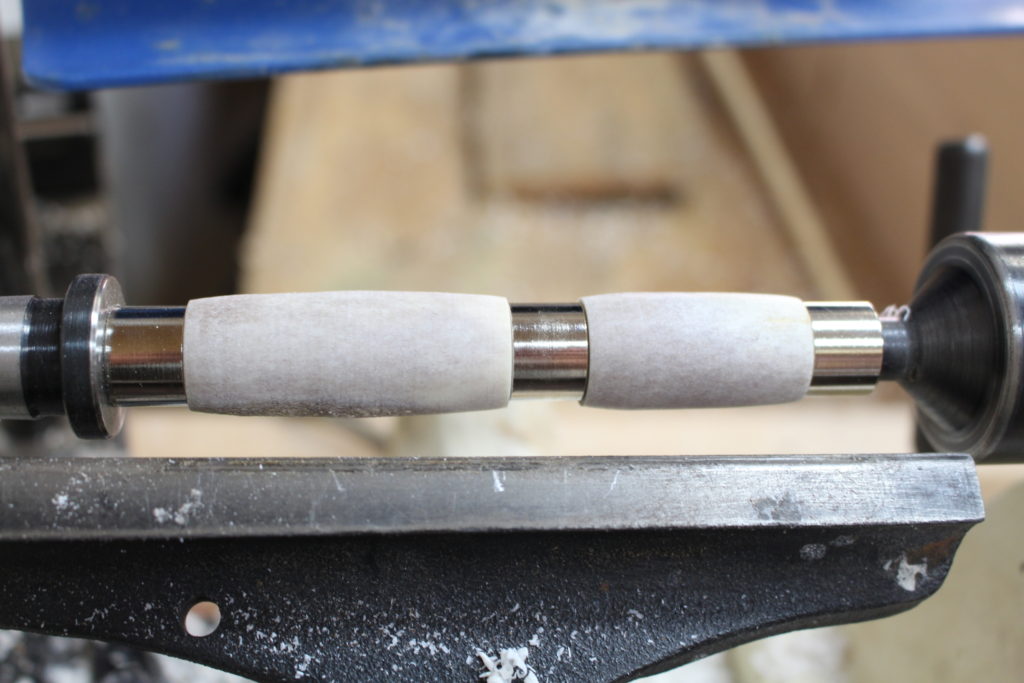
Check out the bottom photo above to see how the barrels look after finishing the sanding.
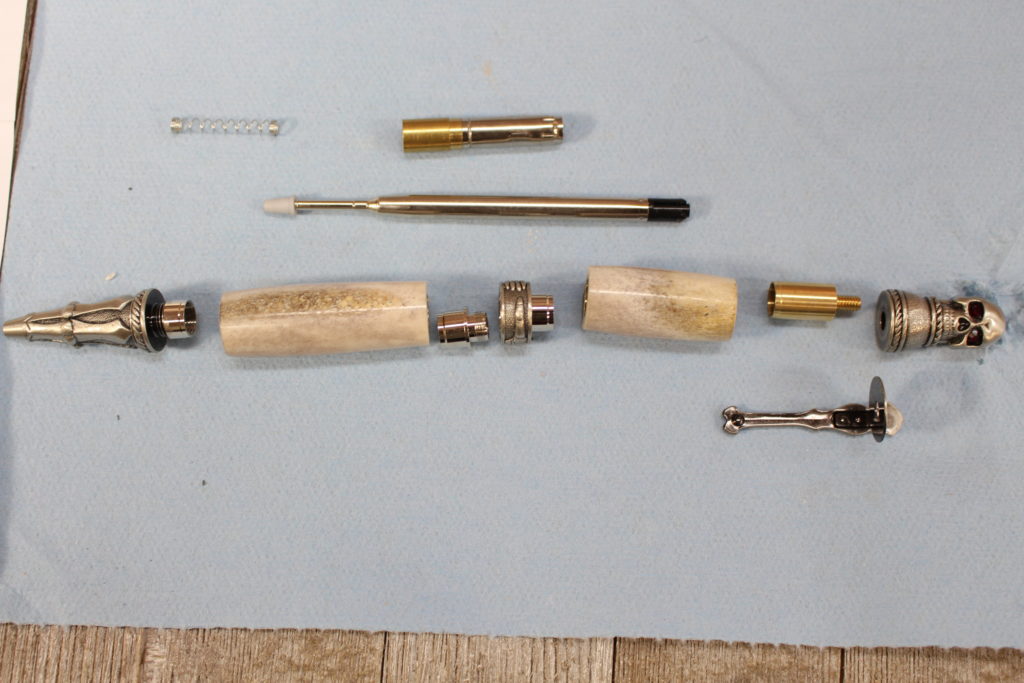
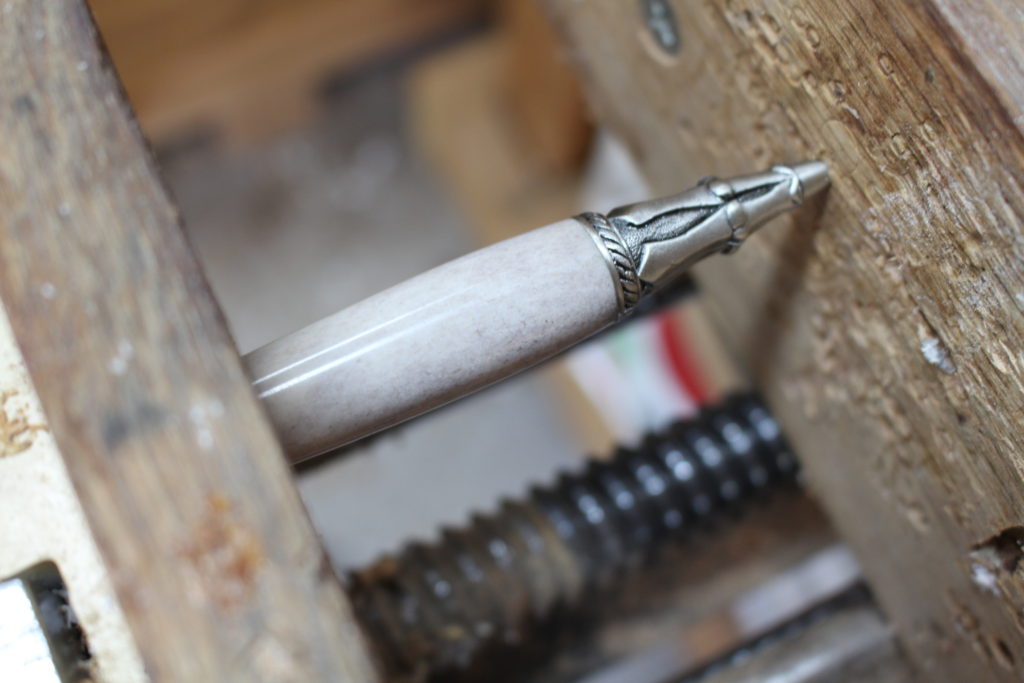
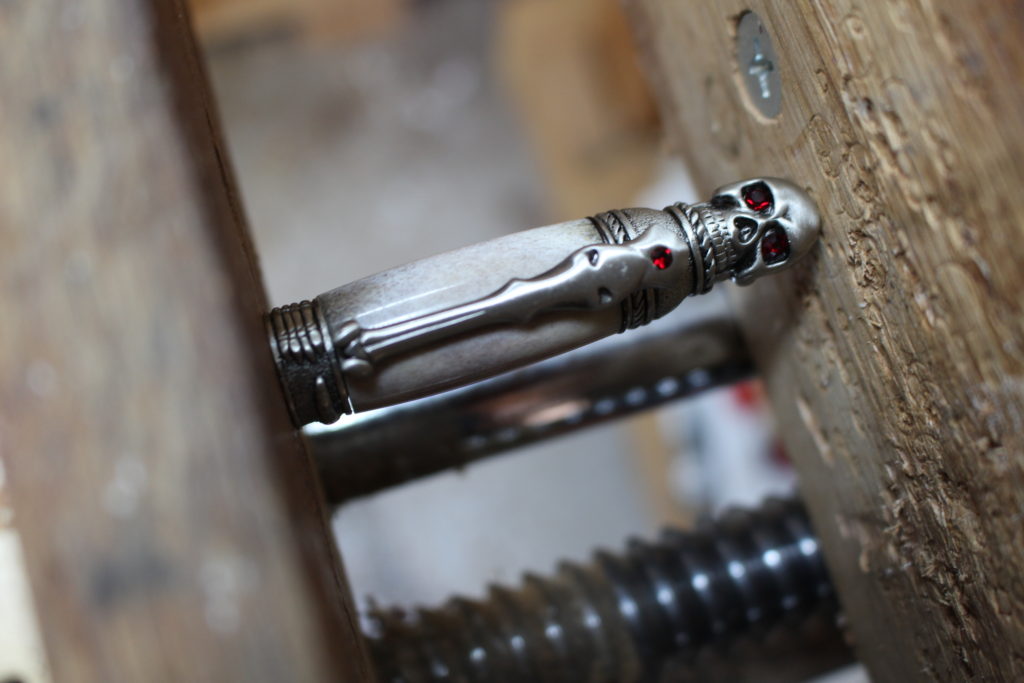
Step 8 – Assemble the skull pen
Pull back out those pen kit instructions. I like to lay everything out like the diagram shown in the kit instructions.
Follow the instructions to the letter.
For the coupling part, make sure you use a push block so you protect the threaded end of the coupling (see instructions for more details).
Also, notice how you need to align the center band, the pen clip, and the cap.
Check and make sure the mechanism is working correctly and the pen writes okay.
Happy fall and happy Halloween! I hope you enjoyed this tutorial and will consider making a skull pen. If you like this tutorial and would like to receive more in your inbox, please subscribe through the sign up form below or in the sidebar.

Are you starting up a new shop? Want to work safer in your shop? To help you answer these questions I've put together a 2-part checklist -- Home Shop Safety & Tool Checklist.
I will also send you updates of my latest woodworking and DIY projects. You can get all this by subscribing to my free email newsletter.
