I absolutely love the adventure of woodworking. I’m thankful to the Creator for giving us this abundant and useful resource we call wood. Think about what wood has meant to the progress of civilization over the centuries. Ok—I digress.
This past weekend I decided to expand my woodworking skills to bowl turning. This was an important progression for me as I seek to master other woodworking hobbies. I’ve turned dozens and dozens of pens, and have always wanted to turn a bowl. In this short post, I want to share my experiences of turning my first bowl.
I normally tackle new woodworking hobbies by doing lots of reading and lots of watching. YouTube has no short supply of woodworking tutorials, and bowl turning is no exception. So after watching an evening dose of how-to videos, I took off the next morning to my local Woodcraft store to buy a bowl gouge and some wood.
The bowl gouge cost a little more than I ancipated, but the Woodcraft associate took me under his wing and spent about 15 no-charge, minutes telling and showing me what to do. Priceless!!
I’m not calling this post a tutorial per se. I definitely need more time to cultivate the skills and techniques before publishing an official tutorial. So please consider this a high level documentary on my first bowl turning experience.
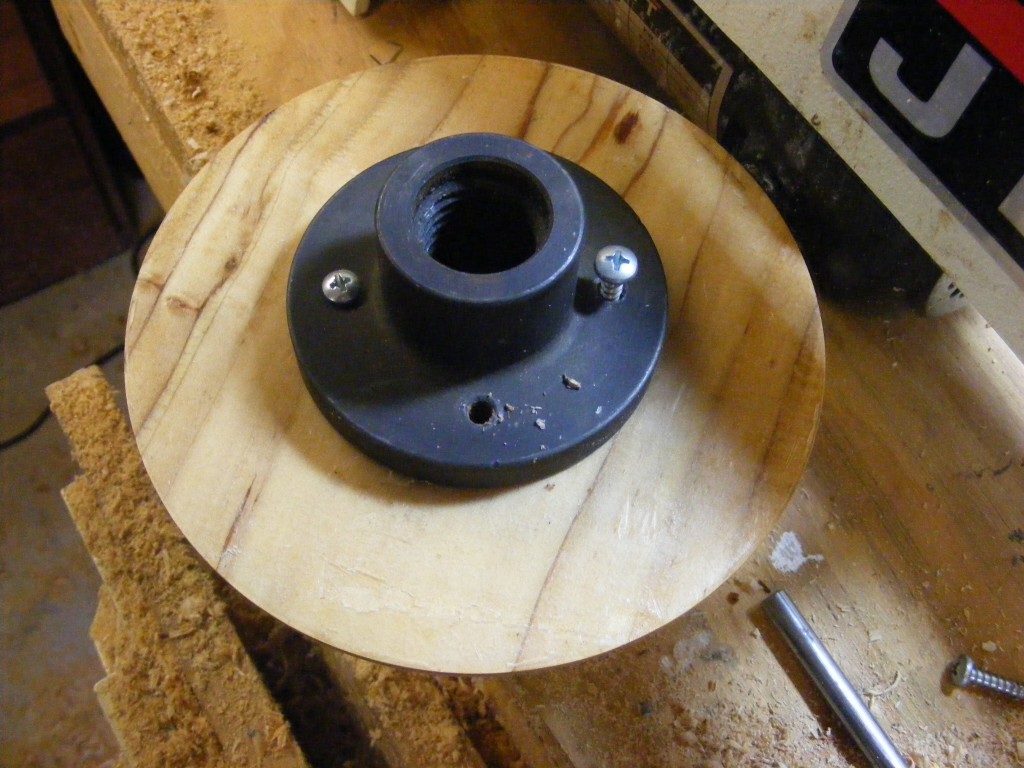
In the picture below, I’ve found the center of the bowl blank and have fixed a faceplate to the wood with woodscrews. I then screwed the faceplate and blank to my JET mini lathe. This fabulous piece of wood is Cedar of Lebanon.
The next picture below shows how I shaped the outside contour of the bowl’s bottom section and formed an indentation on the very bottom with my skew chisel. This indentation in the bottom is where my 4-jaw chuck will fit. Once the chuck jaws expand, they tighten and grip the bowl.
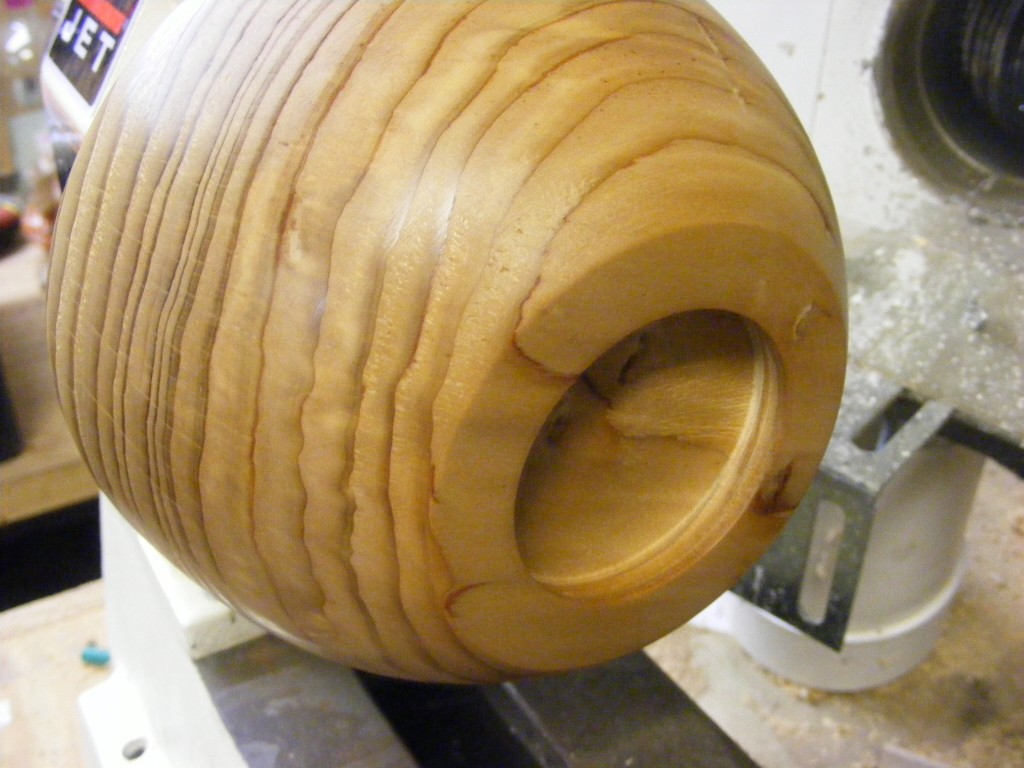
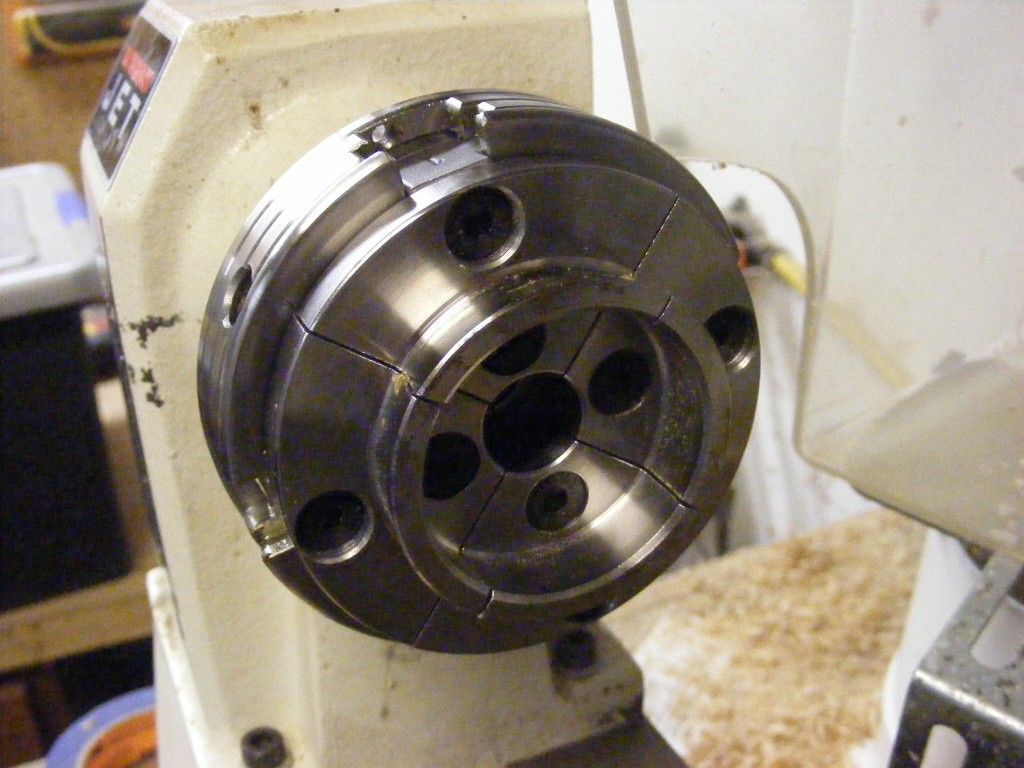
Here’s a picture of the Nova 50mm 4-jaw chuck. It fits the indentation, and then I adjusted it to expand and grip the bowl. I then turned the bowl around, screwed the 4-jaw chuck onto my lathe, and removed the faceplate.
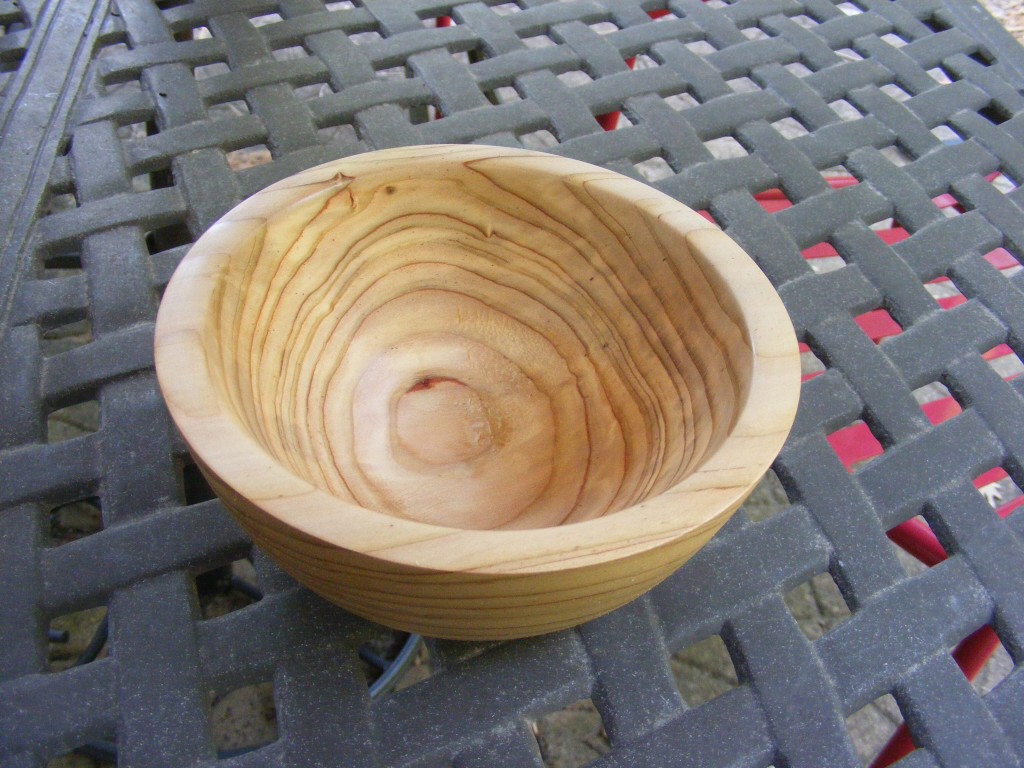
Pictured below is my bowl after I had removed the material on the inside. I used my new 3/8 inch bowl gouge, and it worked like a champ. Wood shavings were flying everywhere, and I loved the aroma of the Cedar of Lebanon wood.
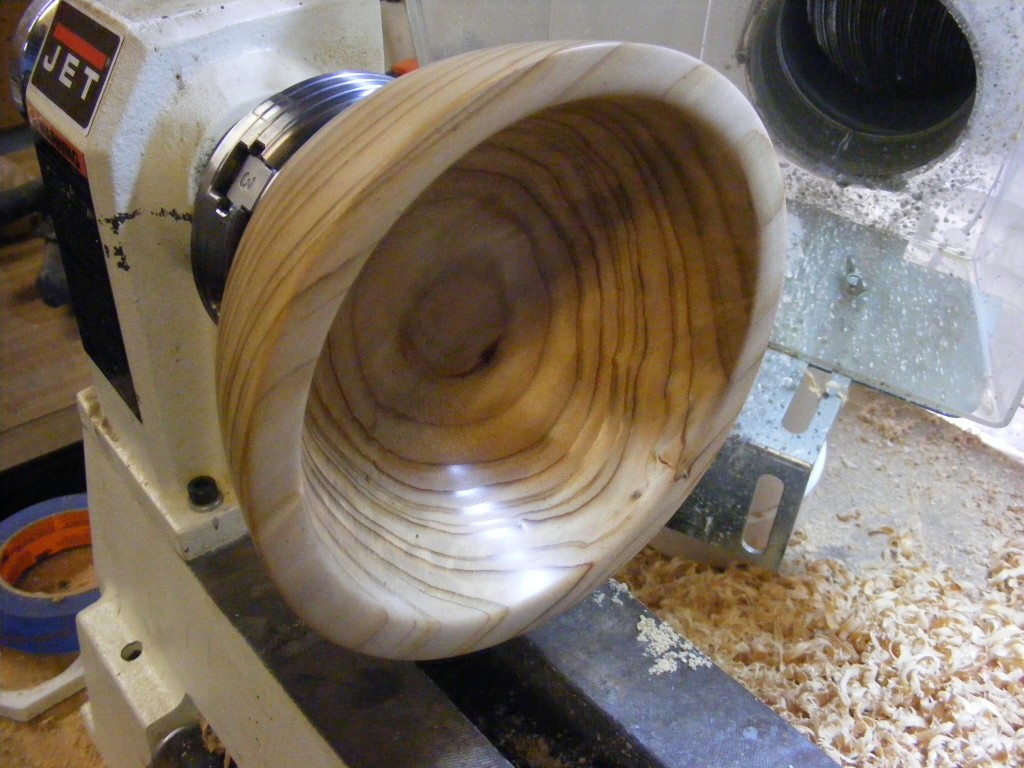
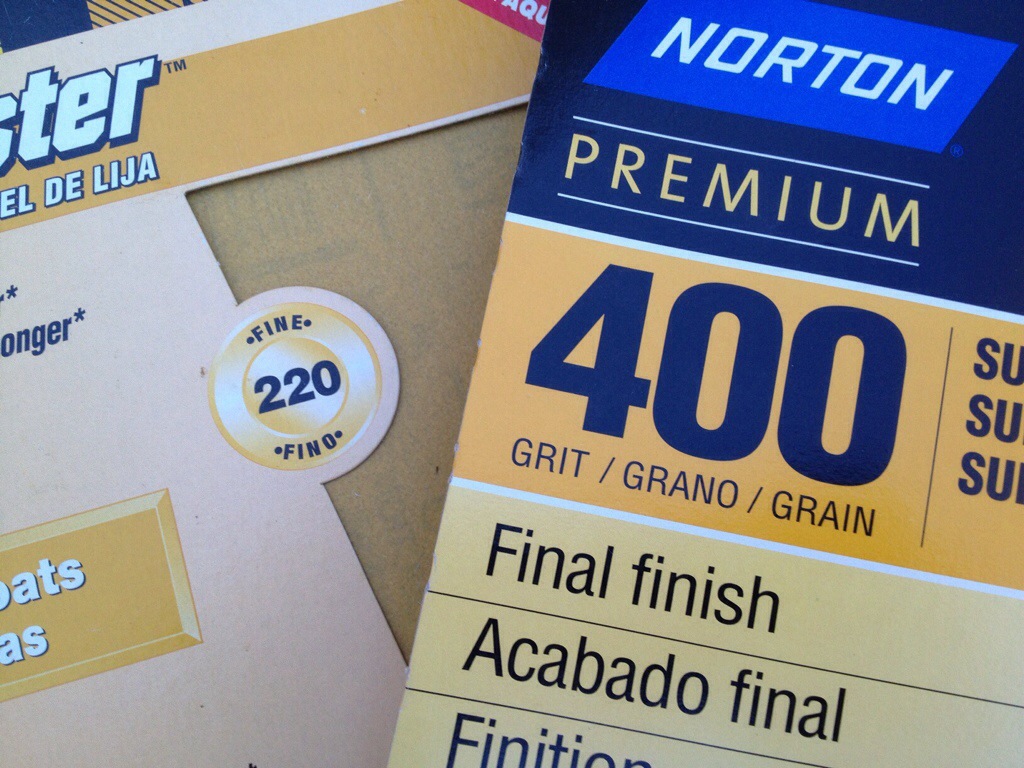
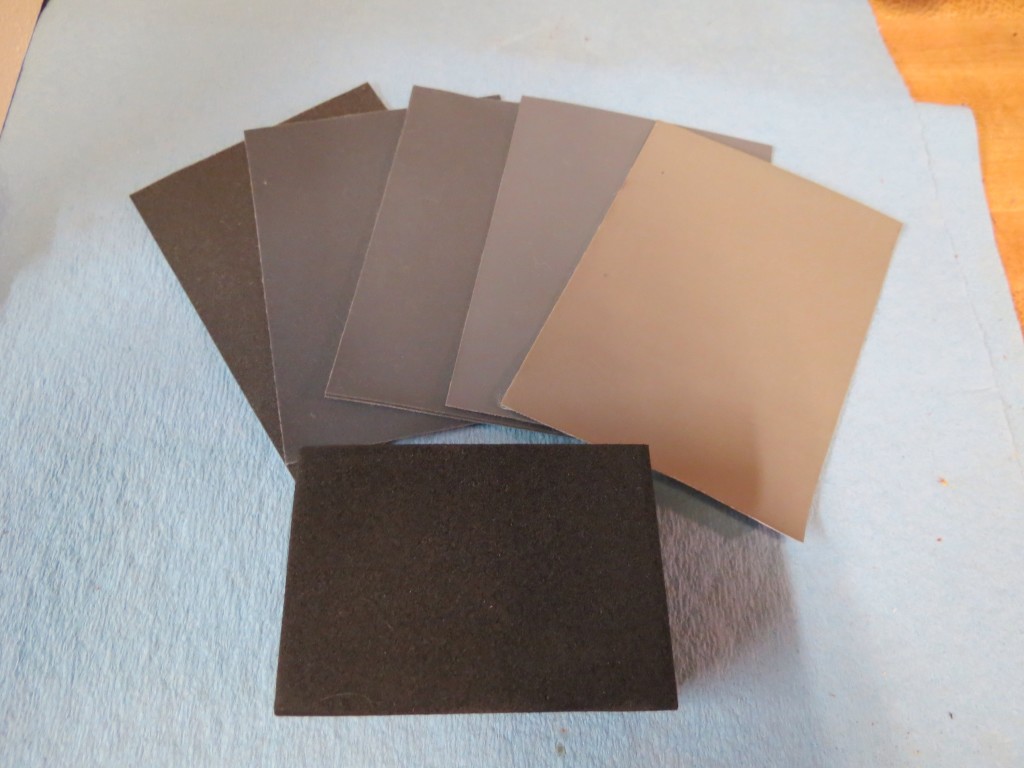
The sanding and finishing were a cinch. And I did most all of the finishing while the wood was spinning on the lathe. I started with 120 grit sandpaper and worked up to 400 grit. I then switched to my micro mesh cloths and sanded up to 2400 grit.
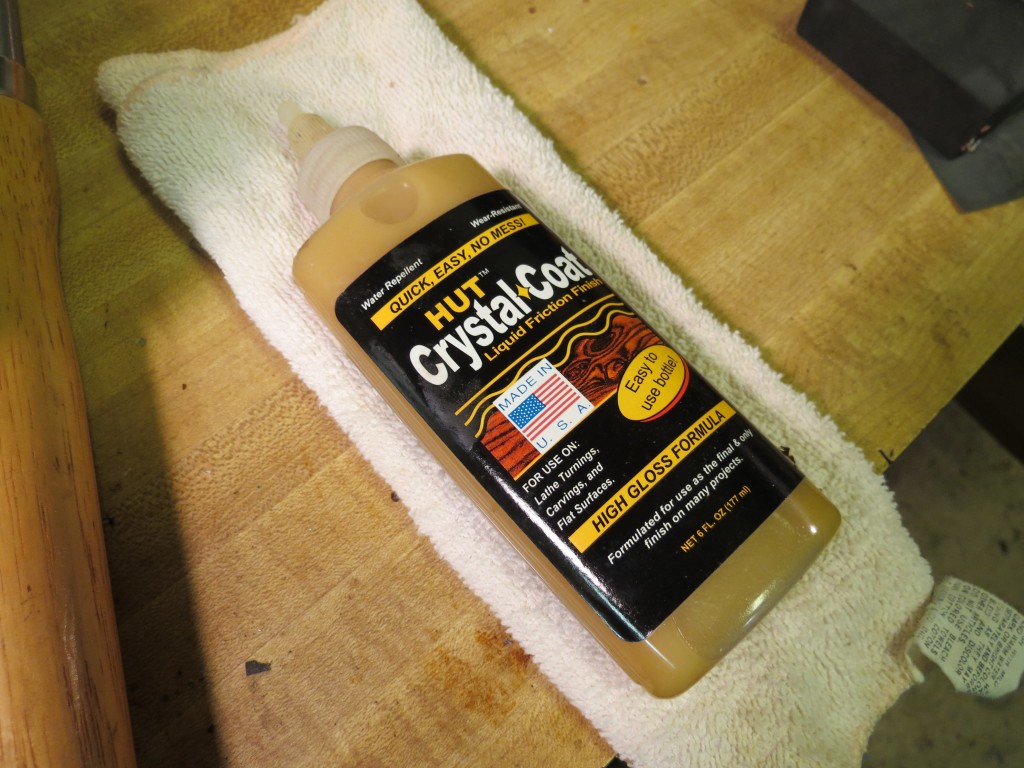
I finished the bowl with friction polish. I think that I will take this bowl to work and display it on my desk. I’ll even put it to use and fill it with lifesaver candies.
I hope you enjoyed this brief documentary. This took a lot of homework and trial and error, but I think my first bowl turned out pretty nice.
How about you? Have you had any experience with bowl turning? Any tips you can give me, the beginner?



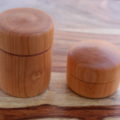


thank you for your er…tutorial, that’s what I consider it. I am reasonably new to turning generally, and where I have had a few triumphs, there have been many losses. I love the two woods of your bowls, I have such trouble in remounting, or rechecking items, that is usually when I have my disasters. keep up the picture tutorials, they are excellent, and you right about the creators wonderful provision of wood.
Thanks for the comments!