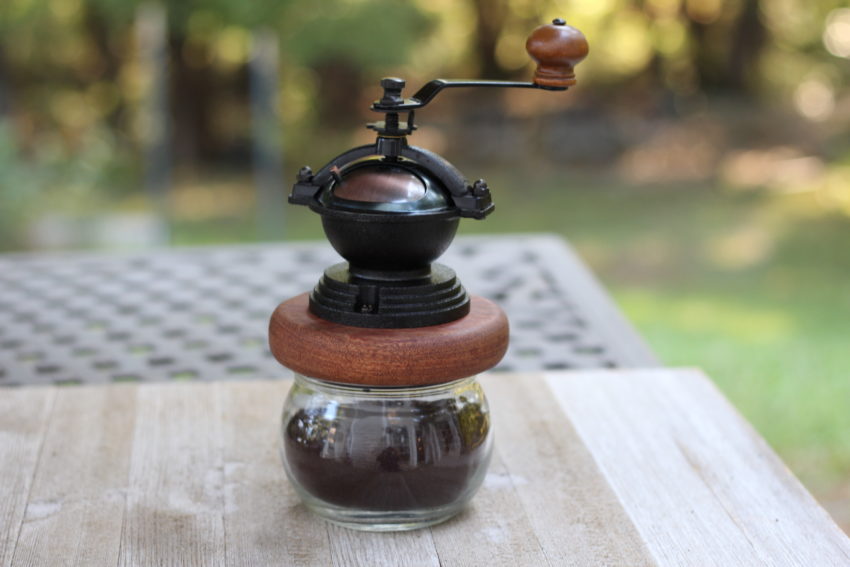
Here’s another cool project for your kitchen and coffee lovers you know. It’s a hand crank coffee grinder. I’m mounting the grinder on a piece of mesquite wood, and the wood will be glued over the jar lid. Open the little door on the grinder, toss in the beans, and turn the crank. Enjoy a fresh cup of coffee!
This is a great weekend project and requires only a few tools. Remember to practice safety and wear your protective gear.
A few of the links below are affiliate links which means if you purchase something through a link, I receive a small commission. That helps cover the expenses of the site. Thanks for your patronage!
Tools That I Used:
Drill Press
Hand drill
Bandsaw or jigsaw
1 X 30 Belt Sander
2 inch Forstner bit
Dremel Cordless Rotary Tool Kit
Materials:
Hand Crank Grinder Mechanism
30 Minute Epoxy
120 grit and 220 grit sandpaper
Wood of choice
Mineral oil (or finish you choose)
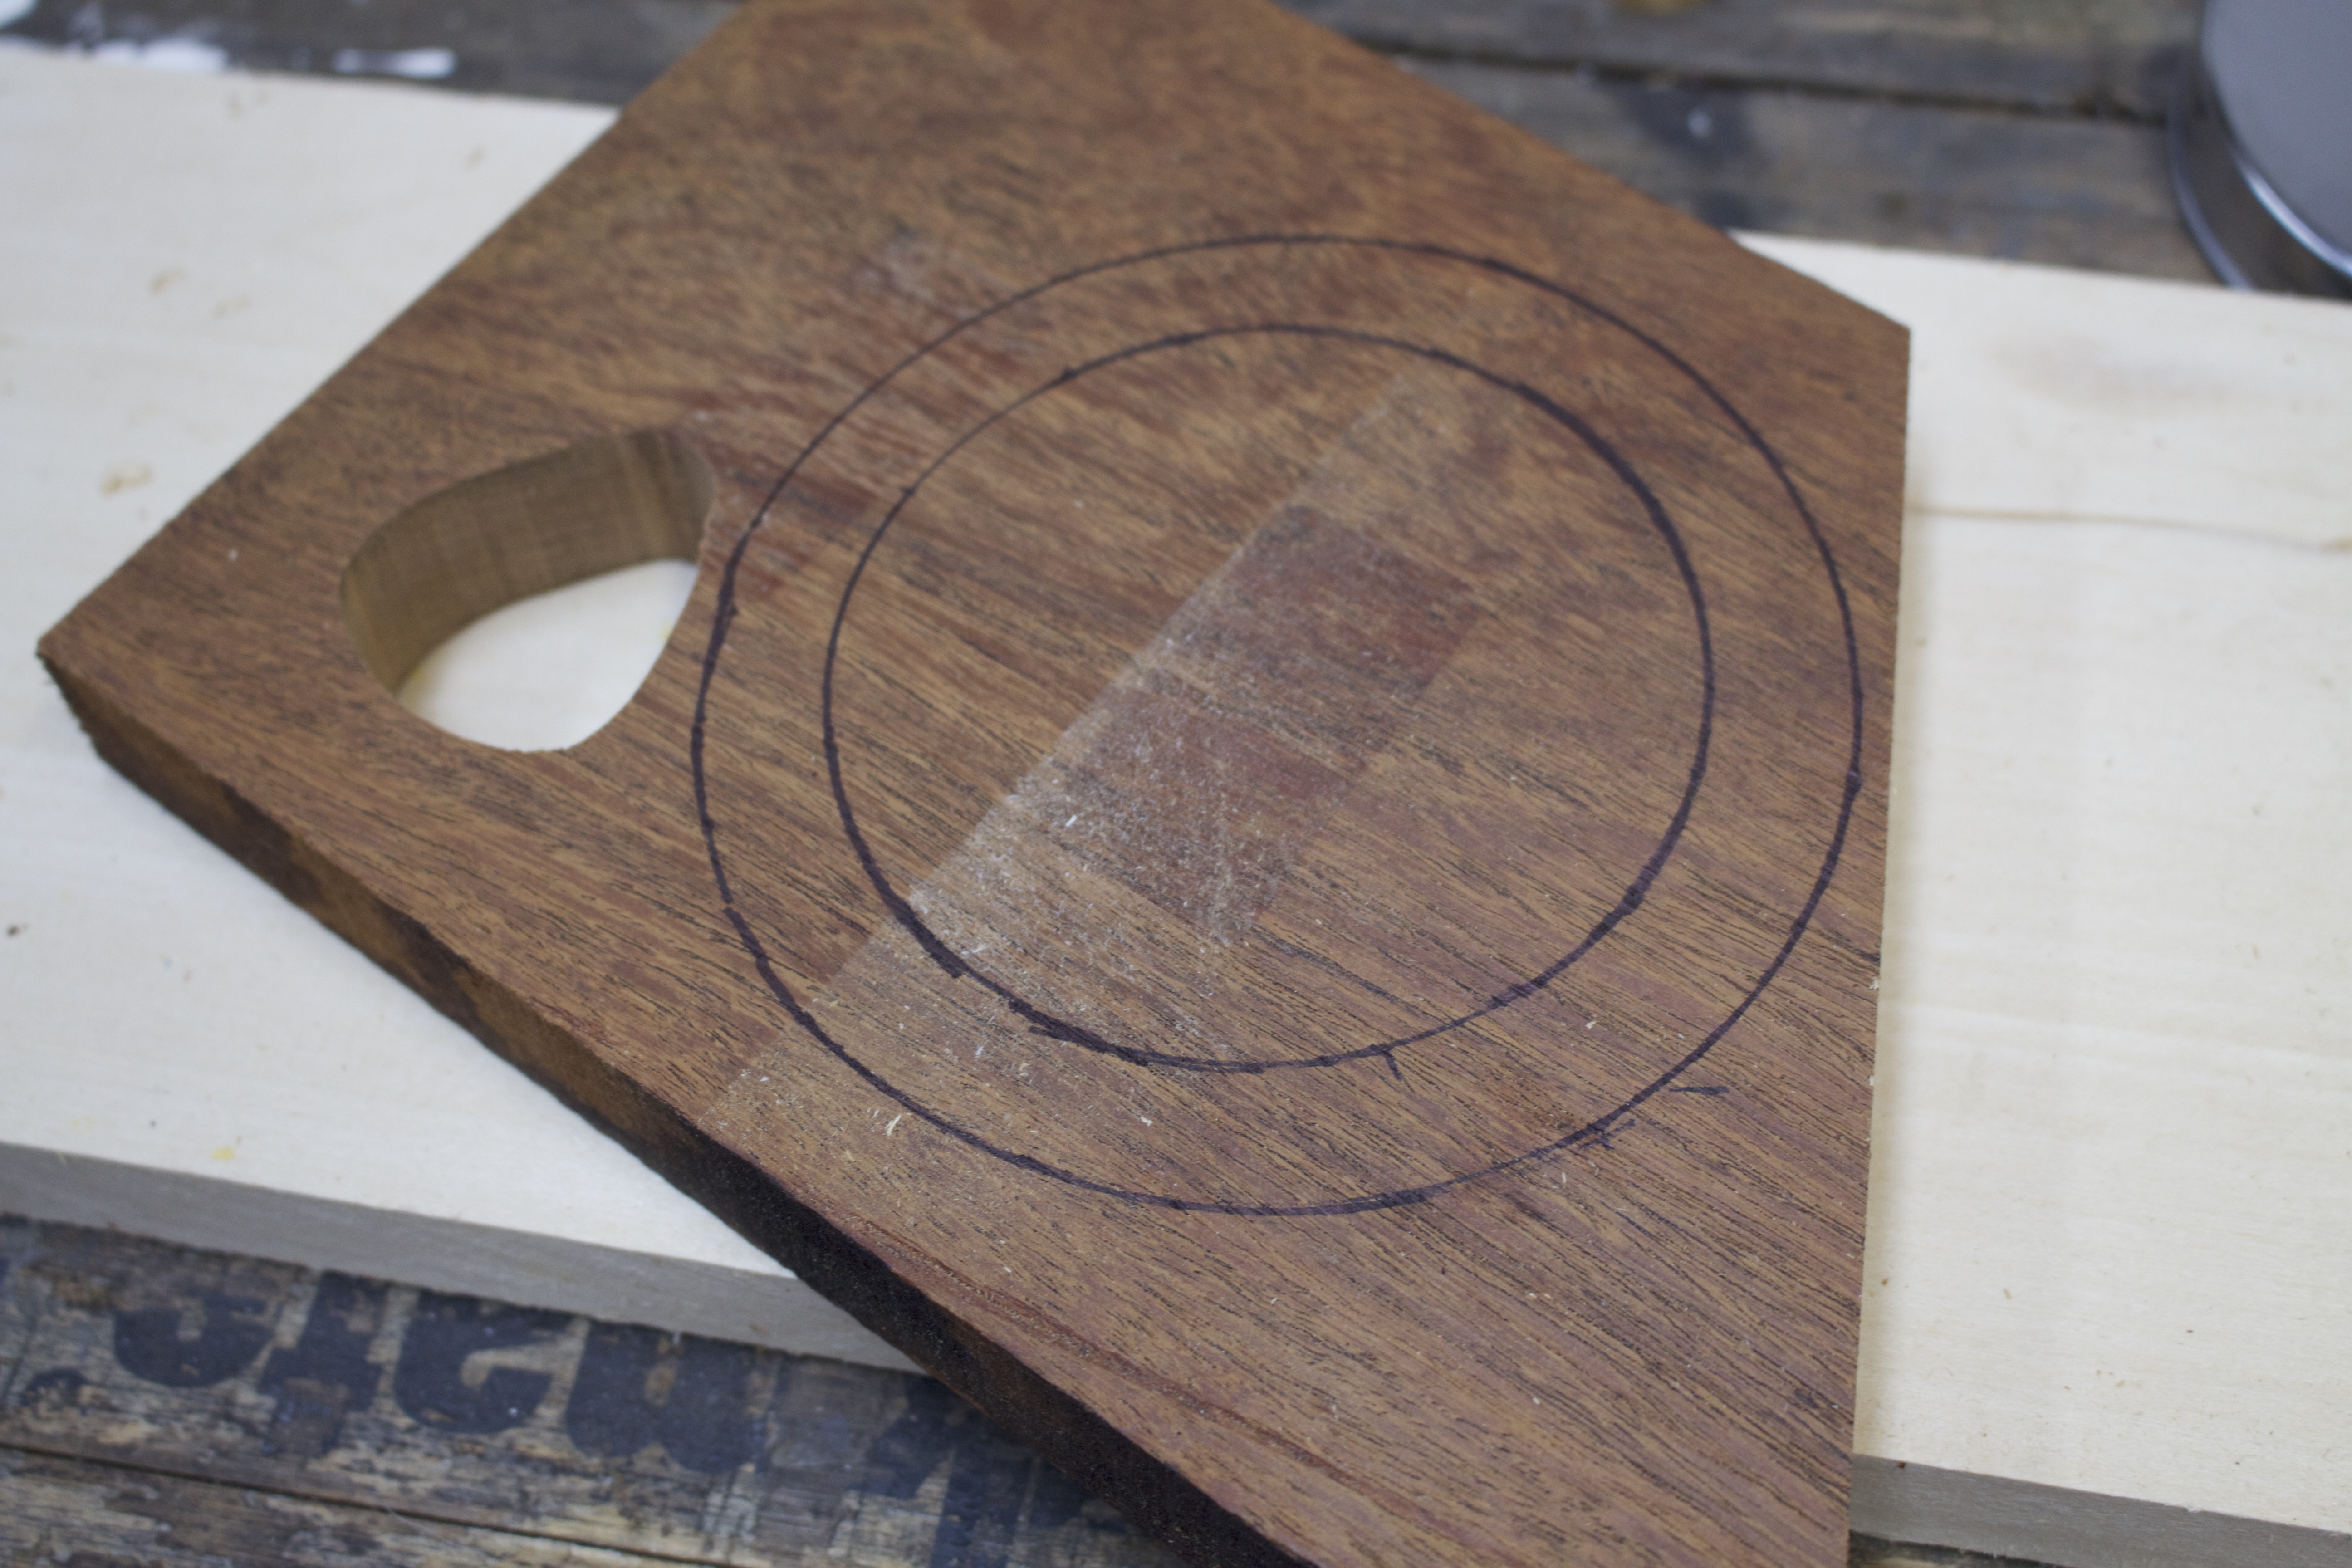
Step 1: Select the Wood.
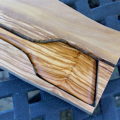
I chose to use a scrap piece of Mesquite hardwood for this project. This is a beautiful and durable hardwood. But use any wood of your choice. This piece is around 1 inch thick.
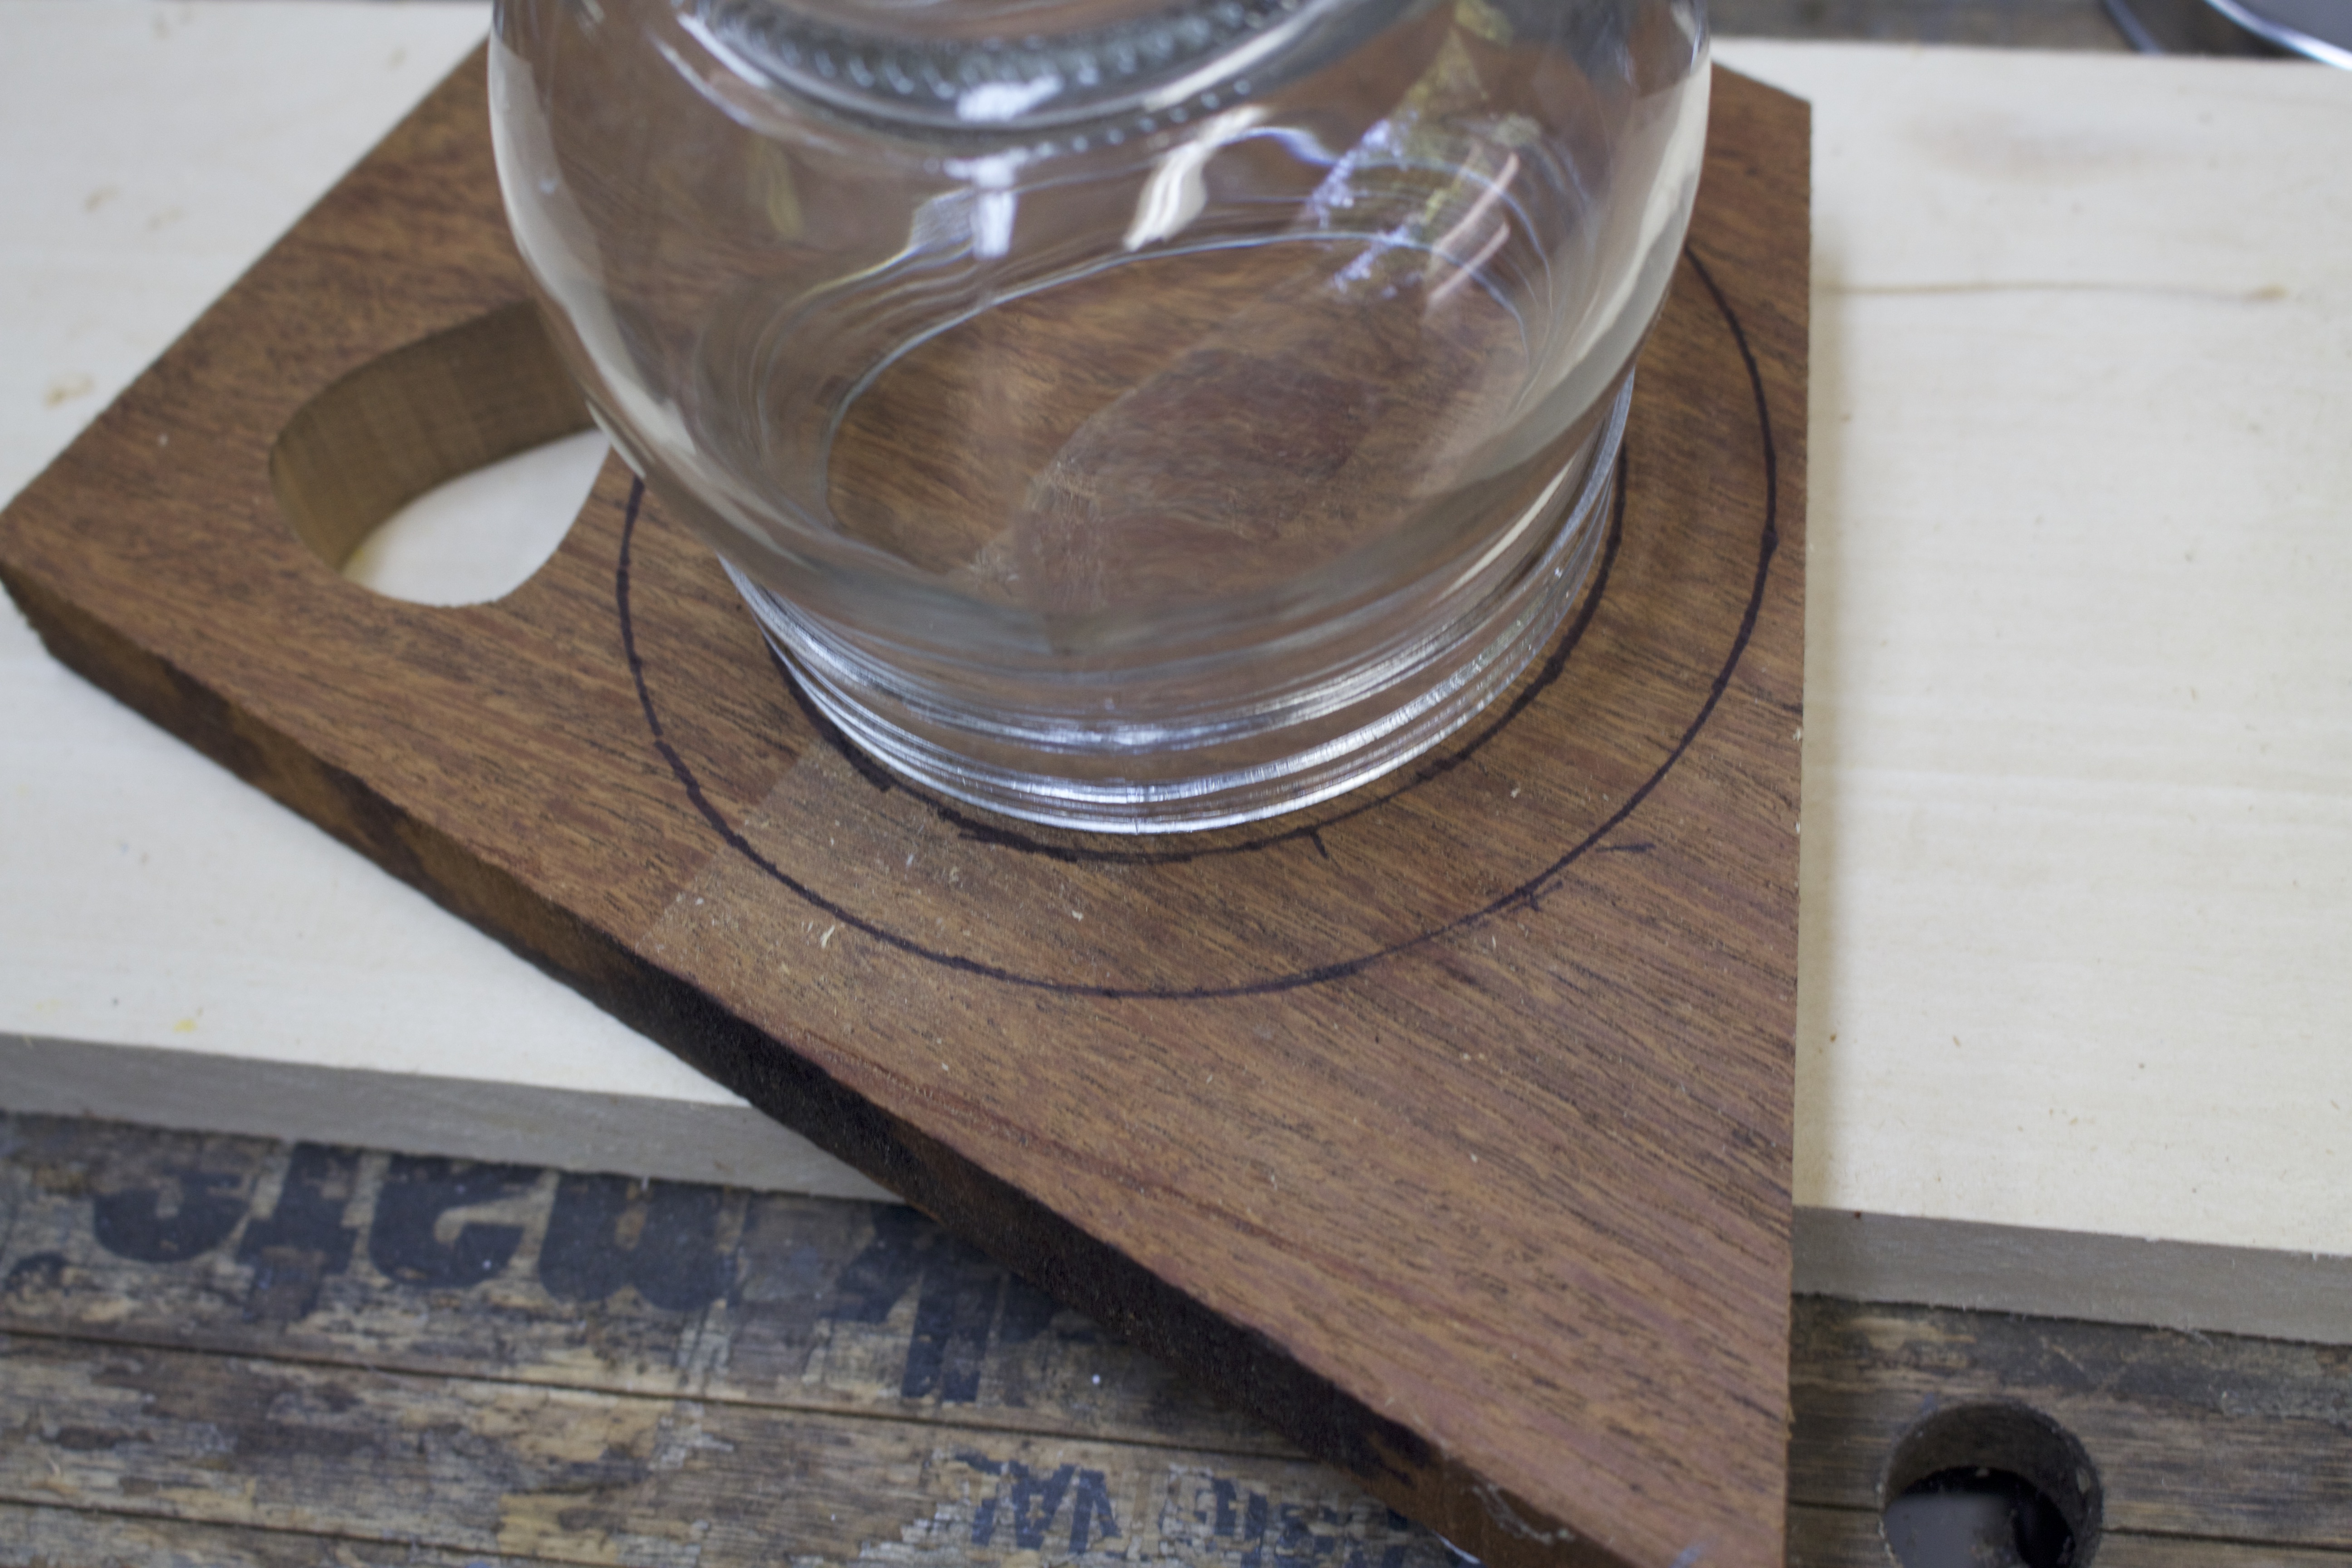
Step 2: Draw out the dimensions.
I’m using a jar that I bought from Hobby Lobby. I simply drew a perfect circle (outside diameter) so that the wood would protrude about an inch or so beyond the lid or top of the jar. This doesn’t have to be exact.
Although I’m showing tracing around the top of the jar for the inner circle, use the metal lid instead. Later, we’ll be milling out that inner circle so the wood can fit over the metal lid.
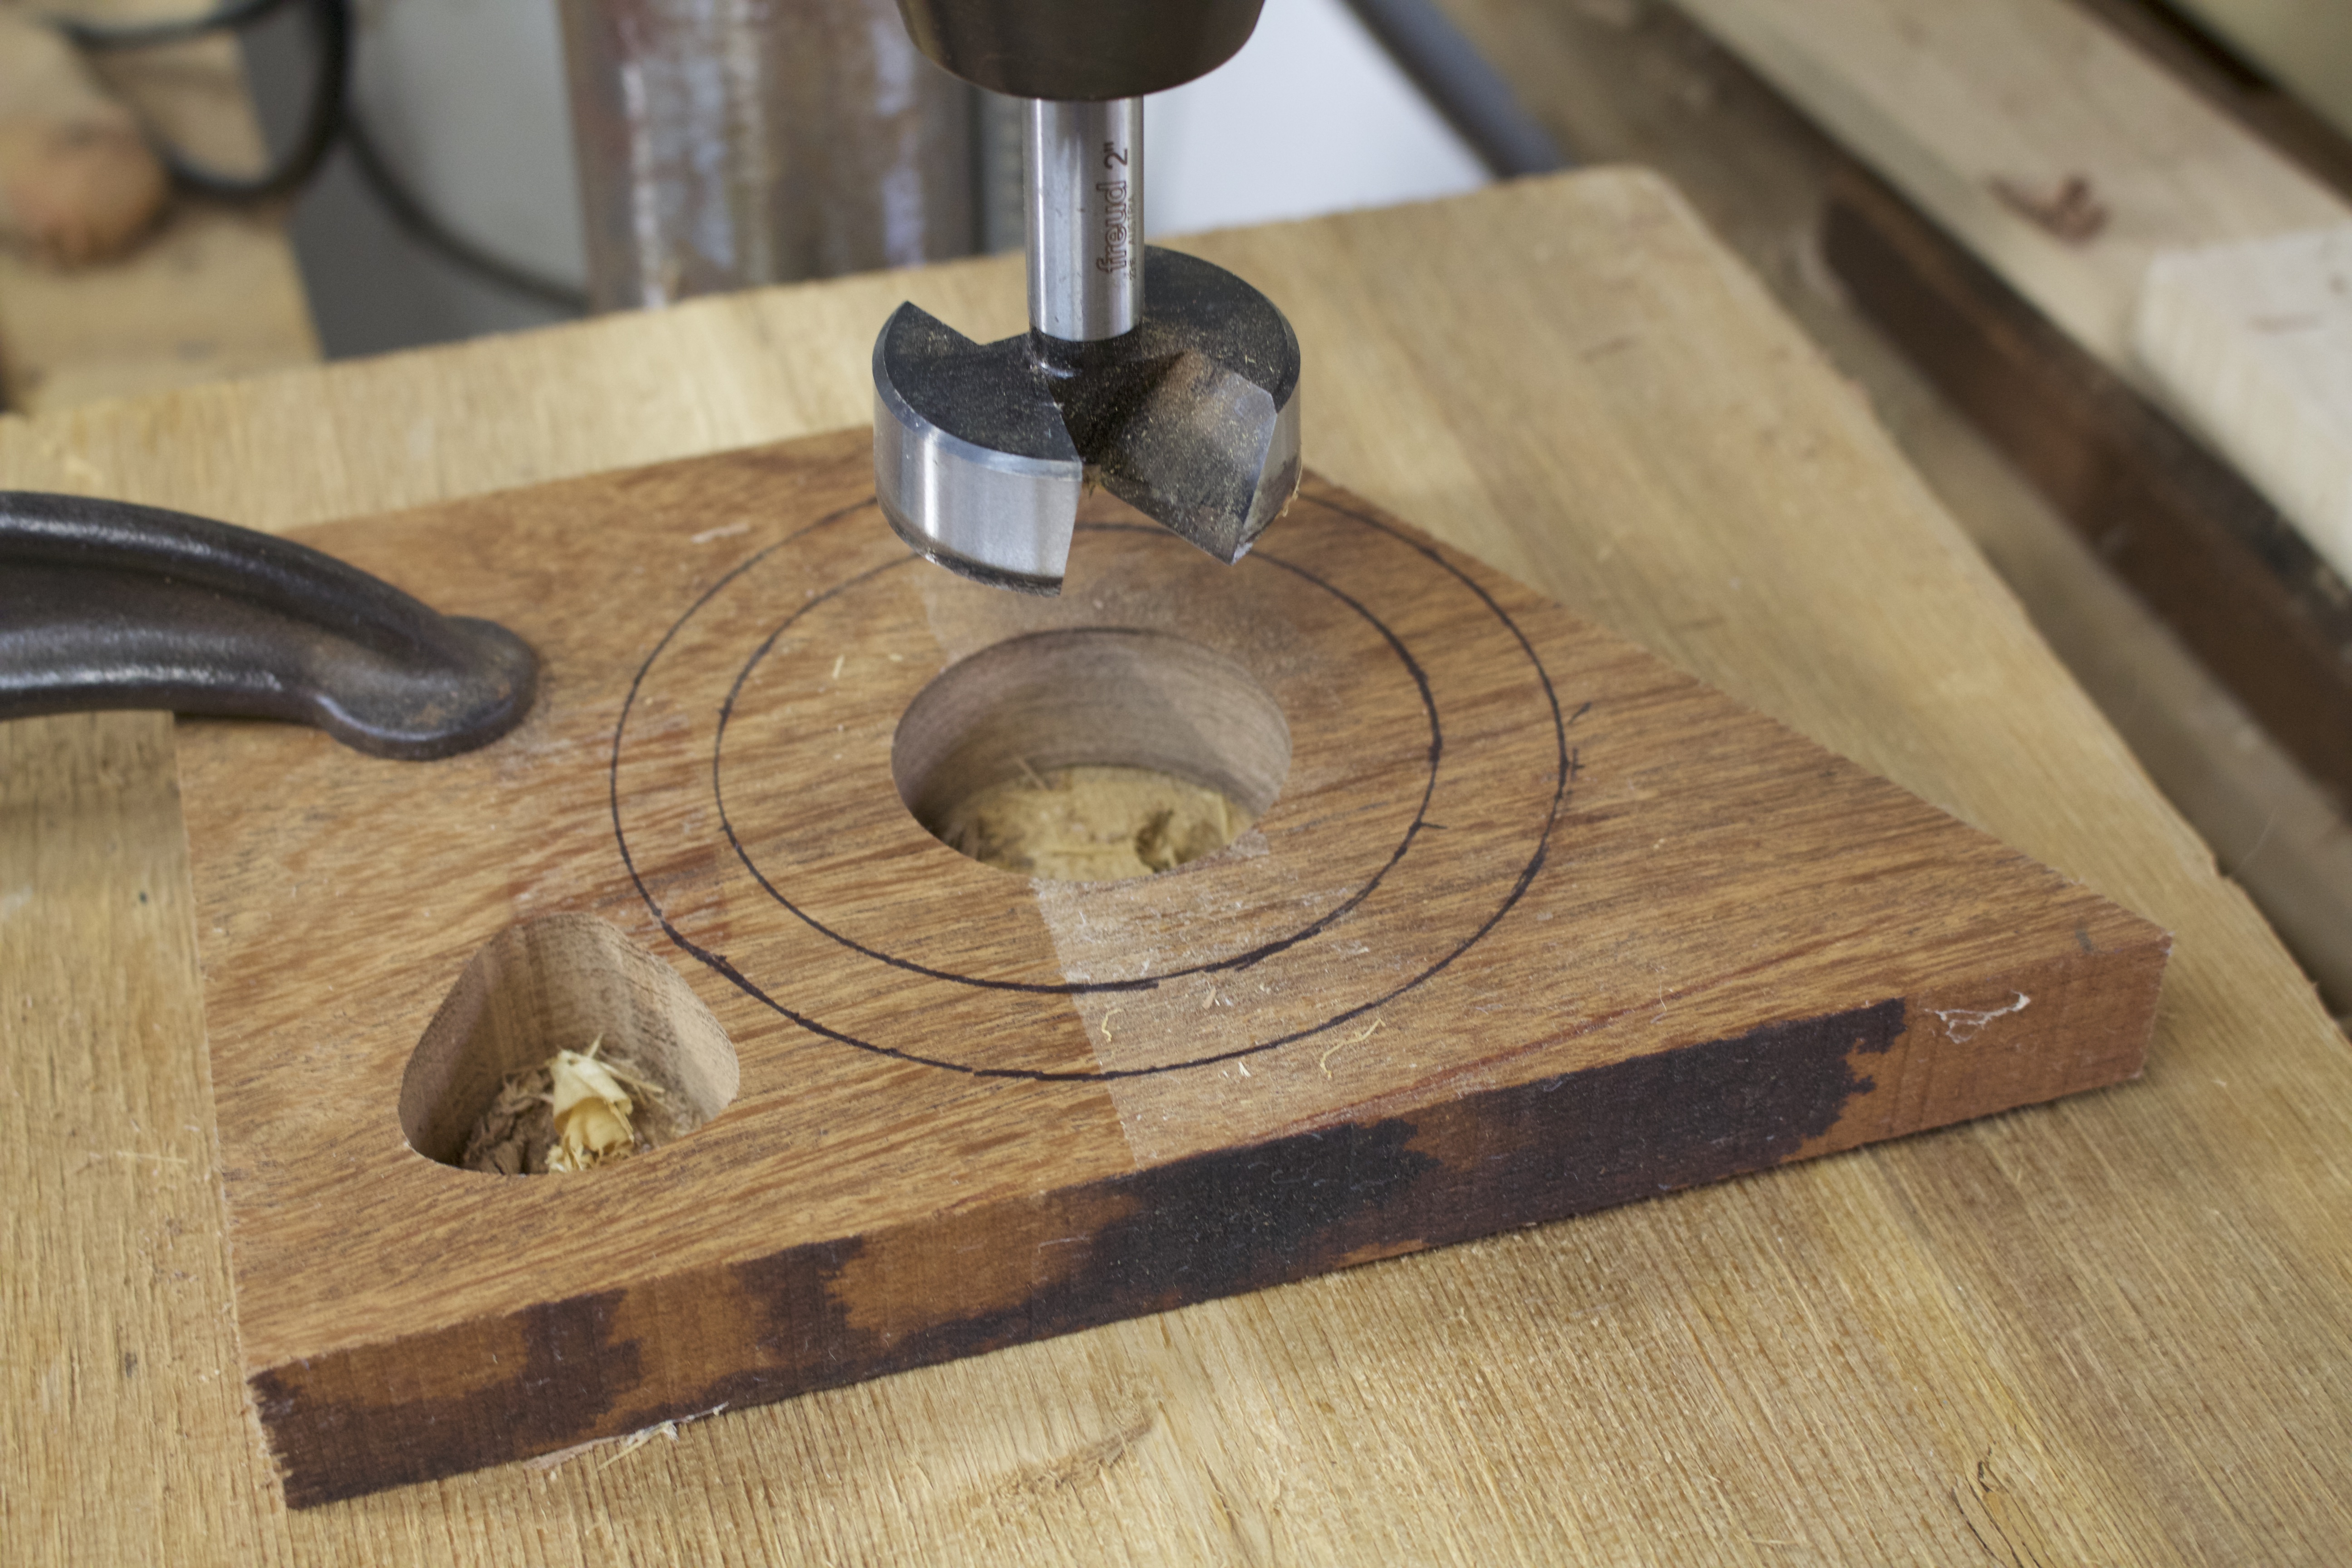
Step 3: Drill the 2 inch hole.
Using a 2 inch Forstner bit, I first drill a 2-inch hole all the way through the center of the wood. The coffee grinder will eventually be mounted over this 2-inch hole.
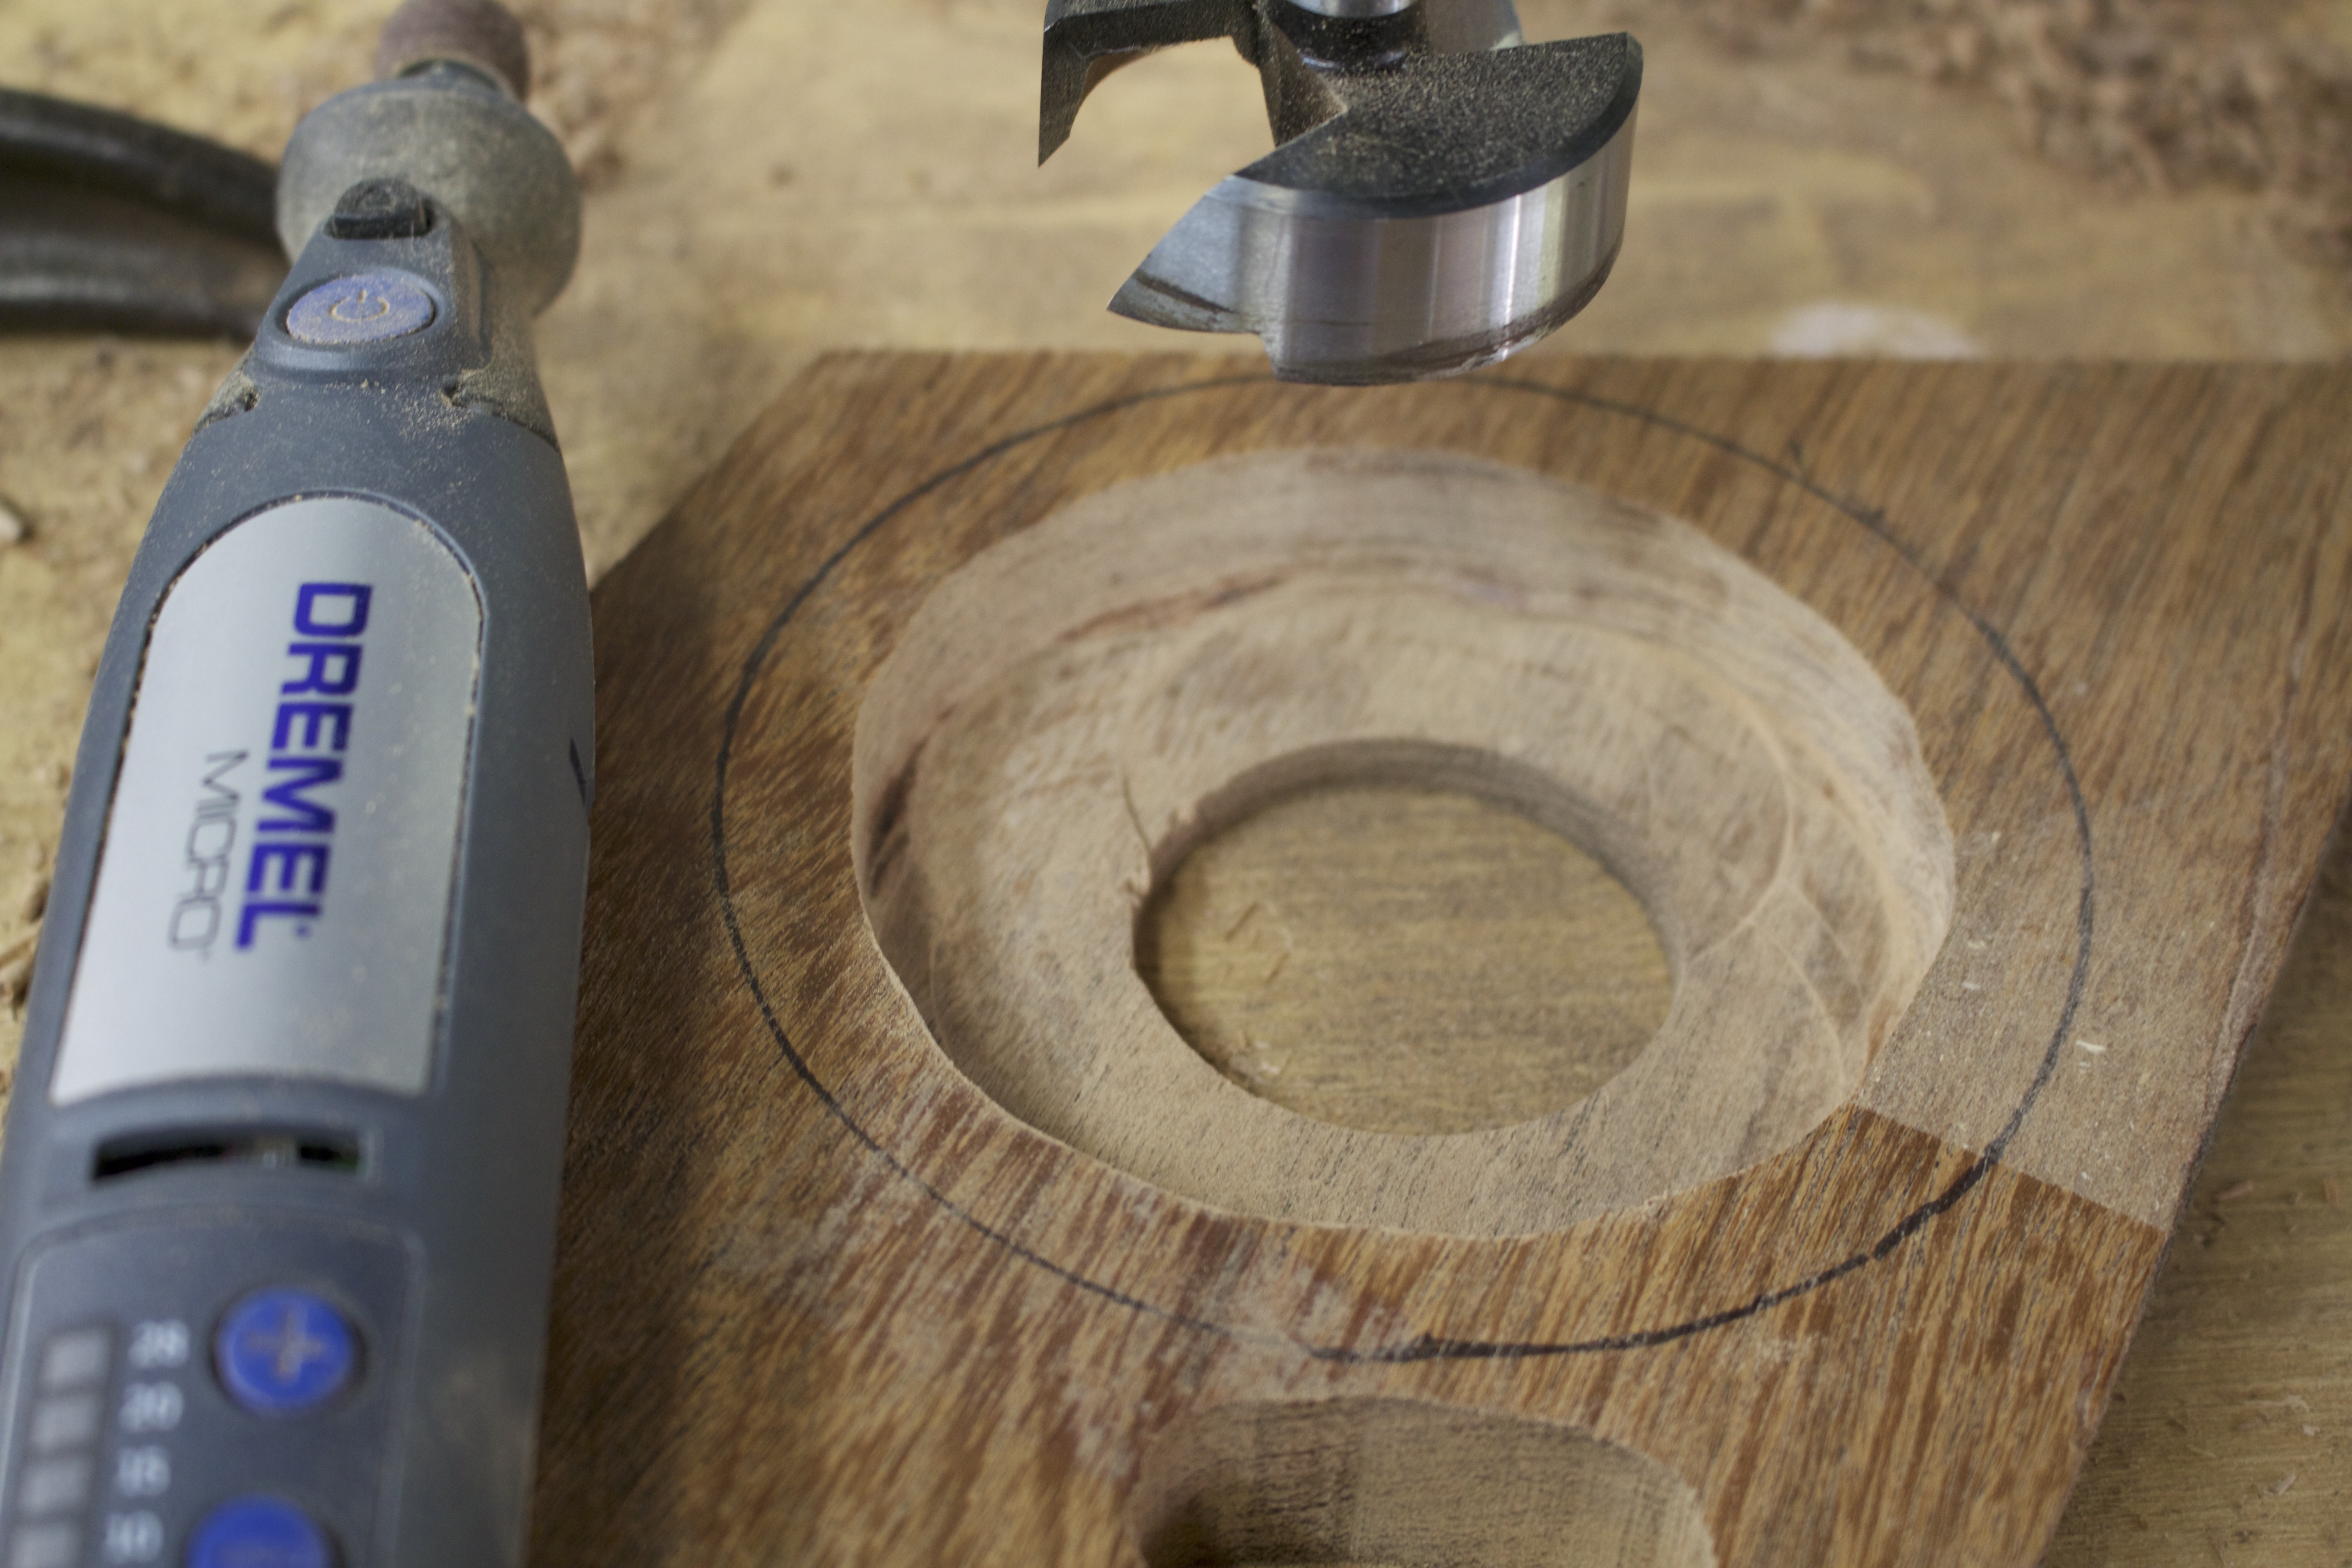
Step 4: Mill out the inner circle.
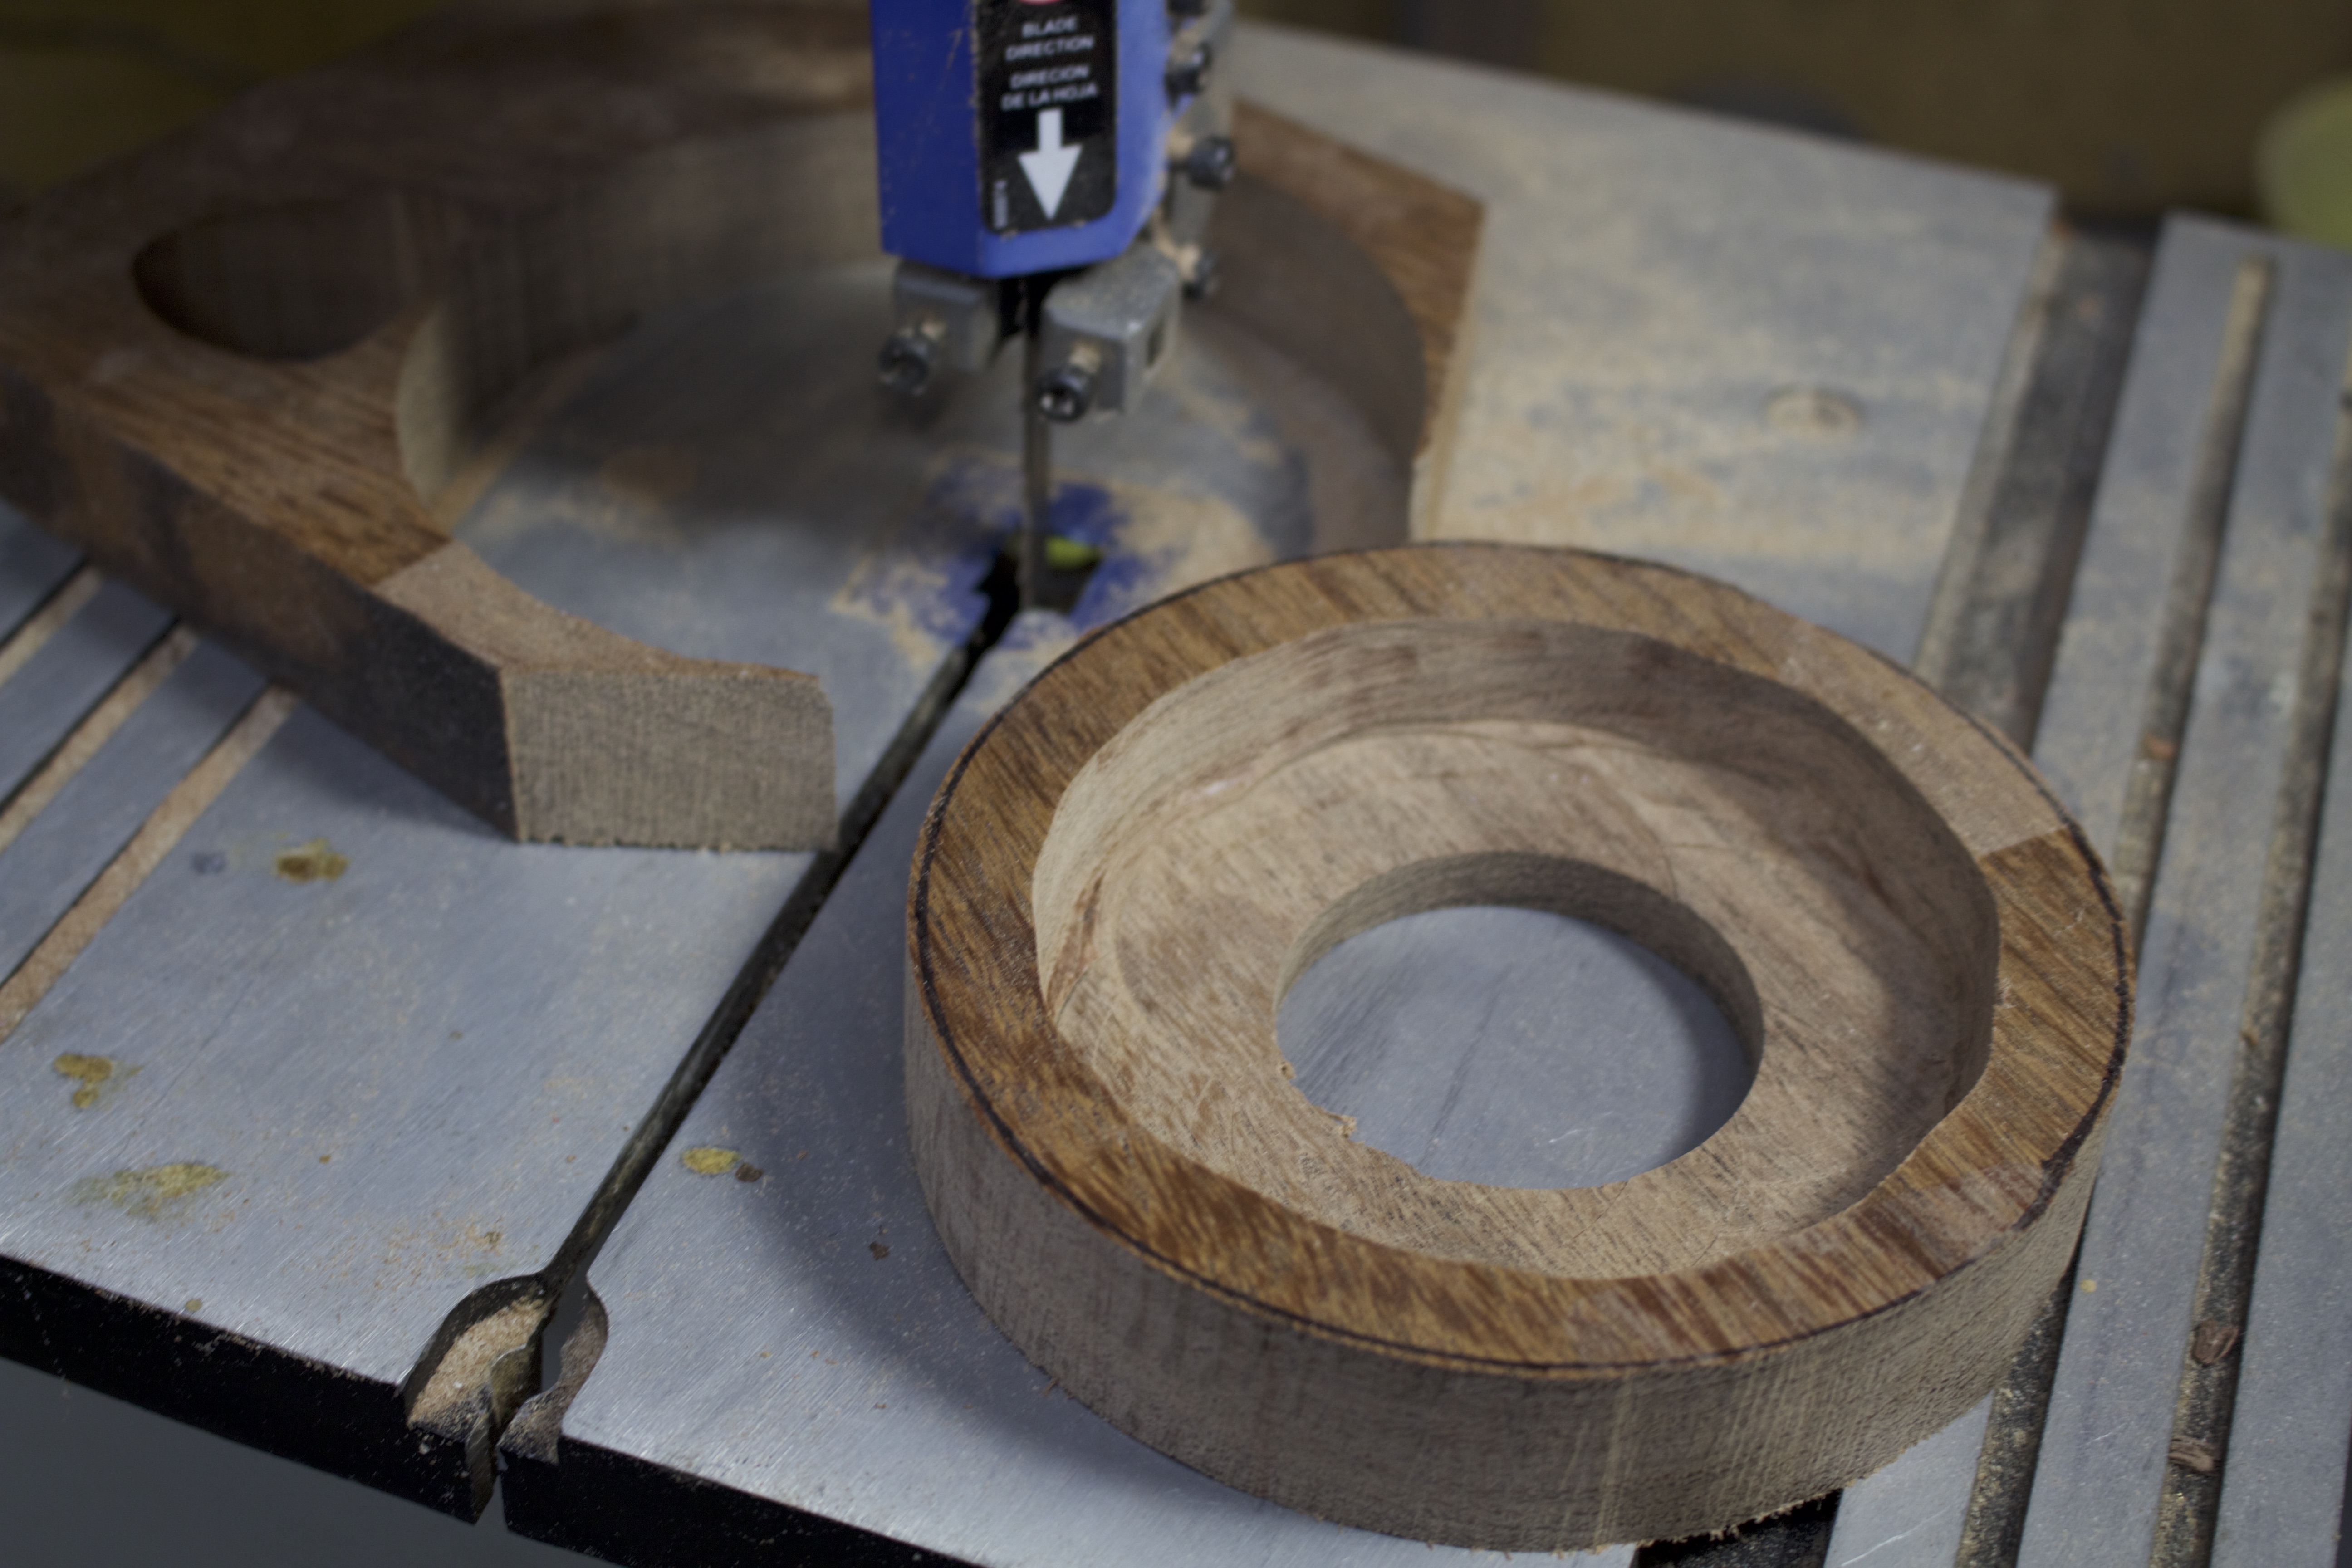
Next, I continued to use the 2-inch Forstner bit to mill out the inner circle we drew in Step 2. I set my drill press stop so the bit would only go down to a 1/2 inch depth into the wood. I also used my Dremel to do some fine tuning so the wood disk would fit nicely over the metal jar lid. I made sure I secured my wood while drilling. You could also use a router to do the same thing. Use whatever you’re comfortable using.
Step 5: Cut out the coffee grinder base.
I used a bandsaw to cut out the coffee grinder base. Cut around that outer circle mark. If you don’t have a bandsaw, then use a jigsaw.
Step 6: Sand the coffee grinder base.
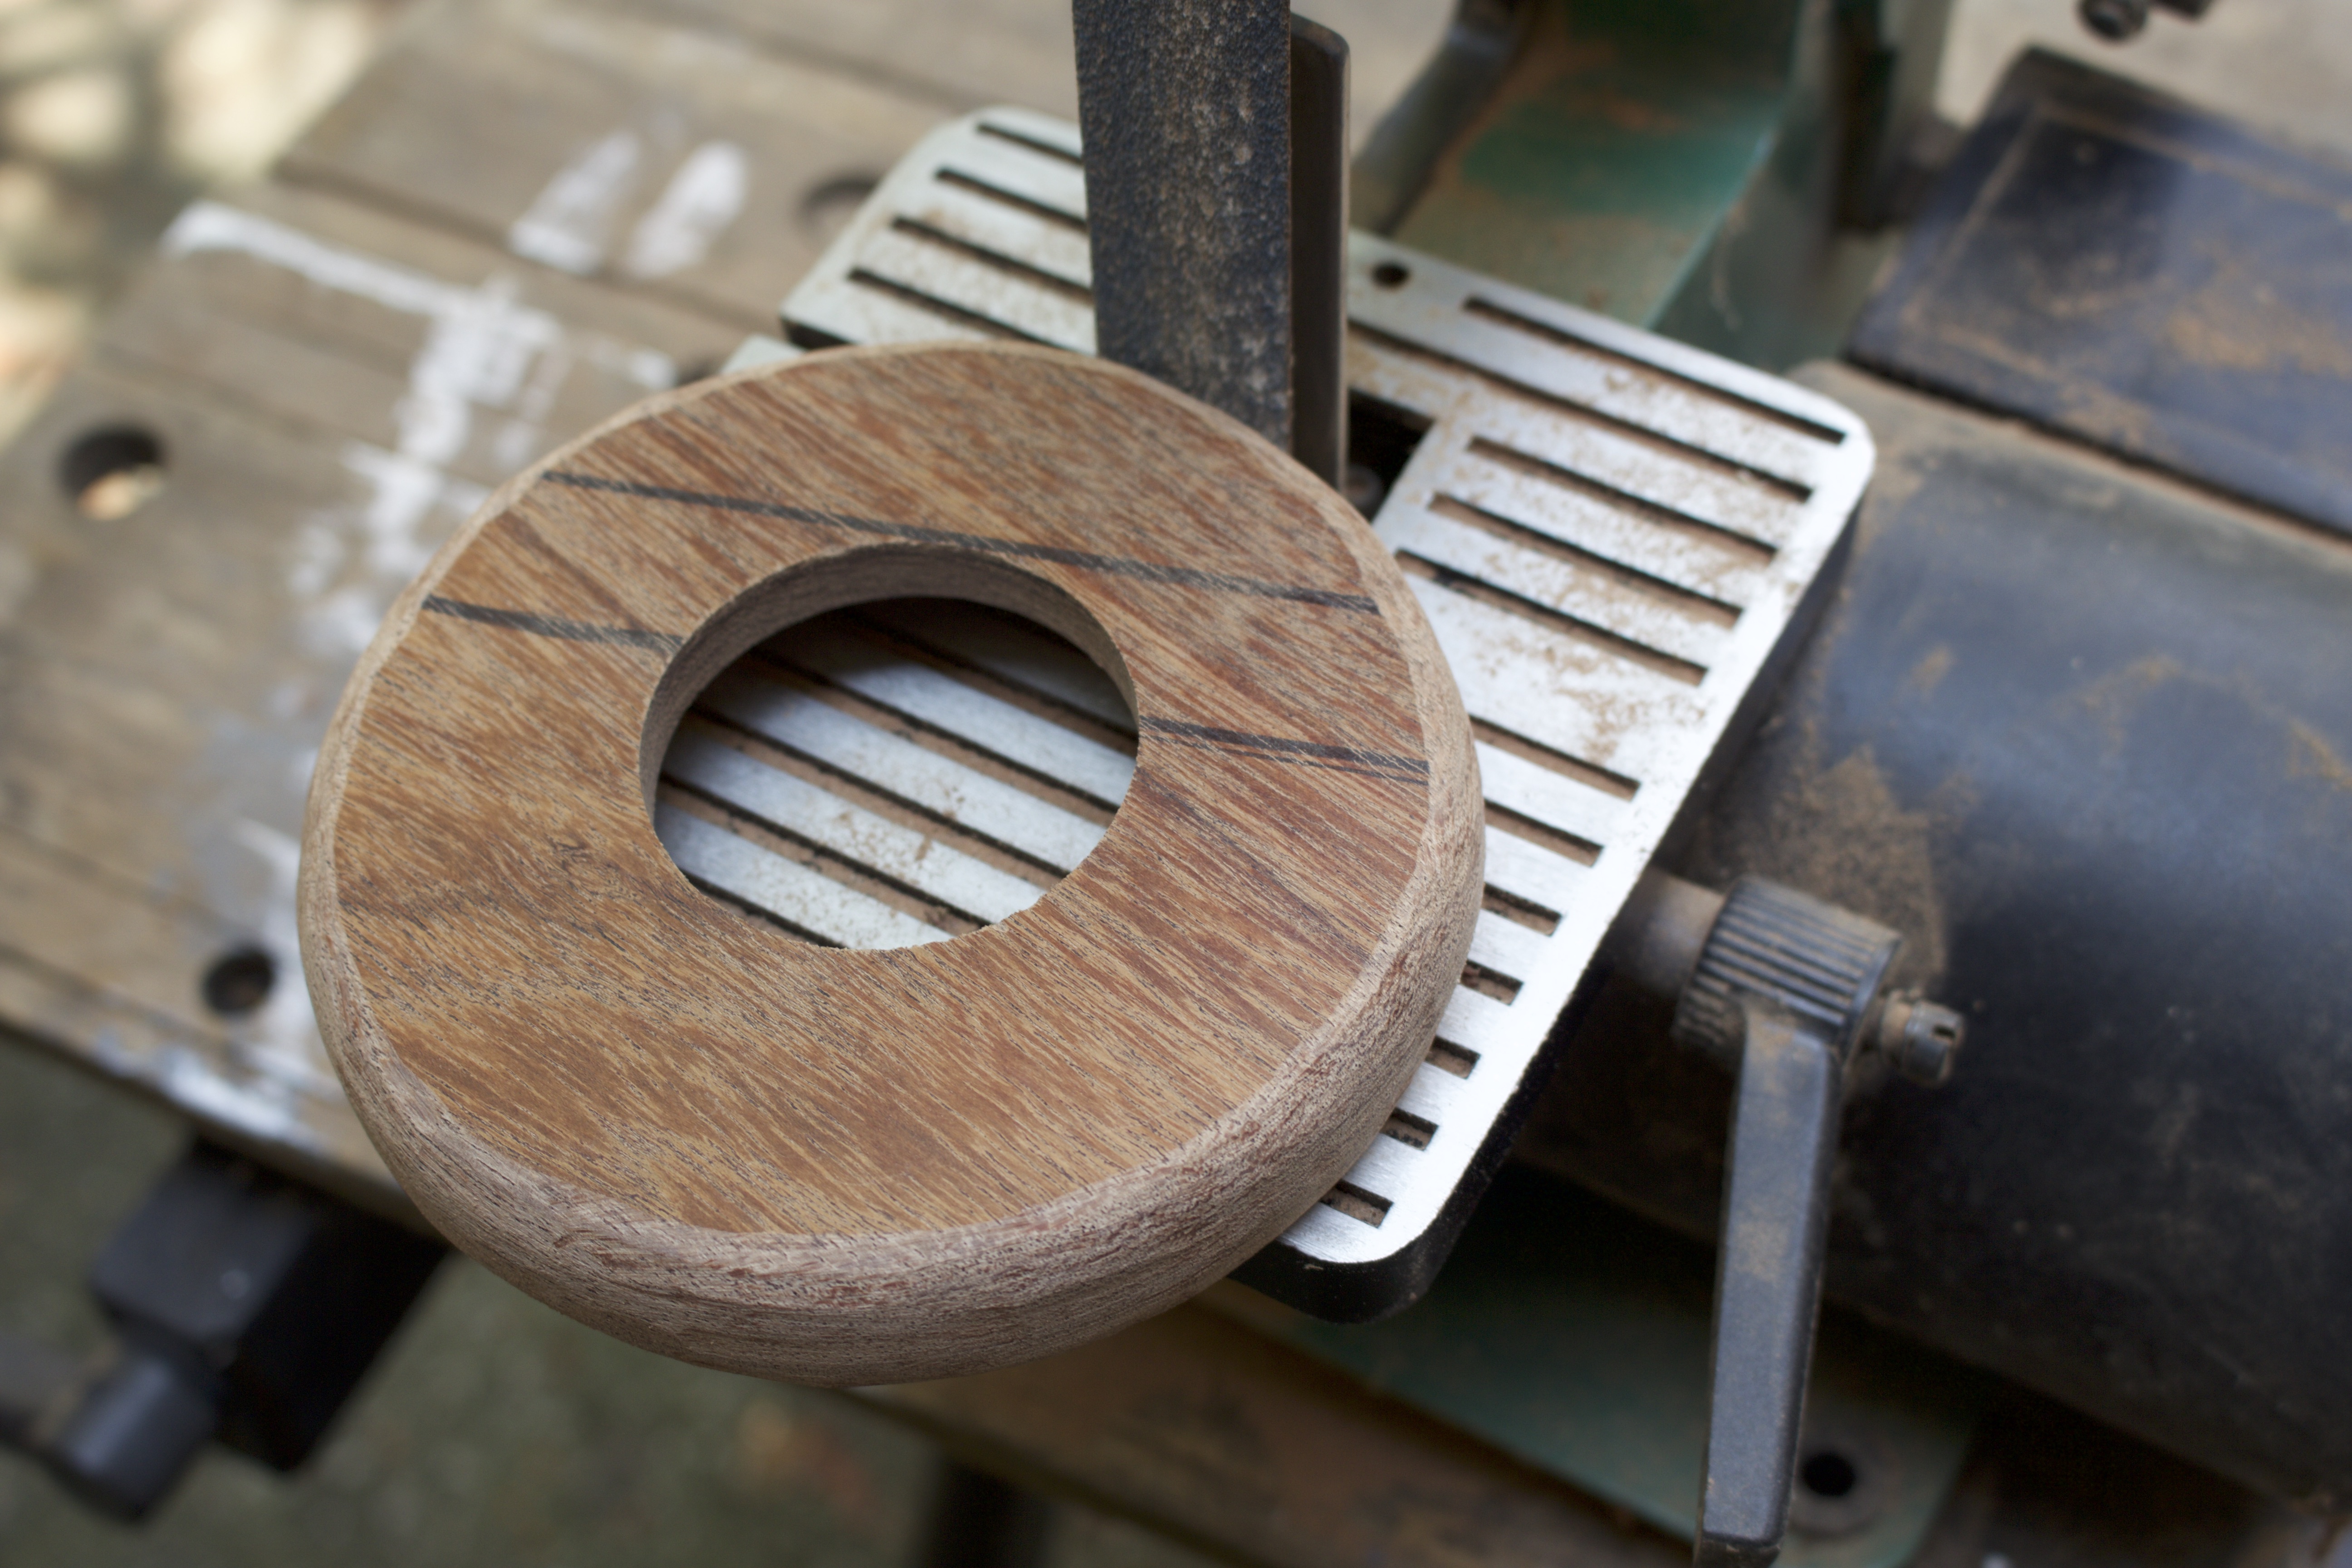
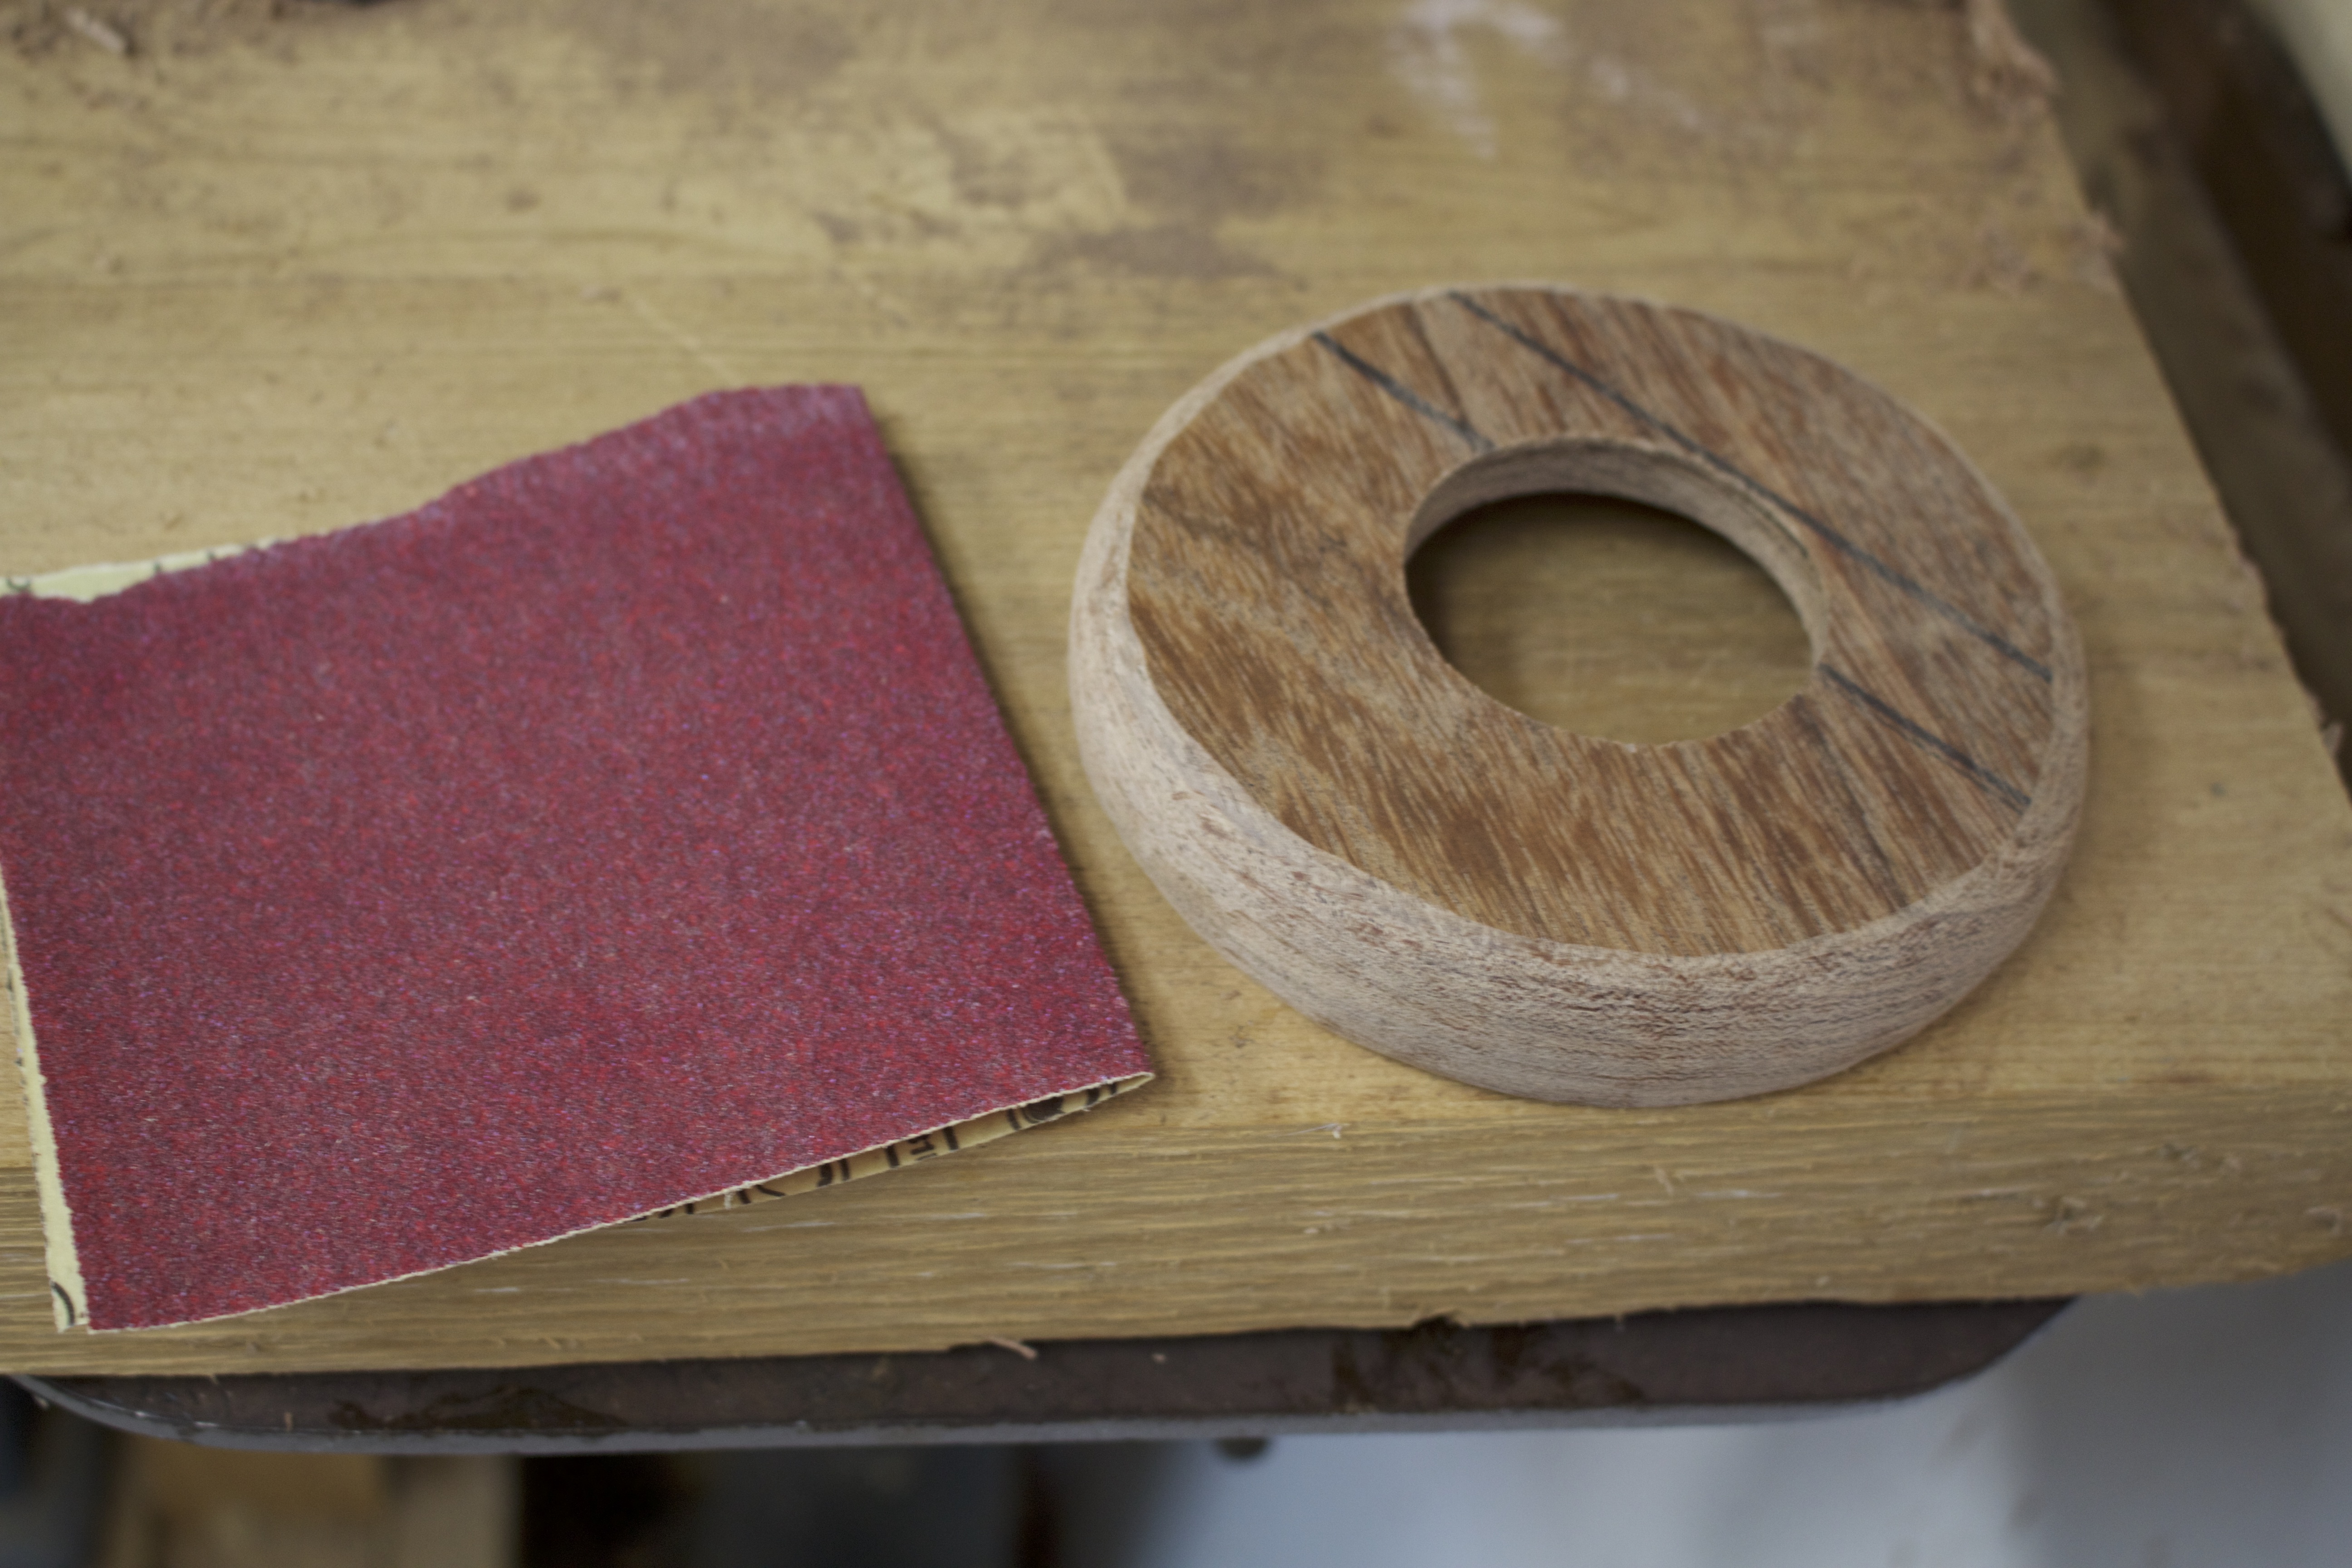
I used a 1 inch belt sander and my Dremel to sand and shape the outer edge of the wooden disk. I sanded until it had a profile shaped like a donut.
Step 7: Apply a finish
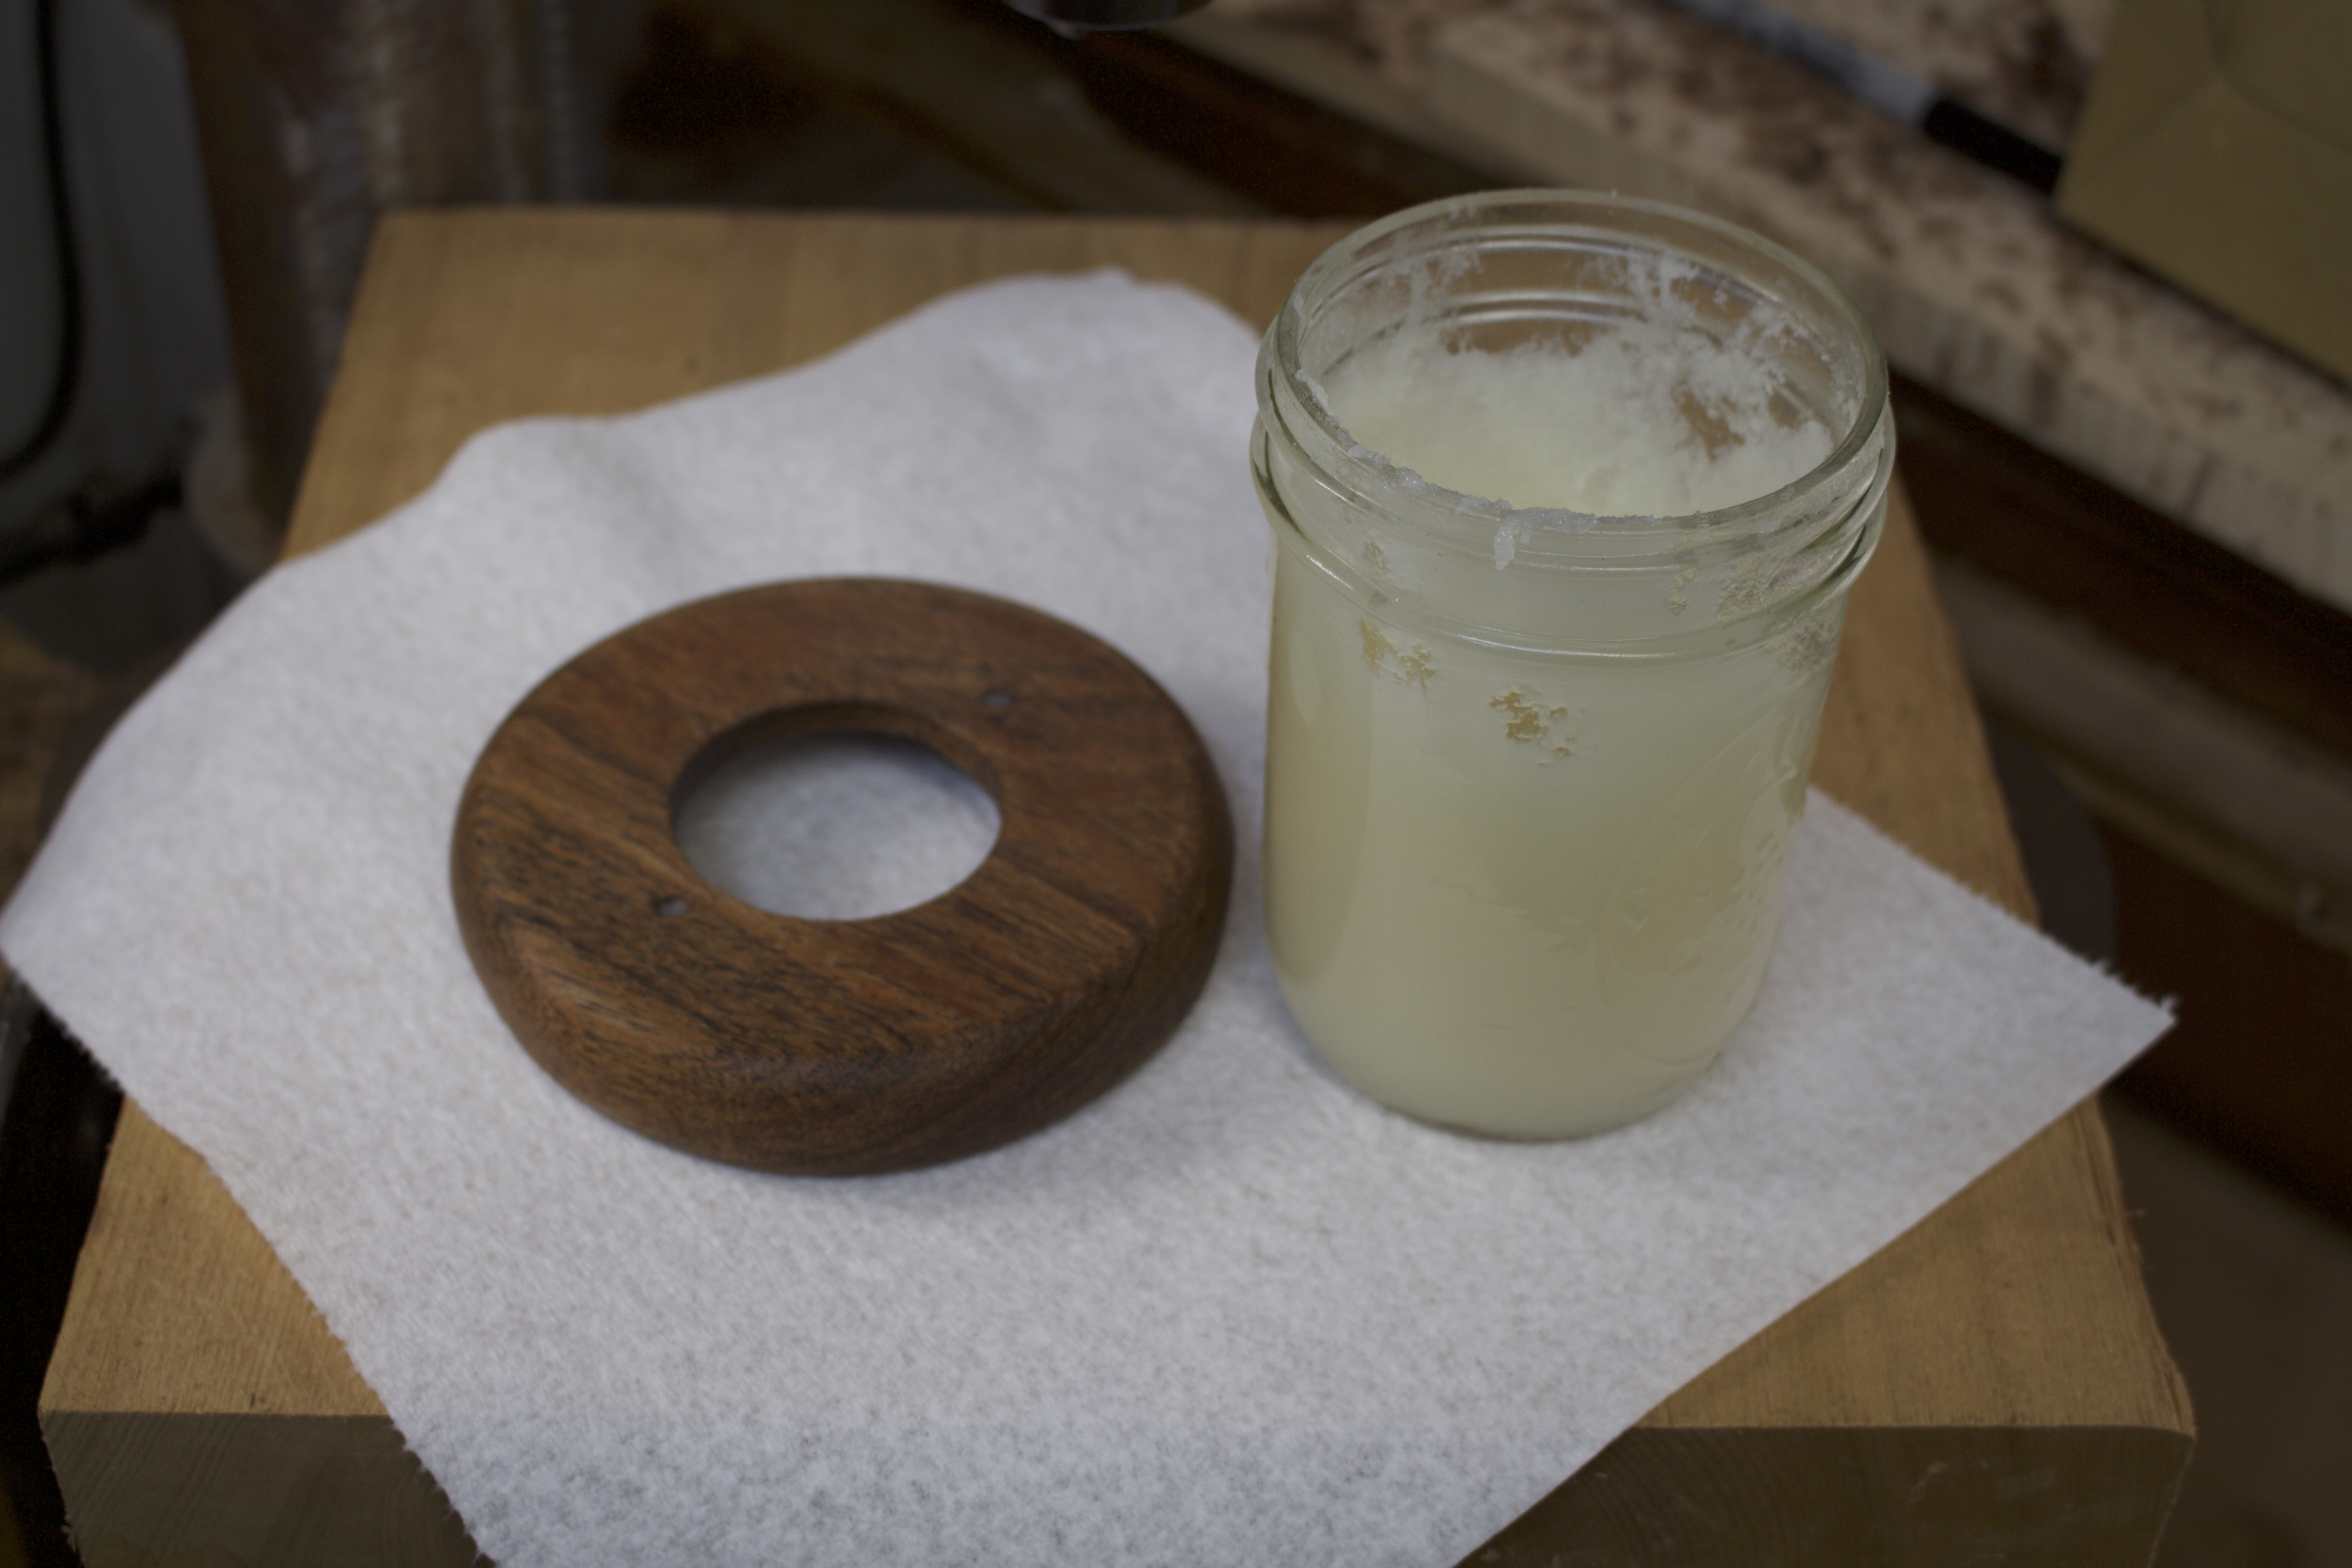
I decided to just apply some of my beeswax / mineral oil mix to the wood disk. You could do this as a final step, but I wanted to apply it before I mounted the grinder on top.
Step 8: Drill 2 holes for grinder mounting bolts.
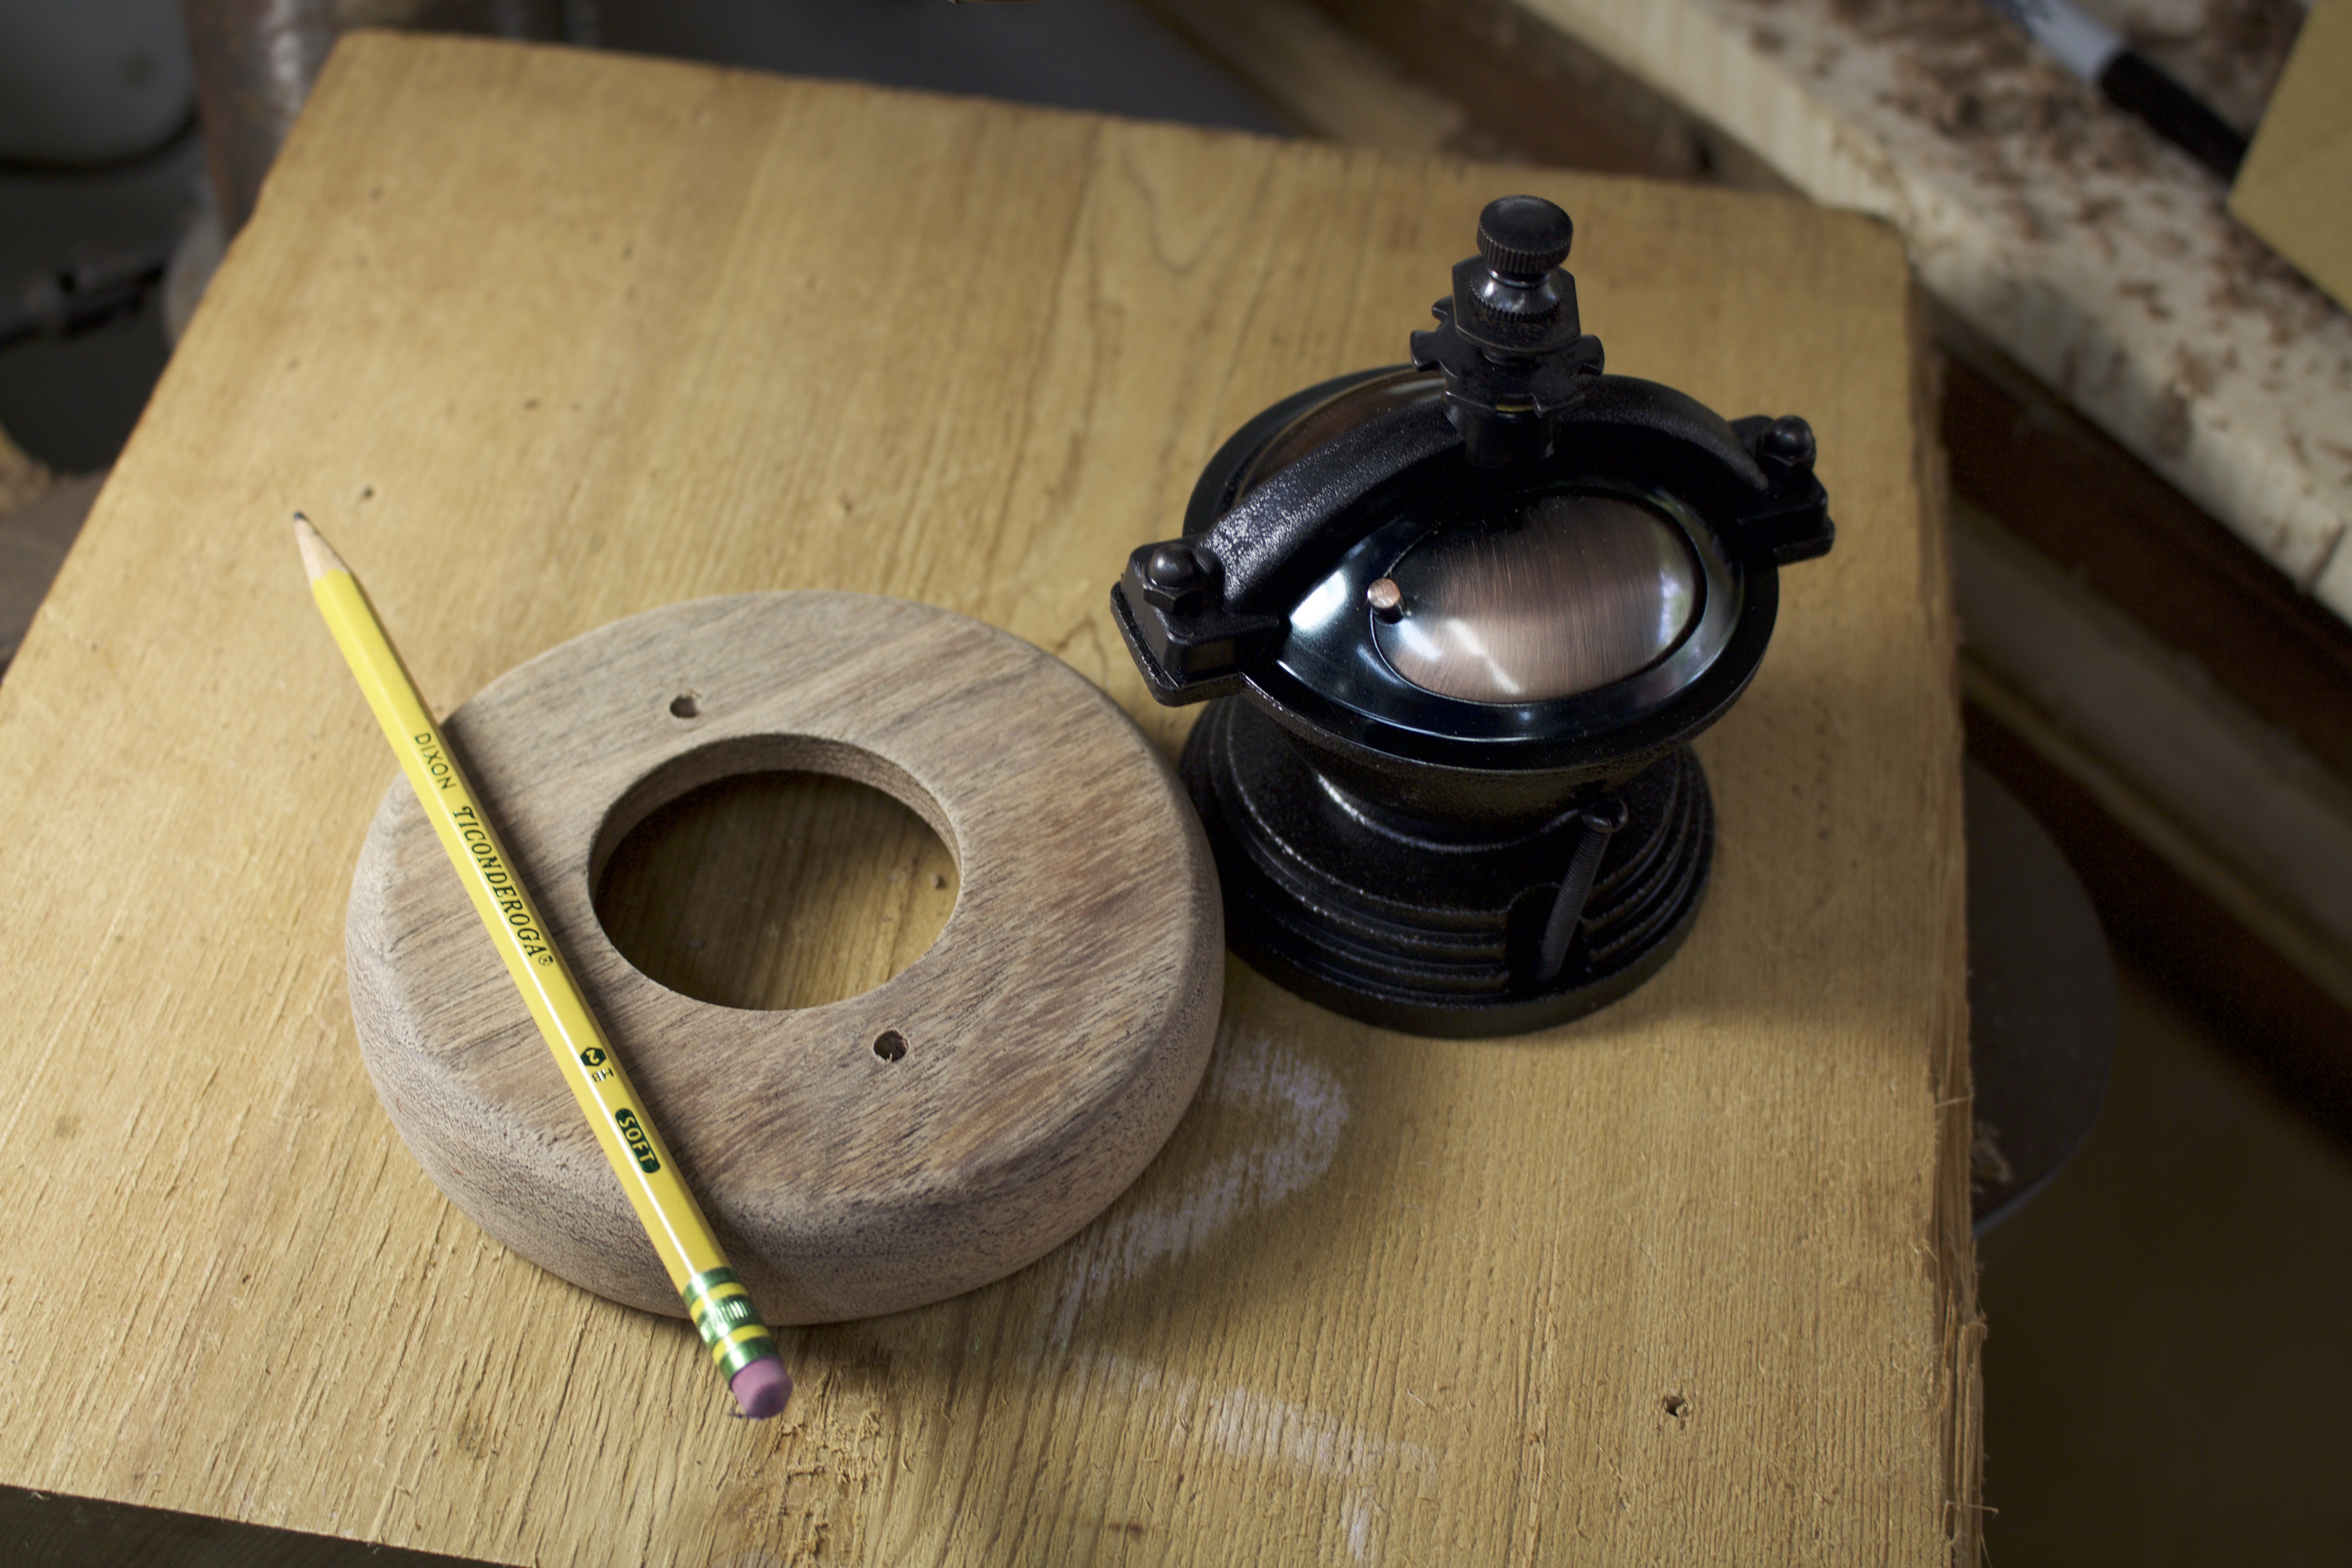
Place the hand crank grinder over the 2 inch hole on the top surface of the wooden disk. Use a pencil to mark the holes. Drill 2 holes and use the 2 bolts (that come with the kit) to test for fit.
Step 9: Cut out the center of the metal lid.
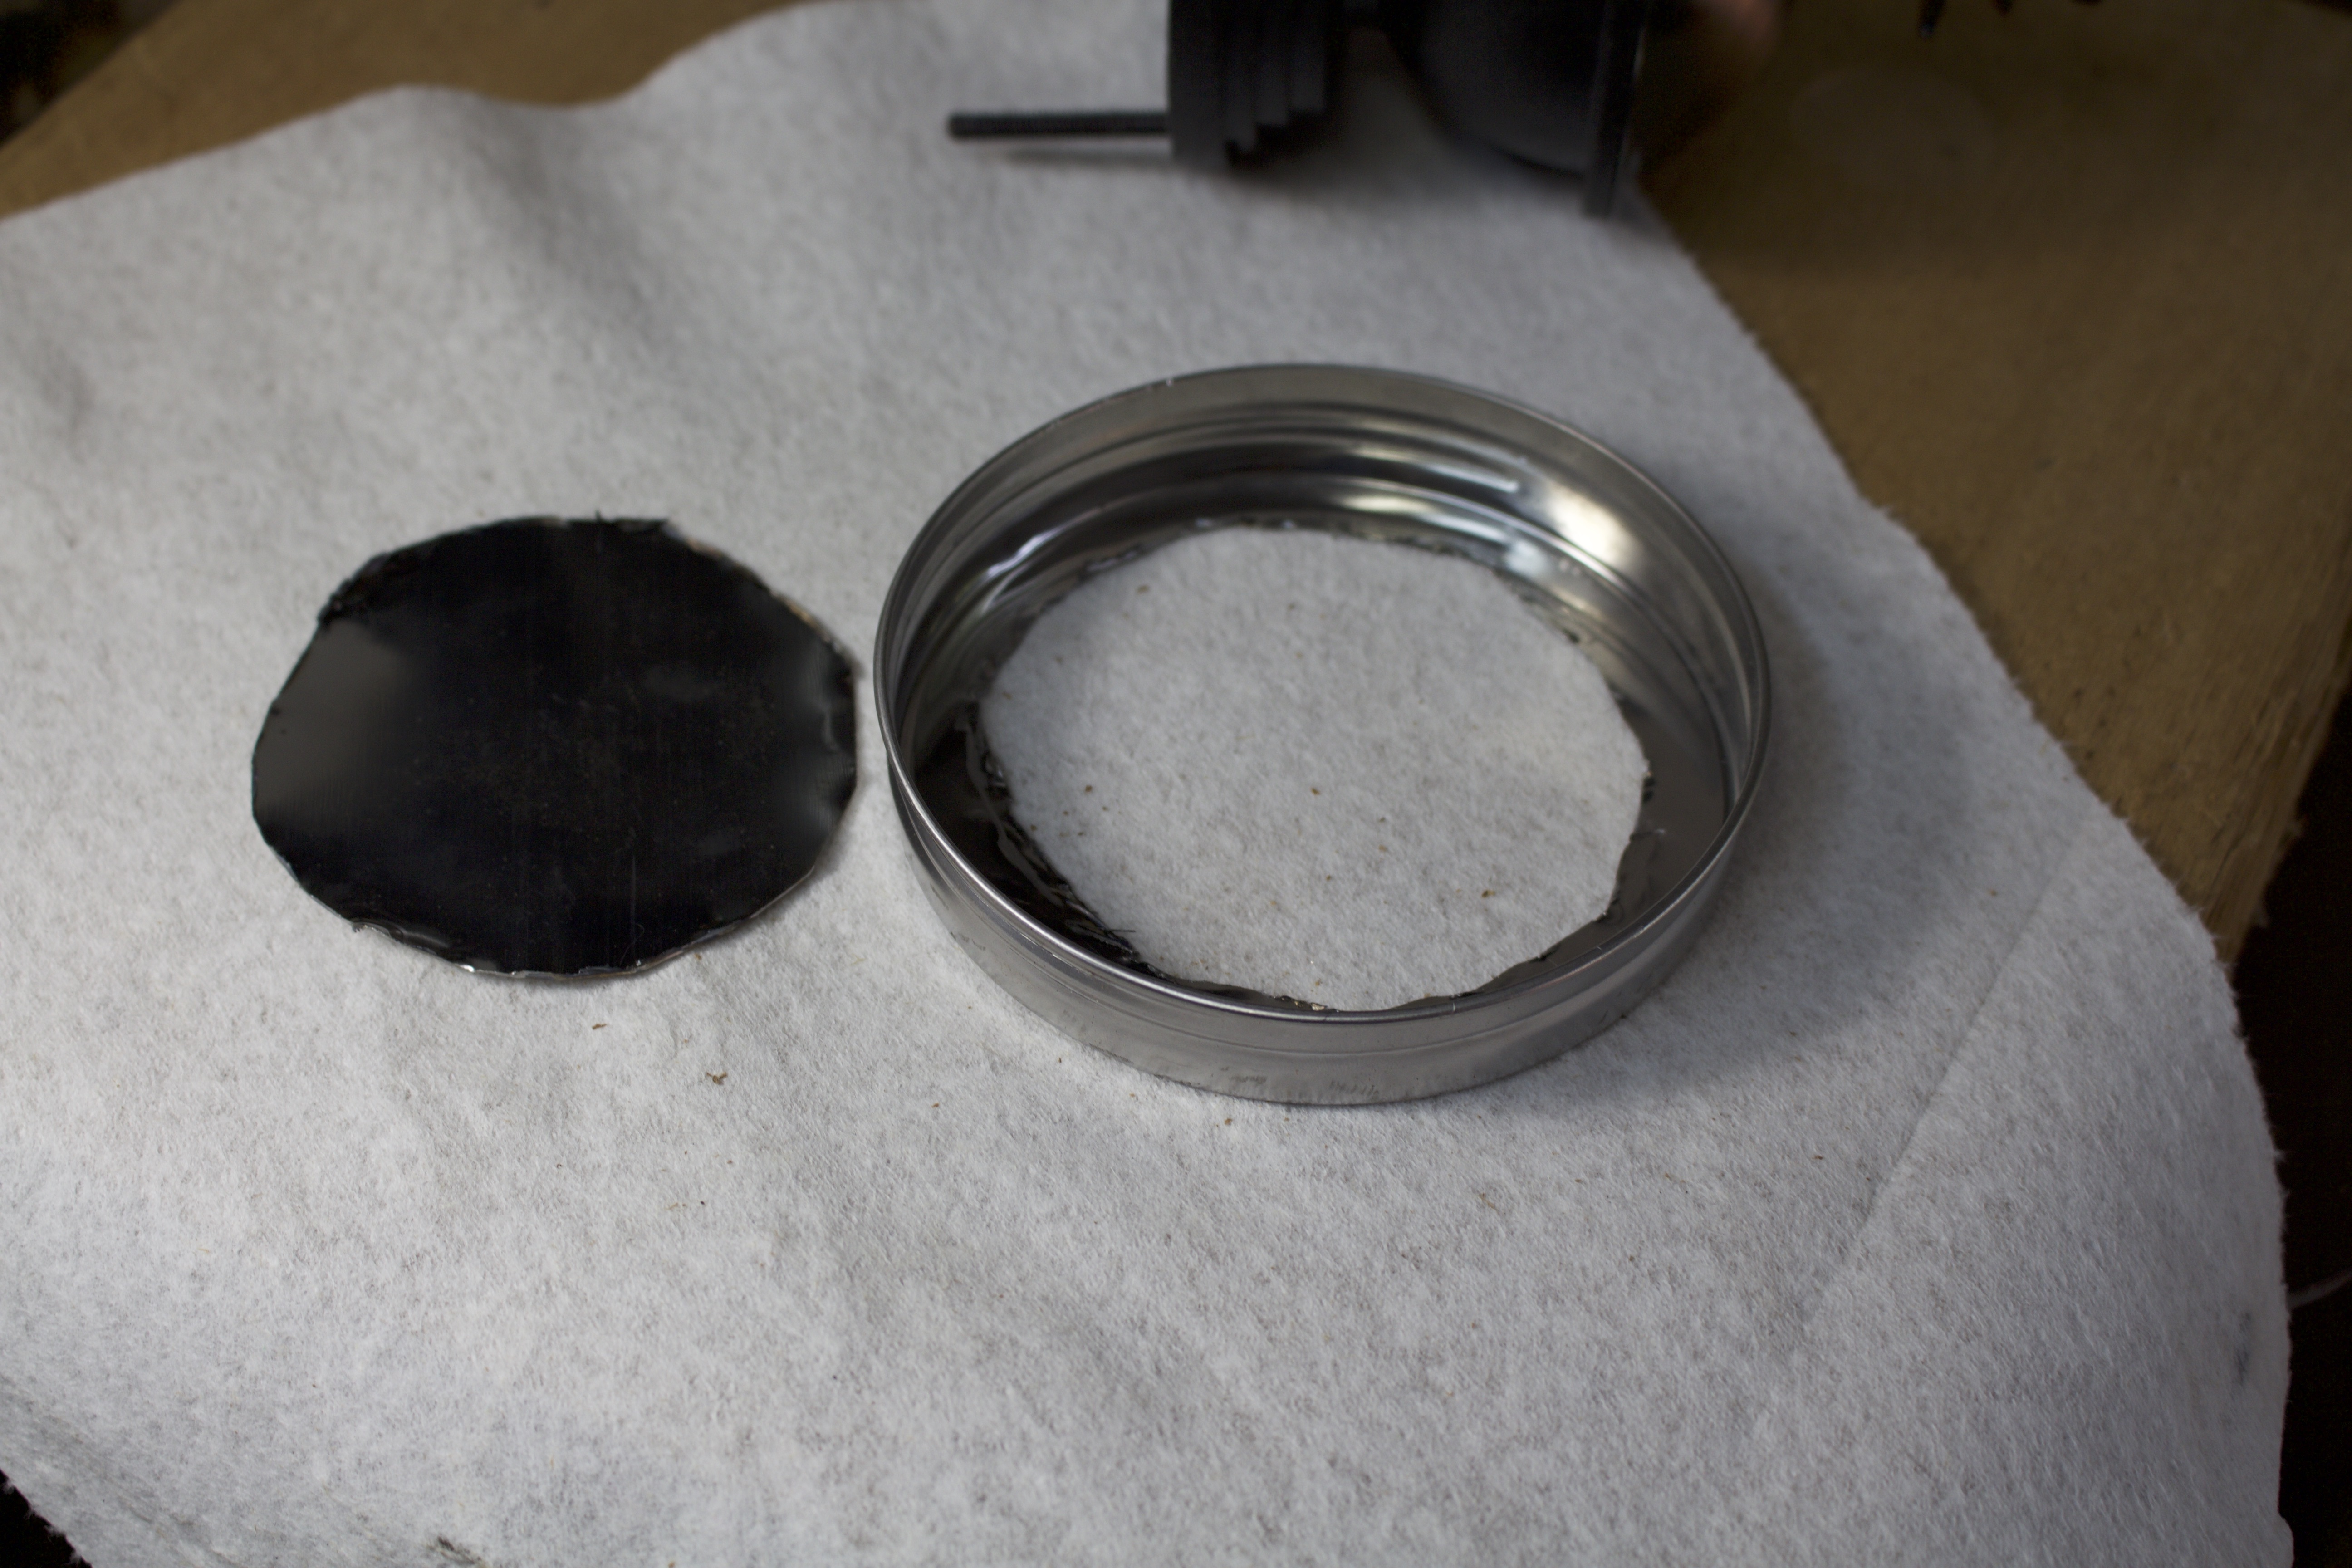
I used my Dremel and a cutting disk attachment to cut out a hole in the lid. You want a hole that is just big enough to clear the 2 holes we drilled in Step 8.
If you have a Mason jar used for canning, this step might not be necessary. Some Mason jar lids are designed as 2 parts. If you have one of these type lids, then you shouldn’t have to do any cutting.
Step 10: Glue the lid into the wooden base.
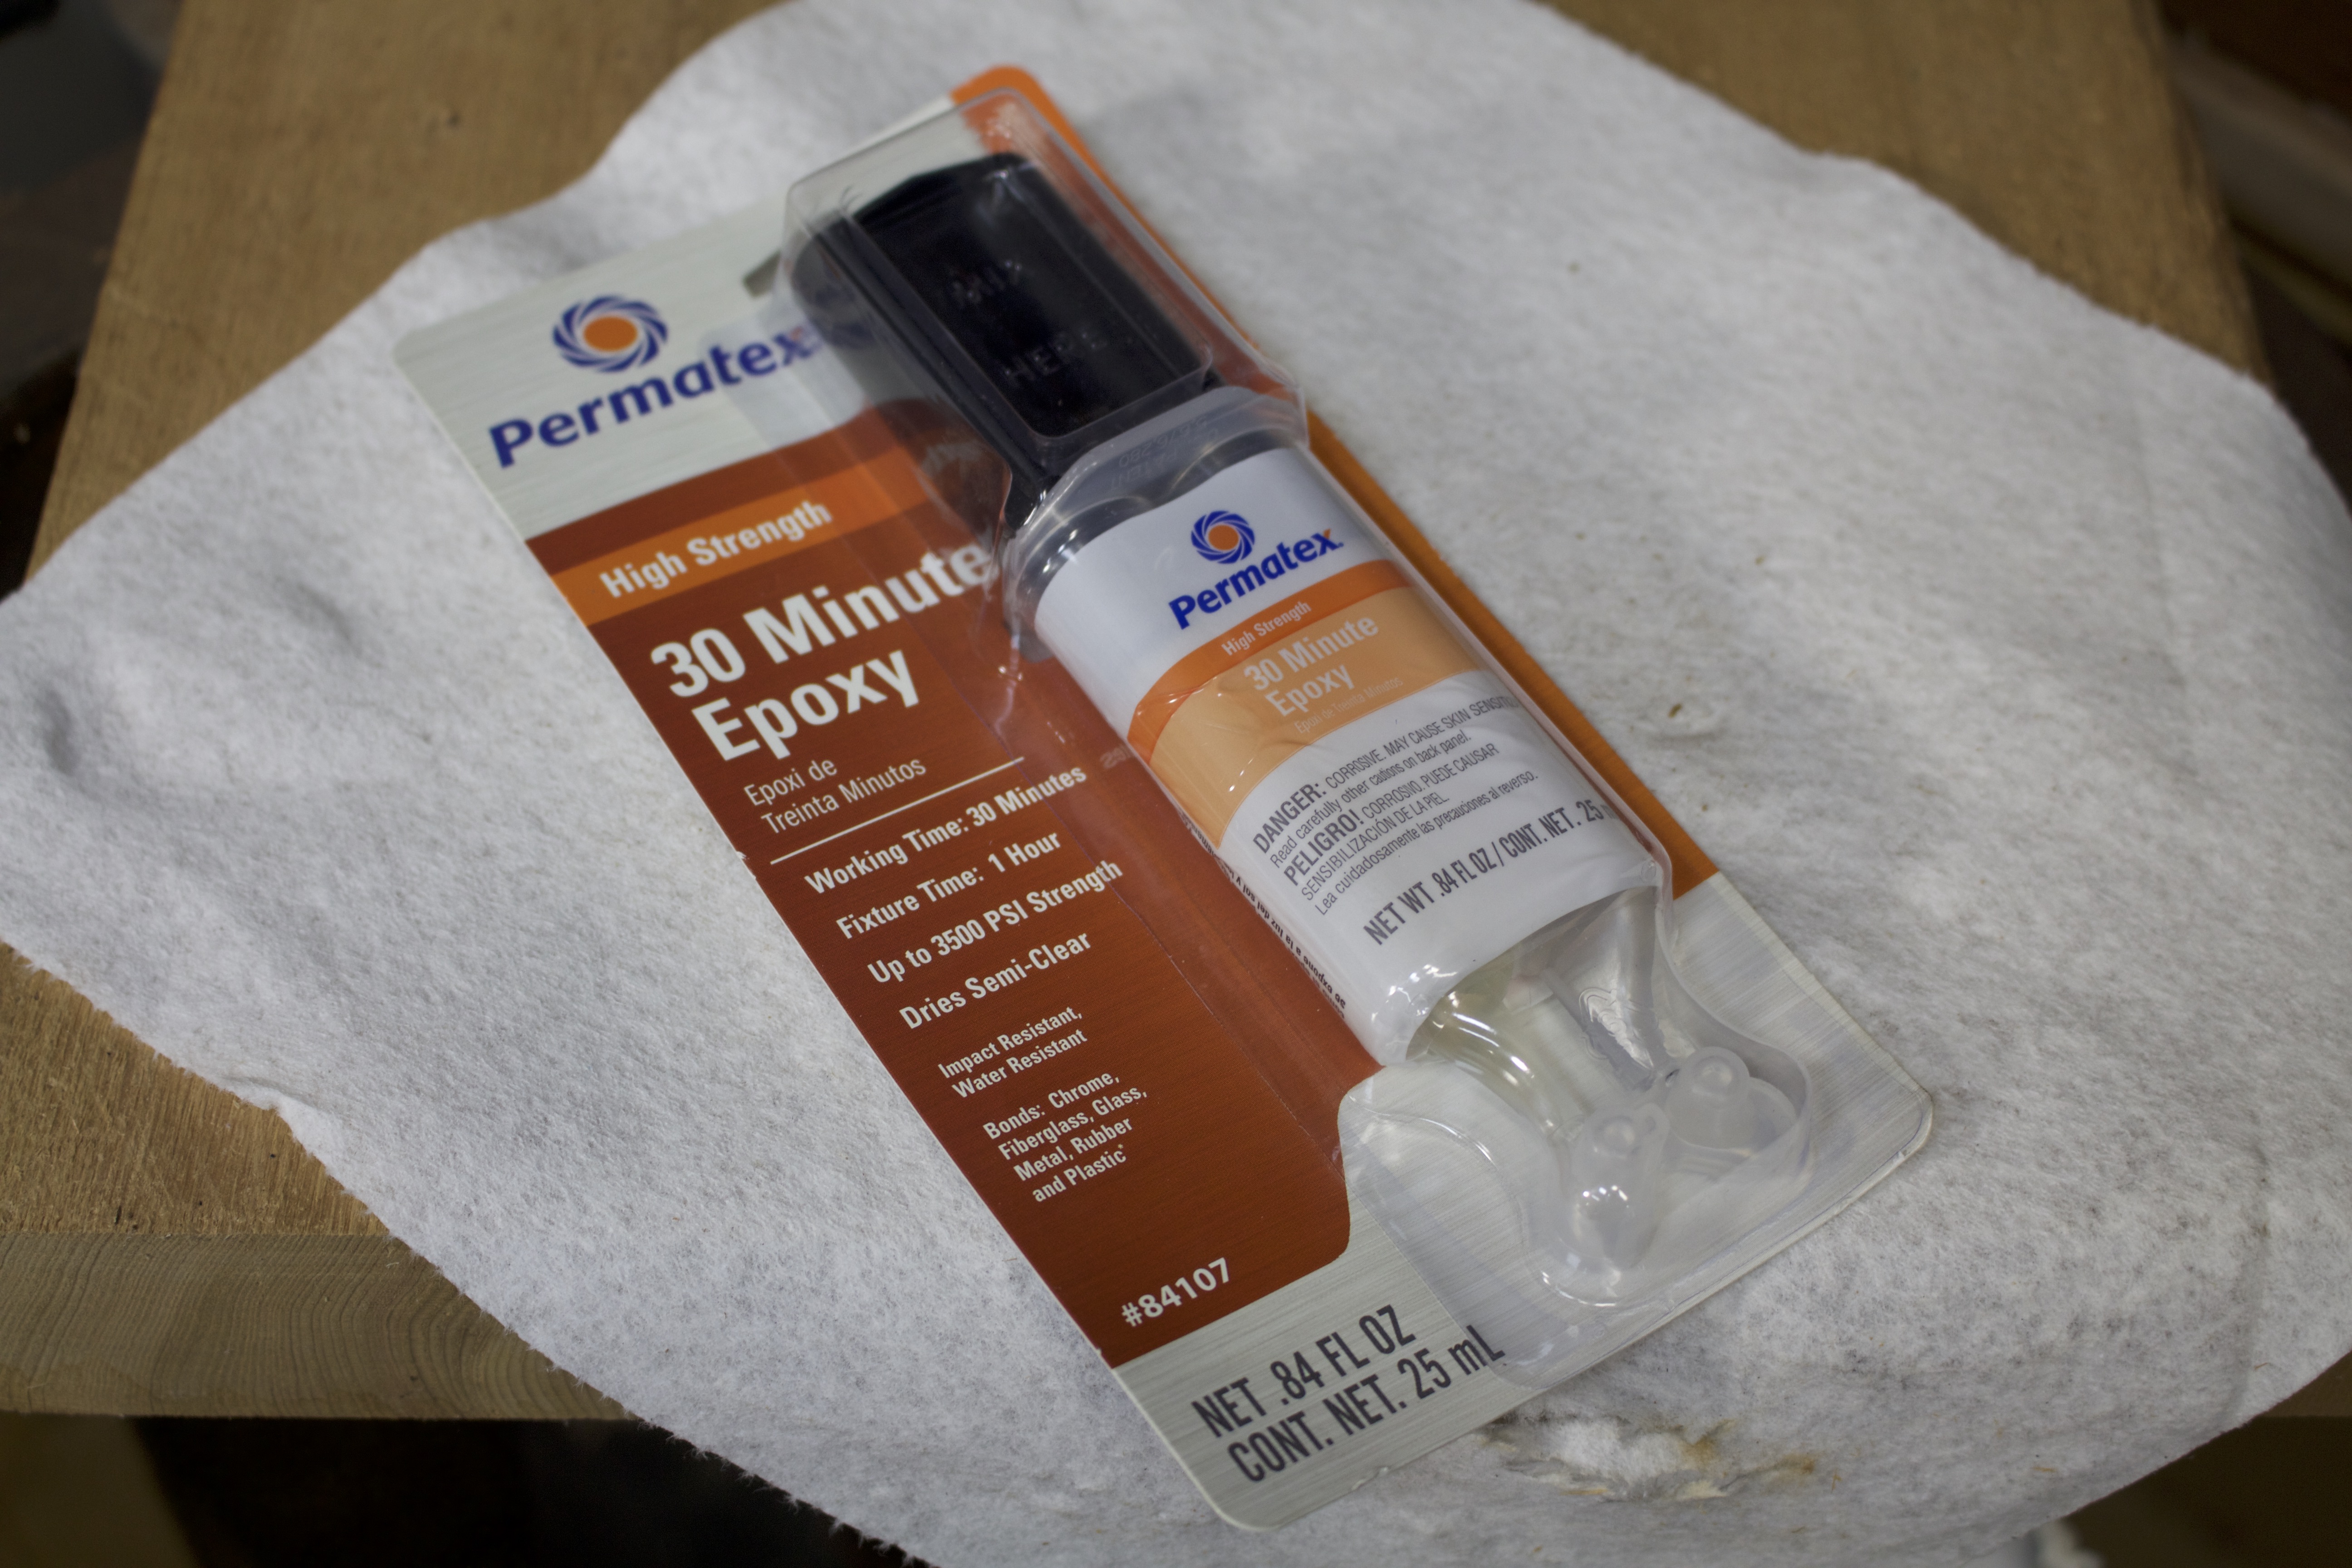
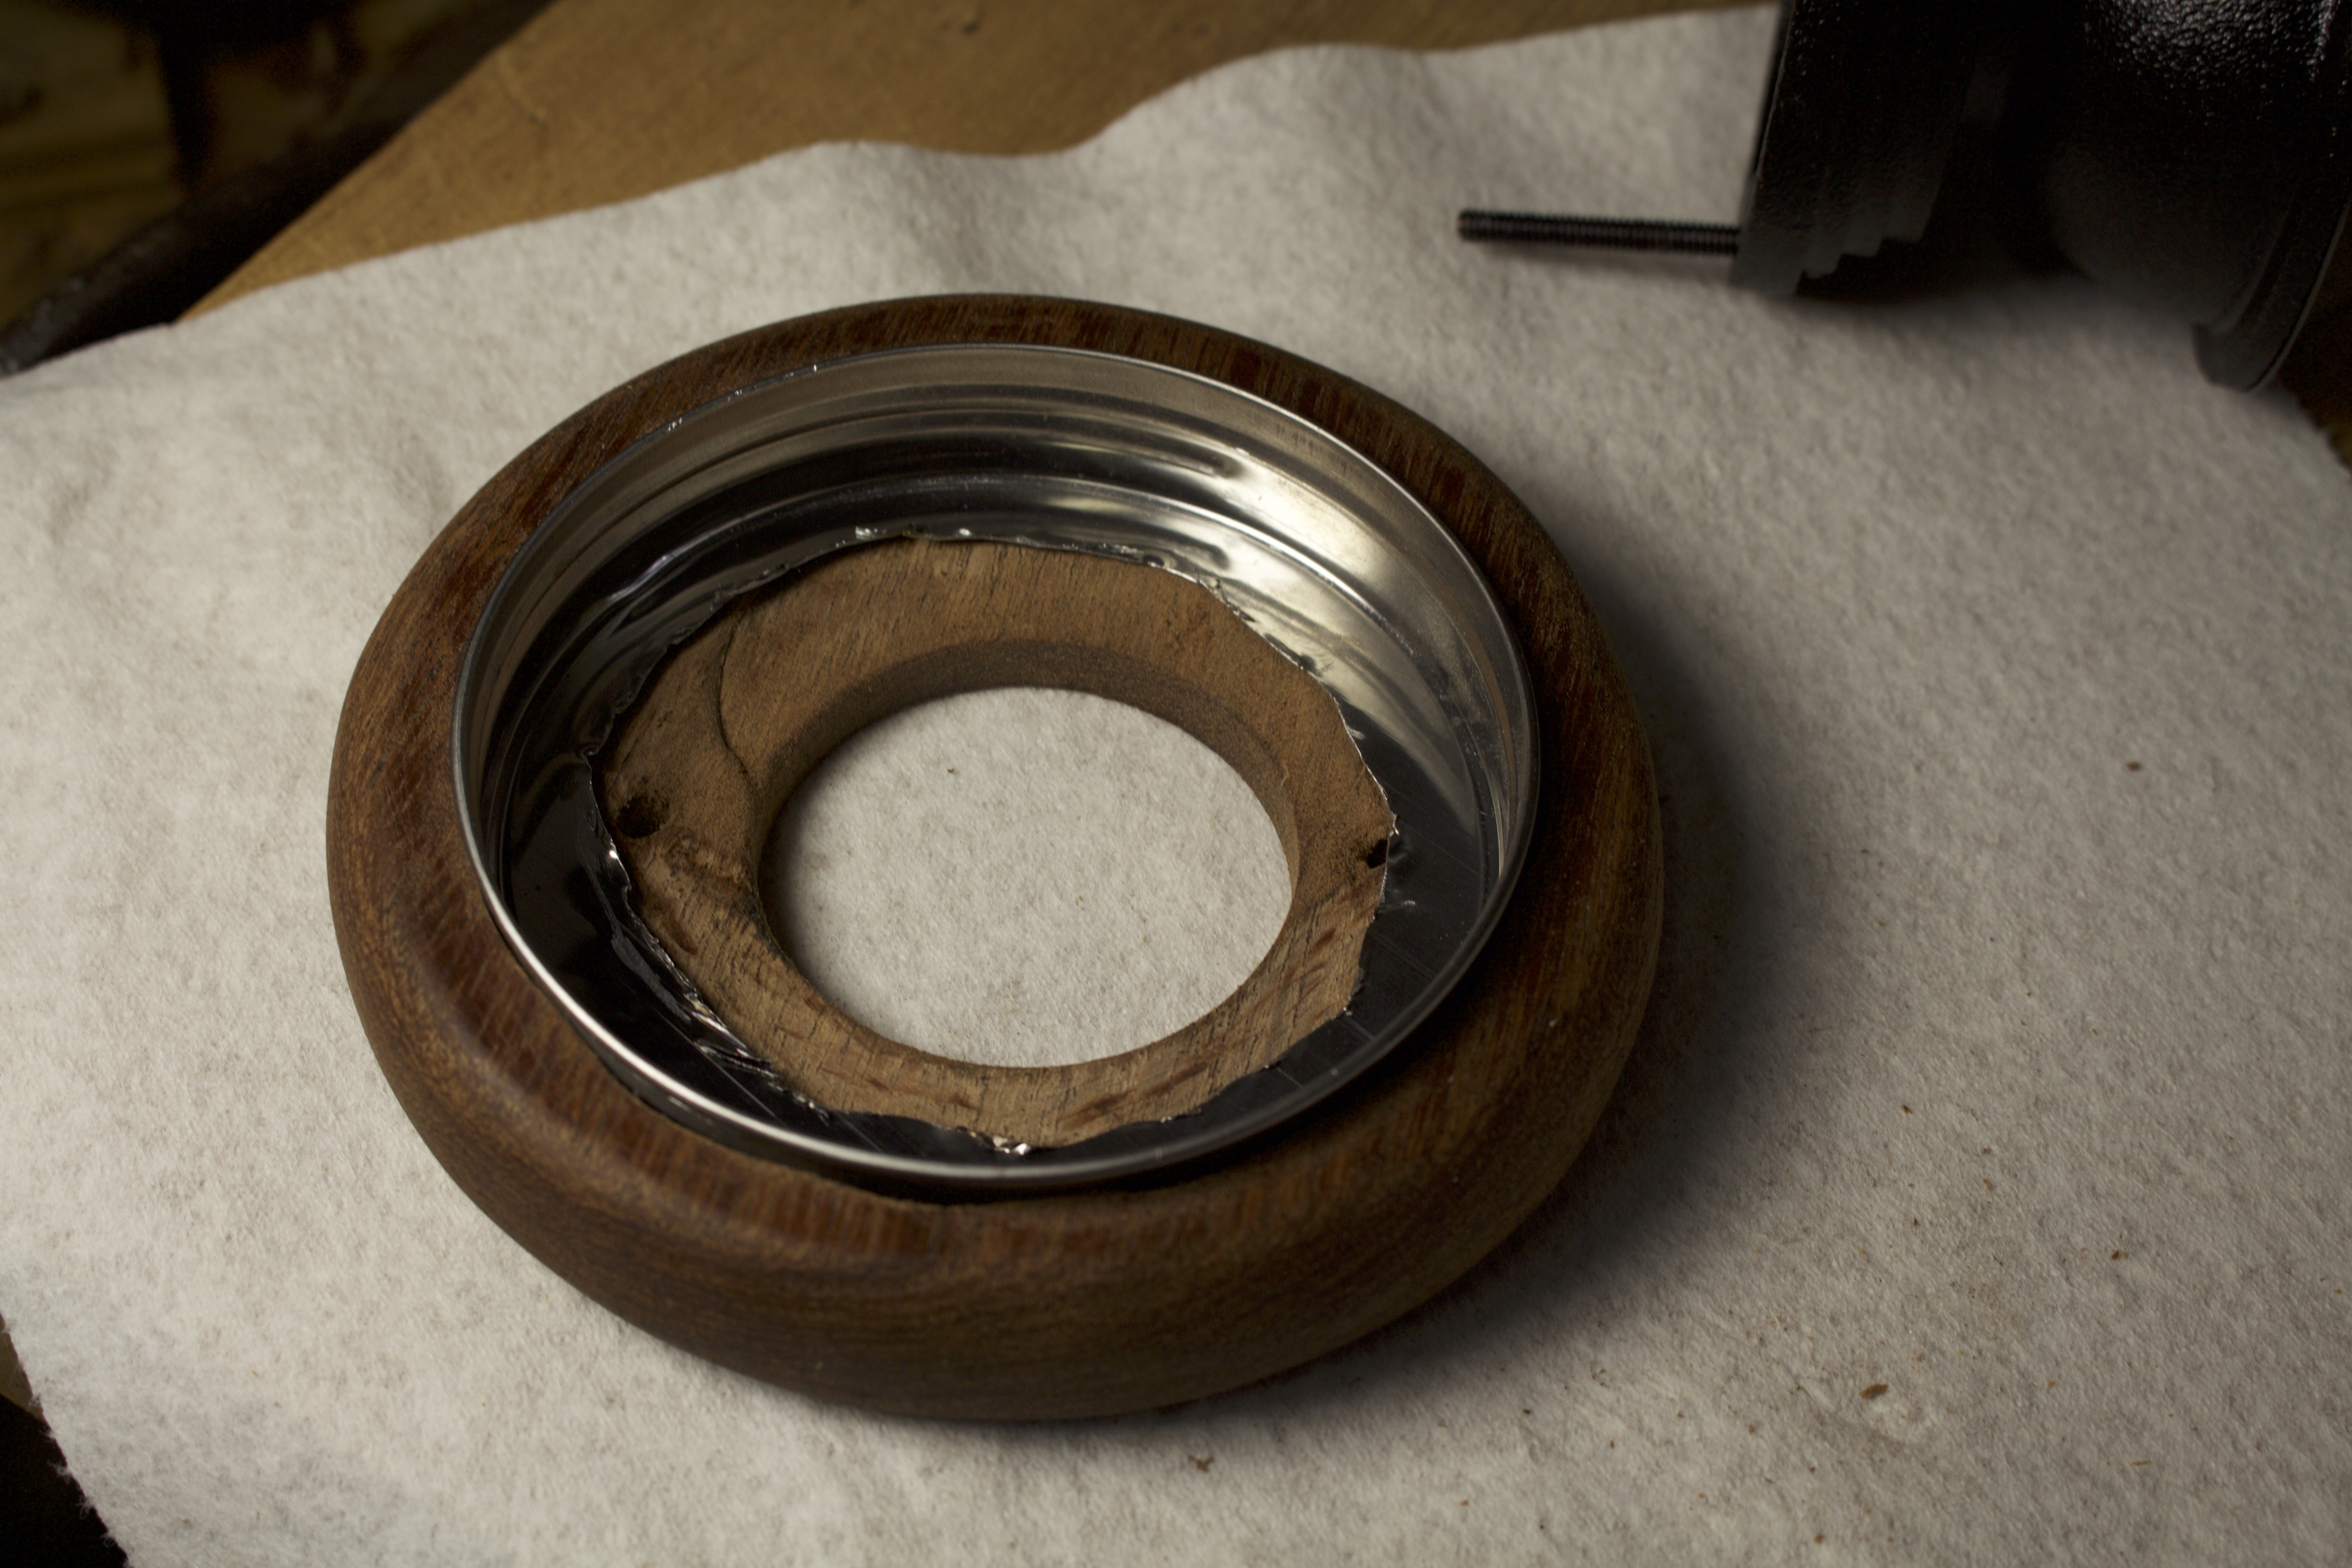
Next, I used some epoxy and glued the metal lid into the recess of the wood. This is the recess I created for that inner circle in Step 4.
I used 30 minute epoxy and allowed it to dry overnight.
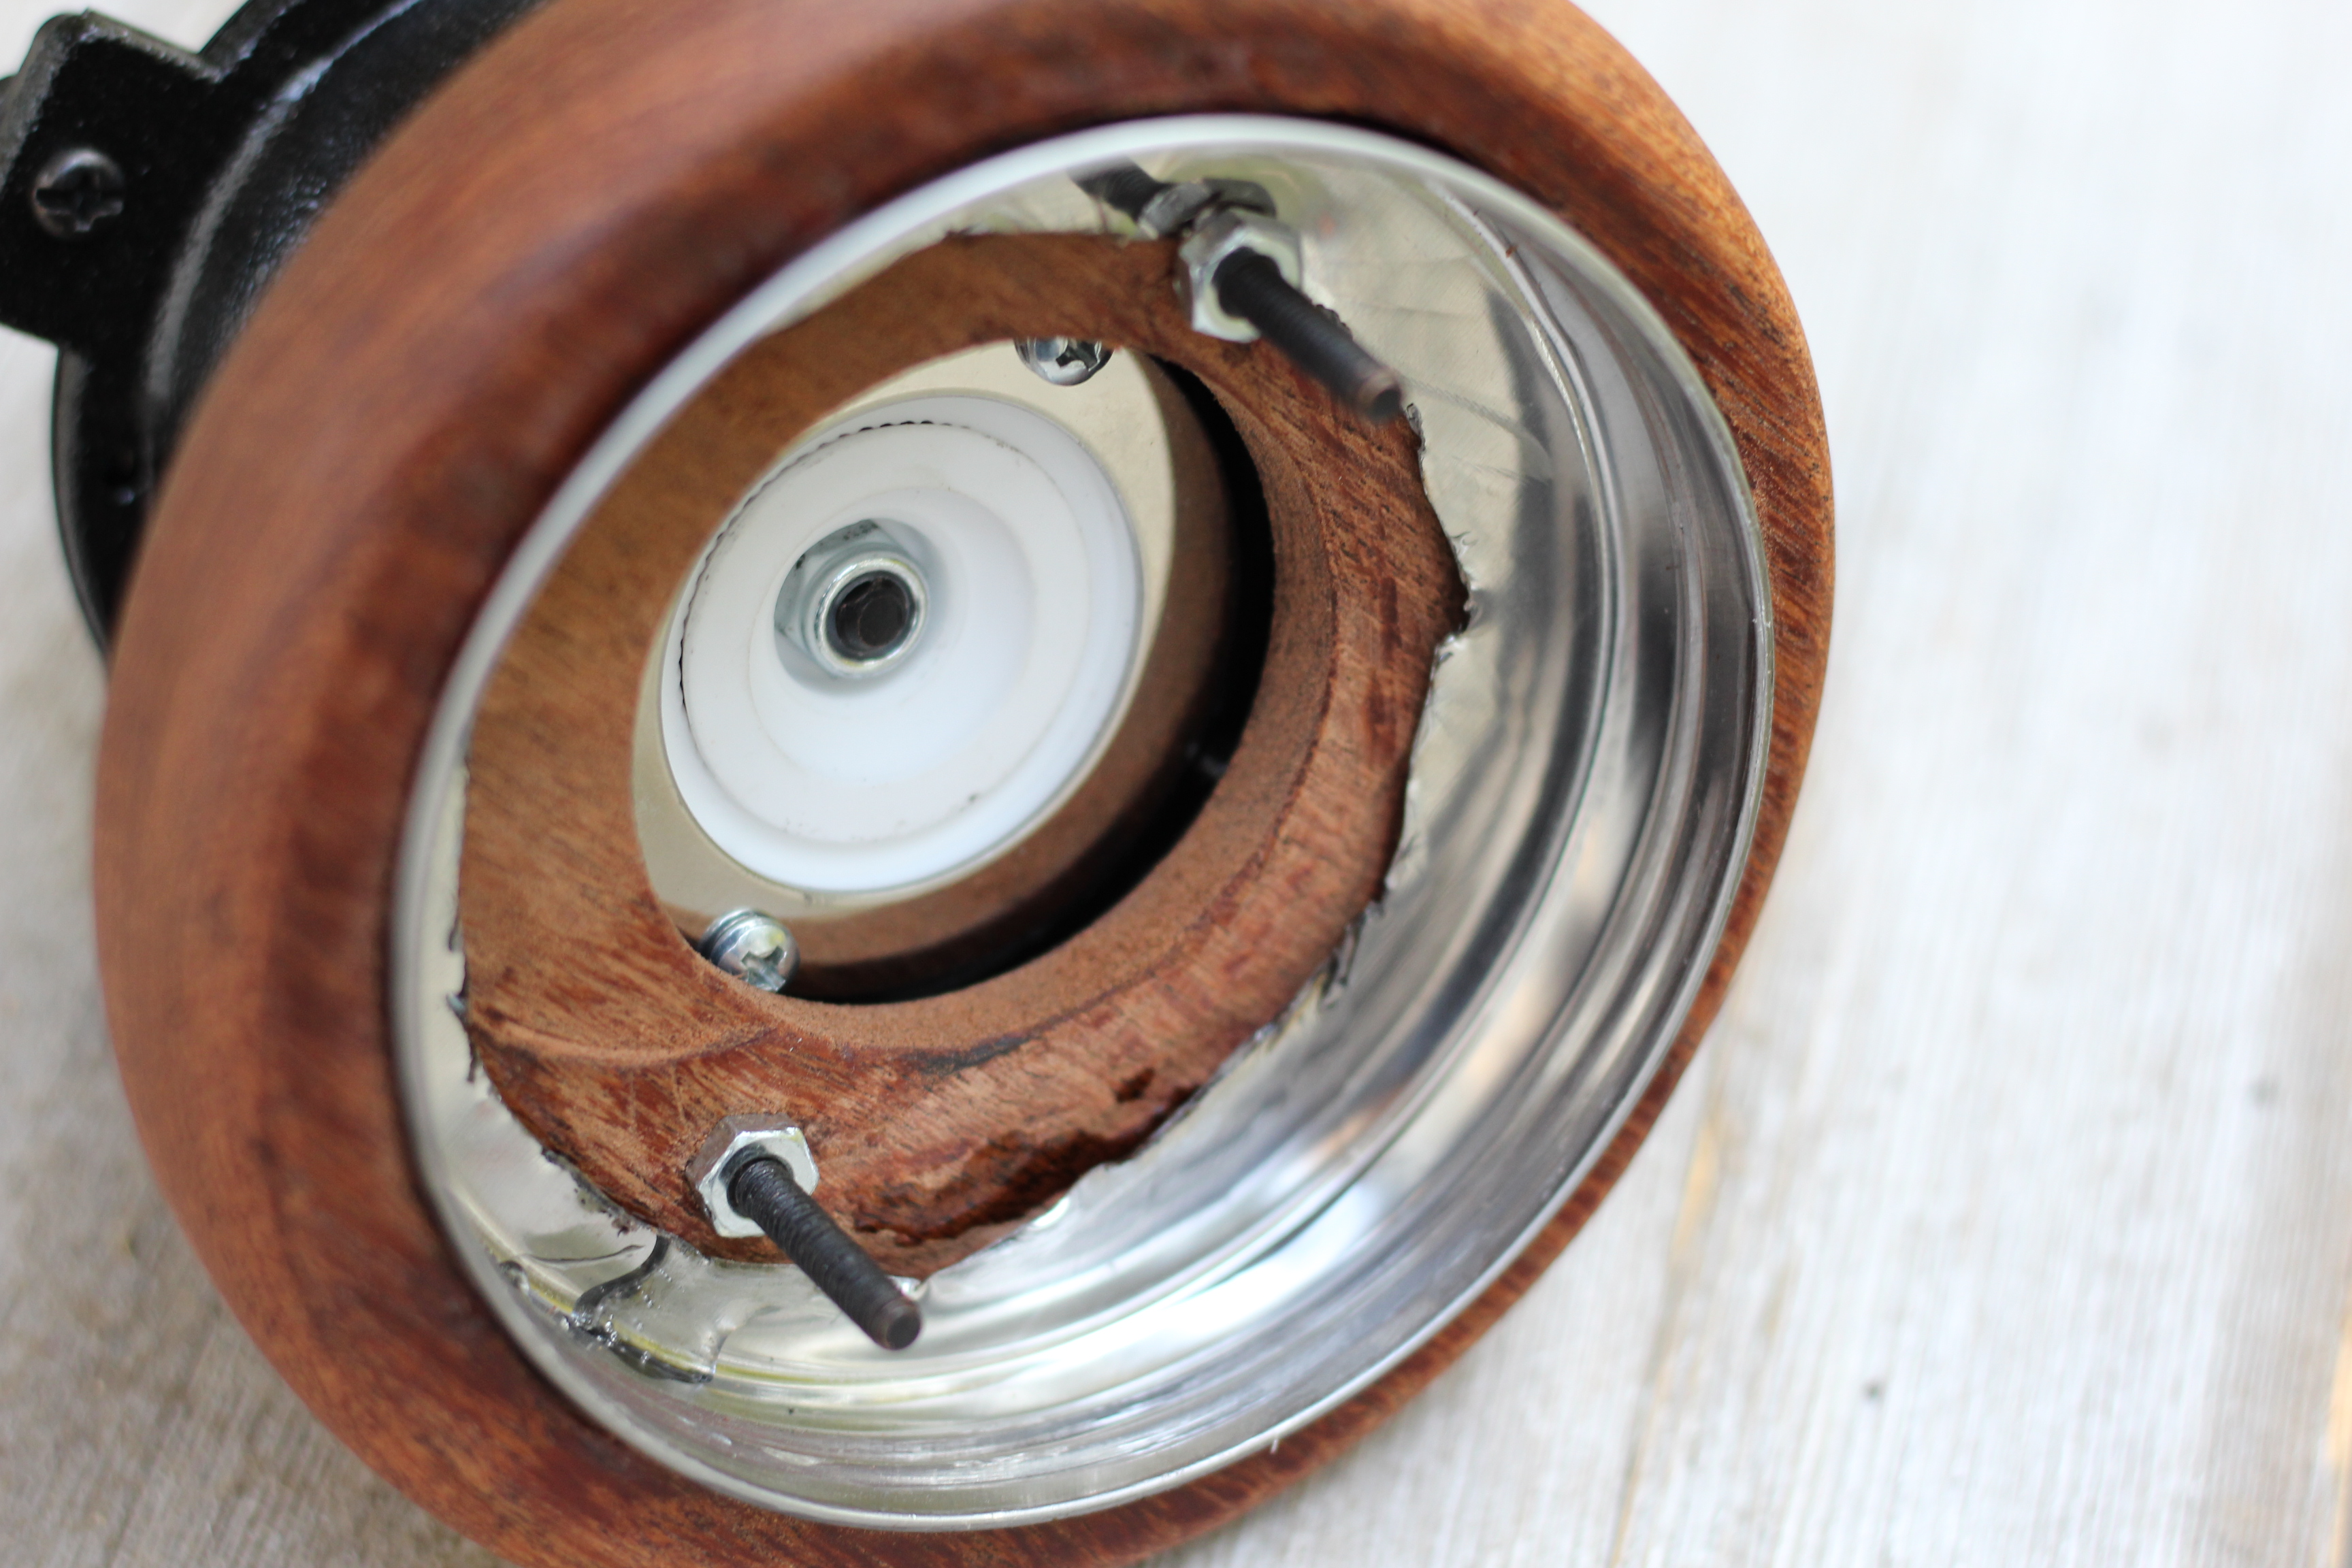
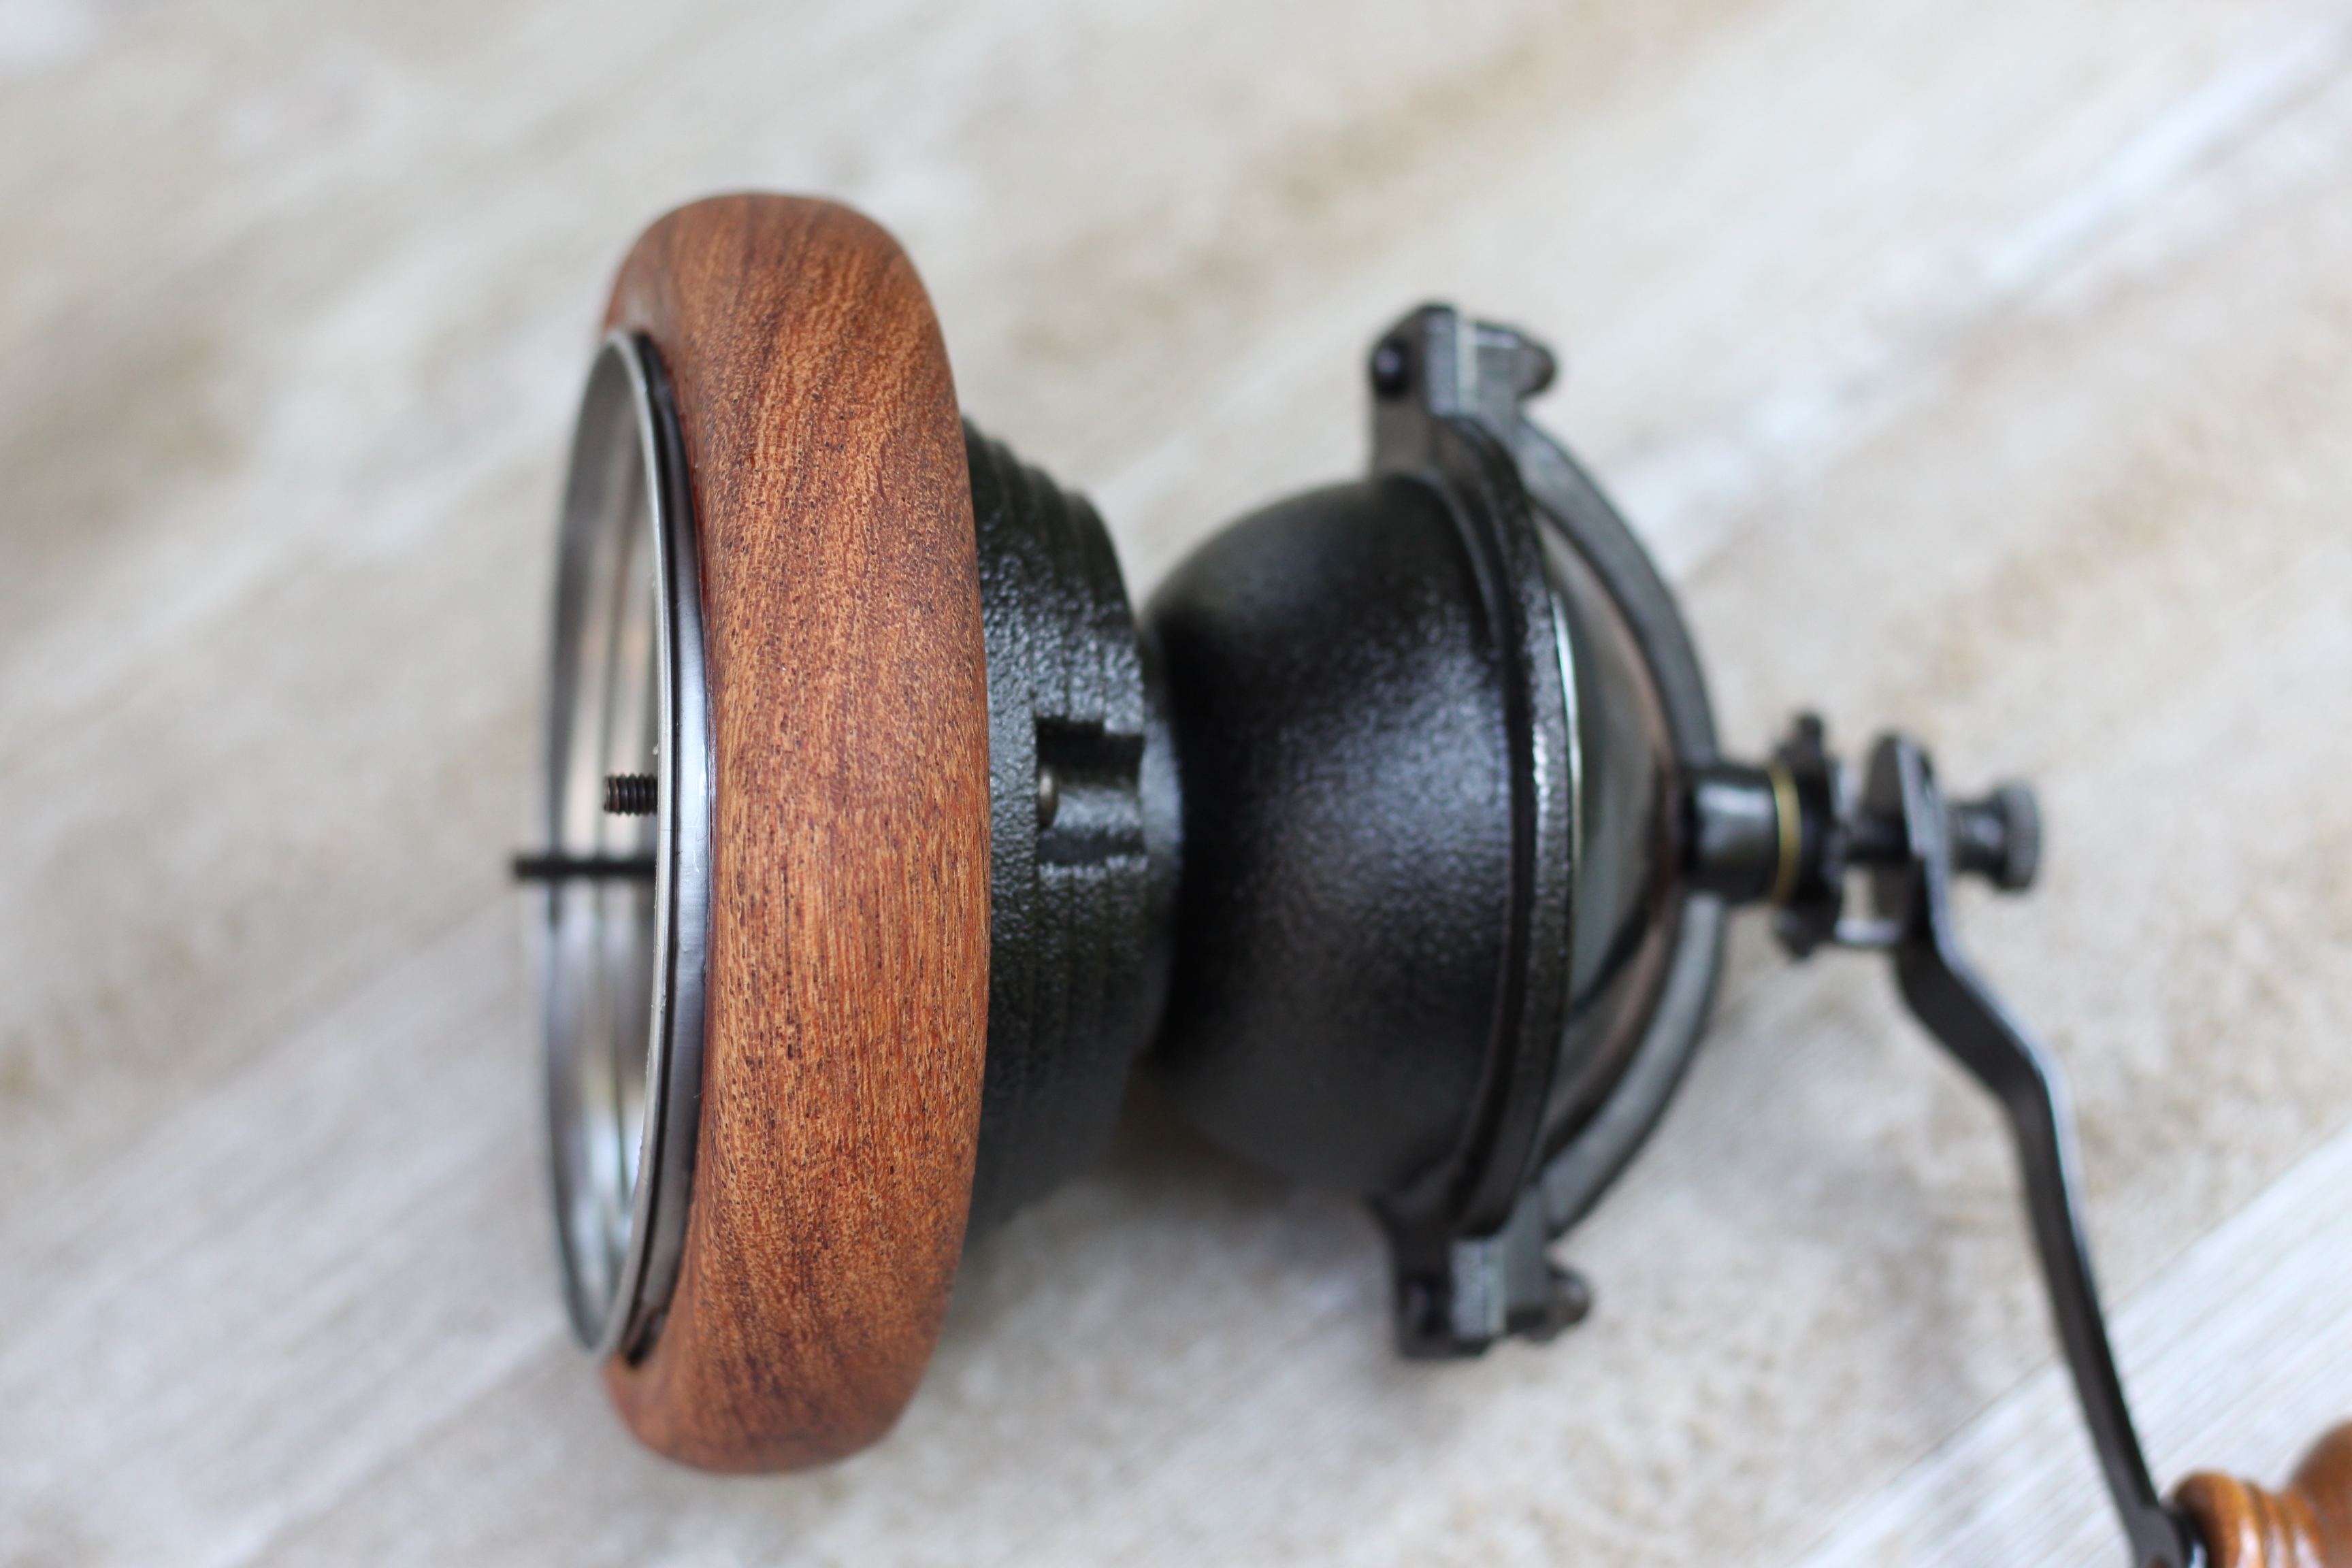
Step 11: Mount the hand crank coffee grinder.
Final step is to use the 2 bolts & nuts (that come with the kit) and mount the coffee grinder onto the wood. You don’t have to tighten the nuts down super tight.
The coffee grinder mechanism comes already assembled. You will just need to attach the crank handle to the top. The mechanism comes with a set of instructions.
I hope you enjoyed this tutorial. Please leave a comment and let me know if you plan to make this project. If you like this post, please subscribe to my monthly newsletter. To join, check out the form below and learn more about a FREE giveaway.

Are you starting up a new shop? Want to work safer in your shop? To help you answer these questions I've put together a 2-part checklist -- Home Shop Safety & Tool Checklist.
I will also send you updates of my latest woodworking and DIY projects. You can get all this by subscribing to my free email newsletter.




I will certainly try one for me and maybe more for family and friends! I really am enjoying youe posts. Keep it up, Hah!
Thanks for the comment! I’m glad you are enjoying my posts. Feel free to send me pics of what you make. I love seeing what others are building.