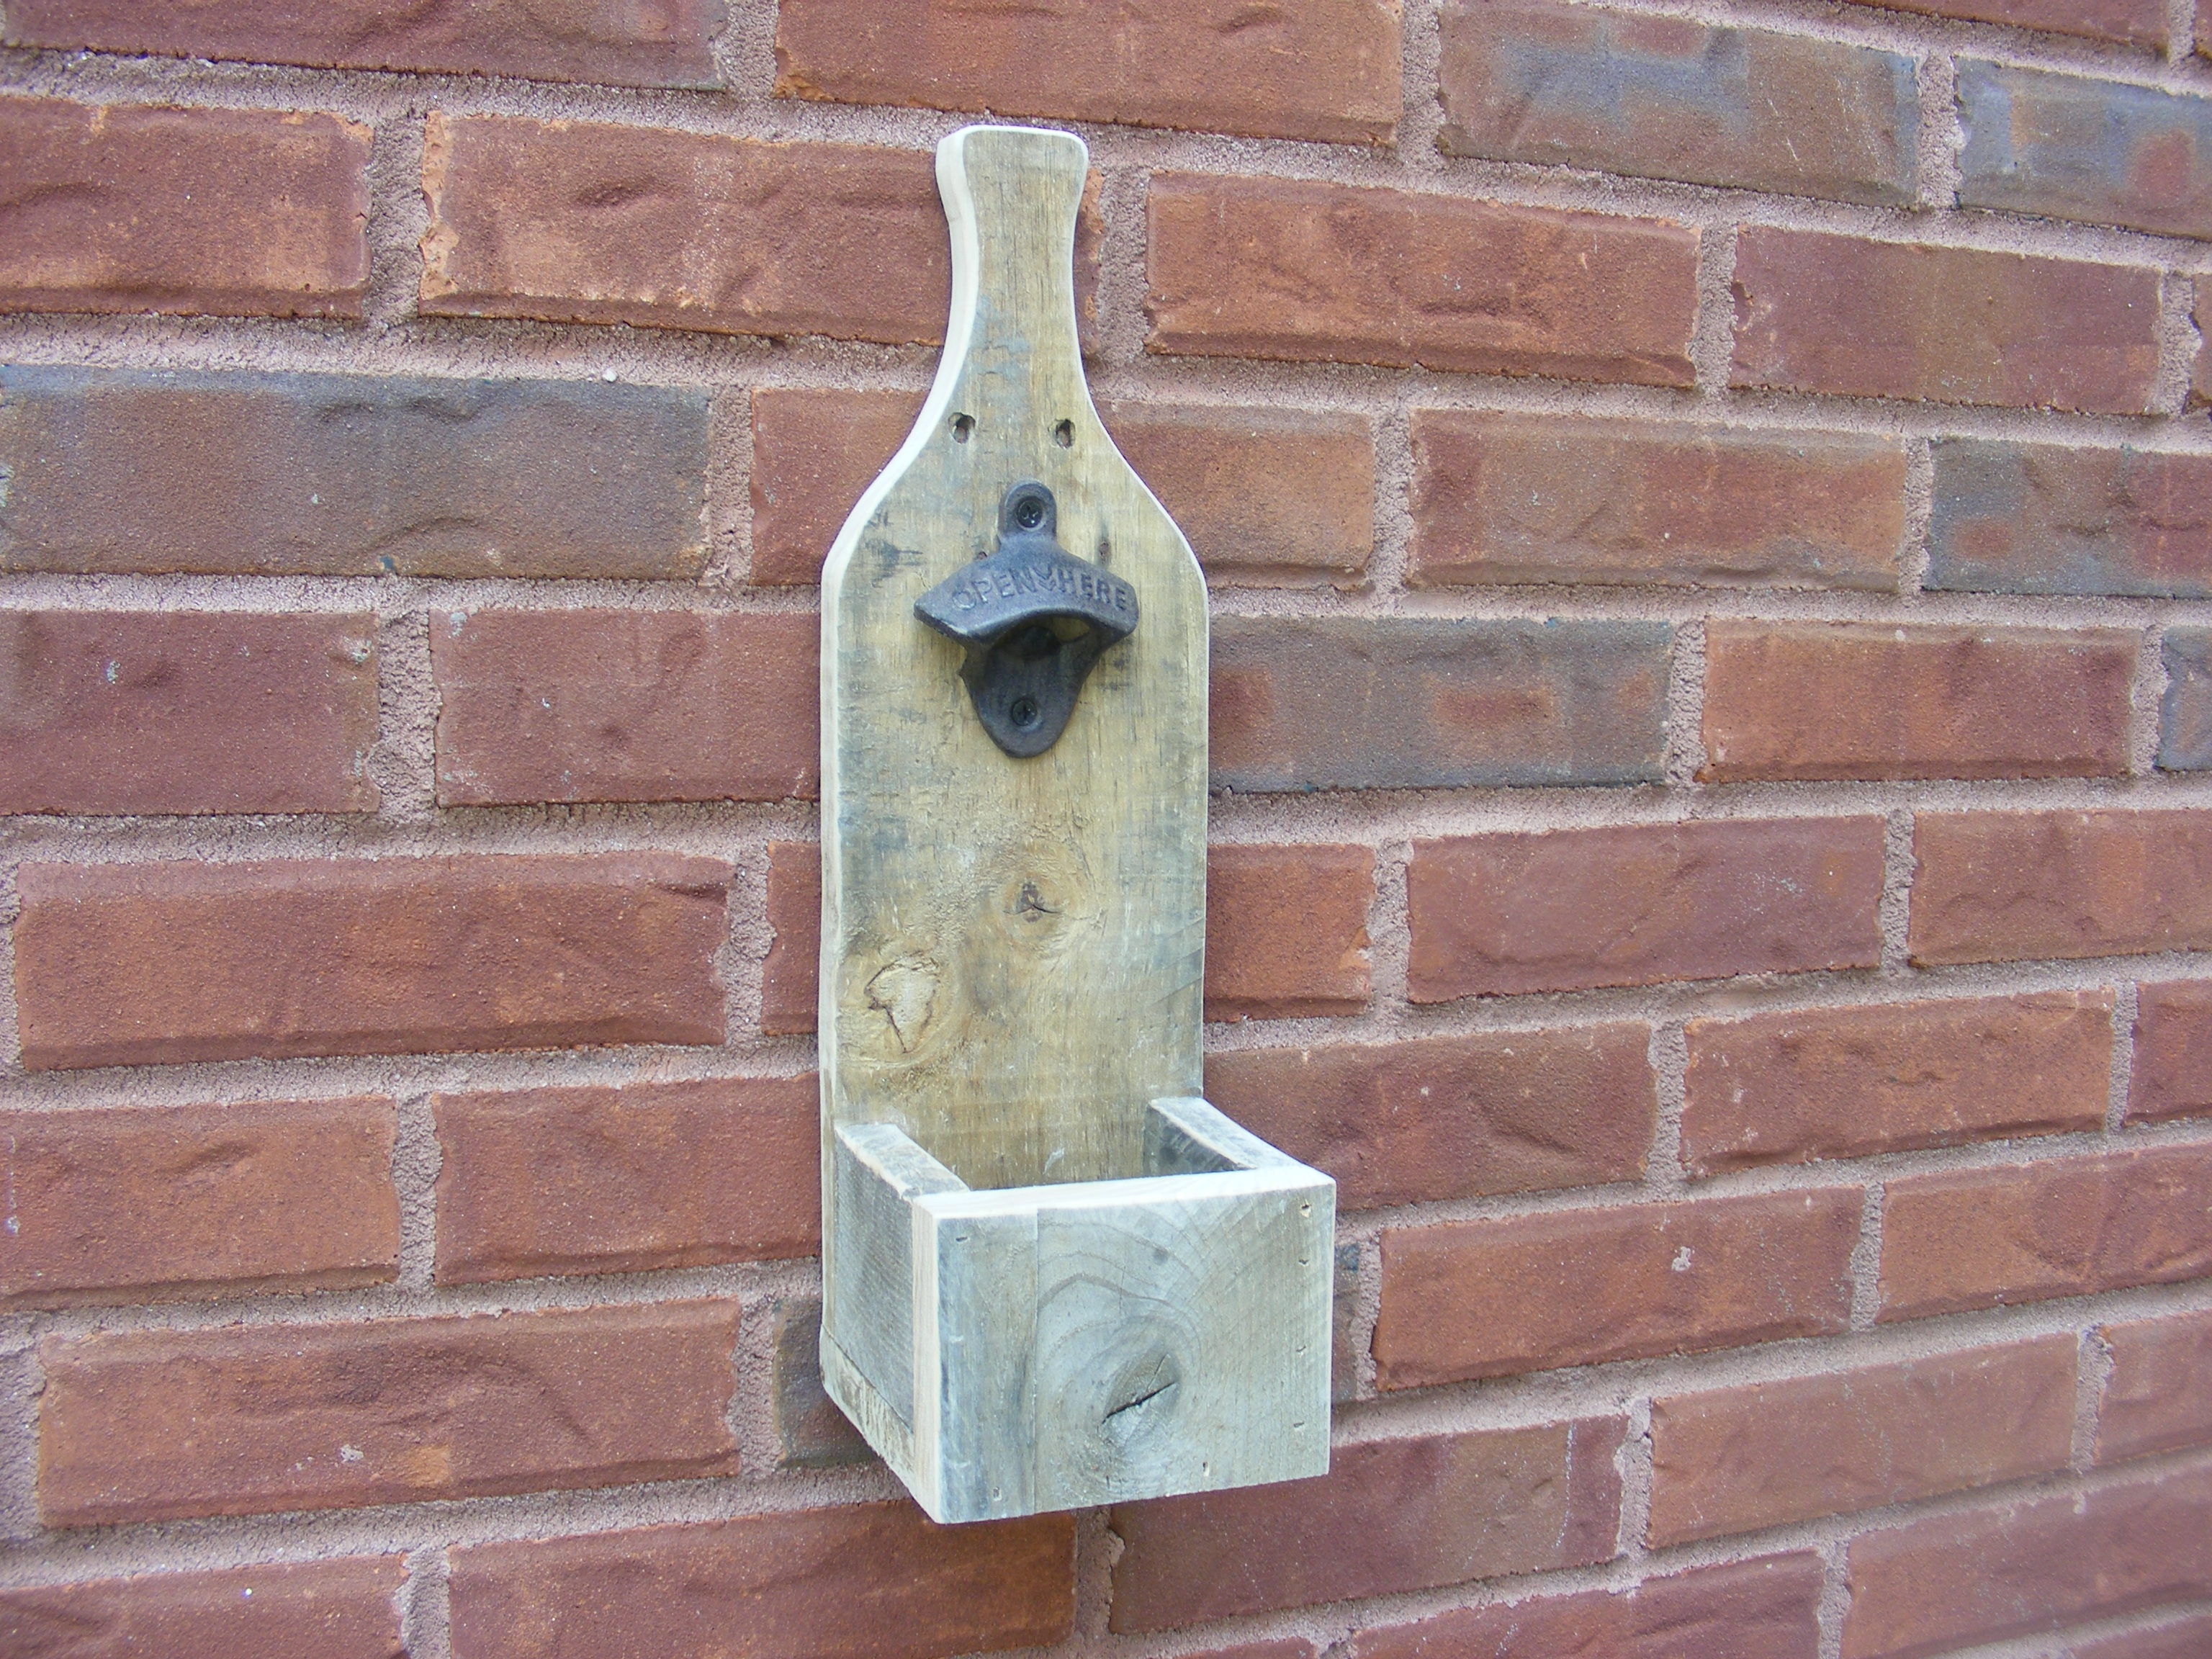
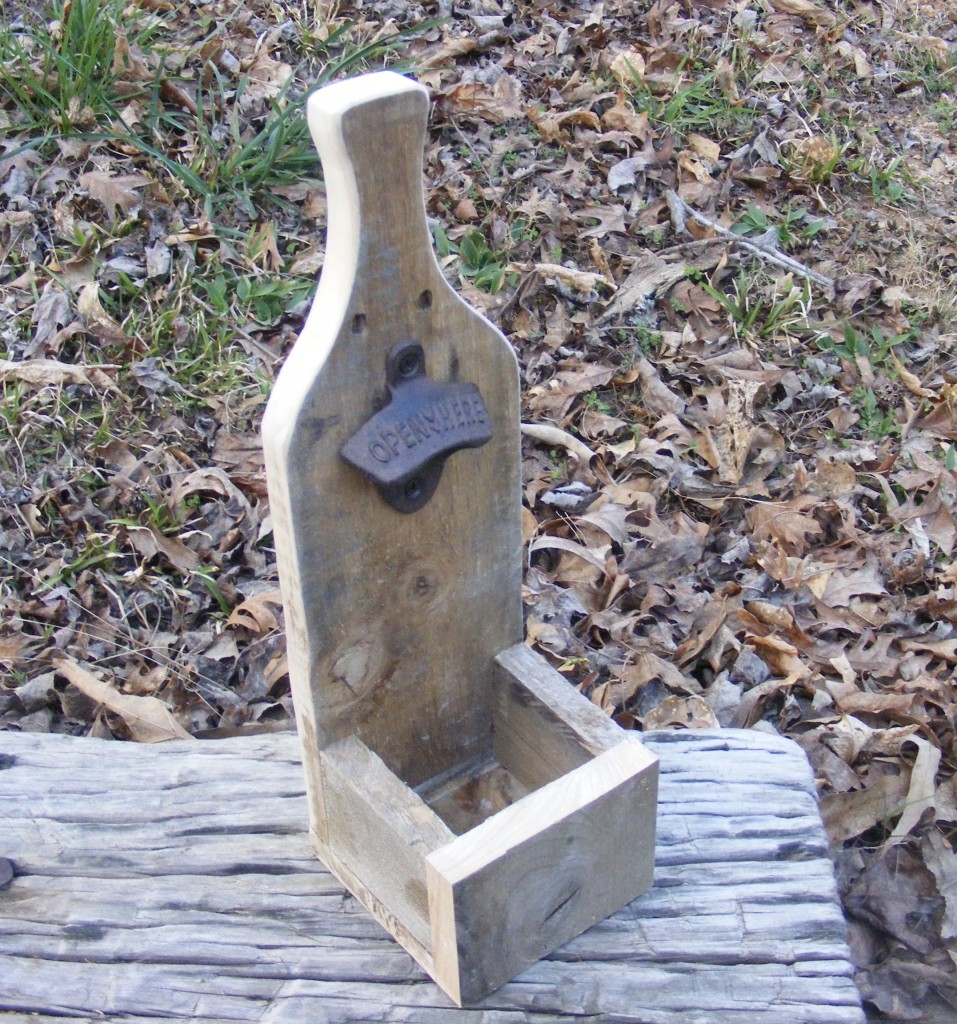
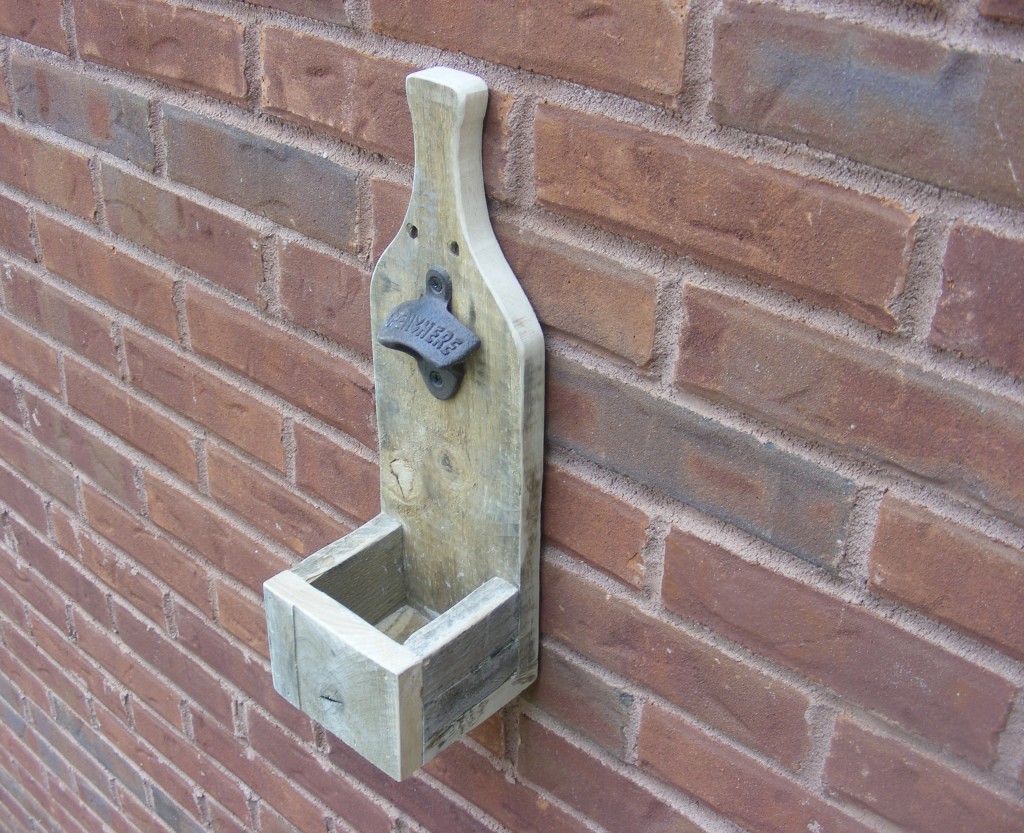
I’ve seen several variations of the project I’m about to share with you – the wall-mounted bottle opener. So I thought of another twist and used pallet wood. I like the weathered and rugged look of pallet wood and thought it would work nicely with the bottle opener. I made my bottle opener in the shape of a bottle. Very original — right? LOL. It would go great with my man cave — if I had a man cave. However, I decided to just give it to my daughter.
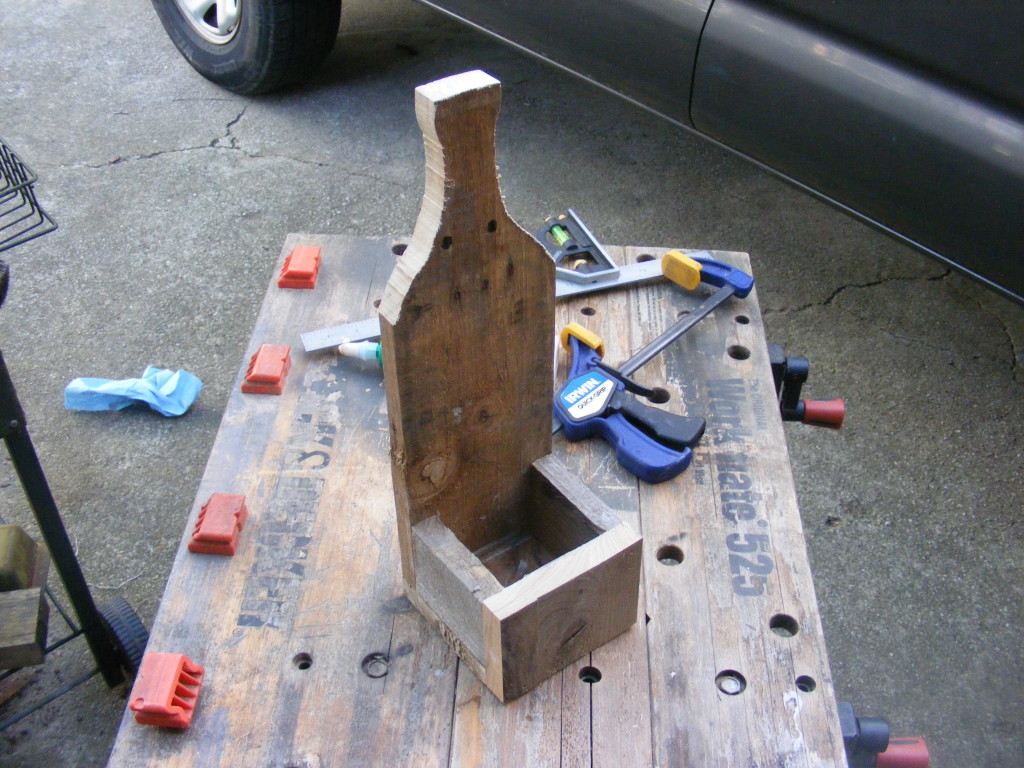
I also built a little box under the metal bottle opener to collect the bottle caps. Other creative designs I found used a strong neodymium magnet to “catch” the bottle caps. These bottle caps come in handy for other crafts — coasters, fishing lures, etc.
Tools and Materials Used (For you convenience, I’ve included affiliate links):
DEWALT 12 inch Sliding Compound Miter Saw
Ryobi Cordless BRAD NAILER 18GA Model P320 18 volt
Belt sander & regular sandpaper
Hammer
Titebond wood glue
Why use pallet wood? That was a question I first had as I searched for woodworking project ideas across the internet. There is – no doubt – a huge community of pallet recycling enthusiasts. You can easily find all kinds of projects built from pallet wood. Furniture seems to be a very popular pallet-wood project. I particularly like the weathered look of the wood, very similar to old barn wood. And that’s probably one of the big appeals for using it. I suppose you can also make the case that acquiring lumber this way is much cheaper than purchasing new lumber from the home improvement store. Yes, you have to do some disassembly work, but in most cases you can get used pallets for free.
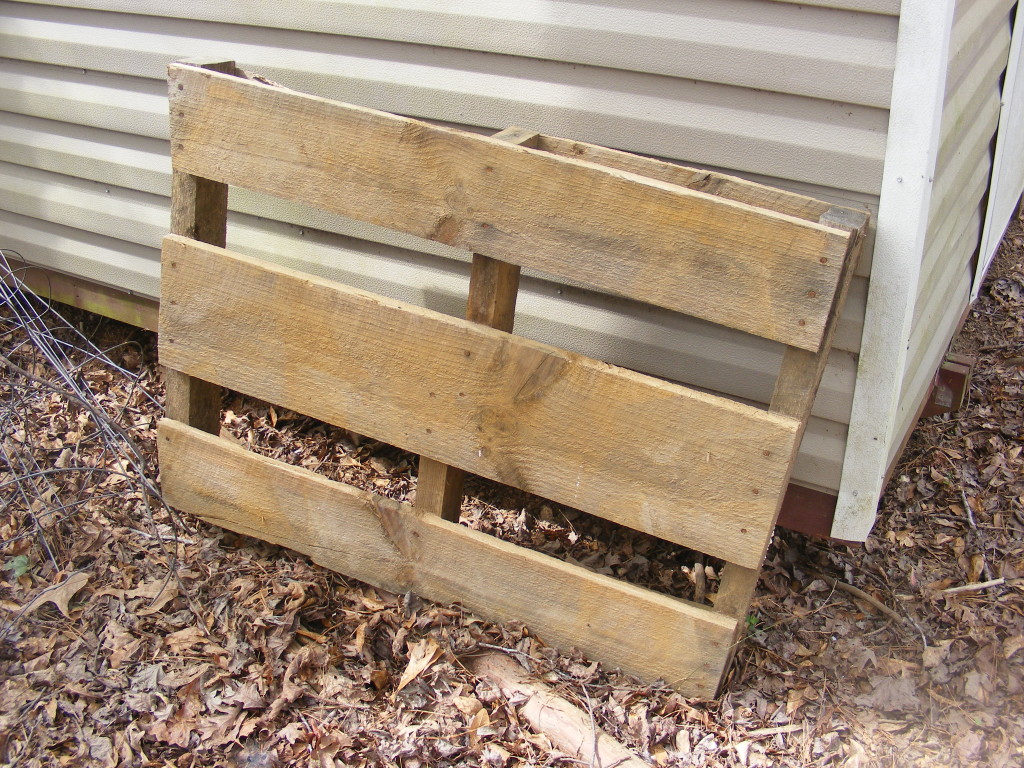
Step 1 – Acquire some pallets. My neighbor was kind enough to give me the pallet for this project. Don’t bother going to large retail stores and asking for pallets because they usually have a recycle agreement with the pallet company and return the pallets to the supplying company. Instead, I’d recommend approaching smaller companies, like Mom & Pop type stores. Look for clean pallets and look to see if they are either heat treated or chemically treated. Avoid the ones that are chemically treated or have visible stains. To get a more in-depth education on pallet selection and where to find them, I’d recommend viewing this article I recently found.
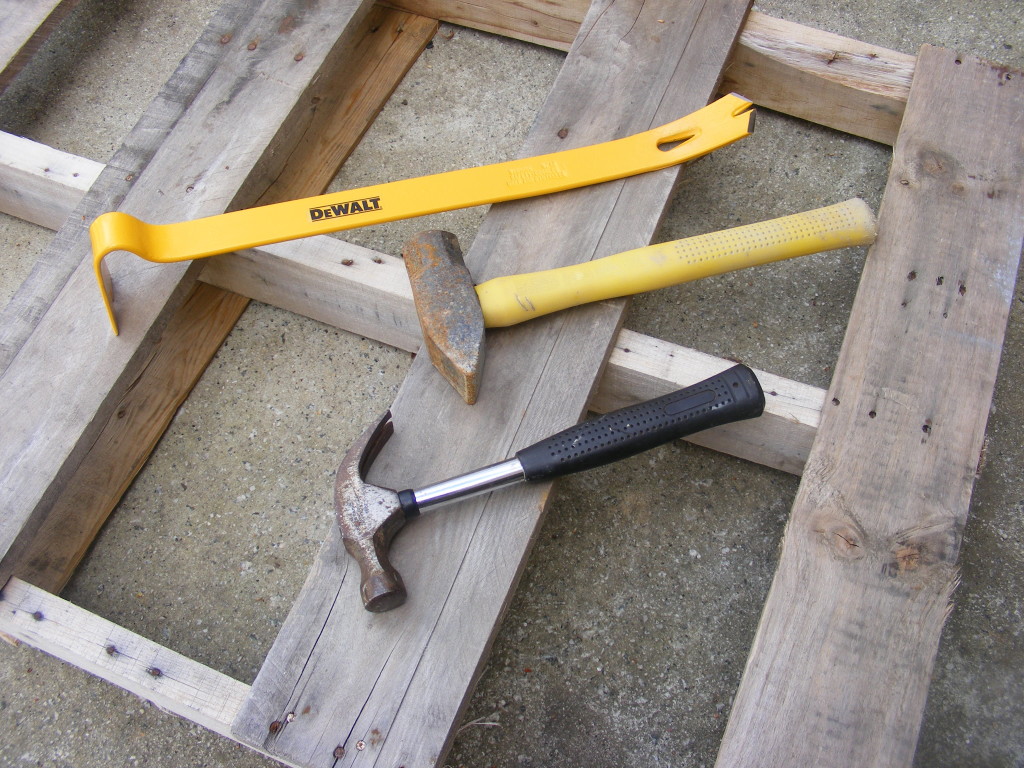
Step 2 – Disassemble the pallet. As pictured above I used a long handle pry bar, a regular claw hammer and a 5 pound hammer. Carefully use the hammer and pry bar to get beneath the wood and try to straddle the nail. Pry the board up as evenly as you can. Don’t be surprised if you get some splitting and therefore end up with some wasted pieces. This particular pallet had a lot of use so it had some cracks already. If pallet wood has been outside for extended periods of time that means it has weathered. The wood is strong, but it can be brittle.
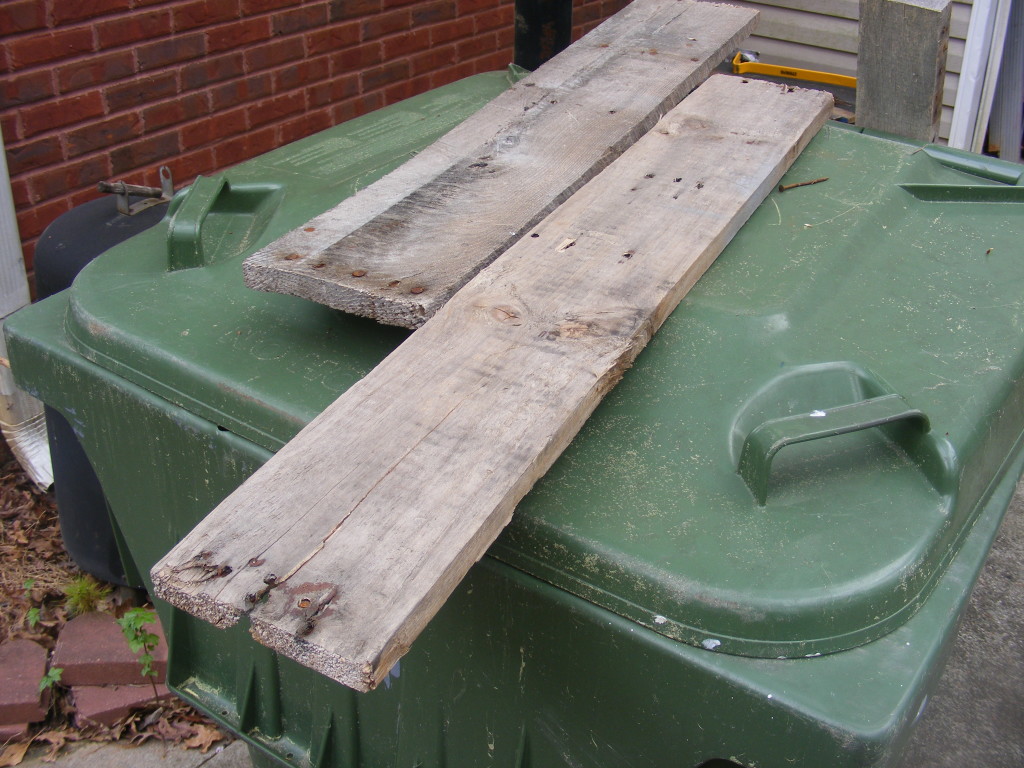
Step 3 – Select the best boards from your pallet. Most of the ends of my boards were cracked, so I used the middle sections of the board. Look for sections devoid of nails. Also look for the straightest boards possible. Some of my boards were warped and cupped, so I just cut out the best sections I could find.
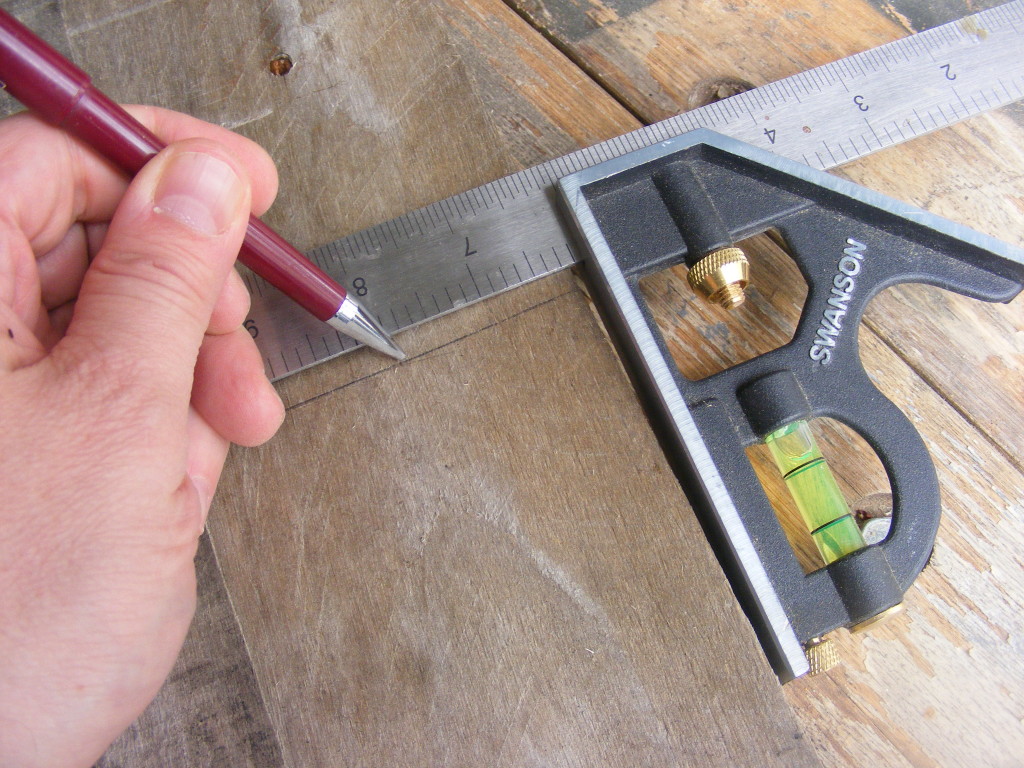
Step 4 – Figure out the dimensions for the bottle opener. There are no set dimensions for making a bottle opener. I looked at some other projects online and got fairly close to those but not exact. Just go with your creativity and what looks right. I used a pencil and free handed a sketch of the bottle shape onto the wood. You might be able to find a pattern and then use the pattern to trace a shape.
Here are the dimensions I used:
Total length of back board – 15 inches
Width of back board 4.5 inches
Distance from top hole of metal opener to bottom of the back board – 10.5 inches
Box width – 4.5 inches
Box depth – 4 inches
Box height – 3.5 inches
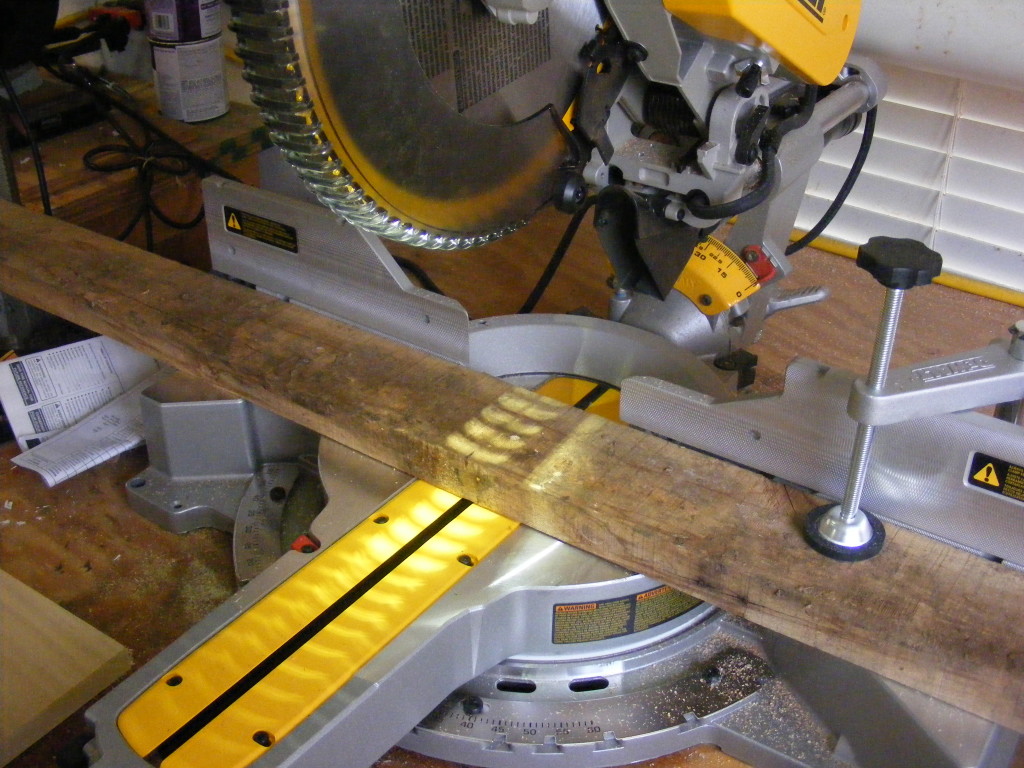
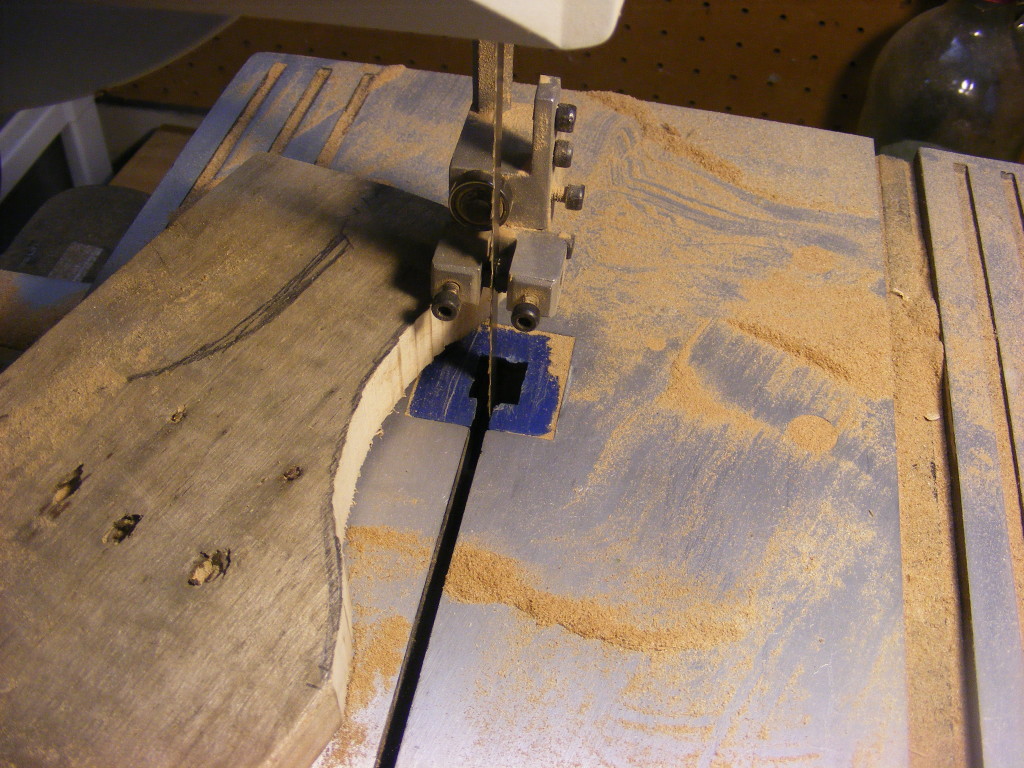
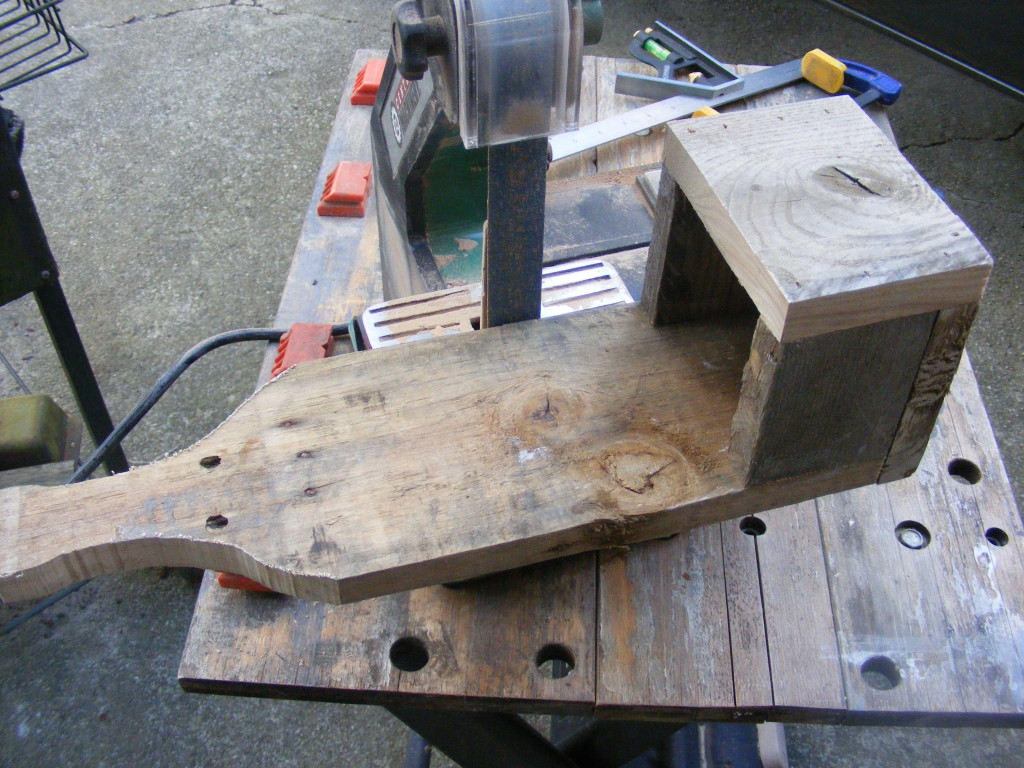
Step 5 – Make the required cuts. I used a compound miter saw to make the majority of cuts. You could also use a tablesaw, jigsaw, or handsaw. Use whatever you feel safest using. Make sure you wear all the protective gear – safety glasses, respirator, etc. I used a band saw to make the curved cuts and the miter saw for straight cuts. Lookout for nails and avoid cutting in those areas.
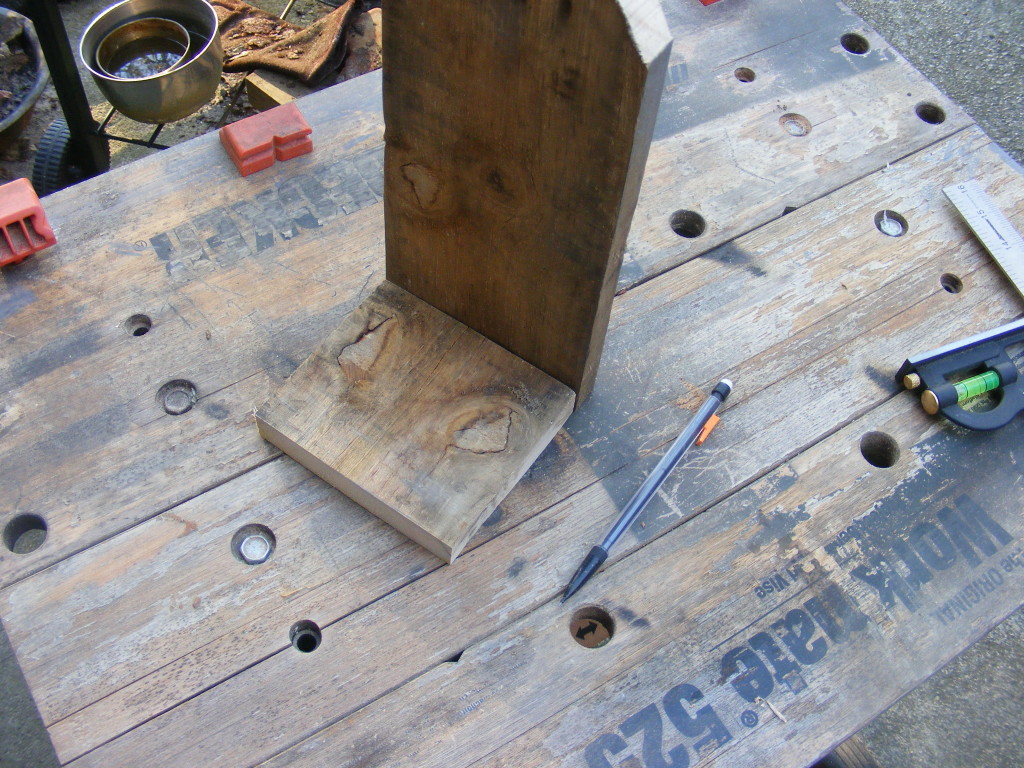
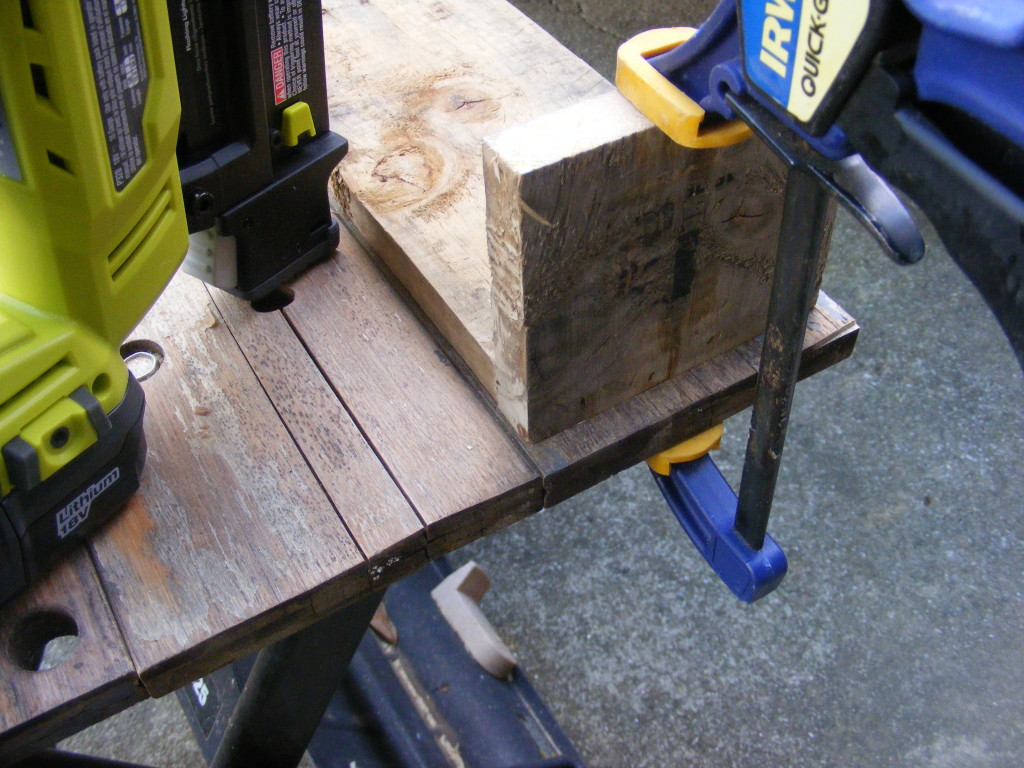
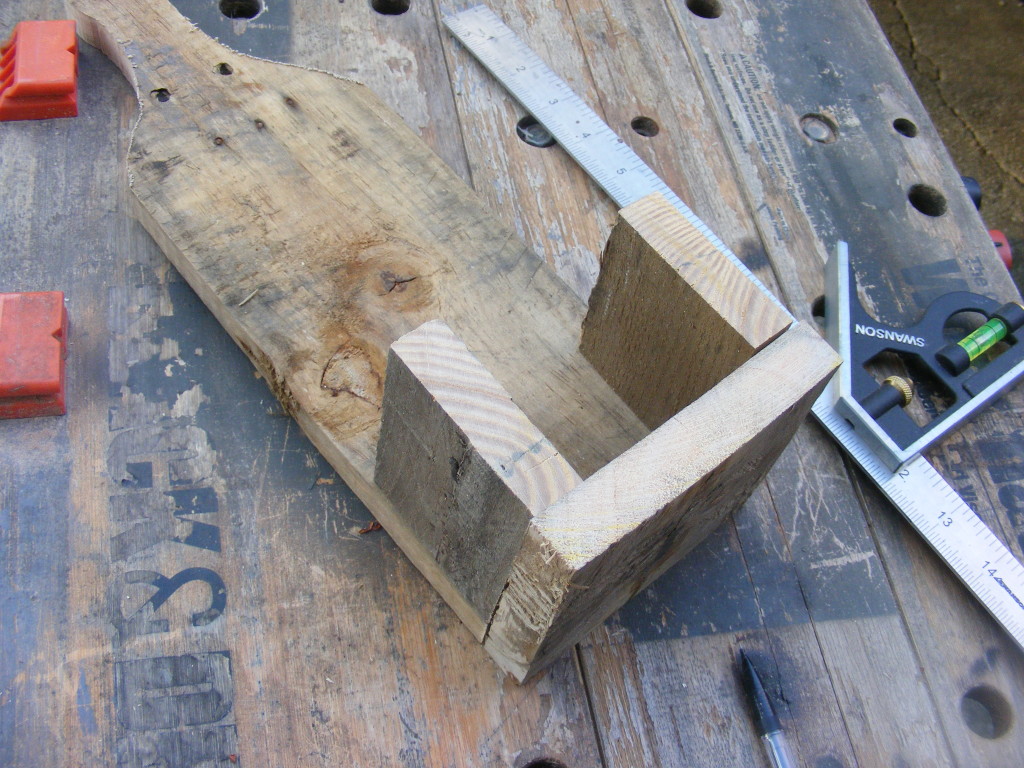
Step 6 – Assemble the bottle opener. There are many ways to put this bottle opener together. You could use nails or wood screws. I elected to use my Ryobi nail gun. It was quick and efficient. My quick-grip hand clamps came in handy for holding the work pieces and keeping them aligned as I nailed. I also used wood glue where I joined the sections together.
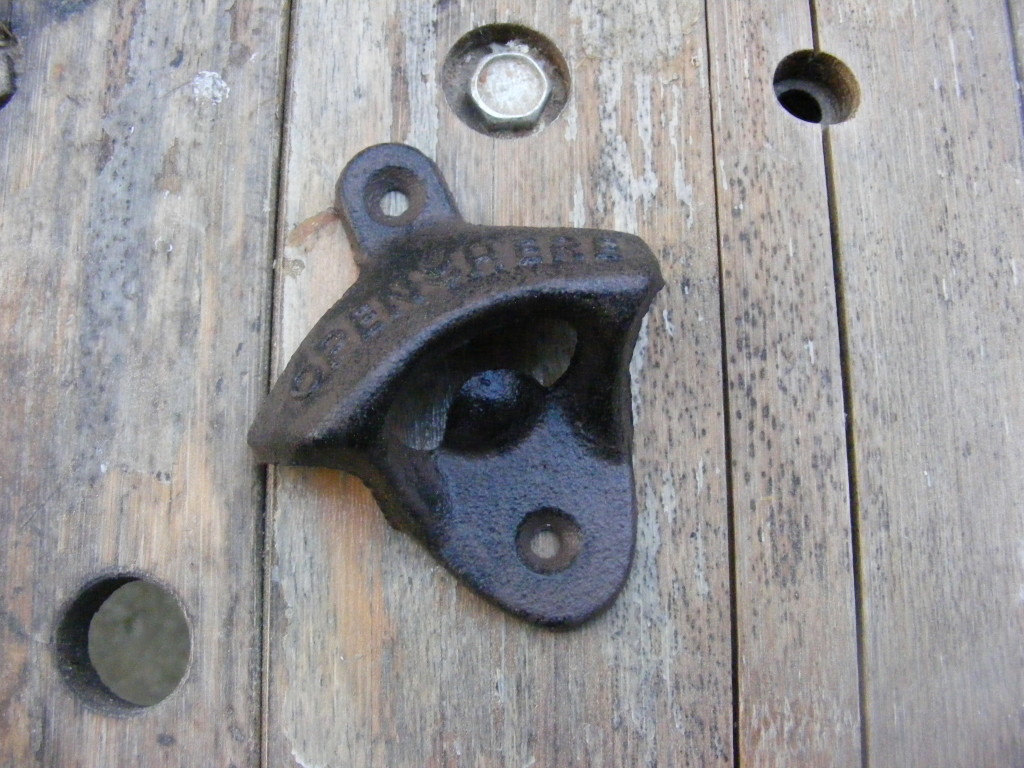
Step 7 – Screw on the metal bottle opener. I bought my bottle opener from a department store and it came with 2 wood screws. You can get this bottle opener fairly cheap through Amazon (see my link above). Attached it at the desired height that looks good. BUT and this is a big but — make sure the metal bottle opener has enough clearance from the bottle-cap catch box. You probably should take a bottle and test this to make sure the bottom of the bottle doesn’t get blocked by the catch box. If it does, you may not be able to get your bottle cap off.
Step 8 – Sand and finish. Since I wanted that rugged look, I didn’t do much heavy sanding. I used the belt sander to remove any visible saw blade marks from my previous cuts. And I made sure to sand the sides and edges that presented possible splinter hazards. I pretty much left the face of the boards alone, to preserve the weathered look. I didn’t apply any finishes.
Step 9 – Mount it somewhere. Now you can decide where you’d like to mount the wall-mounted bottle opener. I would recommend finding a fairly secure way to mount it since you will be applying a force downward on the bottle opener.
Hey, I hope you enjoyed this tutorial on how to make a wall-mounted bottle opener. If you want to receive updates on new DIY tips and tutorials, please subscribe to my blog. You can find the Subscribe Form below.
Feel free to share any comments or ideas on this project. On my FB page, you can post pictures of your woodworking projects and share with the group.
You may also want to check out a more recent project I did where I converted a log to a bottle opener. See my video below.
Happy woodworking!




If I had all your tools, I would be a happy camper.
I am a female Do it Yourselfer, I have a hand “wood saw” mitre box, wood, and several wood pallets. I want to make a gate to the entrance of my home (basically to keep my small dog in). The area is 6″ and there are no existing posts. Any suggestions? I can send you pictures of my material(s) and the space where I want to put the gate. Can you help me out?
Yes, send me some pics, and I’ll try to help you brainstorm some ideas.
Hi Scott,
Thanks I appreciate the “brainstorm offer”.. there is no way to attach a photo in your pages’ reply section. Do you have another email address I could use?
Thank you very much,
Bernadette 🙂