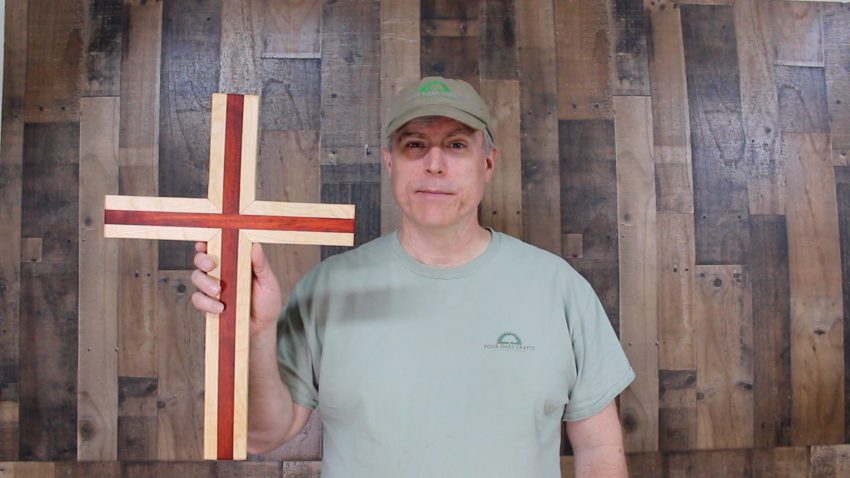
Thanks for checking out my wooden cross DIY project. I’ve seen several cross designs floating around the internet, so I took that inspiration and designed my own laminated cross. The two woods I used were Padauk and Maple. They contrast each other very well. The Danish Oil finish also helps to highlight the color and grain.
The two main challenges with building the cross were creating a lap joint for the 2 center pieces and then making the needed 45 degree cuts for the outer layer. For the cross to look great, you want all the joints to have a tight fit. The dimensions I show are just my suggestion and design for this project. You can, of course, tailor the dimensions to fit your own goals.
Don’t forget to check out My Favorite Tool section where you can learn more about the tools I enjoy using for these projects.
The tutorial and video are for inspirational and demonstrative purposes only — not to be a substitute for formal woodworking training. For this project, I used all the correct PPE and followed normal safety practices with my tools. If you have a question or need additional help, don’t hesitate to reach out to me through the comments field or contact form.
Wood Cross DIY Tutorial
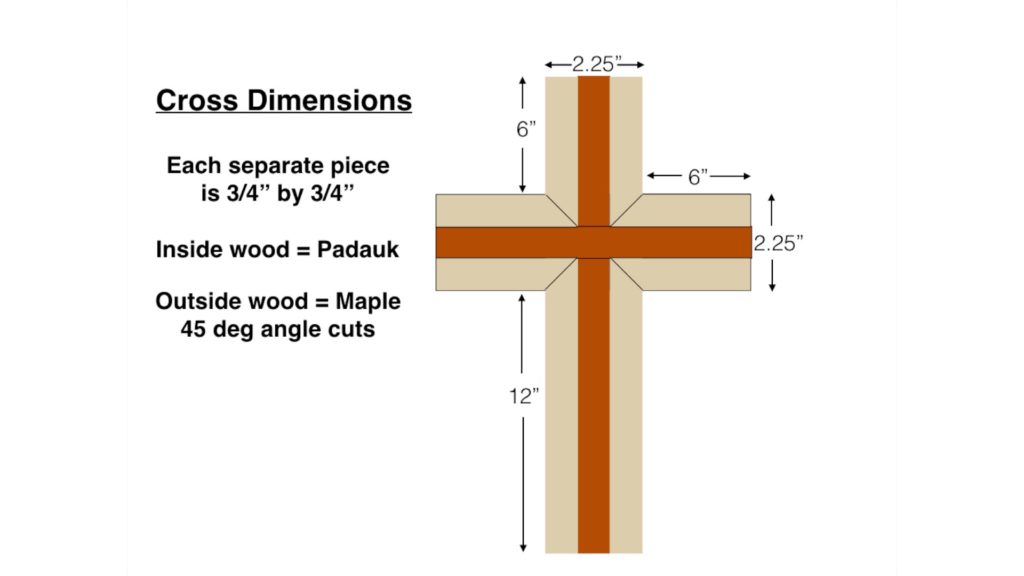
Above are the dimensions I used. This cross could be made bigger or smaller, but I would recommend keeping these same proportions.
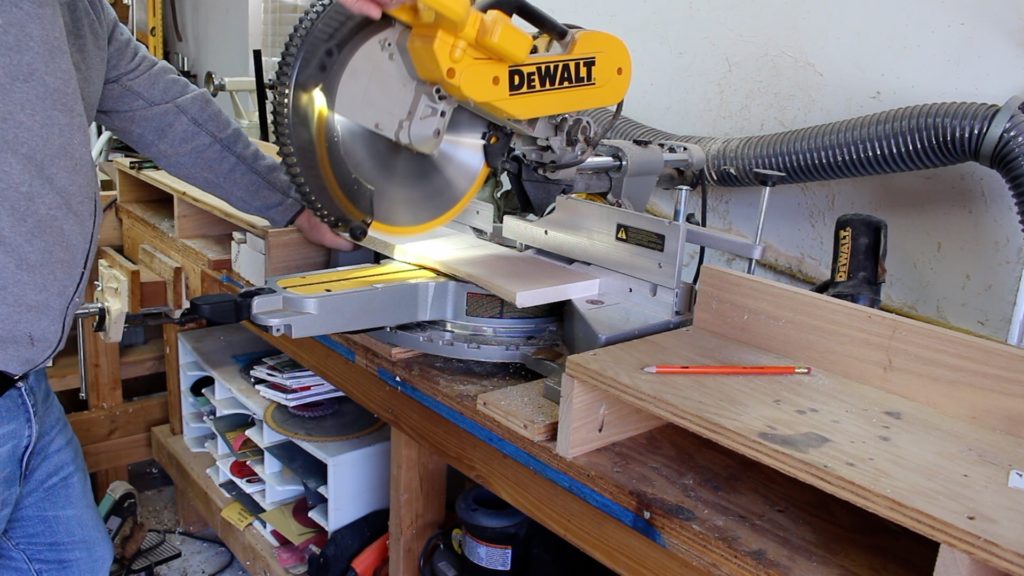
Cross cutting Maple boards and Padauk boards to length.
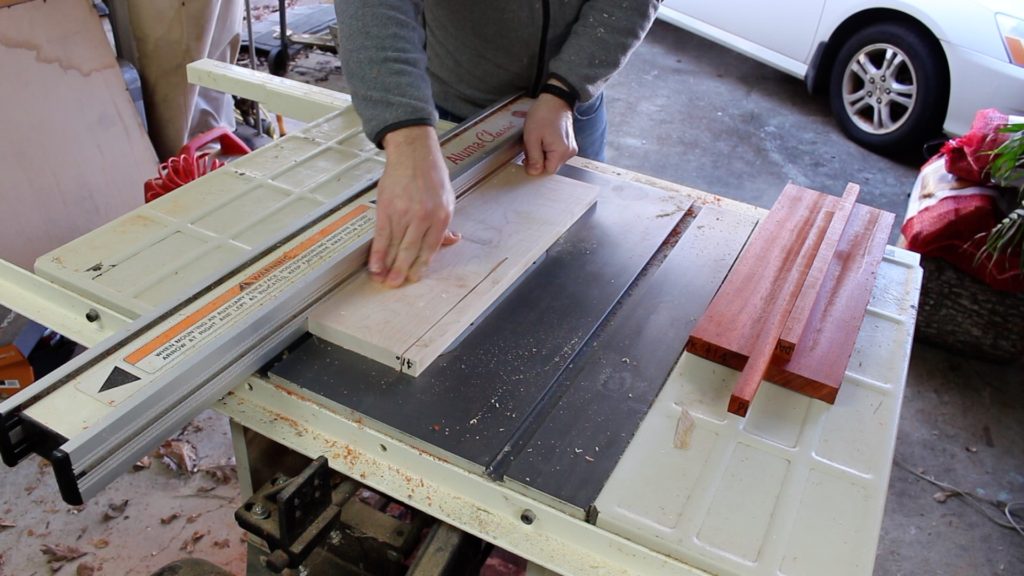
Ripping the pieces used for the cross. I cut them out to length and then made them 3/4″ by 3/4″. I’m watching the placement of my hands here and wearing my safety glasses.
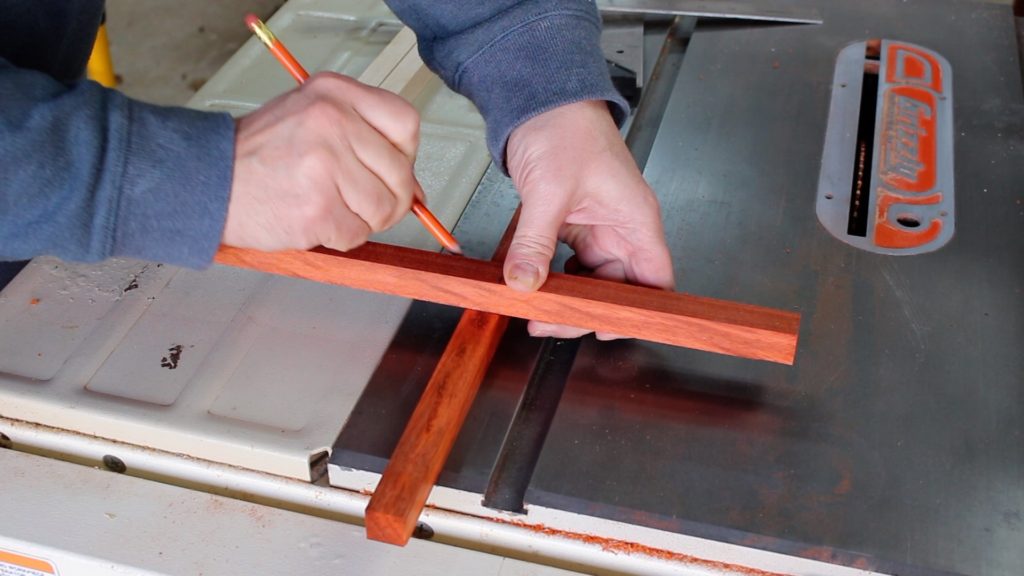
Marking location of the center lap joint.
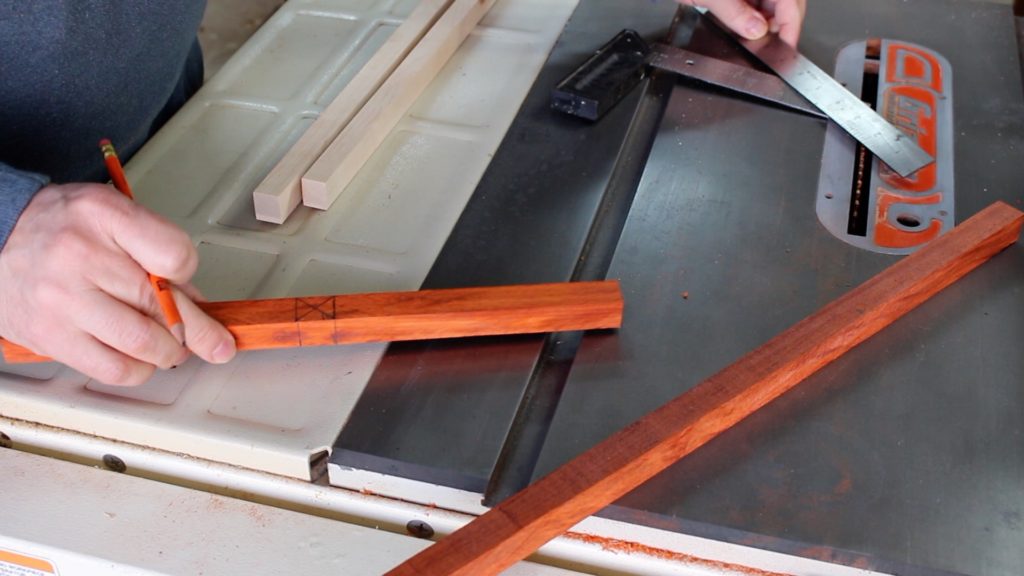
Where those 2 diagonal lines meet, should be the center of the board.
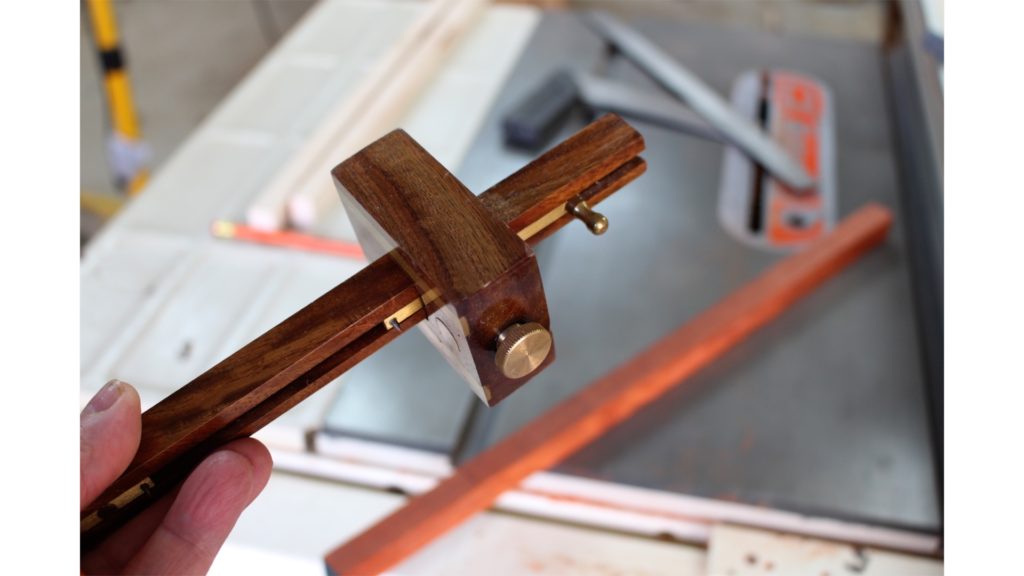
Used a marking gauge to scribe a line down the board — where those diagonals meet.
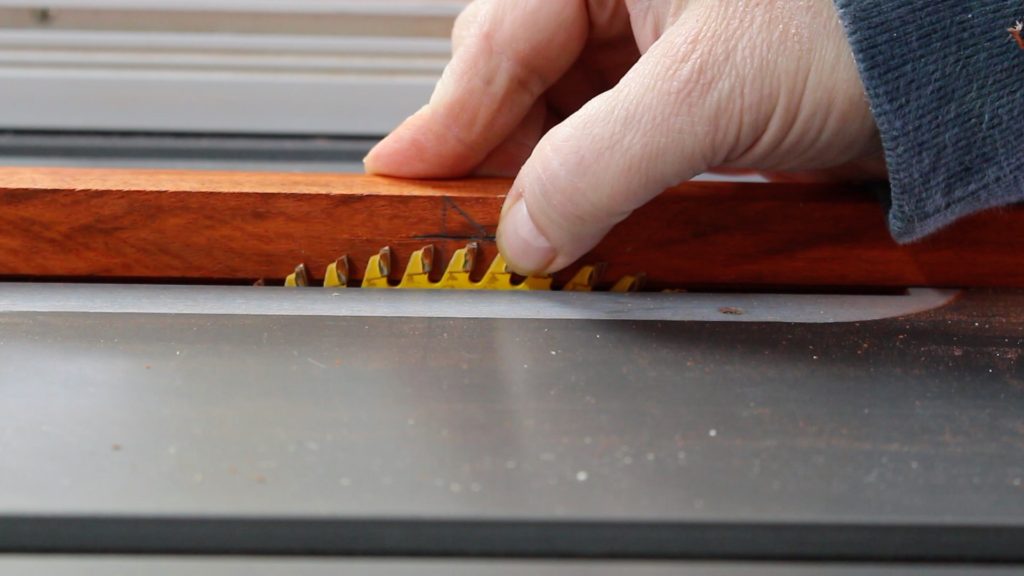
Placing the saw blade just below the center line mark. Being careful here not to cut too deep or my lap joint won’t fit flush.
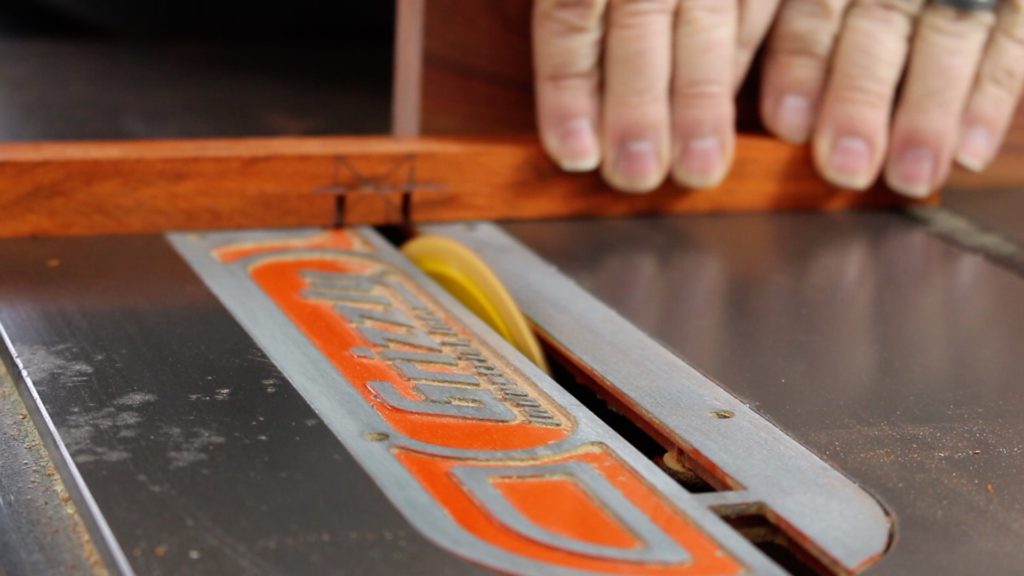
Taking it slow and making multiple passes to cut out the first notch for the lap joint.
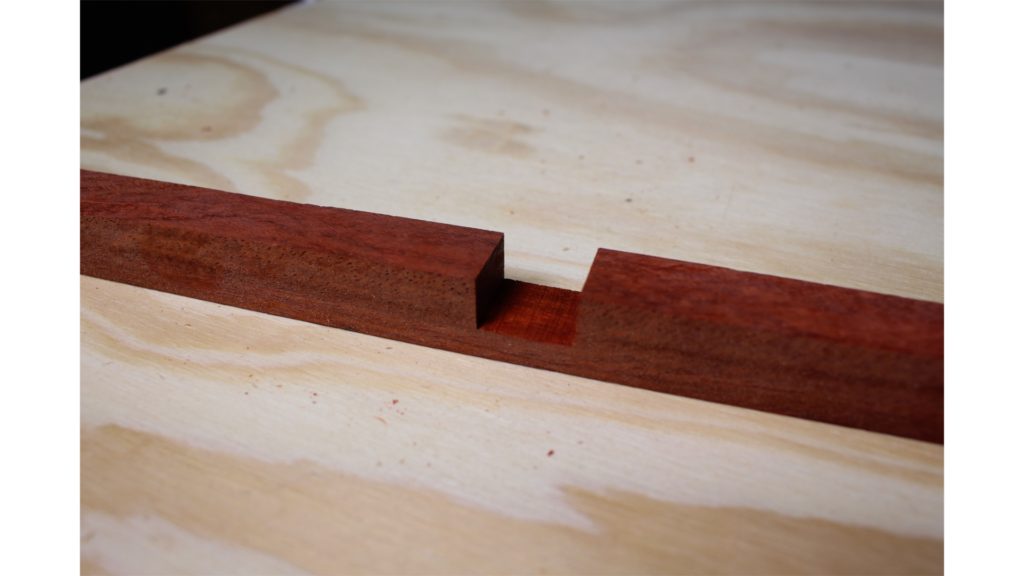
The finished notch for the horizontal piece.
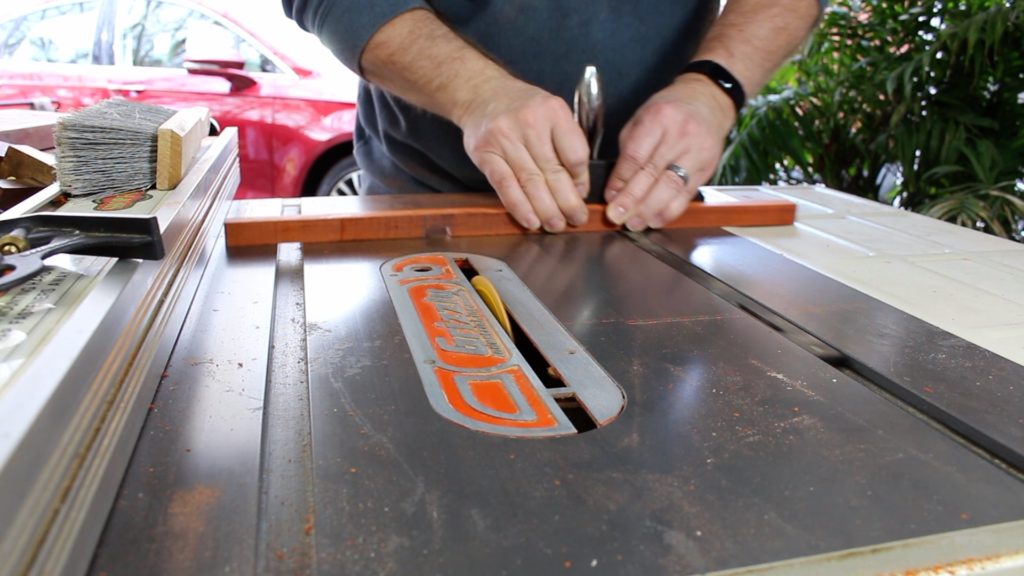
Repeat the whole process for the second notch for the vertical piece. I had to give this a couple of tries to get the two pieces flush.
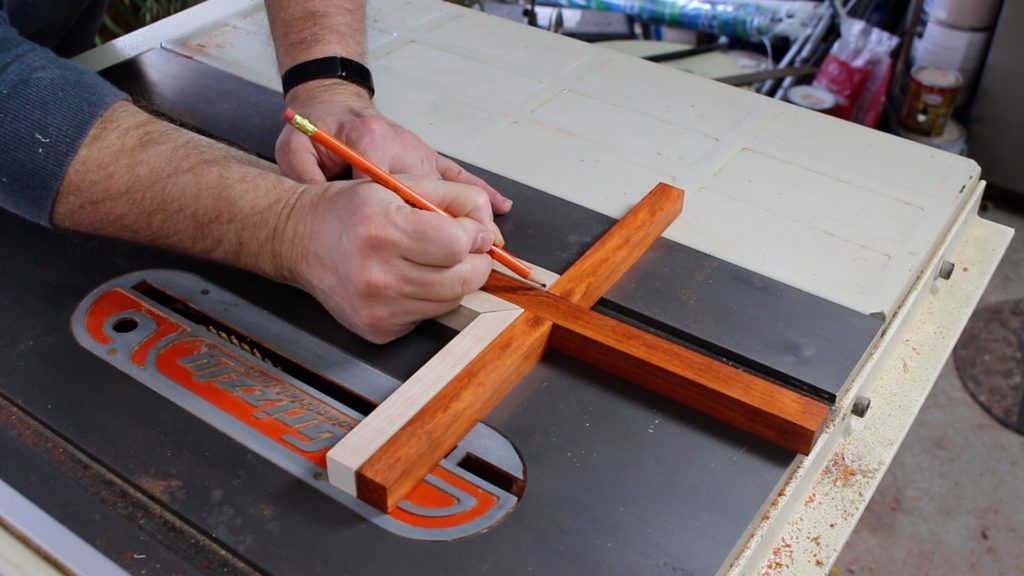
Now I’m roughly marking the 45 degree lines to make those cuts.
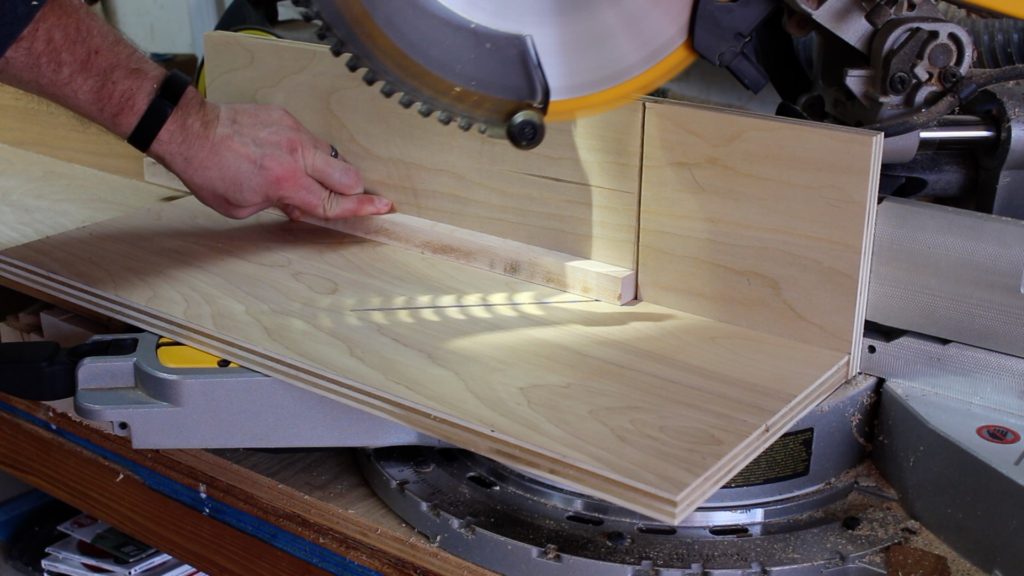
Using my picture frame jig (zero clearance) to make the 45 degree cuts. Make these cuts first before you trim off the other end with the 90 degree cut.
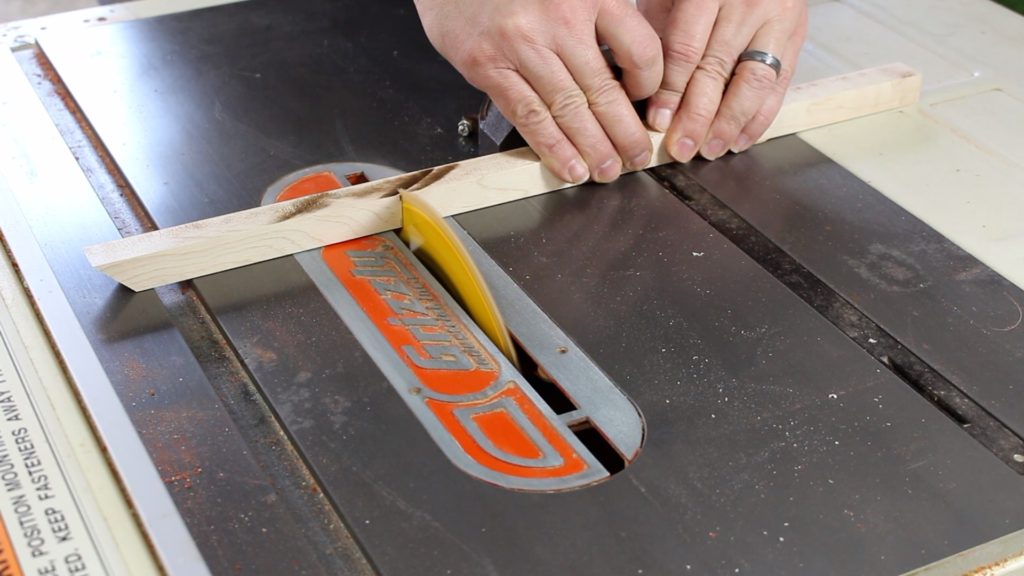
After cutting the 45 degree cut, I trim the piece for the correct distance. MEASURING TWICE and CUTTING ONCE.
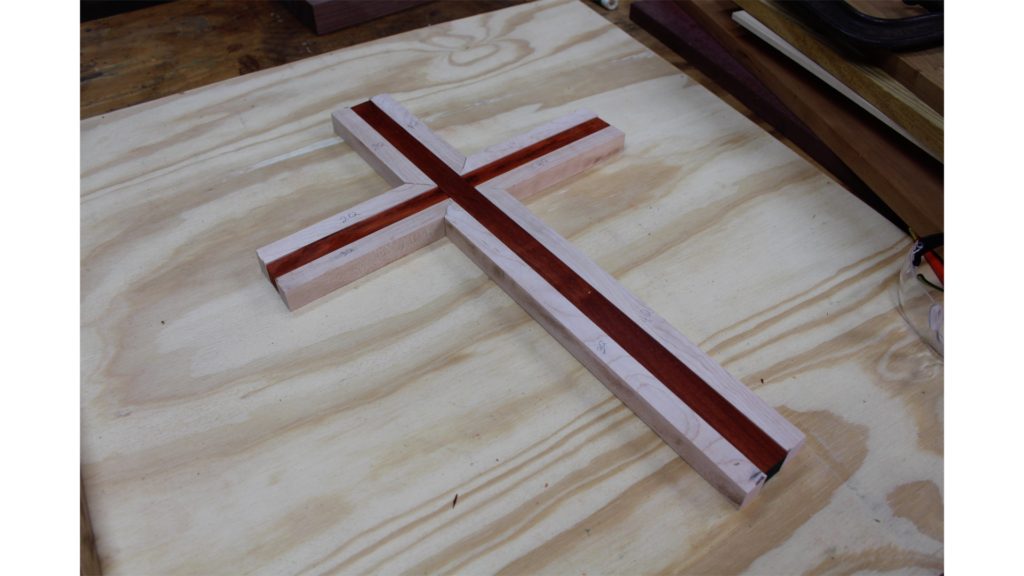
With all the boards cut out, it’s time for me to dry fit them all.
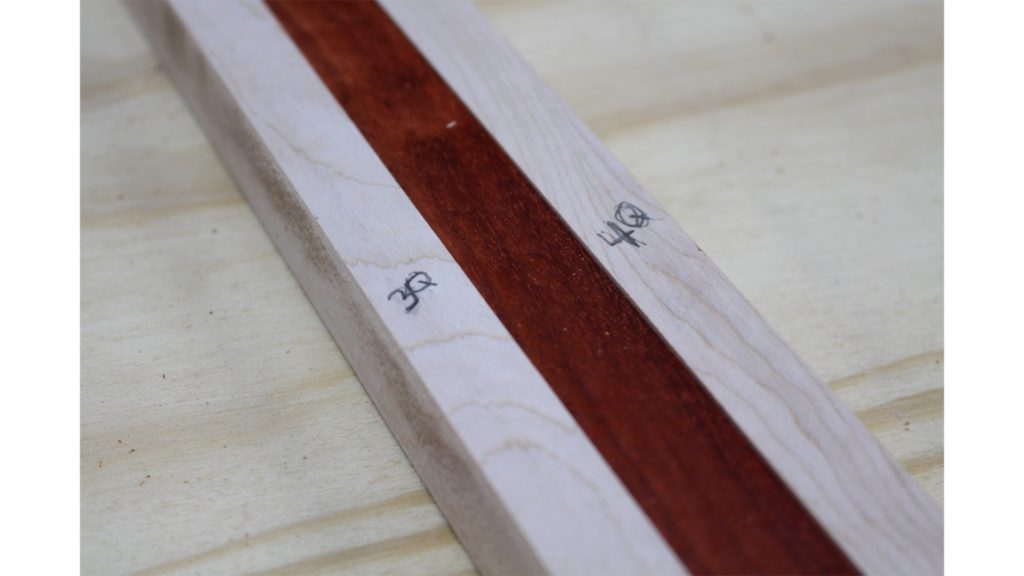
I labeled the boards to keep up with where they go. 1st, 2nd, 3rd & 4th Quadrants.
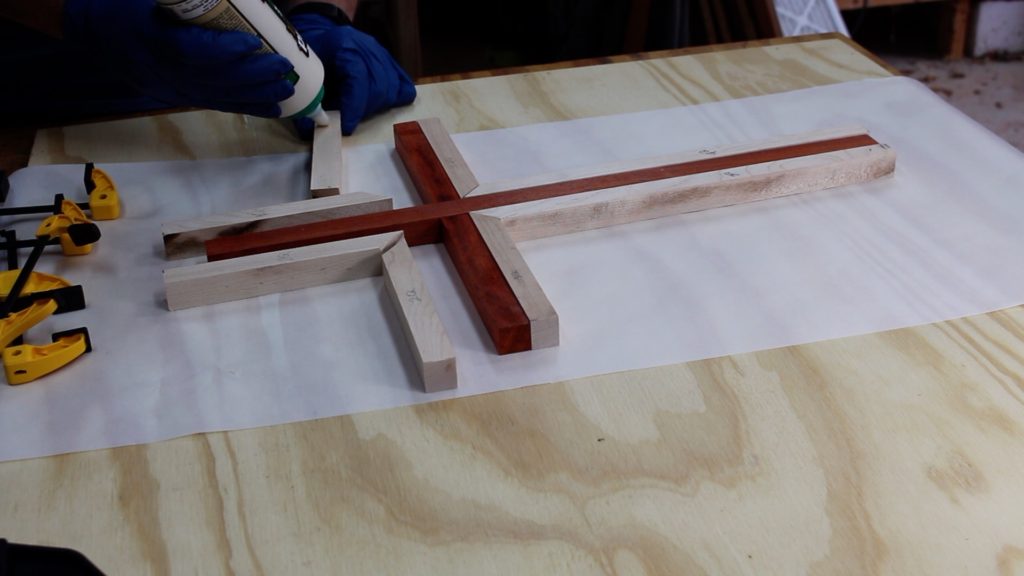
Now, I’m glueing the pieces together. Put glue everywhere and in the joint areas.
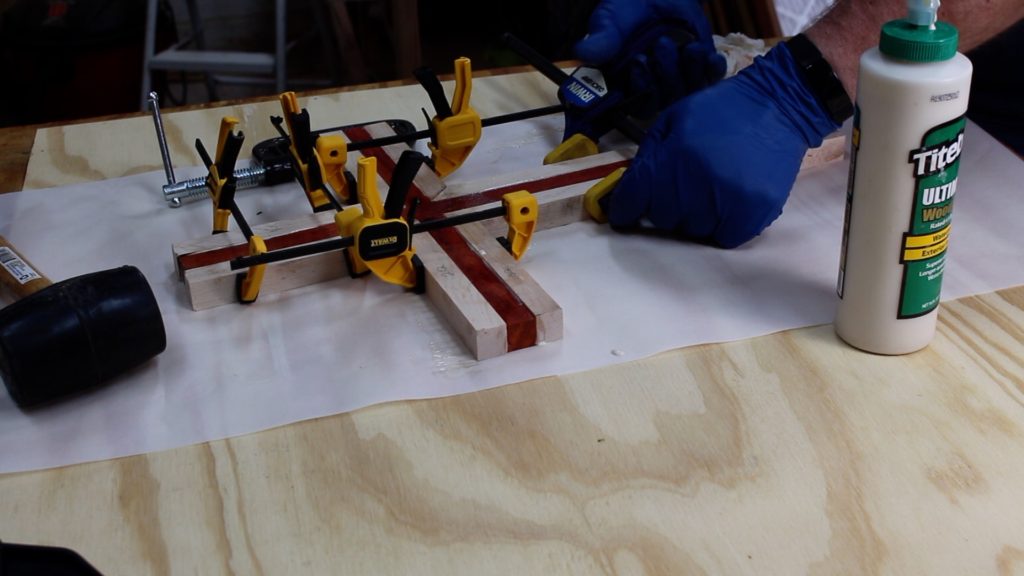
Adding clamps. The more clamps you have the merrier. You may have to tweak alignment some as you add more clamps.
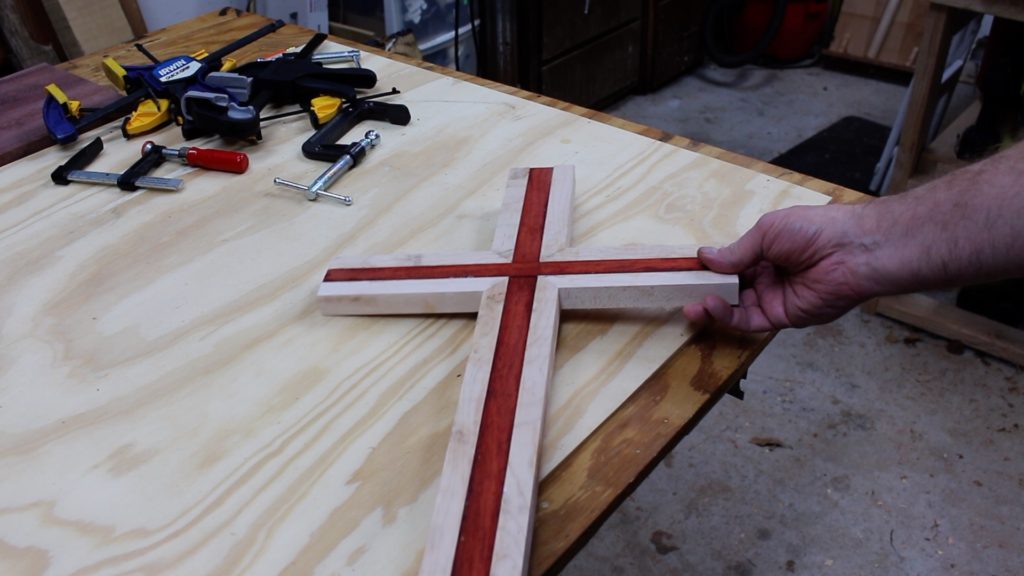
Glue has dried overnight and I’ve removed the clamps. Everything appears to be correct.
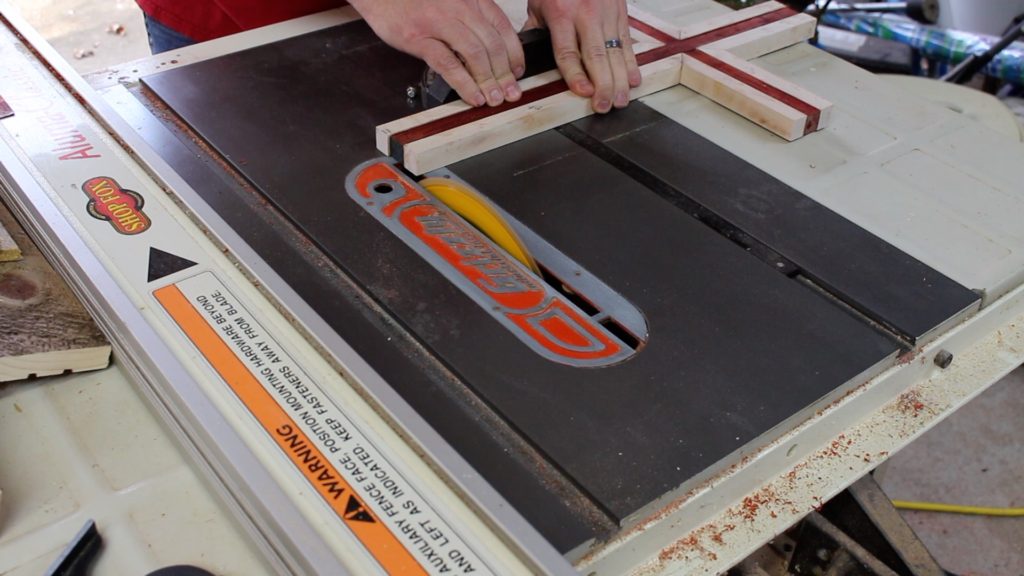
Next, I trimmed every end, using the table saw. Now, the ends all look nice and neat.
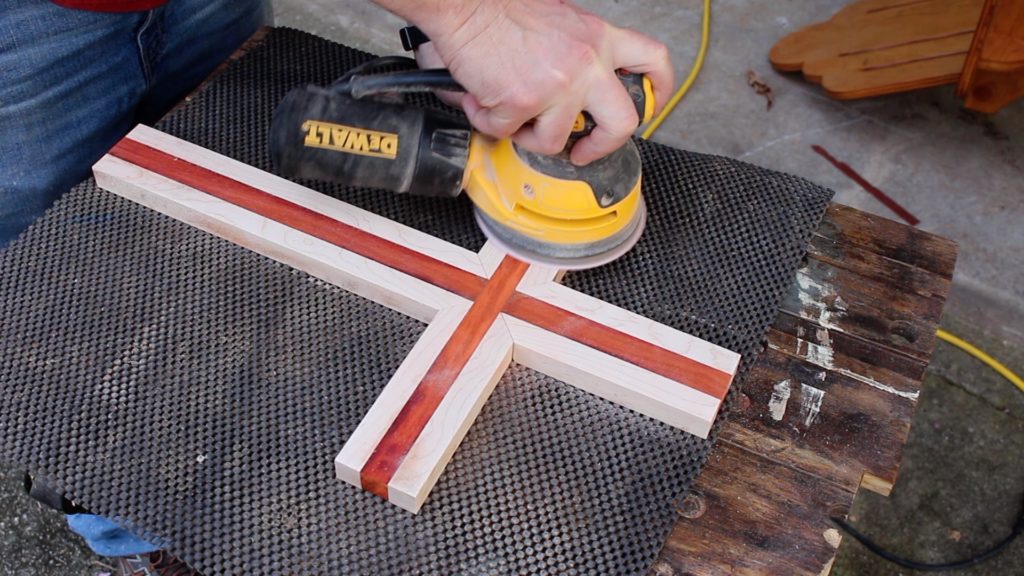
Sanding everything flush with the orbital sander. Also removes any pencil or saw marks. I started with 80 grit and then went to 120 grit and finished with 220 grit.
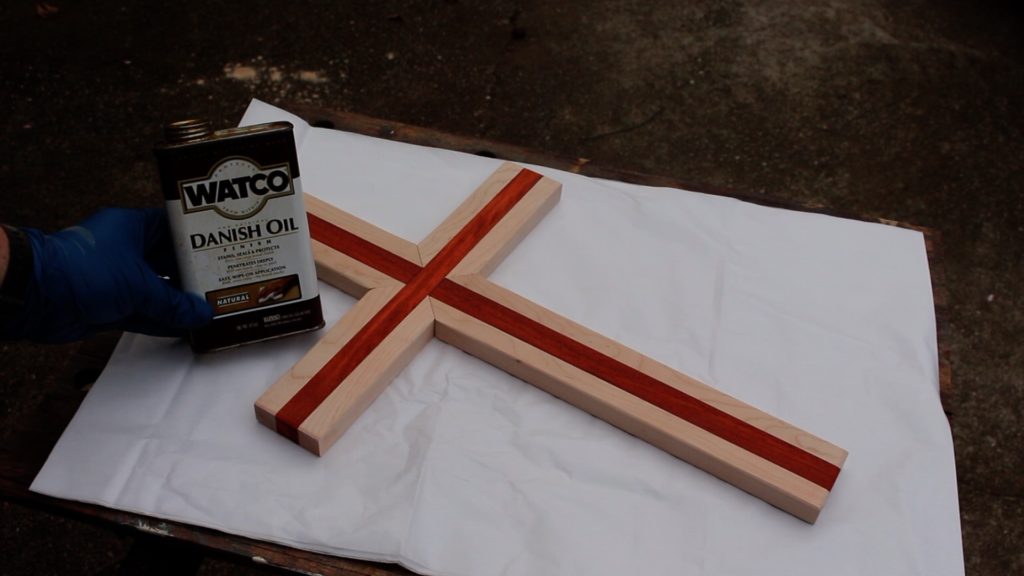
I decided to use Danish Oil for the finish. A really easy finish to apply. This is the clear or natural finish Danish Oil.
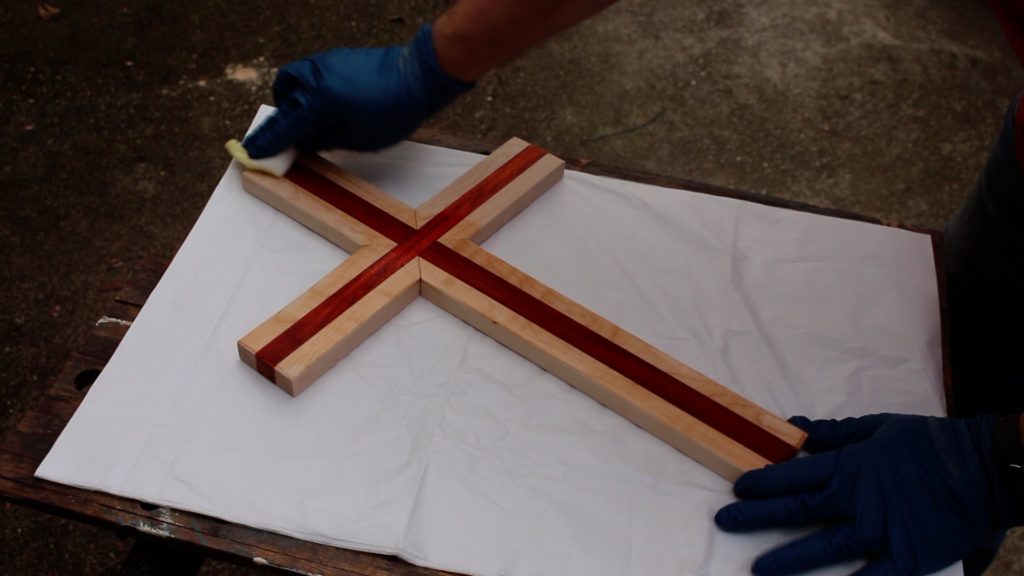
It really brings out the color and makes the grain pop. I applied 2 coats and allowed it to dry for 48 hours.
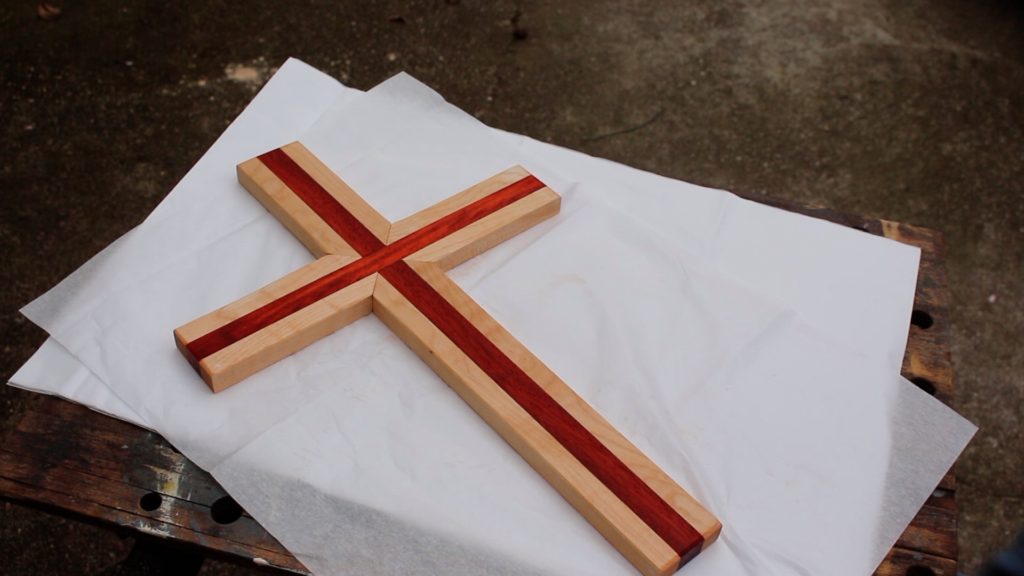
The finished cross.
Thanks for following along on the wooden cross DIY project. I hope you will give this a try and add a beautiful cross to your home. If you’re a person of faith like me, it also has a strong significance to your beliefs and hopes.
If you’d like to get my monthly newsletter and get updates on new tutorials like this, please consider subscribing to my website. When you subscribe, I’ll send you a free gift — a comprehensive checklist for your workshop related to safety. Look for the signup form below.

Are you starting up a new shop? Want to work safer in your shop? To help you answer these questions I've put together a 2-part checklist -- Home Shop Safety & Tool Checklist.
I will also send you updates of my latest woodworking and DIY projects. You can get all this by subscribing to my free email newsletter.
