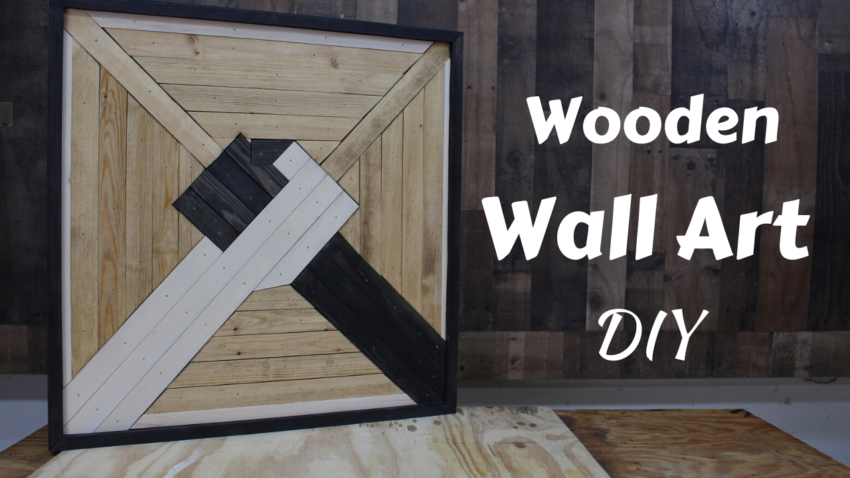
I hope you enjoy my Wooden Wall Art DIY project. I searched the internet for inspiration on wall art and saw several designs. But with the fight against racism and the unrest in our society today, I decided to create some art with a positive message — brotherly love. The sign of clasped hands of coming together and working together. Harmony. Collaboration. Peace. Love.
This is a relatively easy project and I recommend the following tools & supplies:
- Miter saw
- Electric nail gun
- Band saw
- Table saw
- Tinsmith Gray 1091 stain
- True Black 274 Stain
- 120 grit sand paper
- Wood glue
- Nitrile gloves and paper towels
SAFETY FIRST: Wear eye protection and dust mask and other appropriate PPE. Know how to use your tools safely and get training if needed. Have fun and be safe!
You can also check out my YouTube video below if you’d prefer to watch a video:
Wooden Wall Art DIY Tutorial
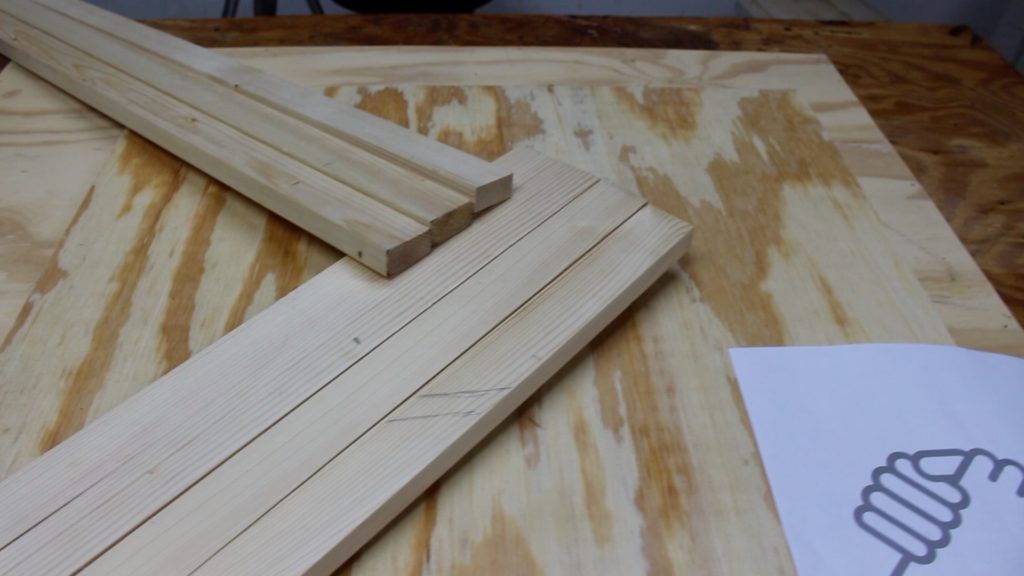
In the photo above, I’m laying out the hands. I’m trying to center them up on my base plywood board. I got the inspiration for my design from free clipart.
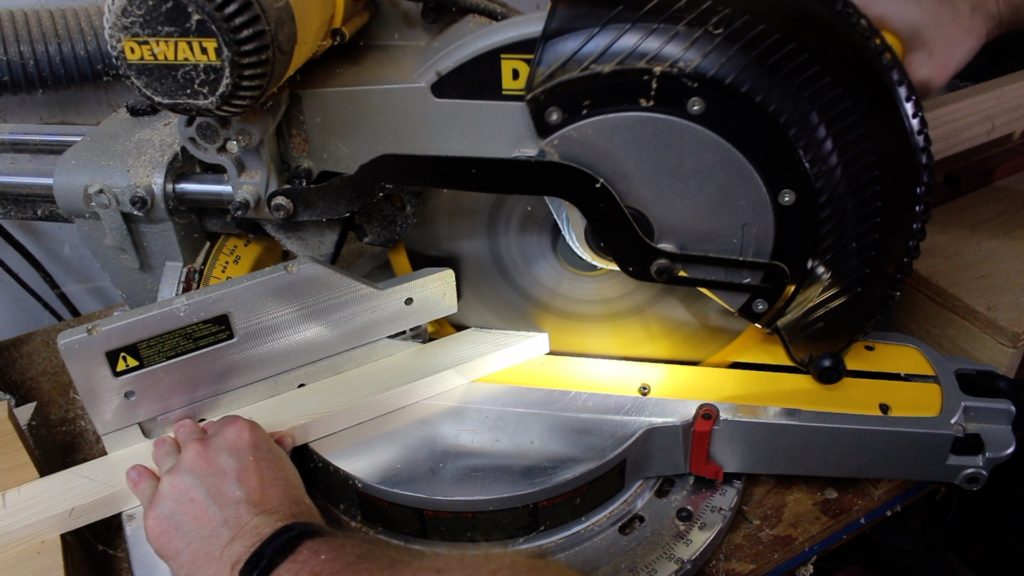
Now I’m using the miter saw to cut the pieces for the hands. Measure twice and cut once. Pay attention to which side of the board is the waste piece.
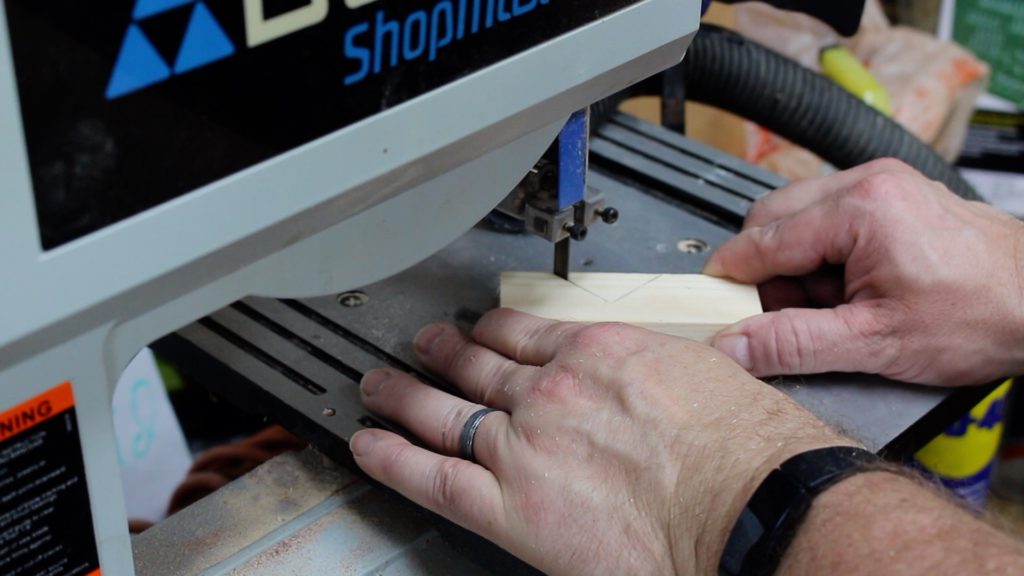
In this photo, I’m using the bandsaw to make cuts that the miter saw cannot do. Take your time with these cuts. Then always dry fit. If something doesn’t work then chunk it and cut another piece.
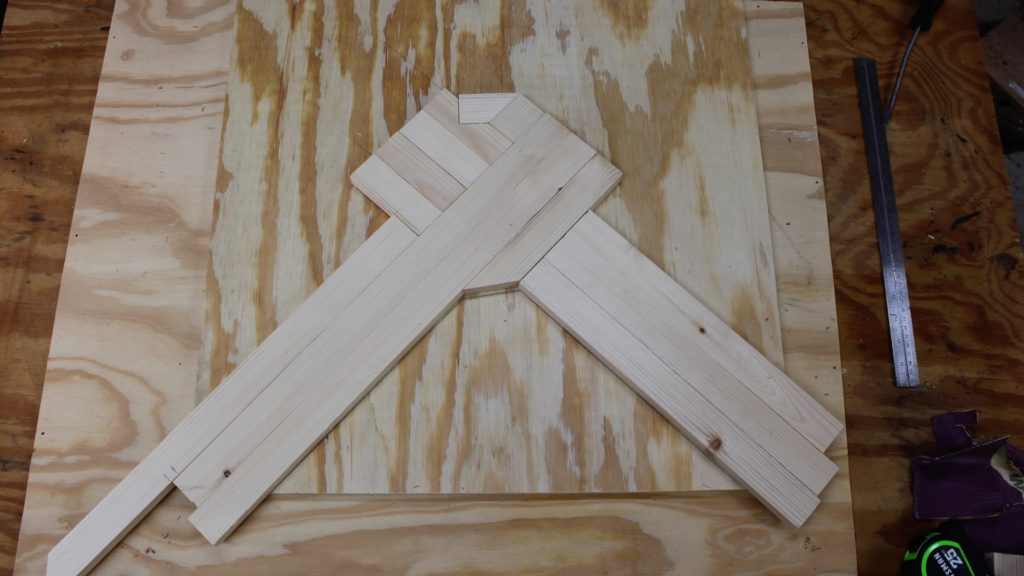
This is a picture of the hands after my final cuts and dry fitting them in the center of the plywood.
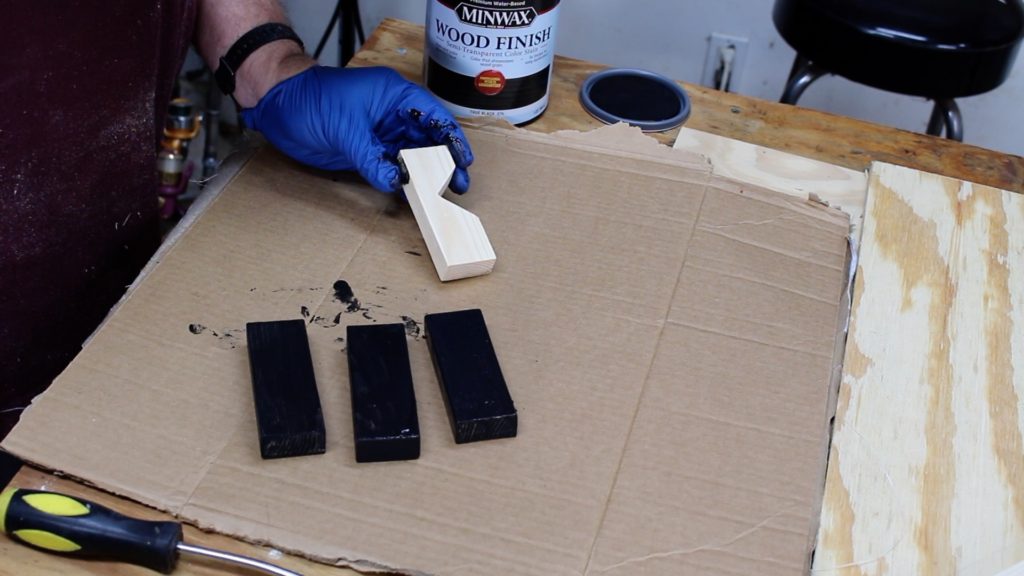
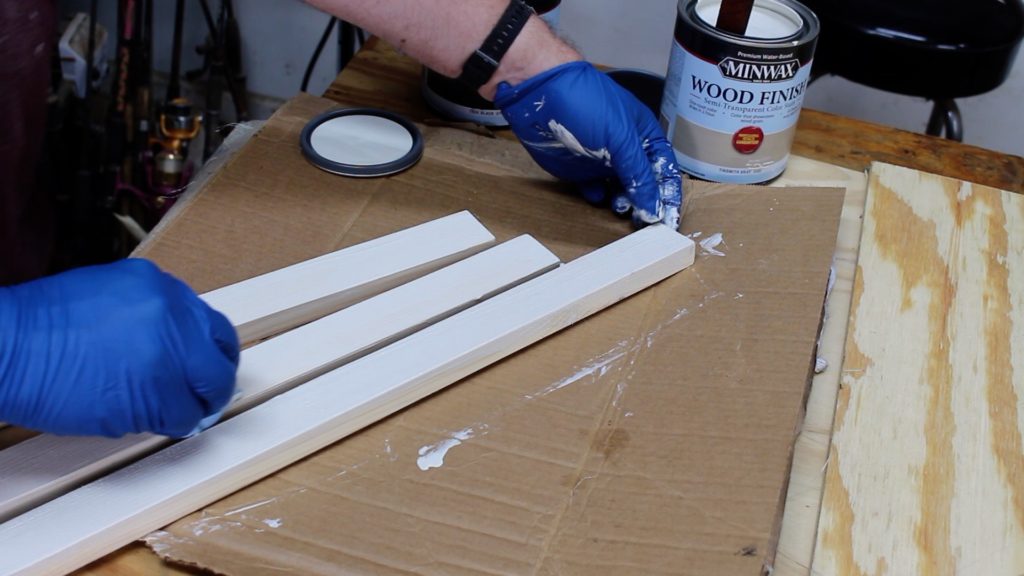
Before attaching the boards I stained the black hand and the white hand. I used Tinsmith Gray 1091 for the white hand and True Black 274 for the black hand. I allowed the stain to set in for a couple of minutes and wiped off the excess. I did not add stain to the side that will be glued to the plywood.
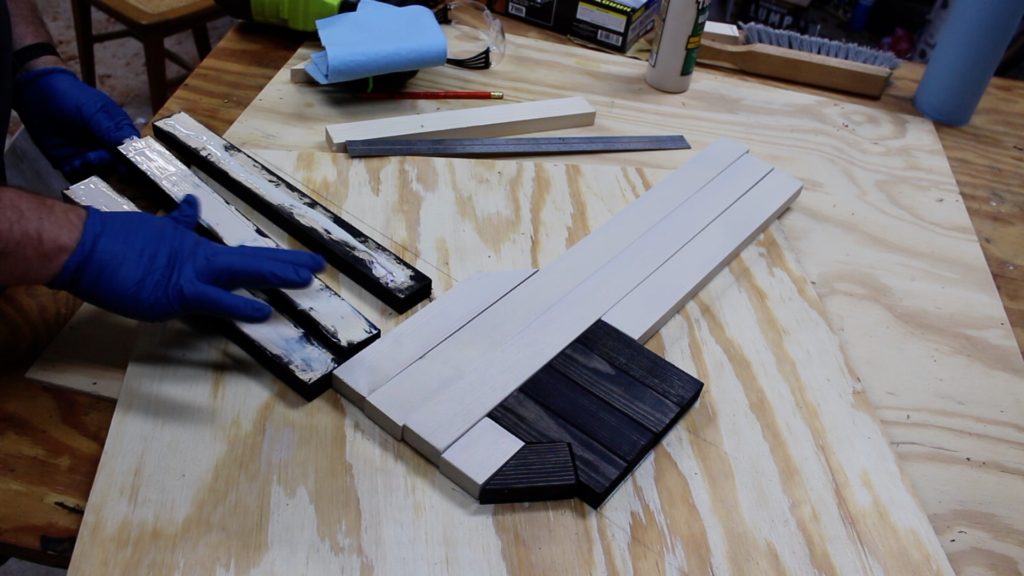
Next, I added wood glue to the unstained side. Make sure to keep the boards in the right order. I used my pencil marks as my guide for placing the boards.
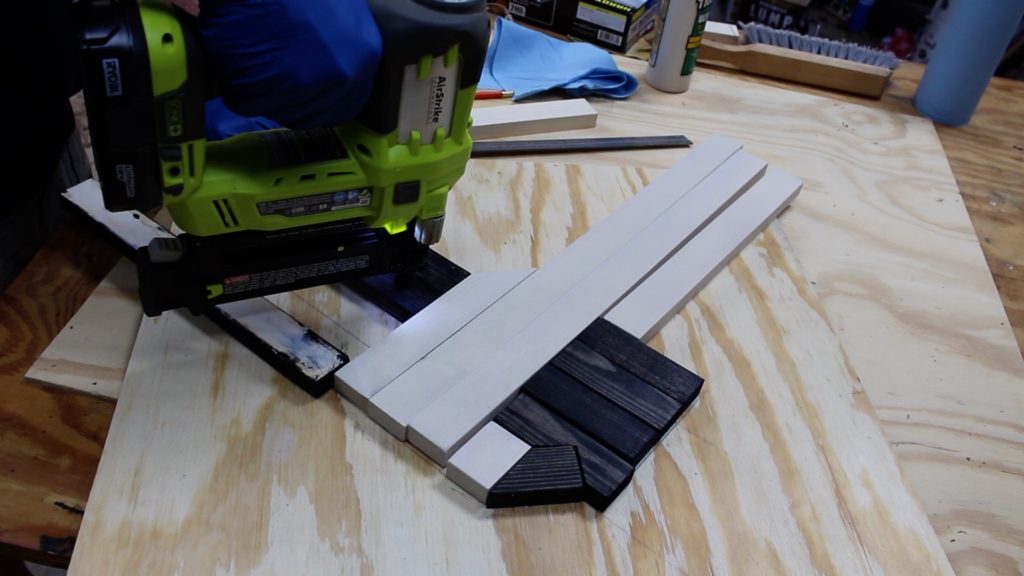
I used my Ryobi electric nail gun with 1 inch brad nails to attach the boards to the plywood. You can space the nails out and you don’t need many. The glue will eventually hold the boards in place.
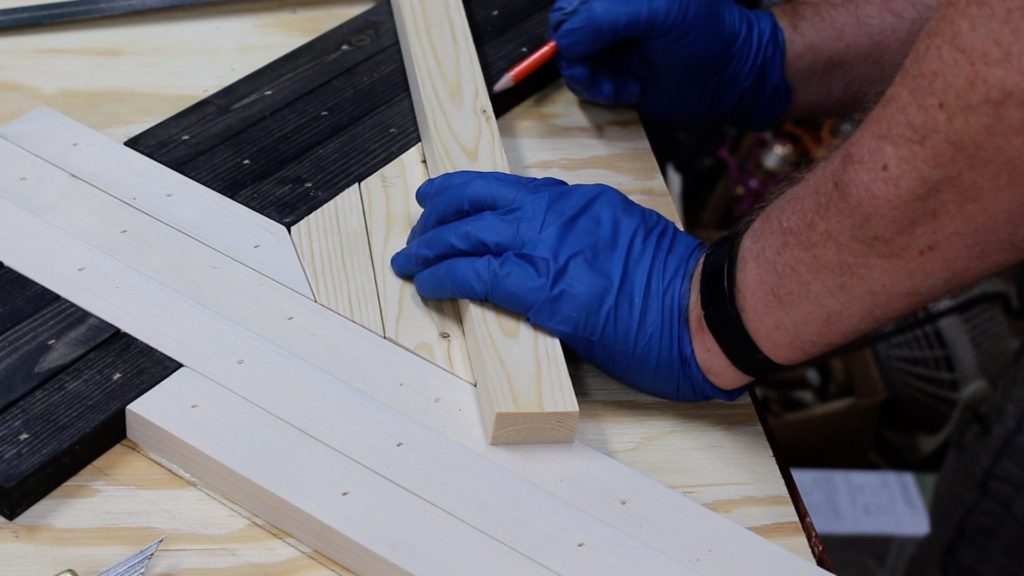
With the hands in place, now I can begin measuring and cutting boards for the remainder of the artwork. This part takes the most time but take your time and get this right.
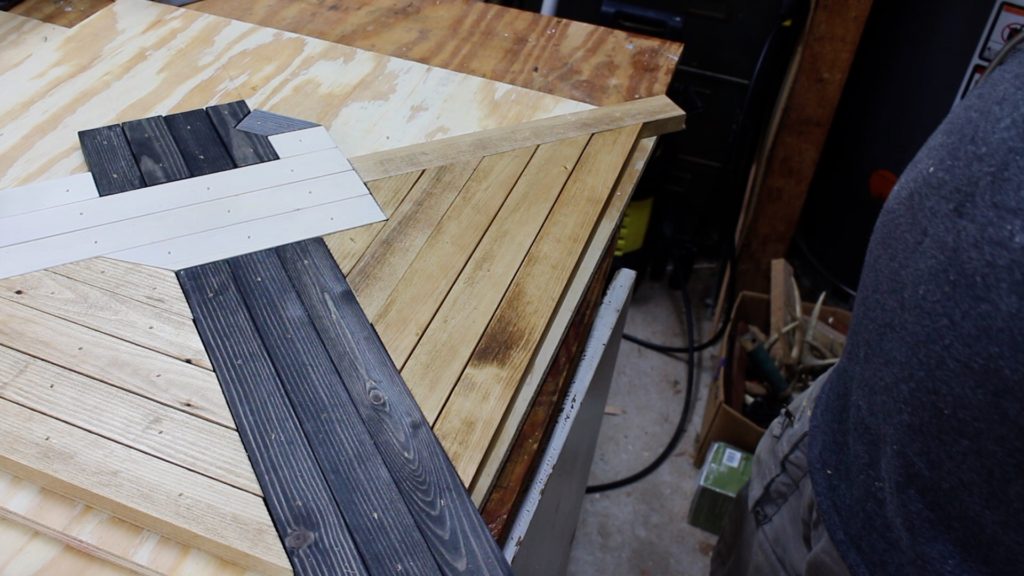
Once I measured and cut all the pieces, I dry fitted them around the board. Notice the diagonal board which I used as the upward boundary for the vertical and horizontal (top) boards. I glued and tacked this diagonal board in place first.
For all of the boards not part of the hands, I used a dark Danish oil. I stained all the sides, except for the side being glued to the plywood.
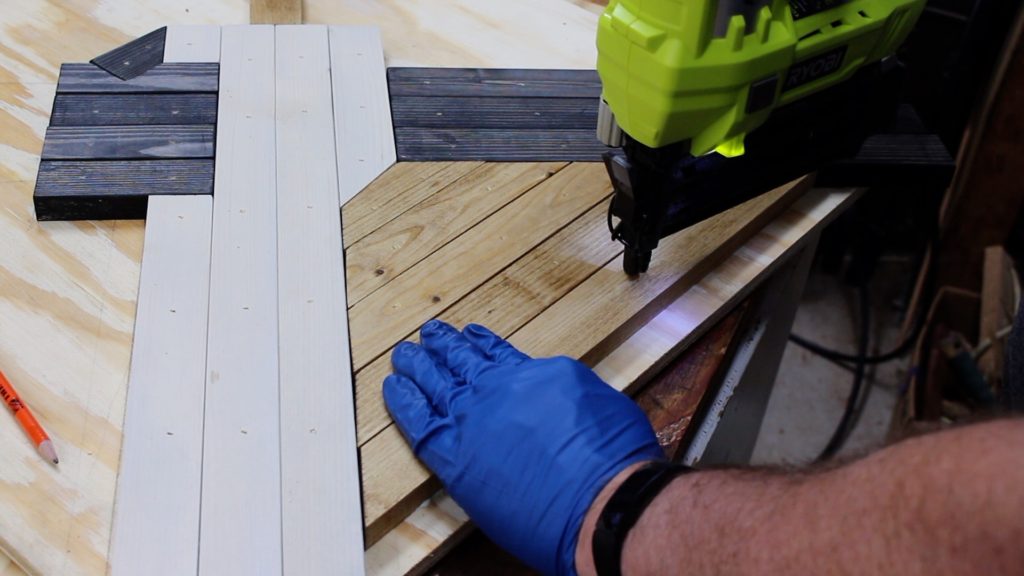
Then I applied wood glue and used my nail gun to attach the remaining boards.
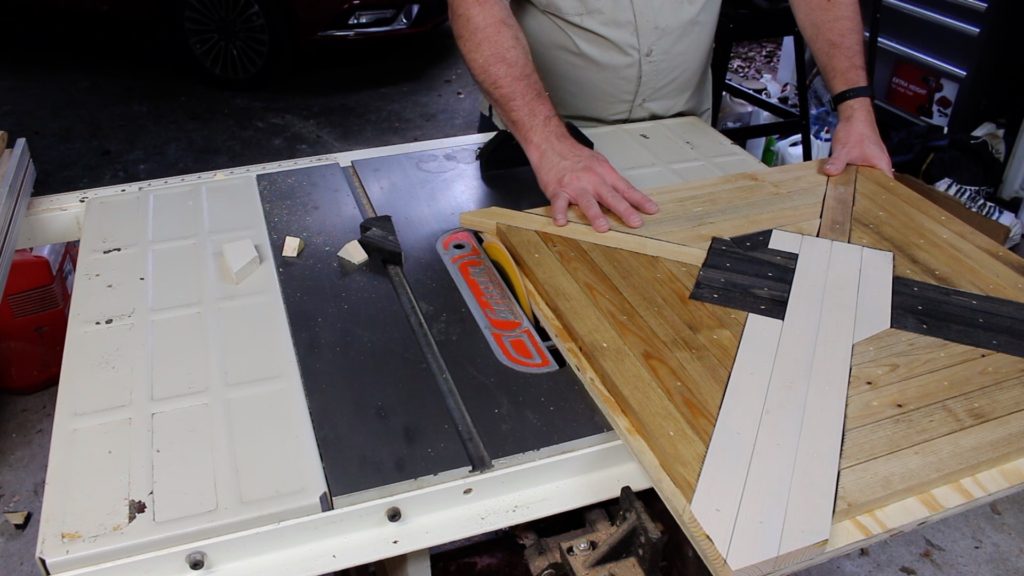
I used the table saw to trim all the boards that were projecting out beyond the plywood. Take your time and watch where you place your fingers.
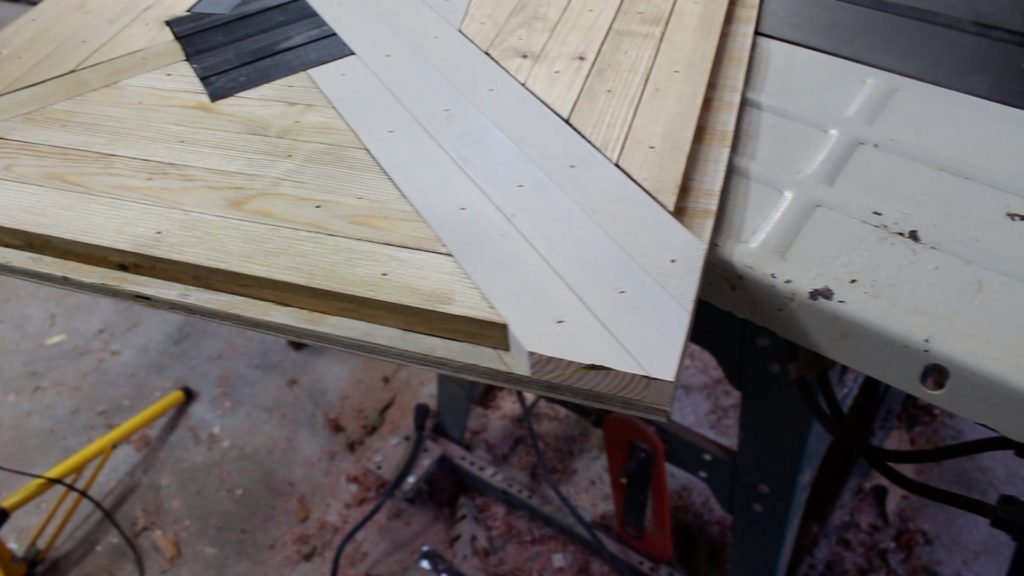
Notice that I have gaps around all the sides. I will measure and cut boards on my table saw to fit these gaps.
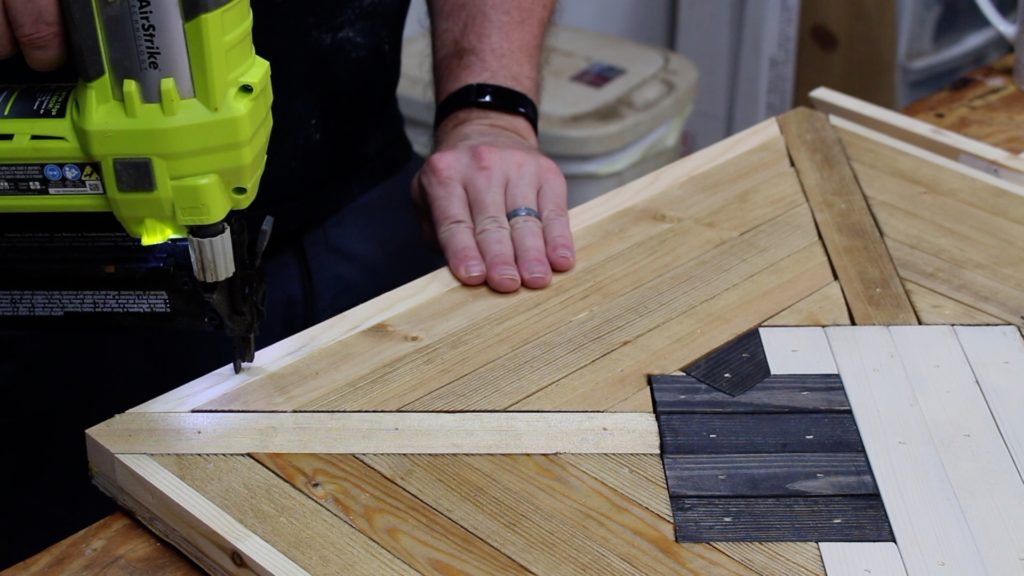
After cutting the boards to fill the gaps, I used the nail gun and glue to attached them to the plywood. I also stained these outer boards with the Tinsmith Gray stain.
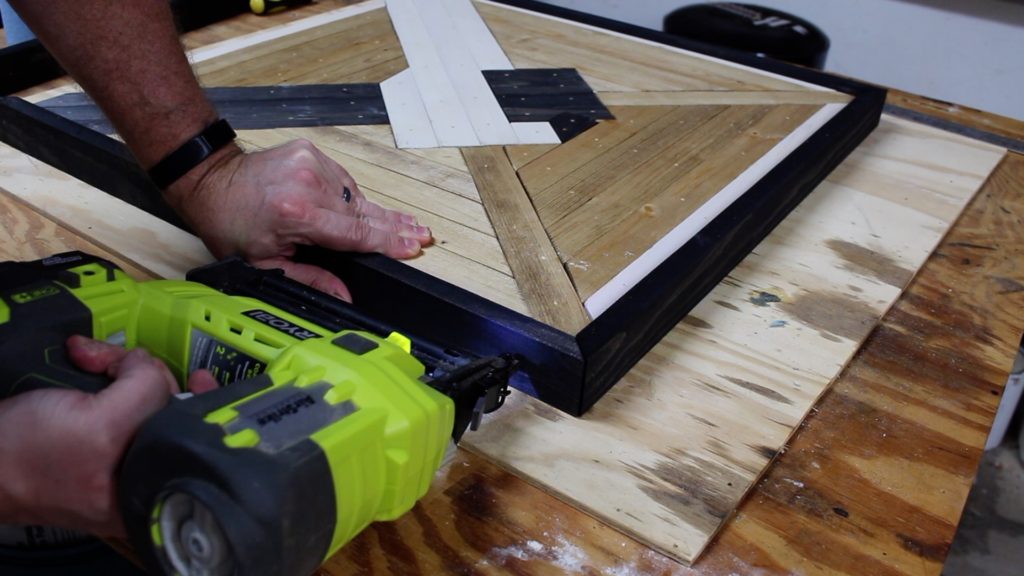
I used 1 in by 4 inch boards to build the outside frame. First, I ripped these boards in half with my table saw. Then I held the boards up to the sides of the wall art and marked the corners. From those marks, I used my miter saw to cut 45 degree bevels. Take your time and make careful measurements and cuts. Then dry fit the boards all the way around to make sure the 45 degree bevels all fit nice and flush.
Next, I stained the boards with the True Black 274 stain and attached to the wall art with my nail gun.
Parting Thoughts
Make sure that as you lay out the horizontal and vertical slats that you keep them parallel with the plywood’s edge. And make sure the plywood is square before you start.
I wasn’t sure if I liked the nails showing, but I believe this adds a rustic look to the art. I think it would be okay to just used the glue instead of the nails, but you may need something to weigh the boards down as the glue dries.
I hope you have enjoyed my Wooden Wall Art DIY project. Let’s work to eradicate racism in our country and bring others together.
God bless and here’s a favorite quote from Martin Luther King Jr.
“We must learn to live together as brothers or perish together as fools.“

Are you starting up a new shop? Want to work safer in your shop? To help you answer these questions I've put together a 2-part checklist -- Home Shop Safety & Tool Checklist.
I will also send you updates of my latest woodworking and DIY projects. You can get all this by subscribing to my free email newsletter.



I love this. I’ve been avoiding my shop for no apparent reason. THIS is inspiring me to give this project a try. I’ve plenty of bits to use already. Thank you for this!
Thanks for the comment! I’m glad that the project inspired you!
Absolutely beautiful in construction and the message behind the design.
Thanks so much for the comment!